练习 - 在 Web 应用程序中使用 Microsoft Graph 检索用户的个人资料照片
你已了解使用 Microsoft Graph 访问用户配置文件所需的所有概念。 现在可以构建客户应用程序,用于检索和显示已登录销售人员的照片。
若要成功完成此单元,你需要一个用户帐户(例如,你的 Microsoft 365 开发人员租户),其中包含可在应用程序中使用的个人资料图片。
设置应用
在本练习中,你将访问 GitHub 存储库,将 Microsoft Entra ID 添加到应用中,并添加代码以使用 Microsoft Graph 访问照片。 如果尚未创建 Microsoft Entra 应用注册,请先完成先决条件模块,然后再继续。
要获取本练习中使用的初始应用代码,请选择以下选项之一:
如果使用 Git,请通过使用 git clone 命令克隆项目:
git clone https://github.com/MicrosoftDocs/mslearn-retrieve-m365-data-with-msgraph-quickstart.git如果不使用 Git,请在 Web 浏览器中转到 https://github.com/MicrosoftDocs/mslearn-retrieve-m365-data-with-msgraph-quickstart。 依次选择代码按钮、下载 ZIP。 将 zip 文件提取到计算机。
在代码编辑器中打开文件夹。
应用程序包含以下文件:
- index.html:定义用户访问网站时显示的界面。 它加载 Microsoft 身份验证库 (MSAL) 脚本和自定义应用程序脚本,为用户提供登录方式,并在用户登录后显示其名称。
- auth.js:定义 MSAL 配置以将应用程序与 Microsoft Entra ID 相关联,将用户登录到应用程序,并处理检索 Microsoft Graph 可以使用的访问令牌。
- graph.js:调入 Microsoft 365 以访问已登录者的
/me个人资料。 它依赖于 auth.js 来检索用于 Microsoft Graph API 调用的访问令牌。 - ui.js:处理 index.html 中定义的用户界面元素。
打开 auth.js 文件并找到常量
msalConfig:const msalConfig = { auth: { .. } }将 属性的值
clientId替换为之前注册的 Microsoft Entra 应用程序中复制 的应用程序 (客户端) ID 值, (spa-aad-app) 。 可以从 Microsoft Entra 应用程序的概述页获取此值, (spa-aad-app) 。在同 一auth.js 文件中,找到
msalConfig.auth.authority属性。 将<your directory ID here>值替换为之前注册的 Microsoft Entra 应用程序的 Directory (租户) ID 值, (spa-aad-app) 。 可以从 Microsoft Entra 应用程序的概述页获取此值, (spa-aad-app) 。该
msalConfig常量应类似于以下代码,其中包含来自 Microsoft Entra 租户和已注册应用程序的唯一 ID:const msalConfig = { auth: { clientId: 'b1a37248-53b5-430c-b946-ef83521af70c', authority: 'https://login.microsoftonline.com/b930540b-a147-45bb-8f24-bfbed091aa25', redirectUri: 'http://localhost:8080' } };打开 index.html 文件。 找到行
<h4>Welcome <span id="userName"></span></h4>并紧接着添加以下代码:<div> <button id="showProfilePhoto" style="display:none" onclick="displayProfilePhoto();">Show profile picture</button> </div> <img id="userPhoto" class="user" alt="User photo" style="display: none;" />在同一 index.html 文件中,找到
<head>标记。 添加以下代码,设置在上一步中添加的图像元素的样式:<style> .user { border-radius: 50%; border-style: solid; border-width: 5px; height: 150px; width: 150px; } </style>保存 index.html 文件。
打开 graph.js 文件。 将名为
getUserPhoto()的新函数添加到文件中,如以下代码所示。 此函数将使用/me/photo/$valueMicrosoft Graph API 终结点获取已登录用户的照片。async function getUserPhoto() { ensureScope('user.read'); return await graphClient .api('/me/photo/$value') .get(); }保存 graph.js 文件。
打开 ui.js 文件,并添加名为
displayProfilePhoto()的新函数,如以下代码所示。 此函数将在前面创建的图像元素中显示从 Microsoft Graph 收到的图像响应。async function displayProfilePhoto() { const userPhoto = await getUserPhoto(); if (!userPhoto) { return; } //convert blob to a local URL const urlObject = URL.createObjectURL(userPhoto); // show user photo const userPhotoElement = document.getElementById('userPhoto'); userPhotoElement.src = urlObject; var showPhotoButton= document.getElementById('showProfilePhoto'); showPhotoButton.style = "display: none"; var imgPhoto= document.getElementById('userPhoto'); imgPhoto.style = "display: block"; }打开 ui.js 文件,并将以下代码添加到现有
displayUI()函数的末尾。 此代码将显示一个按钮,登录用户可以选择该按钮以查看其个人资料照片。 如果用户未登录,则按钮将保持隐藏状态。var showPhotoButton= document.getElementById('showProfilePhoto'); showPhotoButton.style = "display: block";
添加额外的函数和代码片段以获取已登录用户的照片后,下一步便是运行应用。
运行应用
现在,你已通过使用 Microsoft Graph 扩展了应用,以显示用户的一些文件。 请确保用户的 OneDrive 实例的根文件夹中存一些文件,然后在本地运行应用。
请通过在终端中执行以下命令来预览该 Web 应用:
npm start浏览器应指向
http://localhost:8080。选择“使用 Microsoft 登录”按钮,以使用 Microsoft 365 帐户登录。 确保登录时所使用的帐户具有个人资料照片。

使用注册 Microsoft Entra 应用程序的同一 Microsoft 365 开发人员租户中的帐户登录。
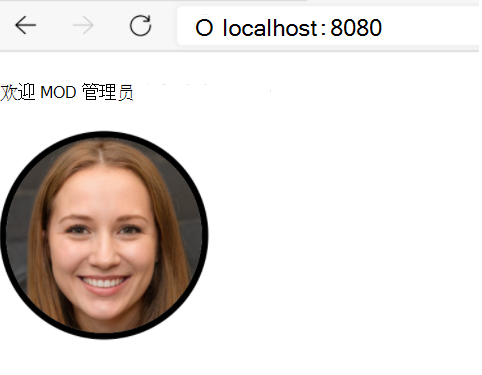
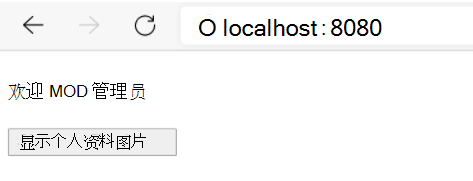
成功登录后,确认显示欢迎消息和显示个人资料照片的按钮。
选择“显示个人资料图片”按钮。 随即显示已登录用户的个人资料图片。 如果个人资料没有与之关联的照片,则不会显示任何照片。