练习 - 向管道添加预览阶段
你想要向管道额外添加一个阶段,以便可检查将对 Azure 环境进行的更改。
在此过程中,你将:
- 更新管道 YAML 文件以添加新的预览阶段。
- 向 Azure Pipelines 添加环境。
- 将环境配置为需要审批。
- 更新管道 YAML 文件,将环境用于部署阶段。
- 查看 What-if 结果并批准管道运行。
更新管道定义以添加预览阶段
首先,向运行 What-if 操作的管道添加一个新阶段。
在 Visual Studio Code 中,打开 deploy 文件夹中的 azure-pipelines.yml 文件。
在“验证”和“部署”阶段之间,为“预览”阶段添加以下定义:
jobs:
- job: PreviewAzureChanges
  displayName: Preview Azure changes
  steps:
    - task: AzureCLI@2
      name: RunWhatIf
      displayName: Run what-if
      inputs:
        azureSubscription: $(ServiceConnectionName)
        scriptType: 'bash'
        scriptLocation: 'inlineScript'
        inlineScript: |
          az deployment group what-if \
            --resource-group $(ResourceGroupName) \
            --template-file deploy/main.bicep \
            --parameters environmentType=$(EnvironmentType)
保存对文件的更改。
添加环境
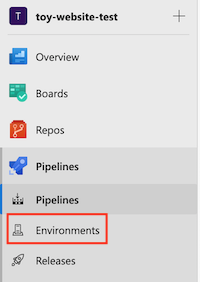
在 Azure DevOps 中,转到 Pipelines>环境。
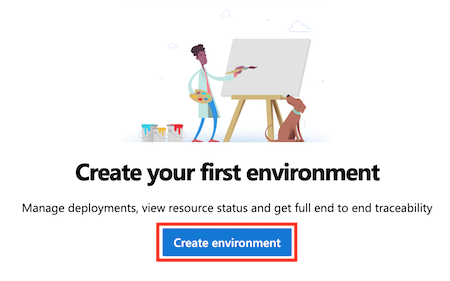
选择“创建环境”。
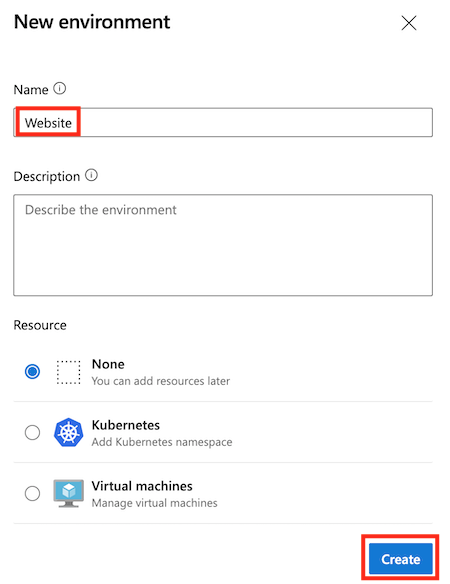
输入“Website”作为环境名称。
将说明保留为空。 在 “资源 ”部分中,选择“ 无”。
注意
在 Azure Pipelines 中,环境用于启用部署功能。 其中一些功能仅在部署到 Kubernetes 或虚拟机时适用。 在本模块中,你将不使用这些功能,你可以忽略这些功能。
选择“创建”。
向环境添加审批检查
选择页面左上角的“ 审批并检查 ”选项卡。
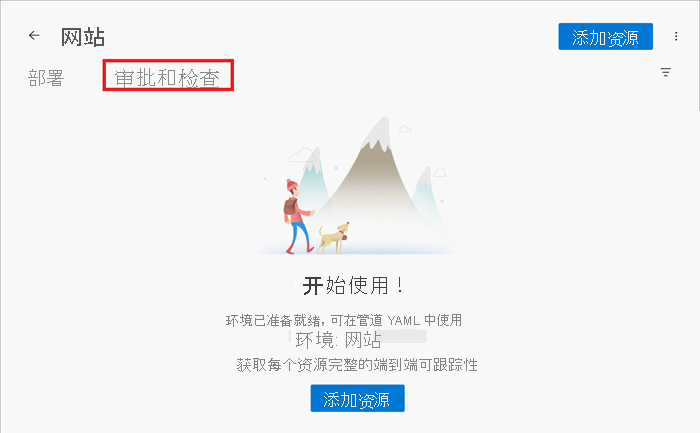
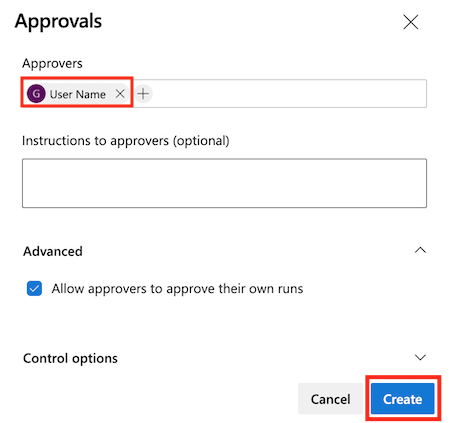
选择“审批”。

在 “审批者 ”框中,输入自己的名称并选择自己。
通过选择向下箭头展开 “高级 ”部分。
请注意,默认情况下,审批者可以批准其自身触发的运行。 由于你是唯一将使用此管道的人,因此请选中此复选框。
选择“创建”。
将管道定义更新为需要环境和审批
接下来,您将配置 部署 阶段,使其在您之前创建的 网站 环境中运行。 将“部署”阶段转换为运行部署作业而不是标准作业,并将其配置为部署到环境中。
在 Visual Studio Code 中的 azure-pipelines.yml 文件中,将“部署”阶段定义替换为以下代码:
 jobs:
 - deployment: DeployWebsite
   displayName: Deploy website
   environment: Website
   strategy:
     runOnce:
       deploy:
         steps:
           - checkout: self

           - task: AzureResourceManagerTemplateDeployment@3
             name: DeployBicepFile
             displayName: Deploy Bicep file
             inputs:
               connectedServiceName: $(ServiceConnectionName)
               deploymentName: $(Build.BuildNumber)
               location: $(deploymentDefaultLocation)
               resourceGroupName: $(ResourceGroupName)
               csmFile: deploy/main.bicep
               overrideParameters: >
                 -environmentType $(EnvironmentType)
请注意,你定义了一个新的
checkout步骤。 与普通作业不同,部署作业需要配置为从 Git 存储库签出(下载)文件。 如果不包含此步骤,部署作业将无法读取 Bicep 文件。 可以考虑使用管道工件在管道阶段之间发送文件。 模块摘要包含指向有关工件的详细信息的链接。保存文件。
验证并提交管道定义
验证 azure-pipelines.yml 文件是否如下代码所示:
trigger:
  batch: true
  branches:
    include:
    - main

pool: Default

variables:
  - name: deploymentDefaultLocation
    value: westus3

stages:

- stage: Lint
  jobs:
  - job: LintCode
    displayName: Lint code
    steps:
      - script: |
          az bicep build --file deploy/main.bicep
        name: LintBicepCode
        displayName: Run Bicep linter

- stage: Validate
  jobs:
  - job: ValidateBicepCode
    displayName: Validate Bicep code
    steps:
      - task: AzureResourceManagerTemplateDeployment@3
        name: RunPreflightValidation
        displayName: Run preflight validation
        inputs:
          connectedServiceName: $(ServiceConnectionName)
          location: $(deploymentDefaultLocation)
          deploymentMode: Validation
          resourceGroupName: $(ResourceGroupName)
          csmFile: deploy/main.bicep
          overrideParameters: >
            -environmentType $(EnvironmentType)

- stage: Preview
  jobs:
  - job: PreviewAzureChanges
    displayName: Preview Azure changes
    steps:
      - task: AzureCLI@2
        name: RunWhatIf
        displayName: Run what-if
        inputs:
          azureSubscription: $(ServiceConnectionName)
          scriptType: 'bash'
          scriptLocation: 'inlineScript'
          inlineScript: |
            az deployment group what-if \
              --resource-group $(ResourceGroupName) \
              --template-file deploy/main.bicep \
              --parameters environmentType=$(EnvironmentType)

- stage: Deploy
  jobs:
  - deployment: DeployWebsite
    displayName: Deploy website
    environment: Website
    strategy:
      runOnce:
        deploy:
          steps:
            - checkout: self

            - task: AzureResourceManagerTemplateDeployment@3
              name: DeployBicepFile
              displayName: Deploy Bicep file
              inputs:
                connectedServiceName: $(ServiceConnectionName)
                deploymentName: $(Build.BuildNumber)
                location: $(deploymentDefaultLocation)
                resourceGroupName: $(ResourceGroupName)
                csmFile: deploy/main.bicep
                overrideParameters: >
                  -environmentType $(EnvironmentType)
如果看起来不一样,请更新它以匹配此示例,然后保存它。
通过在 Visual Studio Code 终端中运行以下命令来提交更改并将其推送到 Git 存储库:
git add .
git commit -m "Add preview stage"
git push
运行管道并审阅 What-if 输出
在 Azure DevOps 中,转到你的管道。
选择管道的最新运行。
等待管道完成“Lint 分析”、“验证”和“预览”阶段。 尽管 Azure Pipelines 会自动更新具有最新状态的页面,但最好偶尔刷新页面。
如果系统提示你授予访问资源的权限,请选择“ 查看 ”,然后选择“ 允许”。
请注意,Azure Pipelines 会提示你进行审批。 你还会收到一封电子邮件,告知你需要审批管道。

在批准继续运行管道之前,需要审阅 What-if 结果,确保它们符合预期。
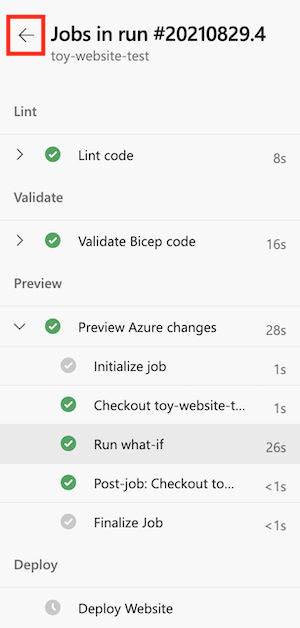
选择“预览”阶段。
选择“运行 What-if”步骤以检查 What-if 命令报告的更改。
请注意,管道日志提供的假设性结果类似于以下输出:
Resource and property changes are indicated with these symbols:
  + Create
  ~ Modify
  = Nochange

The deployment will update the following scope:

Scope: /subscriptions/aaaa0a0a-bb1b-cc2c-dd3d-eeeeee4e4e4e/resourceGroups/ToyWebsiteTest

  ~ Microsoft.Web/sites/toy-website-nbfnedv766snk [2021-01-15]
    + properties.siteConfig.localMySqlEnabled:   false
    + properties.siteConfig.netFrameworkVersion: "v4.6"

  = Microsoft.Insights/components/toywebsite [2020-02-02]
  = Microsoft.Storage/storageAccounts/mystoragenbfnedv766snk [2021-04-01]
  = Microsoft.Web/serverfarms/toy-website [2021-01-15]

Resource changes: 1 to modify, 3 no change.
What-if 操作检测到对网站资源的更改。 但是,它检测到的更改是干扰项。 它们并不代表对资源的实际更改。 Azure 团队正在努力减少噪音。 同时,对于这两个特定属性,可以忽略检测到的更改。
你还可能会在资源类型
microsoft.alertsmanagement/smartDetectorAlertRules/Failure Anomalies - toywebsite的 What-if 输出中看到一个项。 Application Insights 会自动创建此资源。 What-if 命令检测到不会对资源进行任何更改。
批准管道运行
选择向左箭头,返回到管道运行详细信息。
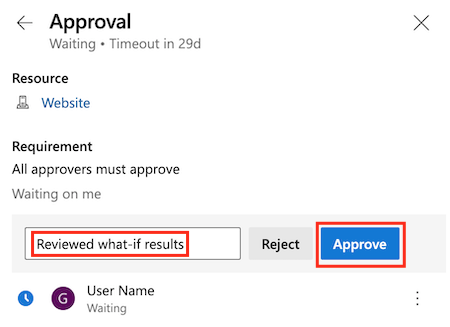
选择审批面板上的“审阅”按钮。
在“注释”框中,输入“已审阅的 What-if 结果”。
选择“批准”。
观察部署是否成功
批准管道运行后,注意到部署阶段已开始运行。
等待该阶段完成。
请注意,管道运行成功完成。