向组件添加自定义事件
接下来,通过添加一个窗体来完成应用程序的构建。 该窗体有一个供用户选择客舱的下拉列表,还有一个用于预订巡航的按钮。 你会将此窗体设置为新组件,并为该按钮创建一个事件。 最后,通过从 Host.vue 调用此新组件。
创建组件
首先创建组件。
在 Visual Studio Code 中,在 src/components 中创建一个名为 BookingForm.vue 的文件。
在 BookingForm.vue 中键入 vue,然后从代码片段菜单中选择“<vue> with default.vue”。
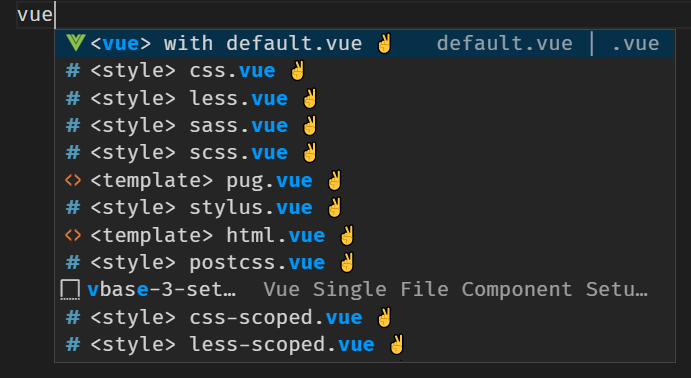
该代码片段将创建默认结构。
为组件添加代码
现在,我们来添加组件将使用的代码,包括用于注册属性、发射、数据和方法的代码。
打开 src/components/BookingForm.vue(如果它尚未打开的话)。
在
export default的大括号 ({ }) 内,添加以下代码来配置组件:props: { cabins: Array, }, emits: ['bookingCreated'], data() { return { cabinIndex: -1 } }, methods: { bookCabin() { if(this.cabinIndex < 0) return; this.$emit('bookingCreated', this.cabinIndex); this.cabinIndex = -1; }, }此代码首先创建一个用于显示可用客舱的列表的
cabins属性。 我们使用emits公开一个名为bookingCreated的事件。 再创建一个名为cabinIndex的数据项来存储选定的客舱索引。最后,创建一个名为
bookCabin的方法。 此方法将检查cabinIndex的值,并且仅当该值为 0 或更大值(表示用户选择了客舱)时才运行。 如果此验证通过,我们发射返回选定的cabinIndex的事件,然后将cabinIndex重置为 -1。
添加显示模板
添加代码后,可以将注意力转移到显示方面。 我们希望有一个用于选择客舱的下拉列表,以及一个用于预订该旅行的按钮。 该按钮将调用你之前创建的 bookCabin 函数。
打开 src/components/BookingForm.vue(如果它尚未打开的话)。
在
<template>标记内添加以下代码创建显示内容:<section> <h2>Book now!</h2> <form> <div class="row"> <label for="cruise-cabin">Select class:</label> <select id="cruise-cabin" v-model="cabinIndex"> <option disabled value="-1">Select a cabin</option> <option v-for="(cabin, index) in cabins" :value="index" :key="index"> {{ cabin.name }} $ {{ cabin.price.toLocaleString('en-US') }} </option> </select> </div> <div class="row"> <button class="button" type="button" @click="bookCabin">Book now!</button> </div> </form> </section>该 HTML 创建窗体。 我们使用
v-for创建下拉列表,从而循环访问cabins属性。 将select标记模型绑定到cabinIndex,用户选择客舱并选择该按钮时,会返回该模型。 然后,将按钮设置为在被选定时调用bookCabin。
将 BookingForm 添加到页面
完成后,将新创建的 BookingForm 添加到应用程序,方法是将其添加到 Host.vue。
打开 src/components/Host.vue。
在
TODO: Register next component注释后添加以下代码以导入BookingForm:import BookingForm from './BookingForm.vue';通过在
TODO: Add next component注释后添加以下代码,将BookingForm添加到可用组件列表中:BookingForm通过在
TODO: Add methods注释后添加以下代码来添加用于处理bookingCreated自定义事件的方法:methods: { addBooking(cabinIndex) { const cabin = this.cruise.cabins[cabinIndex]; const booking = { cabin: cabin.name, price: cabin.price } this.bookings.push(booking); } }addBooking函数使用索引检索选定的客舱。 然后,该函数使用cabin.name和cabin.price新建一个booking对象。 接下来,将booking添加到bookings数组中。使用
booking-form组件,使用方法为在TODO: Add booking-form注释后添加以下代码:<booking-form @booking-created="addBooking" :cabins="cruise.cabins"></booking-form>我们将
addBooking函数连接到booking-created事件,并传递要显示的客舱列表。
显示客舱类型
让我们修改模板来显示预订信息。 我们将显示每个预订的客舱类型,而不是我们在上一练习中显示的“示例”预订消息。
打开 src/components/BookingList.vue。
在
<template>元素中,将 div 中的字段名称从booking.name更改为booking.cabin:<div class="row" v-for="(booking, index) in bookings" :key="index"> <div>{{ booking.cabin }} </div> </div>
测试页面
所有代码都已添加,现在来测试页面!
选择“文件”>“全部保存”,以保存所有文件。
转到
http://localhost:8080并刷新页面。从下拉列表中选择一个客舱,然后选择按钮。
将显示新预订。
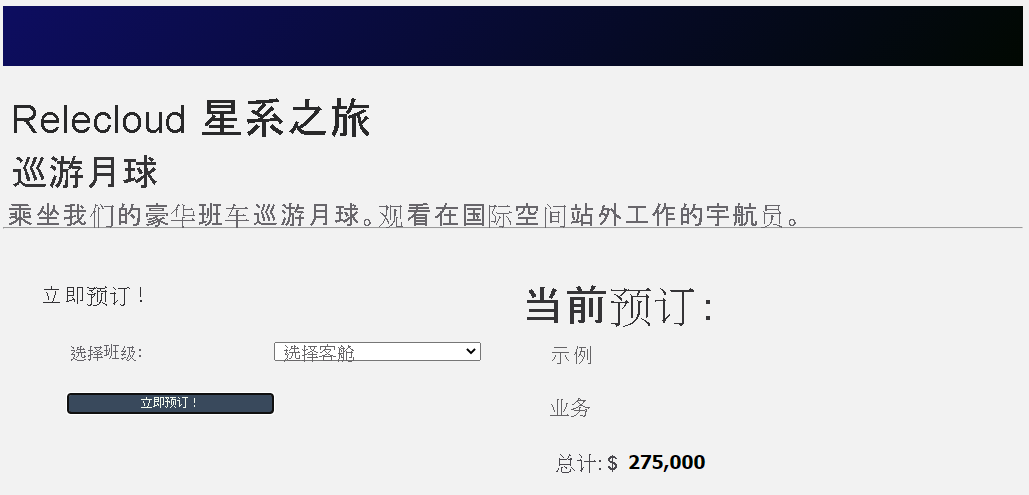
你现已创建并调用了包含自定义事件的组件!