Get hands-on with .NET MAUI by building a cross-platform app on Windows that leverages the Microsoft Graph SDK to display user data.
In this tutorial, you learn how to:
- Set up your environment for .NET MAUI development and create a .NET MAUI project
- Register your client app in Azure
- Integrate with Azure Identity and the Microsoft Graph SDK
- Update the user interface to display user information from Microsoft Graph
Prerequisites
- An Azure account with an active subscription. Create an account for free.
- The .NET MAUI installation requirements.
- If you are new to .NET MAUI on Windows, you should start with the Build your first .NET MAUI app for Windows tutorial.
Setting up the environment
If you haven't already set up your environment for .NET MAUI development, please follow the steps to Get started with .NET MAUI on Windows.
Creating the .NET MAUI project
Note
If you are already familiar with setting up a .NET MAUI project, you can skip to the Register your client in Azure section.
Launch Visual Studio, and in the start window click Create a new project to create a new project:

In the Create a new project window, select MAUI in the All project types drop-down, select the .NET MAUI App template, and click the Next button:

In the Configure your new project window, give your project a name, choose a location for it, and click the Next button:

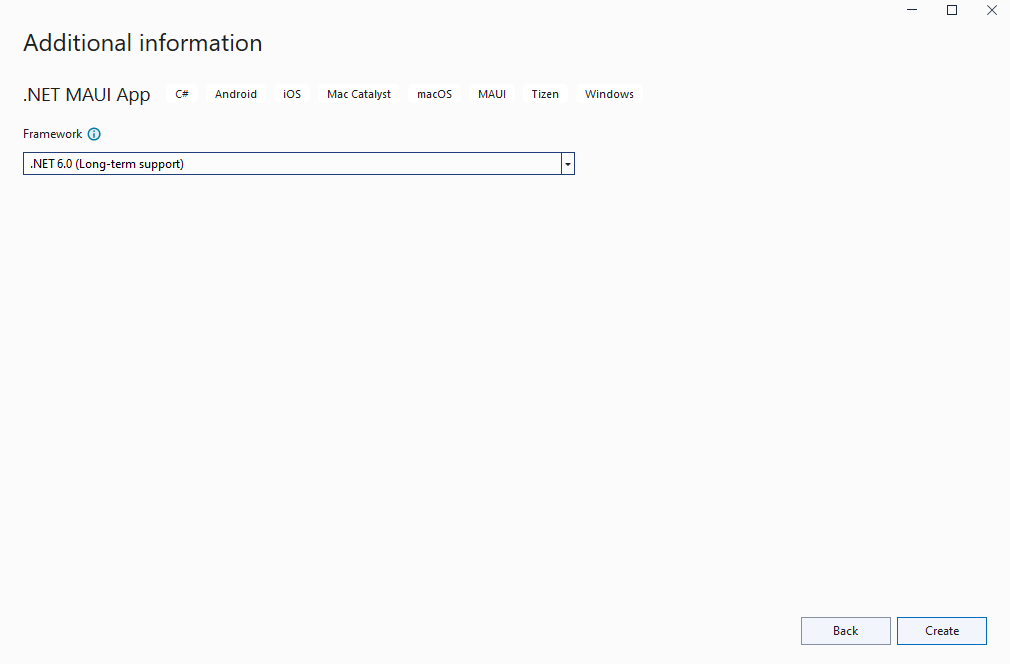
In the Additional information window, click the Create button:
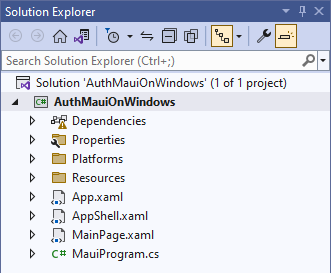
Wait for the project to be created, and for its dependencies to be restored:
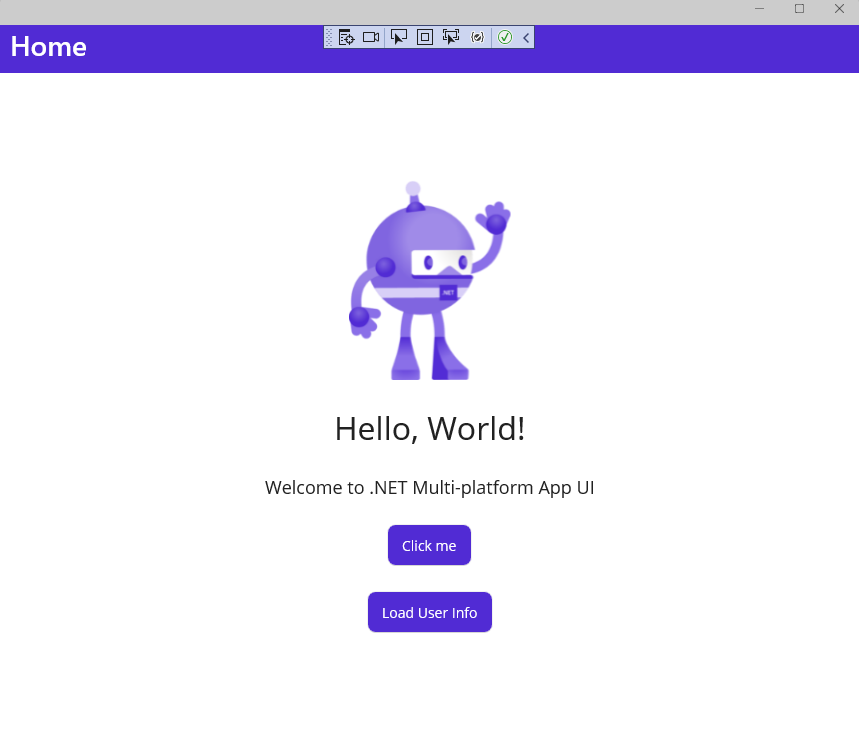
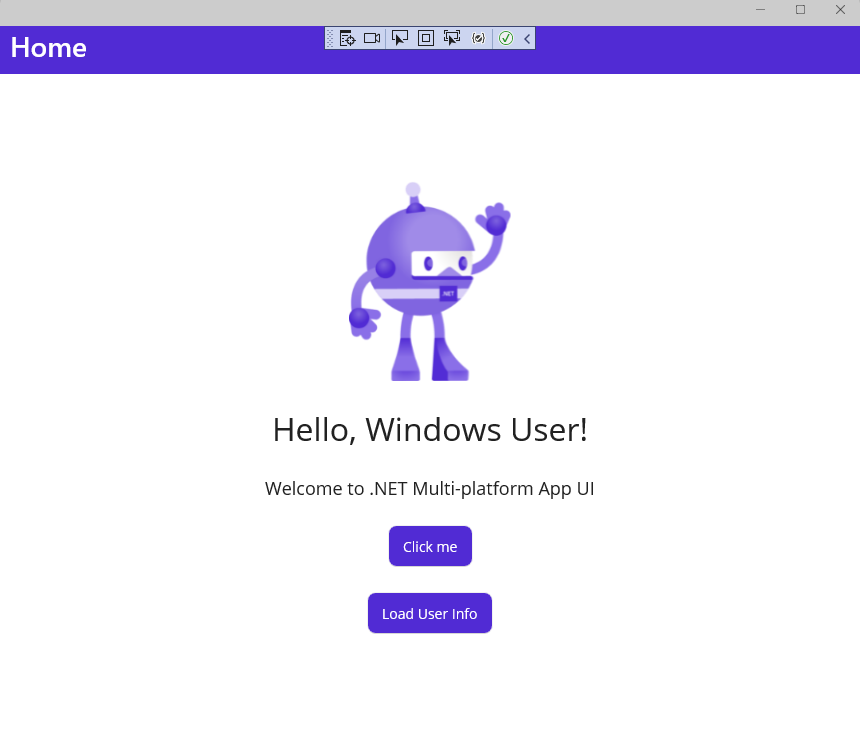
In the Visual Studio toolbar, press the Windows Machine button to build and run the app. Click the Click me button and verify that the button content updates with the number of clicks.
Now that you have verified that the .NET MAUI app on Windows is working as expected, we can integrate the Graph SDK. In the next section, you'll add the packages necessary to authenticate and make calls to Microsoft Graph.
Register your client in Azure
An app registration in Azure with the User.Read scope granted to the app is required to read user data from Microsoft Graph. To register your application, follow these steps:
Sign in to the Azure portal.
If you have access to multiple tenants, use the Directories + subscriptions filter in the top menu to switch to the tenant in which you want to register the application.
Search for and select Azure Active Directory.
Under Manage, select App registrations > New registration.
Enter a Name for your application, for example Win-App-calling-MsGraph. Users of your app might see this name, and you can change it later.
In the Supported account types section, select Accounts in any organizational directory and personal Microsoft accounts (for example, Skype, Xbox, Outlook.com).
Select Register to create the application.
Copy and save the of the Application (client) ID and the Directory (tenant) ID values for later use. We will store those values in the GraphService class in the next section.
Under Manage, select Authentication.
Select Add a platform > Mobile and desktop applications.
In the Redirect URIs section, select https://login.microsoftonline.com/common/oauth2/nativeclient and in Custom redirect URIs add http://localhost.
Select Configure.
Under Manage, select API permissions.
If the Microsoft Graph User.Read permission is not present under Configured permissions, select Add permission. In the Request API permissions screen, select Microsoft Graph > Application permissions and search for User.Read. Expand User, select User.Read, and click Add permissions.
Integrate the Graph SDK and Azure Identity
Now that you have your .NET MAUI app running on Windows and have configured the app registration in Azure, let's add a couple of NuGet packages to the project to integrate with Azure Identity and Microsoft Graph.
Right-click the project in Solution Explorer and select Manage NuGet Packages... from the context menu.
In the NuGet Package Manager window, select the Browse tab and search for Azure.Identity:

Add the latest stable version of the Azure.Identity package to the project by clicking Install.
Next, search for Microsoft.Graph:

Add the latest stable version of the Microsoft.Graph package to the project by clicking Install.
Close the NuGet Package Manager window after the new package has finished installing.
Right-click the project again and select Add | Class from the context menu.
In the Add New Item window that appears, name the class GraphService and click Add:

Add four private members to the GraphService class, substituting your own client ID and tenant ID values for the placeholder text:
private readonly string[] _scopes = new[] { "User.Read" };
private const string TenantId = "<add your tenant id here>";
private const string ClientId = "<add your client id here>";
private GraphServiceClient _client;
Add an Initialize() method to GraphService, which will be called from the constructor. The initialization code will authenticate using the InteractiveBrowserCredential class. Upon successful authentication, the auth token will be provided to the GraphServiceClient by the credential class along with the requested scopes (User.Read).
public GraphService()
{
    Initialize();
}

private void Initialize()
{
    // assume Windows for this sample
    if (OperatingSystem.IsWindows())
    {
        var options = new InteractiveBrowserCredentialOptions
        {
            TenantId = TenantId,
            ClientId = ClientId,
            AuthorityHost = AzureAuthorityHosts.AzurePublicCloud,
            RedirectUri = new Uri("http://localhost"),
        };

        InteractiveBrowserCredential interactiveCredential = new(options);
        _client = new GraphServiceClient(interactiveCredential, _scopes);
    }
    else
    {
        // TODO: Add iOS/Android support
    }
}
Note
The 'Initialize()' method currently only supports Windows. Authenticating on iOS and Android requires a different NuGet package (Microsoft.Identity.Client) and some additional steps. To read more about mobile authentication, see Configure a native client application.
Add a public async method named GetMyDetailsAsync() to return the User object for the authenticated user:
public async Task<User> GetMyDetailsAsync()
{
    try
    {
        return await _client.Me.GetAsync();
    }
    catch (Exception ex)
    {
        Console.WriteLine($"Error loading user details: {ex}");
        return null;
    }
}
Two using statements will be needed to compile the new code added to GraphService:
using Azure.Identity;
using Microsoft.Graph;
using Microsoft.Graph.Models;
In MainPage.xaml, add an x:Name to the Hello, World! label:
<Label
    x:Name="HelloLabel"
    Text="Hello, World!"
    SemanticProperties.HeadingLevel="Level1"
    FontSize="32"
    HorizontalOptions="Center" />
Add a new button to the page after the existing CounterBtn to get the user information from Graph:
<Button
    x:Name="GetUserInfoBtn"
    Text="Load User Info"
    SemanticProperties.Hint="Loads user information from Microsoft Graph"
    Clicked="GetUserInfoBtn_Clicked"
    HorizontalOptions="Center" />
In MainPage.xaml.cs, add private variables to for GraphService and User:
private GraphService graphService;
private User user;
Add an event handler for the Clicked event that you added to the GetUserInfoButton on MainPage.xaml. The event handler will create an instance of GraphService if it is null and make the call to fetch the user data. The HelloLabel's text will be updated to say hello to the user, displaying the DisplayName property from Microsoft Graph:
private async void GetUserInfoBtn_Clicked(object sender, EventArgs e)
{
    if (graphService == null)
    {
        graphService = new GraphService();
    }
    user = await graphService.GetMyDetailsAsync();
    HelloLabel.Text = $"Hello, {user.DisplayName}!";
}
Run the app and click the Load User Info button:
When the Sign in to your account window appears, select an existing account or click Use another account:
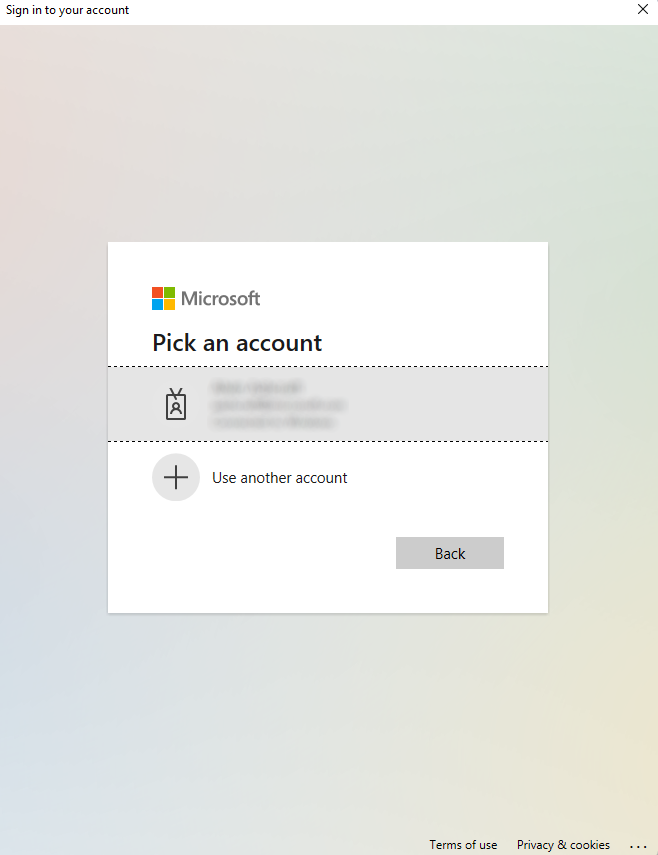
If you selected a different account, enter the email address and password for the account and sign in.
After the authentication completes, you will see your user's DisplayName in on the app:
Update the user interface to display user information
Now that the GraphService is returning user information, let's update the user interface to display some additional user profile information.
In MainPage.xaml, start by updating the contents of the VerticalStackLayout, removing the existing welcome label and Image control and adding four new labels to display the user information. Each label that will be updated is named, and we've provided some placeholder text until the data is loaded from the Graph query. The contents of the VerticalStackLayout should now look like this:
<VerticalStackLayout
    Spacing="25"
    Padding="30,0"
    VerticalOptions="Center">

    <Label
        x:Name="HelloLabel"
        Text="Hello, World!"
        SemanticProperties.Description="Displays a welcome message for the user"
        SemanticProperties.HeadingLevel="Level1"
        FontSize="32"
        HorizontalOptions="Center" />

    <Button
        x:Name="CounterBtn"
        Text="Click me"
        SemanticProperties.Hint="Counts the number of times you click"
        Clicked="CounterBtn_Clicked"
        HorizontalOptions="Center" />

    <Button
        Text="Load User Info"
        SemanticProperties.Hint="Loads user information from Microsoft Graph"
        Clicked="GetUserInfoBtn_Clicked"
        HorizontalOptions="Center" />

    <Label
        x:Name="DisplayNameLabel"
        Text="Display name"
        SemanticProperties.Description="Displays the user's display name from Microsoft Graph."
        SemanticProperties.HeadingLevel="Level2"
        FontSize="18"
        HorizontalOptions="Center" />

    <Label
        x:Name="UserFirstNameLabel"
        Text="First name"
        SemanticProperties.Description="Displays the user's first name info from Microsoft Graph"
        SemanticProperties.HeadingLevel="Level2"
        FontSize="18"
        HorizontalOptions="Center" />

    <Label
        x:Name="UserLastNameLabel"
        Text="Last name"
        SemanticProperties.Description="Displays the user's last name from Microsoft Graph"
        SemanticProperties.HeadingLevel="Level2"
        FontSize="18"
        HorizontalOptions="Center" />

    <Label
        x:Name="UserPrincipalNameLabel"
        Text="User Principal Name"
        SemanticProperties.Description="Displays the user principal name from Microsoft Graph"
        SemanticProperties.HeadingLevel="Level2"
        FontSize="18"
        HorizontalOptions="Center" />

</VerticalStackLayout>
Finally, in MainPage.xaml.cs, update the UI elements with the values of the new properties in the GetUserInfoBtn_Clicked event handler using the properties of the Graph User object:
private async void GetUserInfoBtn_Clicked(object sender, EventArgs e)
{
    if (graphService == null)
    {
        graphService = new GraphService();
    }
    user = await graphService.GetMyDetailsAsync();
    HelloLabel.Text = $"Hello, {user.DisplayName}!";

    DisplayNameLabel.Text = user.DisplayName;
    UserFirstNameLabel.Text = user.GivenName;
    UserLastNameLabel.Text = user.Surname;
    UserPrincipalNameLabel.Text = user.UserPrincipalName;
}
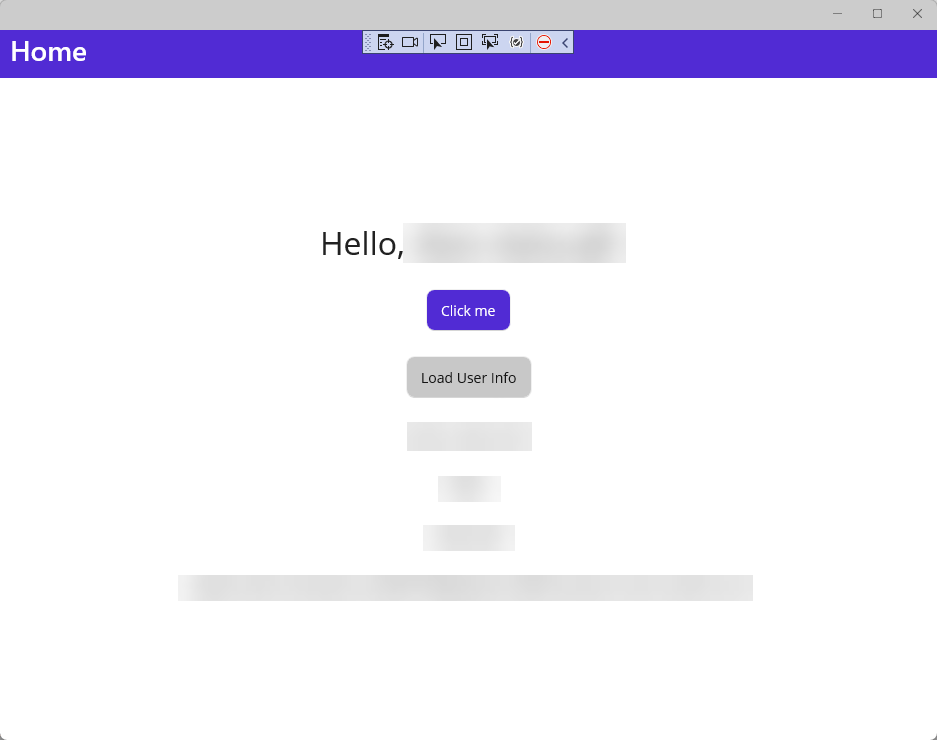
Run the app again and click the Load User Info button. You should see your user information displayed in the app after authenticating:
To learn how to install and get started with the Microsoft Graph SDK in your .NET MAUI apps, see Install the Microsoft Graph .NET SDK.
Next steps
Advance to the next article to learn how to...
See also
Resources for learning .NET MAUI
Configure a native client application
Overview of Microsoft Entra identity and network access APIs in Microsoft Graph