快速入門:使用 Azure Functions 和 SignalR Service,透過 Java 建立顯示 GitHub 星號計數的應用程式
在本文中,您將使用 Azure SignalR Service、Azure Functions 和 Java 來建置無伺服器應用程式,以將訊息廣播至用戶端。
注意
本文中的程式碼可在 GitHub 上取得。
必要條件
程式碼編輯器,例如 Visual Studio Code
具有有效訂用帳戶的 Azure 帳戶。 如果您還沒有帳戶,請建立免費帳戶。
Azure Functions Core Tools。 用於在本機執行 Azure Function 應用程式。
- 只有 Azure Function Core Tools 2.4.419 版 (主機版本 2.0.12332) 或更新版本支援 Java 中必要的 SignalR Service 繫結。
- 為了安裝擴充功能,Azure Functions Core Tools 需要安裝 .NET Core SDK。 不過,建置 Java Azure Function 應用程式無需 .NET 知識。
Java Developer Kit 第 11 版
Apache Maven 3.0 版或更高版本。
此快速入門可以在 macOS、Windows 或 Linux 上執行。
建立 Azure SignalR 服務執行個體
在本節中,您會建立基本 Azure SignalR 執行個體,以用於您的應用程式。 下列步驟會使用 Azure 入口網站來建立新的執行個體,但您也可以使用 Azure CLI。 如需詳細資訊,請參閱 Azure SignalR Service CLI 參考中的 az signalr create 命令。
- 登入 Azure 入口網站。
- 在頁面的左側,選取 [+ 建立資源]。
- 在 [建立資源] 頁面上的 [搜尋服務和市集] 文字方塊中,輸入 signalr,然後從清單中選取 [SignalR Service]。
- 在 [SignalR Service] 頁面上,選取 [建立]。
- 在 [基本] 索引標籤上,您需要輸入新 SignalR Service 執行個體的重要資訊。 輸入下列值:
| 欄位 | 建議的值 | 描述 |
|---|---|---|
| 訂用帳戶 | 選擇您的訂用帳戶 | 選取您要用來建立新 SignalR Service 執行個體的訂用帳戶。 |
| 資源群組 | 建立名為 SignalRTestResources 的新資源群組 | 選取或建立 SignalR 資源的資源群組。 針對本教學課程建立新的資源群組,而不是使用現有的資源群組,會很有用。 若要在完成本教學課程之後釋出資源,請刪除資源群組。 刪除資源群組同時會刪除群組所屬的所有資源。 此動作無法復原。 刪除資源群組之前,請確定其不包含您想要保留的資源。 如需詳細資訊,請參閱 使用資源群組來管理您的 Azure 資源。 |
| 資源名稱 | testsignalr | 輸入要對 SignalR 資源使用的唯一資源名稱。 如果您的區域中已採用 testsignalr,請新增數字或字元,直到成為唯一的名稱為止。 名稱必須是 1 到 63 個字元的字串,而且只能包含數字、字母和連字號 ( -) 字元。 名稱的開頭或結尾不能是連字號字元,且連續連字號字元無效。 |
| 區域 | 選擇您的區域 | 選取新 SignalR Service 執行個體的適當區域。 Azure SignalR Service 目前不適用於所有區域。 如需詳細資訊,請參閱 Azure SignalR 區域可用性 |
| 定價層 | 選取 [變更],然後選擇 [免費 (僅限開發/測試)]。 選擇 [選取] 來確認您選擇的定價層。 | Azure SignalR Service 有三個定價層:免費、標準和進階。 除非必要條件中另有說明,否則教學課程會使用 [免費] 層。 如需有關階層與定價之間功能差異的詳細資訊,請參閱 Azure SignalR Service 定價 |
| 服務模式 | 選擇適當的服務模式 | 當您在 Web 應用程式中裝載 SignalR 中樞邏輯並使用 SignalR Service 做為 Proxy 時,請使用 [預設值]。 當您使用 Azure Functions 之類的無伺服器技術來裝載 SignalR 中樞邏輯時,請使用 [無伺服器]。 [傳統] 模式僅適用於回溯相容性,不建議使用。 如需詳細資訊,請參閱 Azure SignalR Service 中的服務模式。 |
您不需要針對 SignalR 教學課程變更 [網路] 和 [標籤] 索引標籤上的設定。
- 選取 [基本] 索引標籤底部的 [檢閱 + 建立] 按鈕。
- 在 [檢閱 + 建立] 索引標籤上,檢閱這些值,然後選取 [建立]。 需要數分鐘才能完成部署。
- 部署完成後,請選取 [移至資源] 按鈕。
- 在 SignalR 資源頁面上,從左側功能表的 [設定] 底下選取 [金鑰]。
- 複製主索引鍵的 [連接字串]。 稍後在本教學課程中,您需要此連接字串來設定您的應用程式。
設定及執行 Azure Function 應用程式
請確定您已安裝 Azure Function Core Tools、Java (範例中為 11 版),以及 Maven。
使用 Maven 初始化專案:
mvn archetype:generate -DarchetypeGroupId=com.microsoft.azure -DarchetypeArtifactId=azure-functions-archetype -DjavaVersion=11Maven 會要求您提供完成產生專案所需的值。 提供下列值:
提示 值 Description groupId com.signalr此值可在所有專案中唯一識別您的專案,並遵循適用於 Java 的套件命名規則。 artifactId java此值是 jar 的名稱 (不含版本號碼)。 version 1.0-SNAPSHOT選擇預設值。 套件 com.signalr此值是所產生函式程式碼的 Java 套件。 使用預設值。 移至資料夾
src/main/java/com/signalr,並將下列程式碼複製到 Function.java:package com.signalr; import com.google.gson.Gson; import com.microsoft.azure.functions.ExecutionContext; import com.microsoft.azure.functions.HttpMethod; import com.microsoft.azure.functions.HttpRequestMessage; import com.microsoft.azure.functions.HttpResponseMessage; import com.microsoft.azure.functions.HttpStatus; import com.microsoft.azure.functions.annotation.AuthorizationLevel; import com.microsoft.azure.functions.annotation.FunctionName; import com.microsoft.azure.functions.annotation.HttpTrigger; import com.microsoft.azure.functions.annotation.TimerTrigger; import com.microsoft.azure.functions.signalr.*; import com.microsoft.azure.functions.signalr.annotation.*; import org.apache.commons.io.IOUtils; import java.io.IOException; import java.io.InputStream; import java.net.URI; import java.net.http.HttpClient; import java.net.http.HttpRequest; import java.net.http.HttpResponse; import java.net.http.HttpResponse.BodyHandlers; import java.nio.charset.StandardCharsets; import java.util.Optional; public class Function { private static String Etag = ""; private static String StarCount; @FunctionName("index") public HttpResponseMessage run( @HttpTrigger( name = "req", methods = {HttpMethod.GET}, authLevel = AuthorizationLevel.ANONYMOUS)HttpRequestMessage<Optional<String>> request, final ExecutionContext context) throws IOException { InputStream inputStream = getClass().getClassLoader().getResourceAsStream("content/index.html"); String text = IOUtils.toString(inputStream, StandardCharsets.UTF_8.name()); return request.createResponseBuilder(HttpStatus.OK).header("Content-Type", "text/html").body(text).build(); } @FunctionName("negotiate") public SignalRConnectionInfo negotiate( @HttpTrigger( name = "req", methods = { HttpMethod.POST }, authLevel = AuthorizationLevel.ANONYMOUS) HttpRequestMessage<Optional<String>> req, @SignalRConnectionInfoInput( name = "connectionInfo", hubName = "serverless") SignalRConnectionInfo connectionInfo) { return connectionInfo; } @FunctionName("broadcast") @SignalROutput(name = "$return", hubName = "serverless") public SignalRMessage broadcast( @TimerTrigger(name = "timeTrigger", schedule = "*/5 * * * * *") String timerInfo) throws IOException, InterruptedException { HttpClient client = HttpClient.newHttpClient(); HttpRequest req = HttpRequest.newBuilder().uri(URI.create("https://api.github.com/repos/azure/azure-signalr")).header("User-Agent", "serverless").header("If-None-Match", Etag).build(); HttpResponse<String> res = client.send(req, BodyHandlers.ofString()); if (res.headers().firstValue("Etag").isPresent()) { Etag = res.headers().firstValue("Etag").get(); } if (res.statusCode() == 200) { Gson gson = new Gson(); GitResult result = gson.fromJson(res.body(), GitResult.class); StarCount = result.stargazers_count; } return new SignalRMessage("newMessage", "Current start count of https://github.com/Azure/azure-signalr is:".concat(StarCount)); } class GitResult { public String stargazers_count; } }需要新增一些相依項目。 開啟 pom.xml,並新增程式碼中使用的下列相依項目:
<dependency>
    <groupId>com.microsoft.azure.functions</groupId>
    <artifactId>azure-functions-java-library-signalr</artifactId>
    <version>1.0.0</version>
</dependency>
<dependency>
    <groupId>commons-io</groupId>
    <artifactId>commons-io</artifactId>
    <version>2.4</version>
</dependency>
<dependency>
    <groupId>com.google.code.gson</groupId>
    <artifactId>gson</artifactId>
    <version>2.8.7</version>
</dependency>
此範例的用戶端介面是網頁。 我們會從
index函式中的 content/index.html 讀取 HTML 內容,然後在resources目錄中建立新的檔案 content/index.html。 您的目錄樹狀結構看起來應該如下所示:| - src | | - main | | | - java | | | | - com | | | | | - signalr | | | | | | - Function.java | | | - resources | | | | - content | | | | | - index.html | - pom.xml | - host.json | - local.settings.json開啟 index.html 並複製下列內容:
<html>

<body>
    <h1>Azure SignalR Serverless Sample</h1>
    <div id="messages"></div>
    <script src="https://cdnjs.cloudflare.com/ajax/libs/microsoft-signalr/3.1.7/signalr.min.js"></script>
    <script>
    let messages = document.querySelector('#messages');
    const apiBaseUrl = window.location.origin;
    const connection = new signalR.HubConnectionBuilder()
        .withUrl(apiBaseUrl + '/api')
        .configureLogging(signalR.LogLevel.Information)
        .build();
        connection.on('newMessage', (message) => {
        document.getElementById("messages").innerHTML = message;
        });

        connection.start()
        .catch(console.error);
    </script>
</body>

</html>
Azure Functions 需要儲存體帳戶才能運作。 安裝並執行 Azure 儲存體模擬器。
已經快要完成了。 最後一個步驟是將 SignalR Service 連接字串設定為 Azure Function 設定。
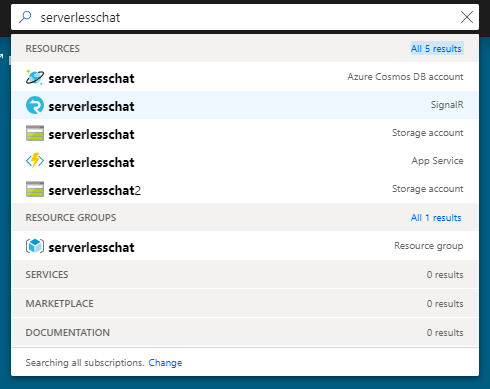
使用 Azure 入口網站中的 [搜尋] 方塊,搜尋您稍早部署的 Azure SignalR 執行個體。 選取該執行個體以開啟它。
選取 [金鑰] 以檢視 SignalR 服務執行個體的連接字串。
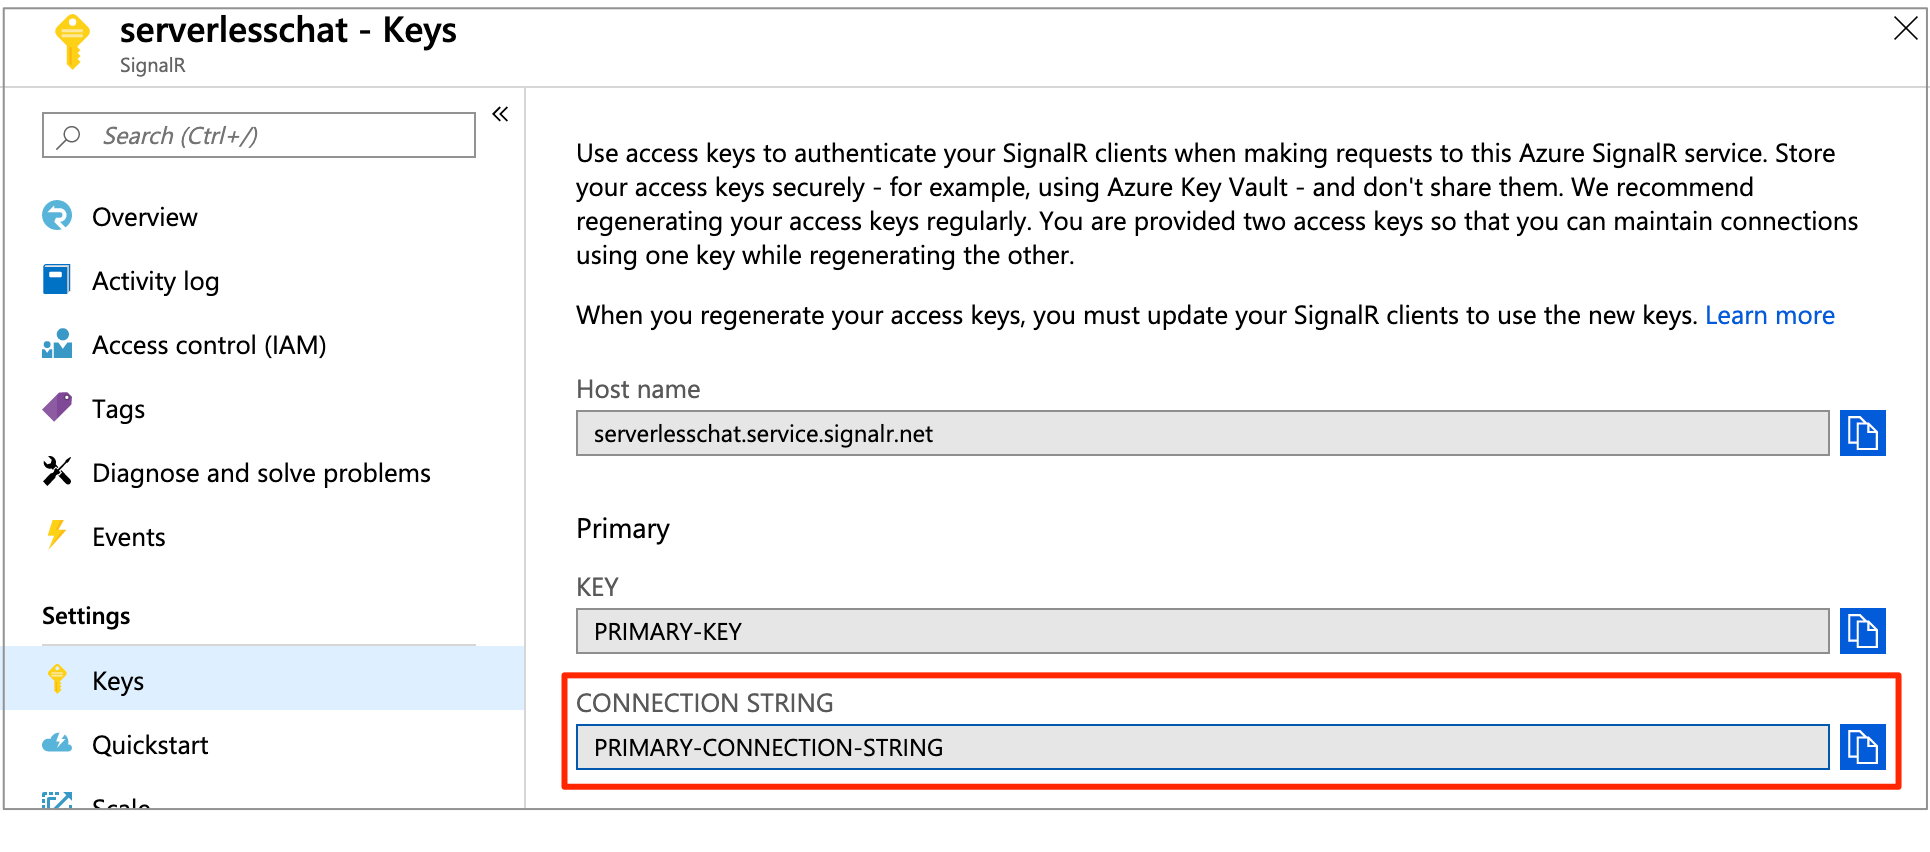
複製主要連接字串,然後執行下列命令:
func settings add AzureSignalRConnectionString "<signalr-connection-string>"
# Also we need to set AzureWebJobsStorage as Azure Function's requirement
func settings add AzureWebJobsStorage "UseDevelopmentStorage=true"
在本機執行 Azure Function:
mvn clean package
mvn azure-functions:run
在本機執行 Azure 函式之後,請移至
http://localhost:7071/api/index,您會看到目前的星號計數。 如果在 GitHub 中以星號顯示或「取消星號」,系統會每隔幾秒鐘重新整理一次星號計數。
清除資源
如果您將不繼續使用此應用程式,請使用下列步驟來刪除本快速入門所建立的全部資源,這樣才不會產生任何費用:
在 Azure 入口網站中選取最左側的 [資源群組],然後選取您所建立的資源群組。 或者,您也可以使用搜尋方塊來依資源群組的名稱尋找它。
在開啟的視窗中選取資源群組,然後按一下 [刪除資源群組]。
在新視窗中輸入要刪除之資源群組的名稱,然後按一下 [刪除]。
下一步
在此快速入門中,您已在本地主機中建置並執行即時無伺服器應用程式。 接下來,深入了解如何透過 SignalR Service 在用戶端與 Azure Function 之間進行雙向通訊。
意見反映
即將推出:我們會在 2024 年淘汰 GitHub 問題,並以全新的意見反應系統取代並作為內容意見反應的渠道。 如需更多資訊,請參閱:https://aka.ms/ContentUserFeedback。
提交及檢視以下的意見反映: