First, you must decide the location from where your action command must be invoked. When you specify the context property in your app manifest (previously called Teams app manifest), your command can be invoked from one or more of the following locations:
Compose message area: The buttons at the bottom of the compose message area.
Commands context = compose
Command box: By using / in the command box. For example, /your-app-name. If you're using the classic Teams, action command is invoked by @mentioning in the command box. For example, @your-app-name.
Commands context = commandBox
備註
If a message extension is invoked from the command box, you can't respond with a bot message inserted directly into the conversation.
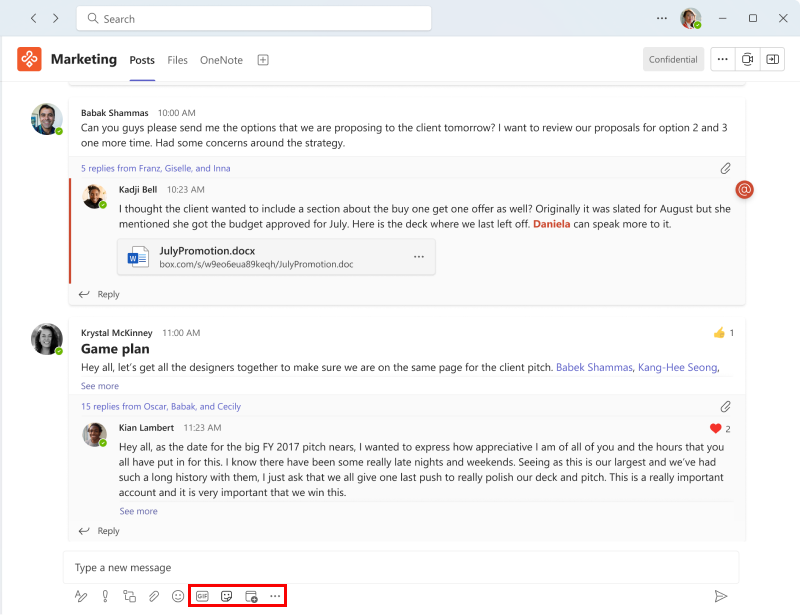
Message: Directly from an existing message through the ... overflow menu on a message.
Commands context = message
備註
The initial invoke to your bot includes a JSON object containing the message from which it was invoked. You can process the message before presenting a dialog.
When the user selects ellipses …, an overflow menu is displayed. However, by default, message actions for apps created by you for your organization or third-party apps aren't displayed. After the user selects More actions, they can see the message actions and select the required option. The respective message action is displayed in the overflow menu. The overflow menu displays the three most recent message actions. You can't pin the message action to be displayed.
The following image displays the locations from where action command is invoked:
Select how to create your dialog
In addition to selecting where your command can be invoked from, you must also select how to populate the form in the dialog for your users. You have the following three options for creating the form that is rendered inside the dialog:
Static list of parameters: This is the simplest method. You can define a list of parameters in your app manifest the Teams client renders, but can't control the formatting in this case.
Adaptive Card: You can select to use an Adaptive Card, which provides greater control over the UI, but still limits you on the available controls and formatting options.
Embedded web view: You can select to embed a custom web view in the dialog to have a complete control over the UI and controls.
If you select to create the dialog with a static list of parameters and when the user submits the dialog, the message extension is called. When using an embedded web view or an Adaptive Card, your message extension must handle an initial invoke event from the user, create the dialog, and return it back to the client.
Select how the final message is sent
In most cases, the action command results in a card inserted into the compose message box. The user can send it into the channel or chat. In this case, the message comes from the user, and the bot can't edit or update the card further.
If the message extension is invoked from the compose box or directly from a message, your web service can insert the final response directly into the channel or chat. In this case, the Adaptive Card comes from the bot, the bot updates it, and replies to the conversation thread if needed. You must add the bot object to the app manifest using the same ID and defining the appropriate scopes.
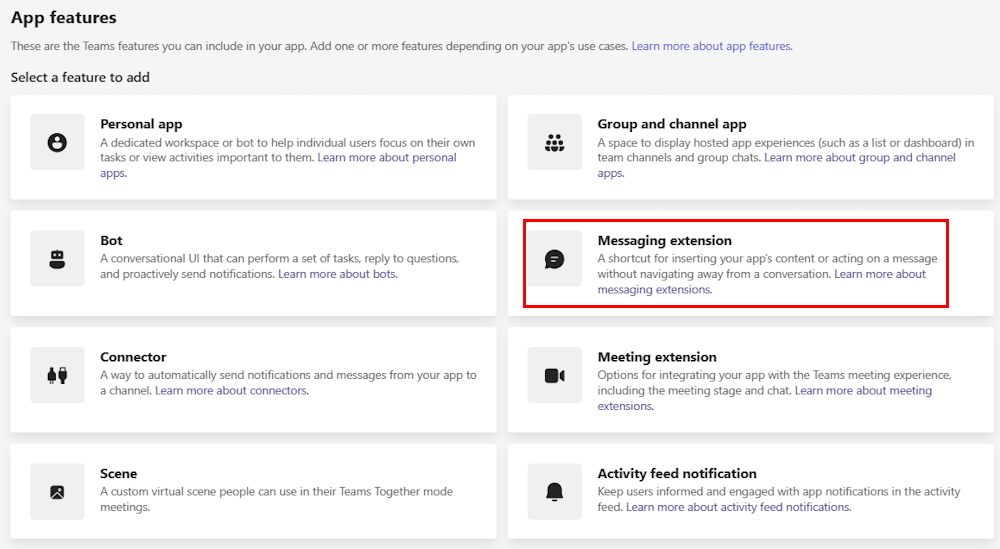
Create action command using Developer Portal
You can create an action command using Teams Toolkit and Developer Portal for Teams.
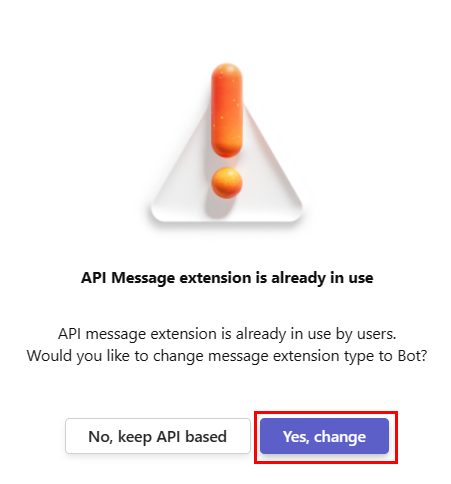
If you get a disclaimer, which reads API Message extension is already in use by users. Would you like to change message extension type to bot?. Select Yes, change.
If you don't have an existing bot, select Existing bot or if you have a bot ID, select Enter Bot ID.
If you don't have a bot ID, select Create a bot, to create a new bot and enter the bot ID of the new bot that you created.
Select the required scopes.
Under Command, select + Add a command.
A command details page appears.
In the Command details page, select Action and then select parameter type.
Select Action as the type of command and update the following fields:
Command ID
Command title
Command description
Context in which the command works
Parameter name
Parameter title
Parameter description
Parameter description type
Select Add a domain under Preview links.
Enter valid domain and then select Add.
Select Save.
To add additional parameters
Under command, select the ellipse (...) icon and then select Edit parameter.
Select Add a Parameter and update the parameter details.
Select Save
A bot-based action message extension is created.
Code snippets
The following code provides an example of action-based for message extensions:
Learn how to build message extensions that allow users to interact with external services within their flow of work in Microsoft Teams and Microsoft 365 Copilot.
Learn how to create and configure action-based message extensions for Microsoft Teams using Bot Framework SDK to allow users to trigger external services.
Learn to create and send dialogs (task modules). Handle the initial invoke action and respond with a dialog (task module) from an action message extension command.
Learn to build a message extension from OpenAPI description document (OAD) with Developer Portal for Teams, Visual Studio Code, Teams Toolkit CLI, or Visual Studio.