DevUI 是一個輕量級、獨立的範例應用程式,用於在 Microsoft Agent Framework 中執行代理程式與工作流程。 它提供互動式測試的網頁介面,並搭配相容 OpenAI 的 API 後端,讓你能視覺化除錯、測試並迭代你所建置的代理與工作流程,然後再將它們整合進應用程式。
這很重要
DevUI 是一個 範例應用程式 ,幫助你在開發過程中視覺化和除錯代理程式與工作流程。 它 並非 用於生產環境中使用。
安裝套件
對於單一 .NET 服務,安裝 DevUI 套件。 如果是彙整多個代理服務的 Aspire AppHost,也請安裝 Aspire 主機整合功能。
dotnet add package Microsoft.Agents.AI.DevUI --prerelease
dotnet add package Aspire.Hosting.AgentFramework.DevUI --prerelease
使用 DevUI 搭配 Aspire
每個代理服務都會暴露 OpenAI 回應與對話端點。 Aspire AppHost 新增一個 DevUI 資源,並連結代理服務。
var writerAgent = builder.AddProject<Projects.WriterAgent>("writer-agent", launchProfileName: "https")
    .WithHttpHealthCheck("/health", endpointName: "https")
    .WithReference(foundry).WaitFor(foundry);

// Add the editor agent service
var editorAgent = builder.AddProject<Projects.EditorAgent>("editor-agent")
    .WithHttpHealthCheck("/health")
    .WithReference(foundry).WaitFor(foundry);

// Add DevUI integration that aggregates agents from all agent services.
// Agent metadata is declared here so backends don't need a /v1/entities endpoint.
_ = builder.AddDevUI("devui")
    .WithAgentService(writerAgent, agents: [new("writer")]) // the name of the agent should match the agent declaration in WriterAgent/Program.cs
    .WithAgentService(editorAgent, agents: [new("editor")]) // the name of the agent should match the agent declaration in EditorAgent/Program.cs
    .WaitFor(writerAgent)
    .WaitFor(editorAgent);
傳遞給 WithAgentService 的 agents: 名稱必須與各服務中由 AddAIAgent(...) 註冊的名稱相符。
公開代理服務端點
var builder = WebApplication.CreateBuilder(args);

builder.AddServiceDefaults();

builder.AddAzureChatCompletionsClient(connectionName: "foundry",
    configureSettings: settings =>
        {
            // WARNING: DefaultAzureCredential is convenient for development but requires careful consideration in production.
            // In production, consider using a specific credential (e.g., ManagedIdentityCredential) to avoid
            // latency issues, unintended credential probing, and potential security risks from fallback mechanisms.
            settings.TokenCredential = new DefaultAzureCredential();
            settings.EnableSensitiveTelemetryData = builder.Environment.IsDevelopment();
        })
    .AddChatClient("gpt41");

builder.AddAIAgent("writer", "You write short stories (300 words or less) about the specified topic.");

// Register services for OpenAI responses and conversations
builder.Services.AddOpenAIResponses();
builder.Services.AddOpenAIConversations();

var app = builder.Build();

app.UseHttpsRedirection();

// Map OpenAI API endpoints — DevUI aggregator routes requests here
DevUI 聚合器會整合所有已設定服務的實體,並將回應與對話請求路由至正確的後端。
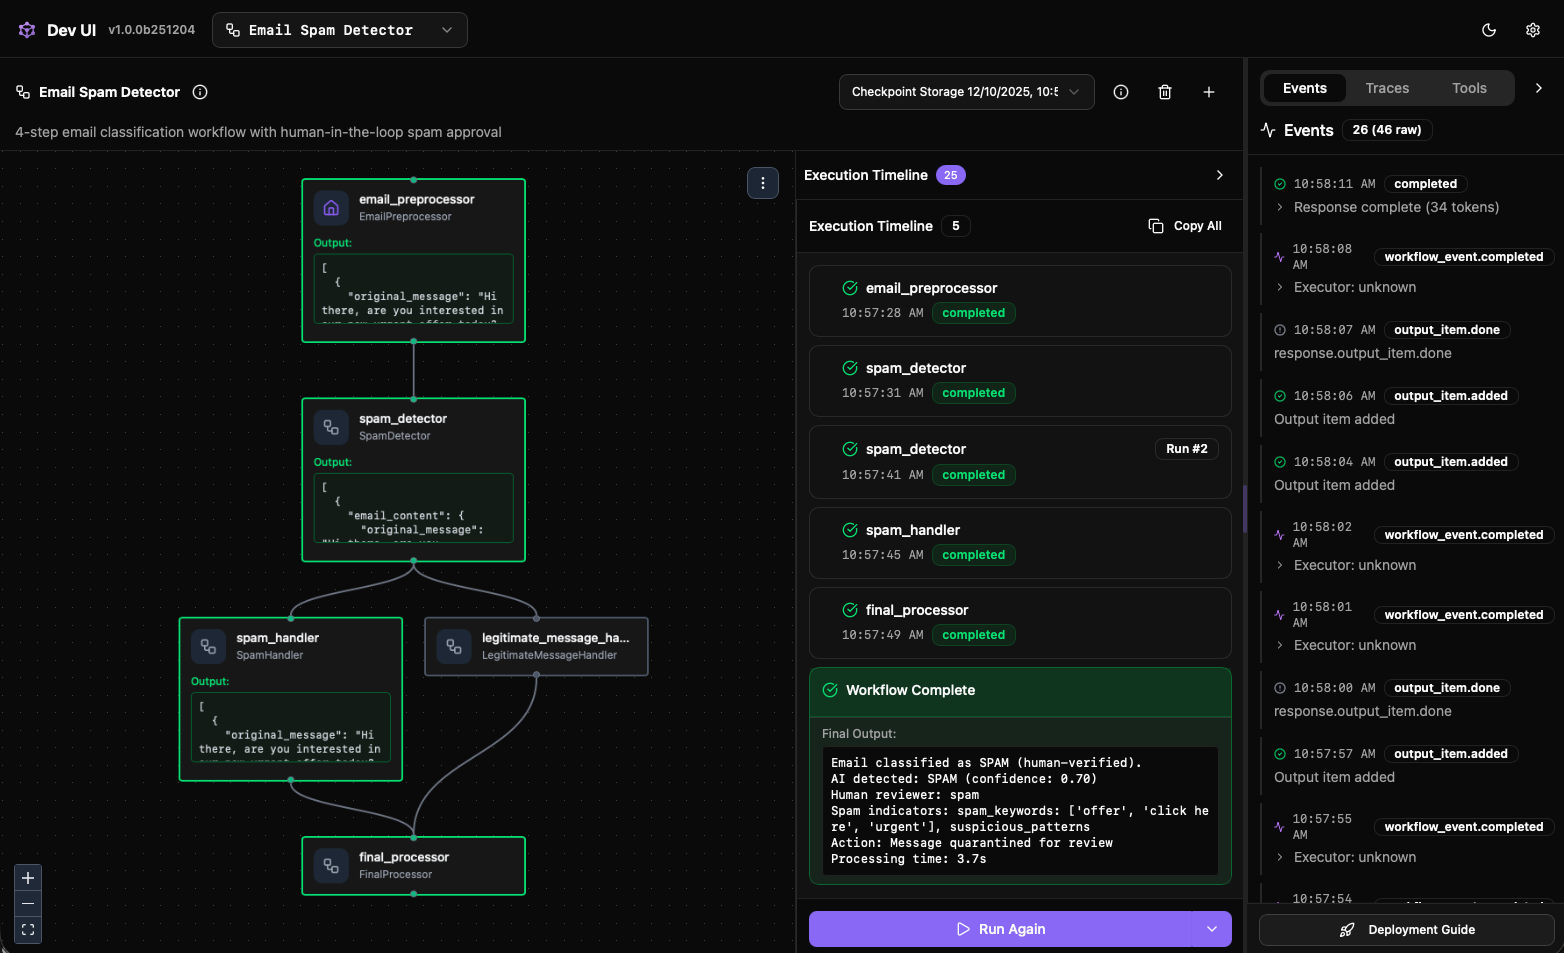
Features
- 網頁介面:用於測試代理與工作流程的互動式使用者介面
- 彈性輸入類型:支援文字、檔案上傳,以及根據你工作流程第一個執行器的自訂輸入類型
- 「以目錄為基礎」發現:自動從目錄結構中發現代理與工作流程
- In-Memory 註冊:無需設定檔案系統即可透過程式方式註冊實體
- OpenAI-Compatible API:使用 OpenAI Python SDK 與您的代理人互動
- 範例畫廊:當沒有發現實體時,瀏覽並下載精選範例
- 追蹤:查看 OpenTelemetry 追蹤紀錄以進行除錯和可觀察性
輸入類型
DevUI 會根據實體類型調整輸入介面:
- 代理:支援文字輸入及檔案附件(圖片、文件等),以促進多模態互動
- 工作流程:輸入介面會根據第一個執行者的輸入類型自動產生。 DevUI 會檢視工作流程並反映預期的輸入結構,使得測試結構化或自訂輸入類型的工作流程變得容易。
這種動態輸入處理讓你能精確測試代理和工作流程,就像他們在應用程式中接收輸入一樣。
Installation
從 PyPI 安裝 DevUI:
pip install agent-framework-devui --pre
快速入門
選項一:程式化註冊
啟動 DevUI,並使用記憶體中註冊的代理程式:
from agent_framework import Agent
from agent_framework.openai import OpenAIChatClient
from agent_framework.devui import serve

def get_weather(location: str) -> str:
    """Get weather for a location."""
    return f"Weather in {location}: 72F and sunny"

# Create your agent
agent = Agent(
    name="WeatherAgent",
    client=OpenAIChatClient(),
    tools=[get_weather]
)

# Launch DevUI
serve(entities=[agent], auto_open=True)
# Opens browser to http://localhost:8080
選項二:目錄發現(CLI)
如果你有代理程式和工作流程以目錄結構組織,請從命令列啟動 DevUI:
# Launch web UI + API server
devui ./agents --port 8080
# Web UI: http://localhost:8080
# API: http://localhost:8080/v1/*
認證預設為啟用。 在 loopback 模式下,DevUI 會產生一個令牌並在主控台中列印。
--no-auth 僅適用於孤立的迴路開發環境。
請參閱 目錄發現 ,了解所需的目錄結構。
使用 OpenAI SDK
DevUI 提供相容於 OpenAI 的回應 API。 使用已知的開發權杖開始:
DEVUI_AUTH_TOKEN="<secure-dev-token>" devui ./agents
然後將相同的標記傳遞給 OpenAI Python SDK:
import os
from openai import OpenAI

client = OpenAI(
    base_url="http://localhost:8080/v1",
    api_key=os.environ["DEVUI_AUTH_TOKEN"],
)

response = client.responses.create(
    metadata={"entity_id": "weather_agent"},  # Your agent/workflow name
    input="What's the weather in Seattle?"
)

# Extract text from response
print(response.output[0].content[0].text)
欲了解更多 API 細節,請參閱 API 參考文獻。
CLI 選項
devui [directory] [options]

Options:
  --port, -p      Port (default: 8080)
  --host          Host (default: 127.0.0.1; non-loopback hosts require auth)
  --headless      API only, no UI
  --no-open       Don't automatically open browser
  --tracing       Enable OpenTelemetry tracing
  --reload        Enable auto-reload
  --mode          developer|user (default: developer)
  --no-auth       Disable auth for loopback-only local development
  --auth-token    Custom token required for non-loopback hosts
備註
Go 對此功能的支援即將推出。 最新狀態請參閱 Agent Framework Go 倉庫 。
下一步
深入探討: