在 ASP.NET Core 中使用 SMS 的雙因素驗證
作者:Rick Anderson 和 Swiss-Devs
警告
使用以時間為基礎的一次性密碼演算法 (TOTP) 之雙因素驗證 (2FA) 驗證器應用程式,是業界建議的 2FA 方法。 使用 TOTP 的 2FA 偏好使用 SMS 2FA。 如需詳細資訊,請參閱為 ASP.NET Core 2.0 及更新版本在 ASP.NET Core 中為 TOTP 身份驗證器應用程式啟用產生 QR 代碼。
本教學課程示範如何使用 SMS 設定雙因素驗證 (2FA)。 twilio 和 ASPSMS 會提供指示,但您可以使用任何其他 SMS 提供者。 建議您先完成帳戶確認和密碼復原,再開始本教學課程。
建立新的 ASP.NET Core 專案
使用個別使用者帳戶建立名為 Web2FA 的新 ASP.NET Core Web 應用程式。 依照在 ASP.NET Core 中強制執行 HTTPS 中的說明來設定並要求 HTTPS。
建立 SMS 帳戶
例如,從 twilio 或 ASPSMS 建立 SMS 帳戶。 記錄驗證認證 (用於 twilio:accountSid 和 authToken,用於 ASPSMS:Userkey 和 Password)。
找出 SMS 提供者認證
Twilio:
從 Twilio 帳戶的 [儀表板] 索引標籤,複製帳戶 SID 和驗證權杖。
ASPSMS:
從您的帳戶設定中,瀏覽至 Userkey,並將它與您的密碼一起複製。
我們稍後會使用秘密管理員工具,將這些值儲存在金鑰 SMSAccountIdentification 和 SMSAccountPassword 中。
指定 SenderID / Originator
Twilio:從 [號碼] 索引標籤,複製您的 Twilio 電話號碼。
ASPSMS:在 [解除鎖定建立者] 功能表中,解除鎖定一或多個原始程式,或選擇英數字元建立者 (並非所有網路都支援)。
我們稍後會將此值與秘密管理員工具儲存在金鑰 SMSAccountFrom 內。
提供 SMS 服務的認證
我們將使用選項模式來存取使用者帳戶和金鑰設定。
- 建立類別以擷取安全的 SMS 金鑰。 在此範例中,
SMSoptions類別會建立在Services/SMSoptions.cs檔案中。
namespace Web2FA.Services
{
    public class SMSoptions
    {
        public string SMSAccountIdentification { get; set; }
        public string SMSAccountPassword { get; set; }
        public string SMSAccountFrom { get; set; }
    }
}
使用秘密管理員工具設定 SMSAccountIdentification、SMSAccountPassword 和 SMSAccountFrom。 例如:
C:/Web2FA/src/WebApp1>dotnet user-secrets set SMSAccountIdentification 12345
info: Successfully saved SMSAccountIdentification = 12345 to the secret store.
- 新增 SMS 提供者的 NuGet 套件。 從套件管理員主控台 (PMC) 執行:
Twilio:
Install-Package Twilio
ASPSMS:
Install-Package ASPSMS
- 在
Services/MessageServices.cs檔案中新增程式碼以啟用 SMS。 使用 Twilio 或 ASPSMS 區段:
Twilio:
using Microsoft.Extensions.Options;
using System.Threading.Tasks;
using Twilio;
using Twilio.Rest.Api.V2010.Account;
using Twilio.Types;

namespace Web2FA.Services
{
    // This class is used by the application to send Email and SMS
    // when you turn on two-factor authentication in ASP.NET Identity.
    // For more details see this link https://go.microsoft.com/fwlink/?LinkID=532713
    public class AuthMessageSender : IEmailSender, ISmsSender
    {
        public AuthMessageSender(IOptions<SMSoptions> optionsAccessor)
        {
            Options = optionsAccessor.Value;
        }

        public SMSoptions Options { get; }  // set only via Secret Manager

        public Task SendEmailAsync(string email, string subject, string message)
        {
            // Plug in your email service here to send an email.
            return Task.FromResult(0);
        }

        public Task SendSmsAsync(string number, string message)
        {
            // Plug in your SMS service here to send a text message.
            // Your Account SID from twilio.com/console
            var accountSid = Options.SMSAccountIdentification;
            // Your Auth Token from twilio.com/console
            var authToken = Options.SMSAccountPassword;

            TwilioClient.Init(accountSid, authToken);

            return MessageResource.CreateAsync(
              to: new PhoneNumber(number),
              from: new PhoneNumber(Options.SMSAccountFrom),
              body: message);
        }
    }
}
ASPSMS:
using Microsoft.Extensions.Options;
using System.Threading.Tasks;

namespace Web2FA.Services
{
    // This class is used by the application to send Email and SMS
    // when you turn on two-factor authentication in ASP.NET Identity.
    // For more details see this link https://go.microsoft.com/fwlink/?LinkID=532713
    public class AuthMessageSender : IEmailSender, ISmsSender
    {
        public AuthMessageSender(IOptions<SMSoptions> optionsAccessor)
        {
            Options = optionsAccessor.Value;
        }

        public SMSoptions Options { get; }  // set only via Secret Manager

        public Task SendEmailAsync(string email, string subject, string message)
        {
            // Plug in your email service here to send an email.
            return Task.FromResult(0);
        }

        public Task SendSmsAsync(string number, string message)
        {
            ASPSMS.SMS SMSSender = new ASPSMS.SMS();

            SMSSender.Userkey = Options.SMSAccountIdentification;
            SMSSender.Password = Options.SMSAccountPassword;
            SMSSender.Originator = Options.SMSAccountFrom;

            SMSSender.AddRecipient(number);
            SMSSender.MessageData = message;

            SMSSender.SendTextSMS();

            return Task.FromResult(0);
        }
    }
}
設定啟動以使用 SMSoptions
將 SMSoptions 新增至 Startup.cs 的方法 ConfigureServices 中的服務容器:
    // Add application services.
    services.AddTransient<IEmailSender, AuthMessageSender>();
    services.AddTransient<ISmsSender, AuthMessageSender>();
    services.Configure<SMSoptions>(Configuration);
}
啟用雙因素驗證
開啟 Views/Manage/Index.cshtmlRazor 檢視檔案並移除註解字元 (因此不會註解標記)。
使用雙因素驗證的 BitLocker
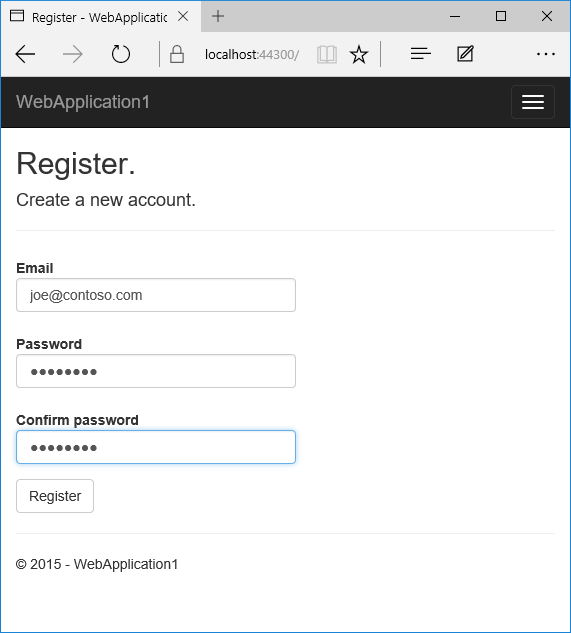
- 執行應用程式並註冊新使用者
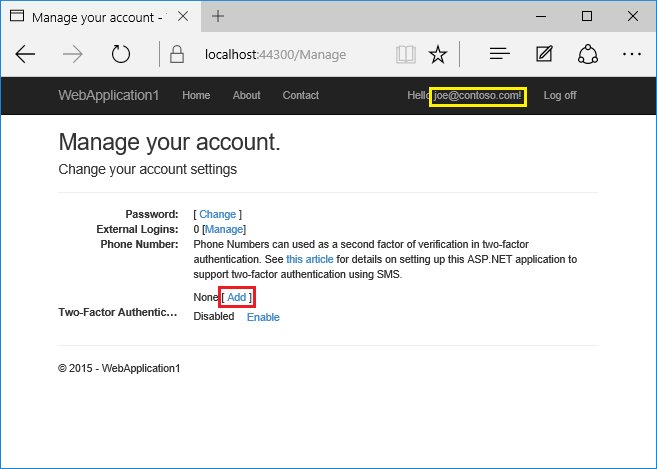
- 點選您的使用者名稱,以在管理控制器中啟動
Index動作方法。 然後點選電話號碼 [新增] 連結。
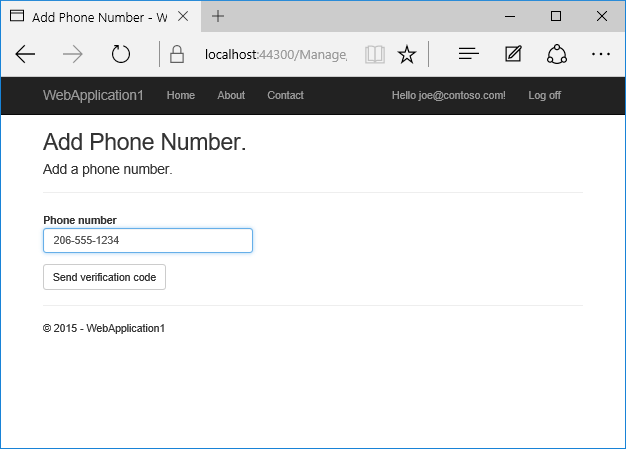
- 新增將接收驗證碼的電話號碼,然後點選 [傳送驗證碼]。
- 您將會收到包含驗證碼的簡訊。 輸入並點選 [提交]
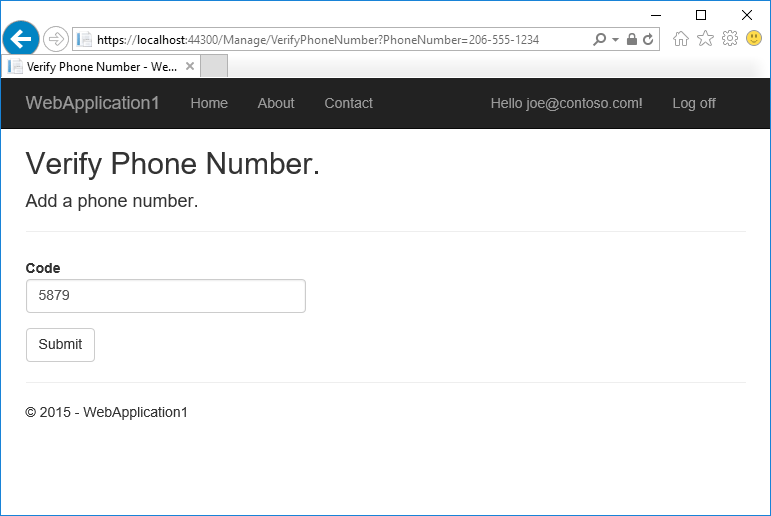
如果您沒有收到簡訊,請參閱 twilio 記錄頁面。
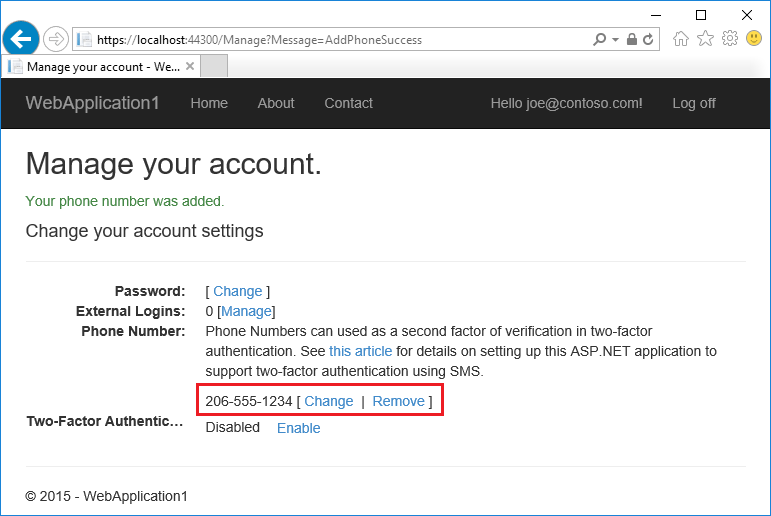
- 管理檢視會顯示已成功新增您的電話號碼。
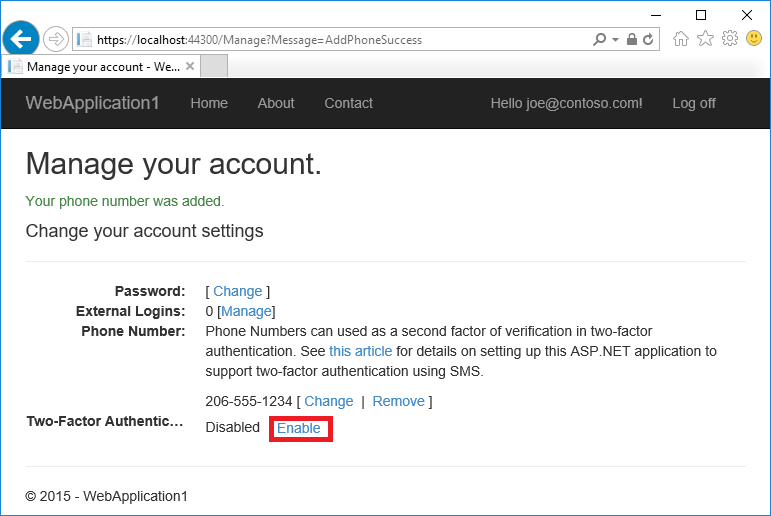
- 點選 [啟用] 以啟用雙因素驗證。
測試雙因素驗證
登出。
登入。
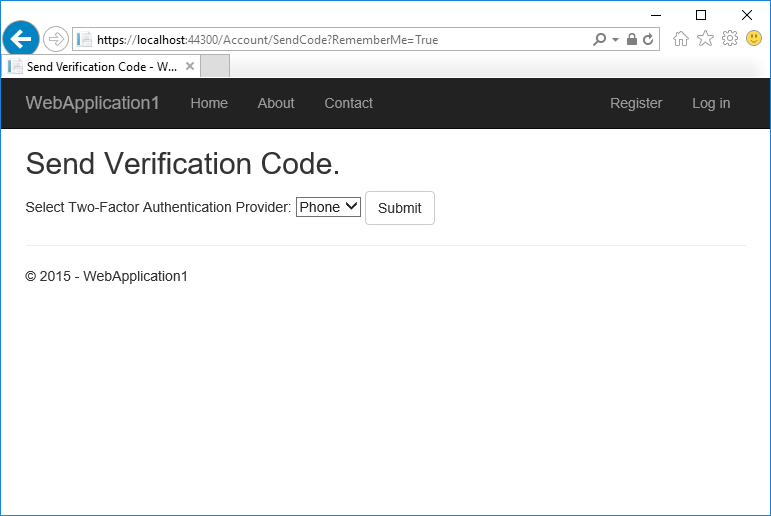
使用者帳戶已啟用雙因素驗證,因此您必須提供第二個驗證因素。 在本教學課程中,您已啟用電話驗證。 內建範本也可讓您將電子郵件設定為第二個因素。 您可以設定額外的第二個因素進行驗證,例如 QR 代碼。 點選 [提交]。
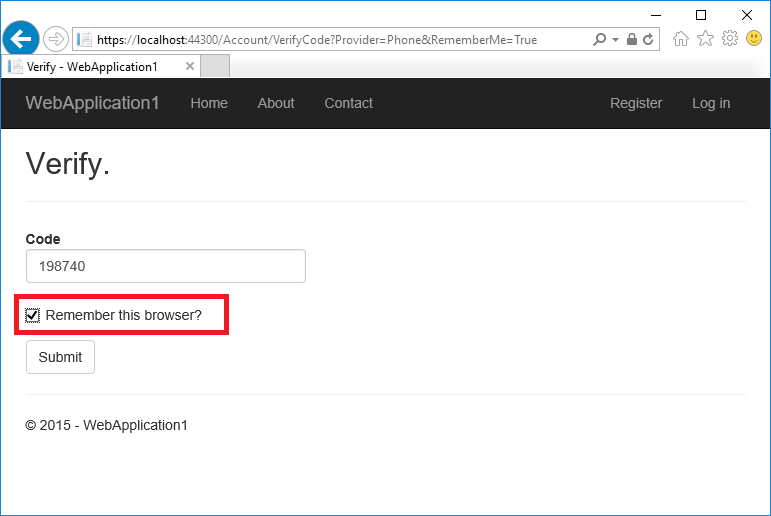
輸入您在 SMS 訊息中取得的程式碼。
按一下 [記住此瀏覽器] 核取方塊將讓您在使用相同裝置和瀏覽器時無需使用 2FA 登入。 啟用 2FA 並按一下 [記住此瀏覽器] 可為您提供強式 2FA 保護,只要的惡意使用者無法存取您的裝置,就能防止他們嘗試存取您的帳戶。 您可以在您經常使用的任何私人裝置上執行此動作。 藉由設定 [記住此瀏覽器],您可以從不定期使用的裝置取得 2FA 的新增安全性,而且您不需在自己的裝置上執行 2FA 就能獲得這種便利姓。
帳戶鎖定以防止暴力密碼破解攻擊
建議使用 2FA 鎖定帳戶。 使用者透過本機帳戶或社交帳戶登入時,每個 2FA 失敗嘗試都會儲存起來。 如果達到最大的存取嘗試失敗次數,使用者就會遭到鎖定 (預設為:5 次存取嘗試失敗後會鎖定 5 分鐘)。 驗證成功后,系統會重設失敗的存取嘗試次數,並重設時鐘。 您可以使用 MaxFailedAccessAttempts 和 DefaultLockoutTimeSpan 來設定失敗存取嘗試次數上限和鎖定時間。 以下為設定帳戶存取嘗試失敗 10 次後鎖定 10 分鐘:
public void ConfigureServices(IServiceCollection services)
{
    // Add framework services.
    services.AddDbContext<ApplicationDbContext>(options =>
        options.UseSqlServer(Configuration.GetConnectionString("DefaultConnection")));

    services.AddIdentity<ApplicationUser, IdentityRole>()
        .AddEntityFrameworkStores<ApplicationDbContext>()
        .AddDefaultTokenProviders();

    services.AddMvc();

    services.Configure<IdentityOptions>(options =>
    {
        options.Lockout.MaxFailedAccessAttempts = 10;
        options.Lockout.DefaultLockoutTimeSpan = TimeSpan.FromMinutes(10);
    });

    // Add application services.
    services.AddTransient<IEmailSender, AuthMessageSender>();
    services.AddTransient<ISmsSender, AuthMessageSender>();
    services.Configure<SMSoptions>(Configuration);
}
確認 PasswordSignInAsync 將 lockoutOnFailure 設定為 true:
var result = await _signInManager.PasswordSignInAsync(
                 Input.Email, Input.Password, Input.RememberMe, lockoutOnFailure: true);
