更新 Azure Stack Hub 上的 Microsoft Defender 防毒軟體
Microsoft Defender 防毒軟體是一種反惡意程式碼軟體解決方案,可提供安全性和防毒保護。 每個 Azure Stack Hub 基礎結構元件 (Hyper-V 主機和虛擬機器) 都受到 Microsoft Defender 防毒軟體的保護。 為了獲得最新的保護,您需要定期更新 Microsoft Defender 防毒軟體的定義、引擎和平台。 套用更新的方式取決於您的組態。
已連線的案例
Azure Stack Hub 的更新資源提供者每天都會多次下載反惡意程式碼軟體定義和引擎更新。 每個 Azure Stack Hub 基礎結構元件都會取得來自更新資源提供者的更新,並自動套用更新。
對於連線至公用網際網路的 Azure Stack Hub 部署,請套用每月 Azure Stack Hub 更新。 每個月的 Azure Stack Hub 更新包括當月的 Microsoft Defender 防毒軟體平台更新。
中斷連線的案例
對於未連線至公用網際網路的 Azure Stack Hub 部署 (例如,與網路隔絕的資料中心),客戶可在反惡意程式碼軟體定義和引擎更新一經發佈後便加以套用。
若要將更新套用至 Azure Stack Hub 解決方案,您必須先從 Microsoft 網站 (以下連結) 下載更新,然後將其匯入到 updateadminaccount 下的儲存體 Blob 容器中。 排定的工作會每隔 30 分鐘掃描一次 Blob 容器,如果發現新的 Defender 定義和引擎更新,則會將其套用至 Azure Stack Hub 的基礎結構中。
對於無法每日下載 Defender 定義和引擎更新的已中斷連線部署,每月 Azure Stack Hub 更新中會有當月的 Microsoft Defender 防毒軟體定義、引擎和平台更新。
設定手動更新 Microsoft Defender
您可以在特殊權限的端點中使用兩個新 Cmdlet,在 Azure Stack Hub 中設定手動更新 Microsoft Defender 防毒軟體。
### cmdlet to configure the storage blob container for the Defender updates
Set-AzsDefenderManualUpdate [-Container <string>] [-Remove]
### cmdlet to retrieve the configuration of the Microsoft Defender Antivirus manual update settings
Get-AzsDefenderManualUpdate
下列程序說明如何設定手動更新 Microsoft Defender 防毒軟體。
連線至具特殊權限的端點,然後執行下列 Cmdlet 來指定要作為 Defender 更新上傳目的地的儲存體 Blob 容器名稱。
注意
下面所述的手動更新程序僅適用於不允許存取 "go.microsoft.com" 的已中斷連線環境。 嘗試在已連線的環境中執行 Set-AzsDefenderManualUpdate Cmdlet 會導致錯誤。
### Configure the storage blob container for the Defender updates
Set-AzsDefenderManualUpdate -Container <yourContainerName>
下載兩個 Microsoft Defender 防毒軟體更新套件,並儲存在可從 Azure Stack Hub 系統管理入口網站連線的位置。
- 從 https://go.microsoft.com/fwlink/?LinkId=121721&mpam-fe.exe;arch=x64
- nis_full.exe,來源:https://go.microsoft.com/fwlink/?LinkId=197094
注意
每次您想要更新 Defender 簽章時,都必須下載這兩個檔案。
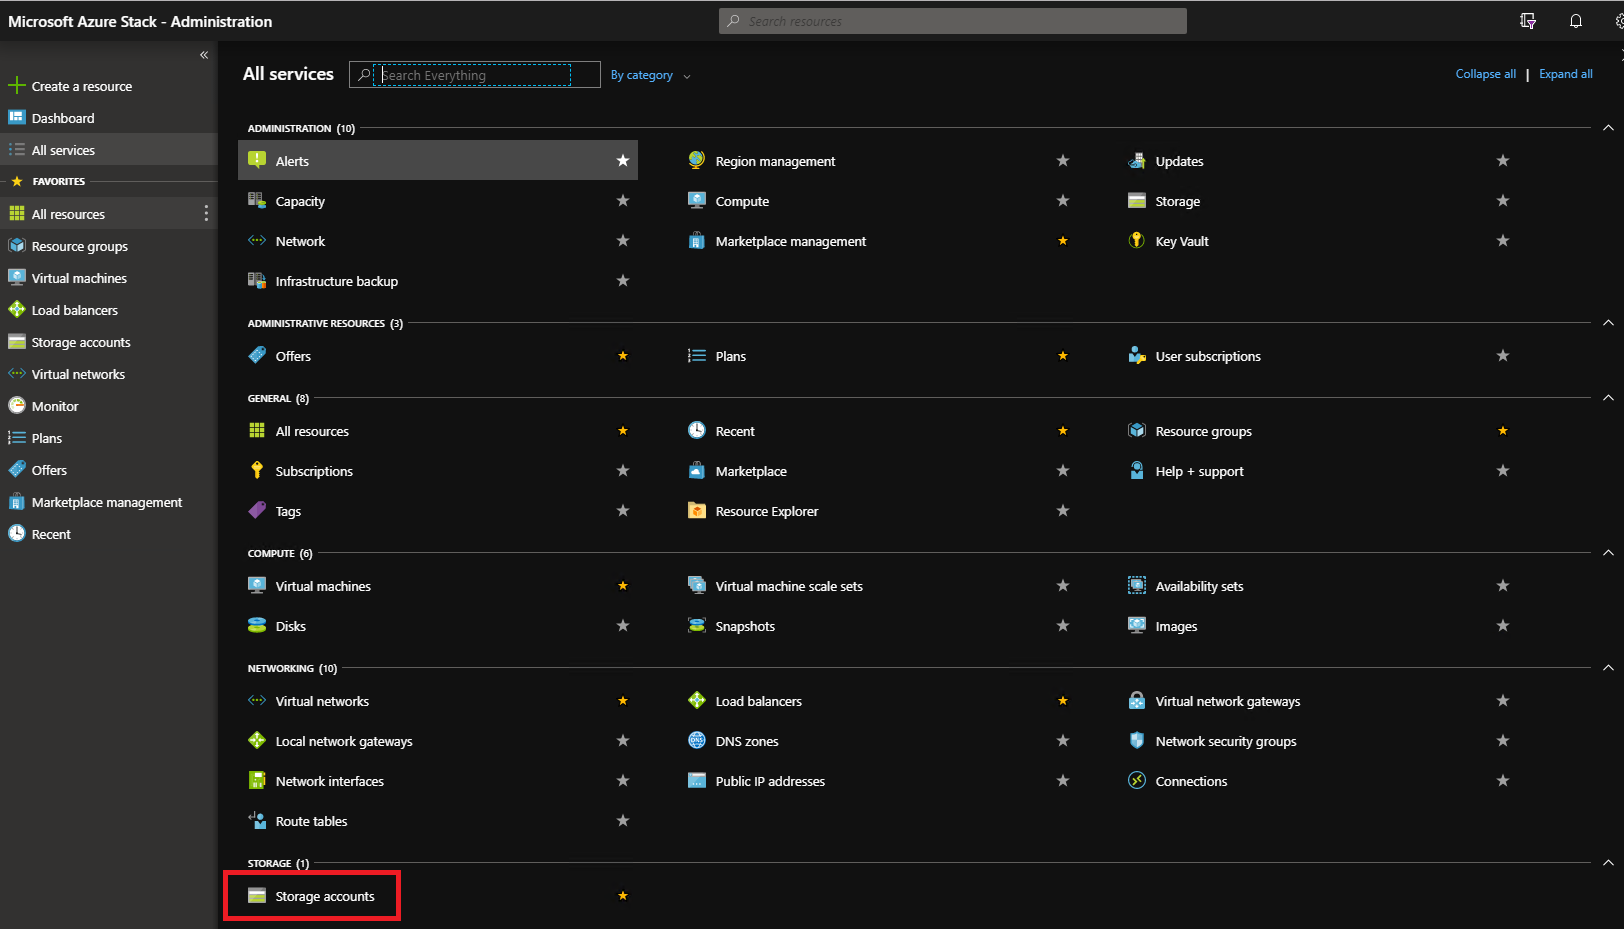
在系統管理員入口網站中,選取 [所有服務]。 然後,在 [資料 + 儲存體] 類別底下,選取 [儲存體帳戶] 。 (或者,在篩選方塊中,開始輸入儲存體帳戶,然後選取它)。
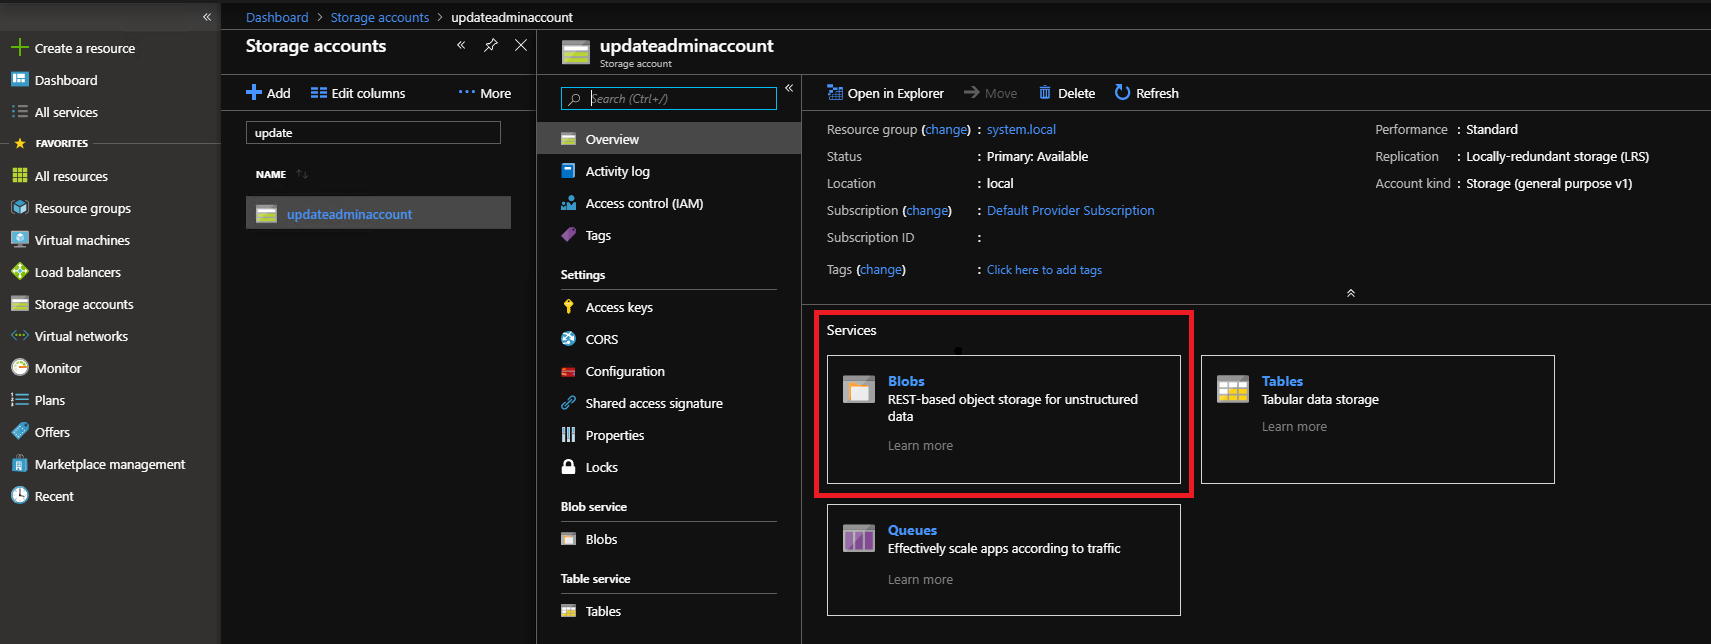
在篩選方塊中,輸入 update,然後選取 [updateadminaccount] 儲存體帳戶。
在儲存體帳戶詳細資料的 [服務] 底下,選取 [Blob] 。
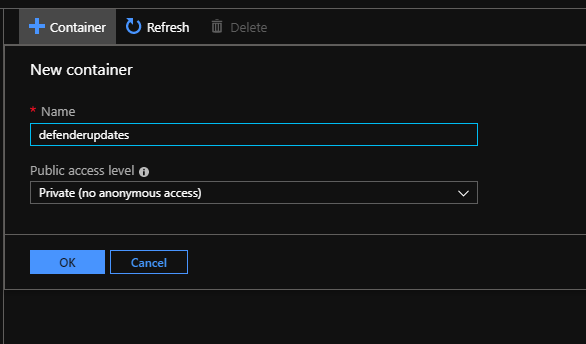
在 [Blob 服務] 底下,選取 [+容器] 來建立容器。 輸入以 Set-AzsDefenderManualUpdate 指定的名稱 (在此範例中為 defenderupdates),然後選取 [確定]。
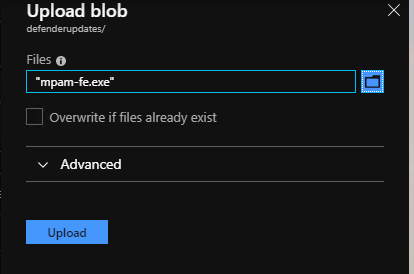
建立容器之後,按一下容器名稱,然後按一下 [上傳] 以將套件檔案上傳到容器中。
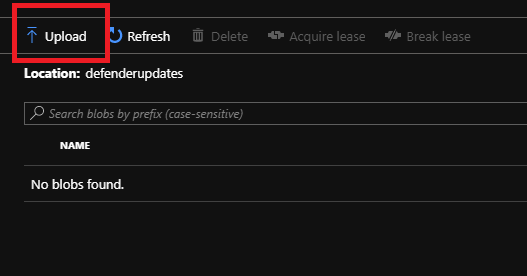
在 [上傳 Blob] 下,按一下資料夾圖示,瀏覽至 Microsoft Defender 防毒軟體更新的 mpam-fe.exe 檔案,然後按一下檔案總管視窗中的 [開啟]。
在 [上傳 Blob] 底下,按一下 [上傳]。
針對 nis_full.exe 檔案重複步驟 8 和 9。
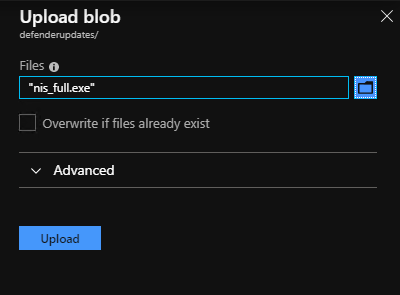
排定的工作會每隔 30 分鐘掃描一次 Blob 容器,並套用任何新的 Microsoft Defender 防毒軟體套件。