本教學課程說明如何使用 Azure AI Content Understanding 建立擷取增強世代 (RAG) 解決方案。 其涵蓋建置強式 RAG 系統的重要步驟、提供改善相關性和精確度的秘訣,並示範如何與其他 Azure 服務連線。 最後,您可以使用 Content Understanding 來處理多模式數據、改善擷取,以及協助 AI 模型提供準確且有意義的回應。
本教學課程中包含的練習
- 建立分析器。 瞭解如何建立可重複使用的分析器,以使用內容擷取從多模式數據擷取結構化內容。
- 使用欄位擷取產生目標元數據。 探索如何使用 AI 來產生進一步的元數據,例如摘要或重要主題,以擴充擷取的內容。
- 預處理擷取的內容。 探索將擷取的內容轉換成向量內嵌的方法,以進行語意搜尋和擷取。
- 設計統一索引。 開發一個統一的 Azure AI 搜尋索引,將多模式數據整合並組織起來,以便有效率地檢索。
- 語意區塊擷取。 擷取內容相關的資訊,以提供更精確且有意義的用戶查詢答案。
- 使用聊天模型與數據互動 使用 Azure OpenAI 聊天模型與您的索引數據互動、啟用交談式搜尋、查詢和回答。
先決條件
若要開始使用,您需要 作用中的 Azure 訂用帳戶。 如果您沒有 Azure 帳戶,您可以 建立免費的訂用帳戶。
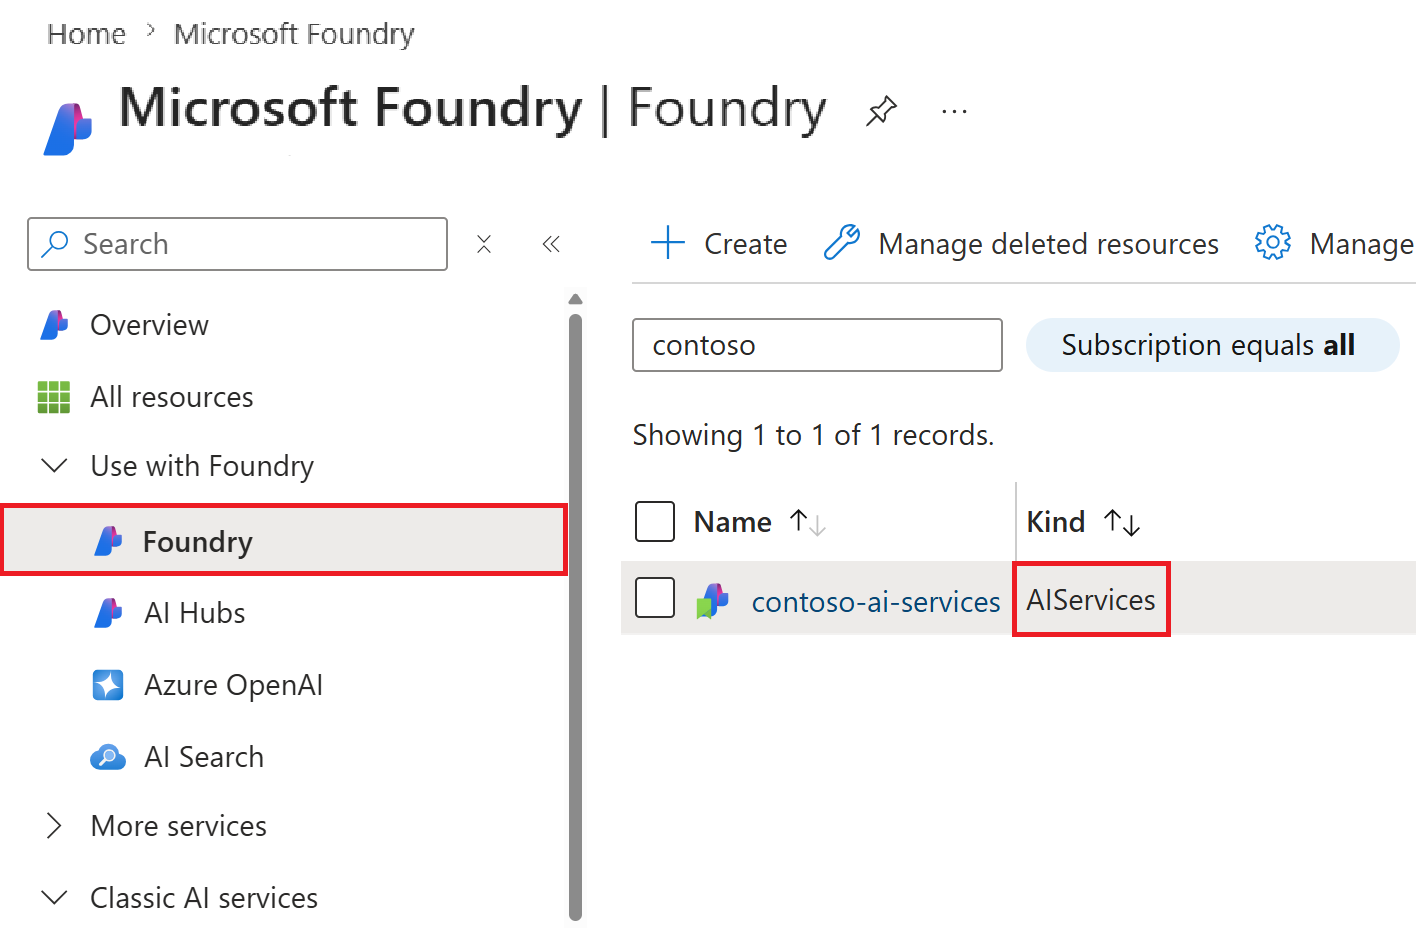
擁有 Azure 訂用帳戶之後,請在 Azure 入口網站中建立 Azure AI Foundry 資源 。
此資源列在入口網站中的 AI Foundry>AI Foundry 底下。
Azure AI 搜尋資源: 設定 Azure AI 搜尋資源 ,以啟用多模式數據的索引編製和擷取。
Azure OpenAI 聊天模型部署: 部署可啟用交談互動的 Azure OpenAI 聊天模型 。
內嵌模型部署: 請確定您已部署內嵌模型,以產生語意搜尋的向量表示法。
API 版本: 本教學課程使用最新的預覽 API 版本。
Python 環境: 安裝 Python 3.11 以執行所提供的程式代碼範例和腳本。
本教學課程遵循此範例程序代碼,可在 我們的 Python 筆記本中找到。 請遵循 自述檔 來建立基本資源、將正確的訪問控制(IAM) 角色授與資源,並安裝本教學課程所需的所有套件。
本教學課程中使用的多模式數據包含檔、影像、音訊和視訊。 其設計目的是要引導您透過使用 Azure AI Content Understanding 的過程來建置強健的 RAG 解決方案。
擷取資料
擷取增強世代 (RAG*) 是一種方法,藉由整合外部知識來源的數據來增強大型語言模型 (LLM) 的功能。 建置強固的多模式 RAG 解決方案從從各種內容類型擷取和建構數據開始。 Azure AI Content Understanding 提供三個主要元件來加速此程式: 內容擷取、 字段擷取和 分析器。 這些元件共同構成建立RAG工作流程的統一、可重複使用和增強數據管線的基礎。
實作步驟
若要在 Content Understanding 中實作數據擷取,請遵循下列步驟:
建立分析器: 使用 REST API 或我們的 Python 程式代碼範例來定義分析器。
執行內容擷取: 使用分析器來處理檔案並擷取結構化內容。
(選擇性) 使用欄位擷取來增強: 選擇性地指定 AI 產生的欄位,以使用新增的元數據來擴充擷取的內容。
建立分析器
分析器是 Content Understanding 中可重複使用的元件,可簡化數據擷取程式。 建立分析器之後,即可重複用來處理檔案,並根據預先定義的架構擷取內容或字段。 分析器可作為如何處理數據的藍圖,確保多個檔案和內容類型的一致性和效率。
下列程式代碼範例示範如何為每個形式建立分析器,並指定要擷取的結構化數據,例如索引鍵字段、摘要或分類。 這些分析器可作為擷取和擴充RAG解決方案中內容的基礎。
從 Langchain 載入所有環境變數和必要的連結庫
import os
from dotenv import load_dotenv
load_dotenv()

# Load and validate Azure AI Services configs
AZURE_AI_SERVICE_ENDPOINT = os.getenv("AZURE_AI_SERVICE_ENDPOINT")
AZURE_AI_SERVICE_API_VERSION = os.getenv("AZURE_AI_SERVICE_API_VERSION") or "2024-12-01-preview"
AZURE_DOCUMENT_INTELLIGENCE_API_VERSION = os.getenv("AZURE_DOCUMENT_INTELLIGENCE_API_VERSION") or "2024-11-30"

# Load and validate Azure OpenAI configs
AZURE_OPENAI_ENDPOINT = os.getenv("AZURE_OPENAI_ENDPOINT")
AZURE_OPENAI_CHAT_DEPLOYMENT_NAME = os.getenv("AZURE_OPENAI_CHAT_DEPLOYMENT_NAME")
AZURE_OPENAI_CHAT_API_VERSION = os.getenv("AZURE_OPENAI_CHAT_API_VERSION") or "2024-08-01-preview"
AZURE_OPENAI_EMBEDDING_DEPLOYMENT_NAME = os.getenv("AZURE_OPENAI_EMBEDDING_DEPLOYMENT_NAME")
AZURE_OPENAI_EMBEDDING_API_VERSION = os.getenv("AZURE_OPENAI_EMBEDDING_API_VERSION") or "2023-05-15"

# Load and validate Azure Search Services configs
AZURE_SEARCH_ENDPOINT = os.getenv("AZURE_SEARCH_ENDPOINT")
AZURE_SEARCH_INDEX_NAME = os.getenv("AZURE_SEARCH_INDEX_NAME") or "sample-doc-index"

# Import libraries from Langchain
from langchain import hub
from langchain_openai import AzureChatOpenAI
from langchain_openai import AzureOpenAIEmbeddings
from langchain.schema import StrOutputParser
from langchain.schema.runnable import RunnablePassthrough
from langchain.text_splitter import MarkdownHeaderTextSplitter
from langchain.vectorstores.azuresearch import AzureSearch
from langchain_core.prompts import ChatPromptTemplate
from langchain.schema import Document
import requests
import json
import sys
import uuid
from pathlib import Path
from dotenv import find_dotenv, load_dotenv
from azure.identity import DefaultAzureCredential, get_bearer_token_provider

# Add the parent directory to the path to use shared modules
parent_dir = Path(Path.cwd()).parent
sys.path.append(str(parent_dir))
程式代碼範例:建立分析器
from pathlib import Path
from python.content_understanding_client import AzureContentUnderstandingClient
credential = DefaultAzureCredential()
token_provider = get_bearer_token_provider(credential, "https://cognitiveservices.azure.com/.default")

#set analyzer configs
analyzer_configs = [
    {
        "id": "doc-analyzer" + str(uuid.uuid4()),
        "template_path": "../analyzer_templates/content_document.json",
        "location": Path("../data/sample_layout.pdf"),
    },
    {
        "id": "image-analyzer" + str(uuid.uuid4()),
        "template_path": "../analyzer_templates/image_chart_diagram_understanding.json",
        "location": Path("../data/sample_report.pdf"),
    },
    {
        "id": "audio-analyzer" + str(uuid.uuid4()),
        "template_path": "../analyzer_templates/call_recording_analytics.json",
        "location": Path("../data/callCenterRecording.mp3"),
    },
    {
        "id": "video-analyzer" + str(uuid.uuid4()),
        "template_path": "../analyzer_templates/video_content_understanding.json",
        "location": Path("../data/FlightSimulator.mp4"),
    },
]

# Create Content Understanding client
content_understanding_client = AzureContentUnderstandingClient(
    endpoint=AZURE_AI_SERVICE_ENDPOINT,
    api_version=AZURE_AI_SERVICE_API_VERSION,
    token_provider=token_provider,
    x_ms_useragent="azure-ai-content-understanding-python/content_extraction", # This header is used for sample usage telemetry, please comment out this line if you want to opt out.
)

# Iterate through each config and create an analyzer
for analyzer in analyzer_configs:
    analyzer_id = analyzer["id"]
    template_path = analyzer["template_path"]

    try:

        # Create the analyzer using the content understanding client
        response = content_understanding_client.begin_create_analyzer(
            analyzer_id=analyzer_id,
            analyzer_template_path=template_path
        )
        result = content_understanding_client.poll_result(response)
        print(f"Successfully created analyzer: {analyzer_id}")

    except Exception as e:
        print(f"Failed to create analyzer: {analyzer_id}")
        print(f"Error: {e}")
注意: 欄位擷取架構是選擇性的,不需要執行內容擷取。 若要執行內容擷取並建立分析器,而不定義欄位架構,只要提供分析器標識碼和要分析的檔案即可。
本教學課程中使用結構模式。 以下是架構定義的範例
在下列範例中,我們會定義架構,以從發票檔擷取基本資訊。
{
  "description": "Sample invoice analyzer",
  "scenario": "document",
  "config": {
    "returnDetails": true
  },
  "fieldSchema": {
    "fields": {
      "VendorName": {
        "type": "string",
        "method": "extract",
        "description": "Vendor issuing the invoice"
      },
      "Items": {
        "type": "array",
        "method": "extract",
        "items": {
          "type": "object",
          "properties": {
            "Description": {
              "type": "string",
              "method": "extract",
              "description": "Description of the item"
            },
            "Amount": {
              "type": "number",
              "method": "extract",
              "description": "Amount of the item"
            }
          }
        }
      }
    }
  }
}
內容與字段擷取
內容擷取 是RAG實作程式中的第一個步驟。 它會將原始多模式數據轉換成結構化且可搜尋的格式。 這個基本步驟可確保內容已組織並準備好編製索引和擷取。 雖然內容擷取提供了編製索引和檢索的基礎,但可能無法充分滿足特定領域的需求,也無法提供更深層次的語境見解。 深入瞭解 每個形式的內容擷取功能。
欄位擷取 建基於內容擷取,使用 AI 來產生進一步擴充知識庫的元數據。 此步驟可讓您定義針對特定使用案例量身打造的自定義欄位,以更精確擷取和增強的搜尋相關性。 字段擷取藉由增加深度和脈絡來補充內容擷取,使RAG情境中的數據更具可操作性。 深入瞭解 每個模式的欄位擷取功能。
透過針對每個形式建立的分析器,我們現在可以處理檔案,以根據定義的架構擷取結構化內容和 AI 產生的元數據。 本節示範如何使用分析器來分析多模式數據,並提供 API 所傳回結果的範例。 這些結果展示了將原始數據轉換成可行的深入解析,形成編製索引、擷取和RAG工作流程的基礎。
分析檔案
#Iterate through each analyzer created and analyze content for each modality

analyzer_results =[]
extracted_markdown = []
analyzer_content = []
for analyzer in analyzer_configs:
    analyzer_id = analyzer["id"]
    template_path = analyzer["template_path"]
    file_location = analyzer["location"]
    try:
           # Analyze content
            response = content_understanding_client.begin_analyze(analyzer_id, file_location)
            result = content_understanding_client.poll_result(response)
            analyzer_results.append({"id":analyzer_id, "result": result["result"]})
            analyzer_content.append({"id": analyzer_id, "content": result["result"]["contents"]})

    except Exception as e:
            print(e)
            print("Error in creating analyzer. Please double-check your analysis settings.\nIf there is a conflict, you can delete the analyzer and then recreate it, or move to the next cell and use the existing analyzer.")

print("Analyzer Results:")
for analyzer_result in analyzer_results:
    print(f"Analyzer ID: {analyzer_result['id']}")
    print(json.dumps(analyzer_result["result"], indent=2))

# Delete the analyzer if it is no longer needed
#content_understanding_client.delete_analyzer(ANALYZER_ID)
擷取結果
下列程式代碼範例示範使用 Azure AI Content Understanding 的內容和欄位擷取輸出。 JSON 回應包含多個字段,每個字段都提供代表所擷取數據的特定用途。
Markdown 字段:
markdown此字段提供所擷取內容的簡化人類可讀表示法。 這對於快速預覽或將擷取的數據整合到需要結構化文字的應用程式特別有用,例如知識庫或搜尋介面。 例如,使用檔時,markdown欄位可能包含標頭、段落和其他結構化元素,以方便閱讀。JSON 輸出:完整的 JSON 輸出提供擷取數據的完整表示法,包括擷取程式期間產生的內容和元數據,包括下列屬性:
- 領域: AI 產生的元數據,例如摘要、主要主題或分類,專為分析器中定義的特定架構量身打造。
- 信賴分數: 擷取數據可靠性的指標。
- 範圍: 來源檔案中擷取內容位置的相關資訊。
- 其他元數據: 詳細數據,例如頁碼、維度和其他內容資訊。
結果會顯示擷取標頭、段落、數據表和其他結構元素,同時維護內容的邏輯組織。 此外,它展示了擷取關鍵欄位的能力,能精簡萃取冗長文本。
{
  "id": "bcf8c7c7-03ab-4204-b22c-2b34203ef5db",
  "status": "Succeeded",
  "result": {
    "analyzerId": "training_document_analyzer",
    "apiVersion": "2024-12-01-preview",
    "createdAt": "2024-11-13T07:15:46Z",
    "warnings": [],
    "contents": [
      {
        "markdown": "CONTOSO LTD.\n\n\n# Contoso Training Topics\n\nContoso Headquarters...",
        "fields": {
          "ChapterTitle": {
            "type": "string",
            "valueString": "Risks and Compliance regulations",
            "spans": [ { "offset": 0, "length": 12 } ],
            "confidence": 0.941,
            "source": "D(1,0.5729,0.6582,2.3353,0.6582,2.3353,0.8957,0.5729,0.8957)"
          },
          "ChapterAuthor": {
            "type": "string",
            "valueString": "John Smith",
            "spans": [ { "offset": 0, "length": 12 } ],
            "confidence": 0.941,
            "source": "D(1,0.5729,0.6582,2.3353,0.6582,2.3353,0.8957,0.5729,0.8957)"
          },
          "ChapterPublishDate": {
            "type": "Date",
            "valueString": "04-11-2017",
            "spans": [ { "offset": 0, "length": 12 } ],
            "confidence": 0.941,
            "source": "D(1,0.5729,0.6582,2.3353,0.6582,2.3353,0.8957,0.5729,0.8957)"
          },
        },
        "kind": "document",
        "startPageNumber": 1,
        "endPageNumber": 1,
        "unit": "inch",
        "pages": [
          {
            "pageNumber": 1,
            "angle": -0.0039,
            "width": 8.5,
            "height": 11,
            "spans": [ { "offset": 0, "length": 1650 } ],
            "words": [
              {
               ....
              },
            ],
            "lines": [
              {
                ...
              },
            ]
          }
        ],

      }
    ]
  }
}
Content Understanding 的預處理結果
使用 Azure AI Content Understanding 擷取數據之後,下一個步驟是準備分析輸出以內嵌在搜尋系統中。 前置處理輸出可確保擷取的內容會轉換成適合編製索引和擷取的格式。 此步驟牽涉到將分析器中的 JSON 輸出轉換成結構化字串,同時保留內容和元數據,以便順暢地整合至下游工作流程。
下列範例示範如何預先處理分析器的輸出數據,包括檔、影像、音訊和視訊。 將每個 JSON 輸出轉換成結構化字串的過程,為數據嵌入到基於向量的搜尋系統奠定了基礎,從而更有效率地擷取並增強 RAG 工作流程。
def convert_values_to_strings(json_obj):
    return [str(value) for value in json_obj]

#process all content and convert to string
def process_allJSON_content(all_content):

    # Initialize empty list to store string of all content
    output = []

    document_splits = [
        "This is a json string representing a document with text and metadata for the file located in "+str(analyzer_configs[0]["location"])+" "
        + v
        + "```"
        for v in convert_values_to_strings(all_content[0]["content"])
    ]
    docs = [Document(page_content=v) for v in document_splits]
    output += docs

    #convert image json object to string and append file metadata to the string
    image_splits = [
       "This is a json string representing an image verbalization and OCR extraction for the file located in "+str(analyzer_configs[1]["location"])+" "
       + v
       + "```"
       for v in convert_values_to_strings(all_content[1]["content"])
    ]
    image = [Document(page_content=v) for v in image_splits]
    output+=image

    #convert audio json object to string and append file metadata to the string
    audio_splits = [
        "This is a json string representing an audio segment with transcription for the file located in "+str(analyzer_configs[2]["location"])+" "
       + v
       + "```"
       for v in convert_values_to_strings(all_content[2]["content"])
    ]
    audio = [Document(page_content=v) for v in audio_splits]
    output += audio

    #convert video json object to string and append file metadata to the string
    video_splits = [
        "The following is a json string representing a video segment with scene description and transcript for the file located in "+str(analyzer_configs[3]["location"])+" "
        + v
        + "```"
        for v in convert_values_to_strings(all_content[3]["content"])
    ]
    video = [Document(page_content=v) for v in video_splits]
    output+=video

    return output

all_splits = process_allJSON_content(analyzer_content)

print("There are " + str(len(all_splits)) + " documents.")
# Print the content of all doc splits
for doc in all_splits:
    print(f"doc content", doc.page_content)
內嵌和索引擷取的內容
從 Azure AI Content Understanding 預先處理擷取的數據完成之後,下一個步驟是內嵌和編製內容索引,以有效率地擷取內容。 此步驟牽涉到使用內嵌模型將結構化字串轉換成向量內嵌,並將其儲存在 Azure AI 搜尋系統中。 藉由內嵌內容,您可以啟用語意搜尋功能,讓系統根據意義擷取最相關的資訊,而不是完全相符的關鍵詞。 此步驟對於建置健全的RAG解決方案而言非常重要,因為它可確保擷取的內容已針對進階搜尋和擷取工作流程優化。
# Embed the splitted documents and insert into Azure Search vector store
def embed_and_index_chunks(docs):
    aoai_embeddings = AzureOpenAIEmbeddings(
        azure_deployment=AZURE_OPENAI_EMBEDDING_DEPLOYMENT_NAME,
        openai_api_version=AZURE_OPENAI_EMBEDDING_API_VERSION,  # e.g., "2023-12-01-preview"
        azure_endpoint=AZURE_OPENAI_ENDPOINT,
        azure_ad_token_provider=token_provider
    )

    vector_store: AzureSearch = AzureSearch(
        azure_search_endpoint=AZURE_SEARCH_ENDPOINT,
        azure_search_key=None,
        index_name=AZURE_SEARCH_INDEX_NAME,
        embedding_function=aoai_embeddings.embed_query
    )
    vector_store.add_documents(documents=docs)
    return vector_store


# embed and index the docs:
vector_store = embed_and_index_chunks(all_splits)
語意區塊擷取
使用擷取的內容內嵌和編製索引,下一個步驟是使用相似度和向量搜尋的強大功能來擷取最相關的資訊區塊。 本節示範如何同時執行相似性和混合式搜尋,讓系統根據語意意義而非完全相符關鍵詞來呈現內容。 藉由擷取內容相關的區塊,您可以增強RAG工作流程的精確度,並提供更精確且有意義的使用者查詢回應。
# Set your query
query = "japan"

# Perform a similarity search
docs = vector_store.similarity_search(
    query=query,
    k=3,
    search_type="similarity",
)
for doc in docs:
    print(doc.page_content)

# Perform a hybrid search using the search_type parameter
docs = vector_store.hybrid_search(query=query, k=3)
for doc in docs:
    print(doc.page_content)
使用 OpenAI 與數據互動
將擷取的內容嵌入並編製索引後,建置完整的RAG解決方案的最後一步是透過OpenAI聊天模型啟用交談互動。 本節示範如何查詢已編製索引的數據,並套用 OpenAI 聊天模型,以提供簡潔、內容豐富的解答。 藉由整合對話式 AI,您可以將 RAG 解決方案轉換成互動式系統,以提供有意義的見解並增強使用者參與度。 下列範例會引導您設定擷取增強的對話流程,確保數據與OpenAI聊天模型之間的無縫整合。
# Setup rag chain
prompt_str = """You are an assistant for question-answering tasks. Use the following pieces of retrieved context to answer the question. If you don't know the answer, just say that you don't know. Use three sentences maximum and keep the answer concise.
Question: {question}
Context: {context}
Answer:"""


def setup_rag_chain(vector_store):
    retriever = vector_store.as_retriever(search_type="similarity", k=3)

    prompt = ChatPromptTemplate.from_template(prompt_str)
    llm = AzureChatOpenAI(
        openai_api_version=AZURE_OPENAI_CHAT_API_VERSION,
        azure_deployment=AZURE_OPENAI_CHAT_DEPLOYMENT_NAME,
        azure_ad_token_provider=token_provider,
        temperature=0.7,
    )

    def format_docs(docs):
        return "\n\n".join(doc.page_content for doc in docs)

    rag_chain = (
        {"context": retriever | format_docs, "question": RunnablePassthrough()}
        | prompt
        | llm
        | StrOutputParser()
    )
    return rag_chain


# Setup conversational search
def conversational_search(rag_chain, query):
    print(rag_chain.invoke(query))


rag_chain = setup_rag_chain(vector_store)
while True:
    query = input("Enter your query: ")
    if query=="":
        break
    conversational_search(rag_chain, query)