在本教學課程中,可瞭解如何透過模型內容通訊協定 (MCP) 公開 FastAPI 應用程式的功能、做為工具新增至 GitHub Copilot,以及在 Copilot Chat 代理模式中以自然語言與應用程式互動。

如果 Web 應用程式本身具有實用功能 (例如購物、預訂飯店或資料管理),則可輕鬆將這些功能應用到:
- 任何支援 MCP 整合的應用程式,例如 Visual Studio Code 或 GitHub Codespaces 中的 GitHub Copilot Chat 代理模式。
- 使用 MCP 用戶端存取遠端工具的自訂代理程式。
將 MCP 伺服器新增至 Web 應用程式,代理程式在回應使用者提示時,便能瞭解和使用您的應用程式功能。 也就是只要是您的應用程式可以執行的操作,代理程式都能執行。
- 將 MCP 伺服器新增至 Web 應用程式。
- 在 GitHub Copilot Chat 代理程式模式下,於本機測試 MCP 伺服器。
- 將 MCP 伺服器部署至 Azure App Service,並在 GitHub Copilot Chat 連線到伺服器。
先決條件
本教學課程假設您正在使用在 Azure 中使用 PostgreSQL 部署 Python FastAPI Web 應用程式中使用的範例。
至少,請在 GitHub Codespaces 中開啟 範例應用程式 ,並執行 azd up 來部署應用程式。
![]() 中開啟
中開啟
將 MCP 伺服器新增至 Web 應用程式
在 codespace 總管中,開啟 src/pyproject.toml,將
mcp[cli]新增至相依性清單,如以下範例所示:dependencies = [ ... "mcp[cli]", ]在 src/fastapi_app 中,建立名為 mcp_server.py 的檔案,並將下列 MCP 伺服器初始化程式碼貼到檔案中:
import asyncio
import contextlib
from contextlib import asynccontextmanager

from mcp.server.fastmcp import FastMCP
from sqlalchemy.sql import func
from sqlmodel import Session, select

from .models import Restaurant, Review, engine

# Create a FastMCP server. Use stateless_http=True for simple mounting. Default path is .../mcp
mcp = FastMCP("RestaurantReviewsMCP", stateless_http=True)

# Lifespan context manager to start/stop the MCP session manager with the FastAPI app
@asynccontextmanager
async def mcp_lifespan(app):
    async with contextlib.AsyncExitStack() as stack:
        await stack.enter_async_context(mcp.session_manager.run())
        yield

# MCP tool: List all restaurants with their average rating and review count
@mcp.tool()
async def list_restaurants_mcp() -> list[dict]:
    """List restaurants with their average rating and review count."""

    def sync():
        with Session(engine) as session:
            statement = (
                select(
                    Restaurant,
                    func.avg(Review.rating).label("avg_rating"),
                    func.count(Review.id).label("review_count"),
                )
                .outerjoin(Review, Review.restaurant == Restaurant.id)
                .group_by(Restaurant.id)
            )
            results = session.exec(statement).all()
            rows = []
            for restaurant, avg_rating, review_count in results:
                r = restaurant.dict()
                r["avg_rating"] = float(avg_rating) if avg_rating is not None else None
                r["review_count"] = review_count
                r["stars_percent"] = (
                    round((float(avg_rating) / 5.0) * 100) if review_count > 0 and avg_rating is not None else 0
                )
                rows.append(r)
            return rows

    return await asyncio.to_thread(sync)

# MCP tool: Get a restaurant and all its reviews by restaurant_id
@mcp.tool()
async def get_details_mcp(restaurant_id: int) -> dict:
    """Return the restaurant and its related reviews as objects."""

    def sync():
        with Session(engine) as session:
            restaurant = session.exec(select(Restaurant).where(Restaurant.id == restaurant_id)).first()
            if restaurant is None:
                return None
            reviews = session.exec(select(Review).where(Review.restaurant == restaurant_id)).all()
            return {"restaurant": restaurant.dict(), "reviews": [r.dict() for r in reviews]}

    return await asyncio.to_thread(sync)

# MCP tool: Create a new review for a restaurant
@mcp.tool()
async def create_review_mcp(restaurant_id: int, user_name: str, rating: int, review_text: str) -> dict:
    """Create a new review for a restaurant and return the created review dict."""

    def sync():
        with Session(engine) as session:
            review = Review()
            review.restaurant = restaurant_id
            review.review_date = __import__("datetime").datetime.now()
            review.user_name = user_name
            review.rating = int(rating)
            review.review_text = review_text
            session.add(review)
            session.commit()
            session.refresh(review)
            return review.dict()

    return await asyncio.to_thread(sync)

# MCP tool: Create a new restaurant
@mcp.tool()
async def create_restaurant_mcp(restaurant_name: str, street_address: str, description: str) -> dict:
    """Create a new restaurant and return the created restaurant dict."""

    def sync():
        with Session(engine) as session:
            restaurant = Restaurant()
            restaurant.name = restaurant_name
            restaurant.street_address = street_address
            restaurant.description = description
            session.add(restaurant)
            session.commit()
            session.refresh(restaurant)
            return restaurant.dict()

    return await asyncio.to_thread(sync)
FastMCP() 初始化工具會使用 MCP Python SDK 中的無狀態模式建立 MCP 伺服器。 依預設,其可串流的 HTTP 端點會設為
/mcp子路徑。-
@mcp.tool()裝飾項目實作時,會將一項工具新增到 MCP 伺服器。 - 呼叫代理程式可透過工具函式的描述,瞭解如何使用工具及參數。
這些工具複製了表單式 FastAPI Web 應用程式現有的餐廳評論功能。 可以依需求新增更多具有更新和刪除功能的工具。
-
在 src/fastapi_app/app.py 中,找到
app = FastAPI()所在的行 (第 24 行),並取代為以下程式碼:from .mcp_server import mcp, mcp_lifespan app = FastAPI(lifespan=mcp_lifespan) app.mount("/mcp", mcp.streamable_http_app())此程式碼會將 MCP 伺服器可串流的 HTTP 端點,掛接到路徑
/mcp現有的 FastAPI 應用程式。 連同可串流 HTTP 端點的預設路徑,完整路徑為/mcp/mcp。
本機測試 MCP 伺服器
請在 codespace 終端中,使用下列命令執行應用程式:
python3 -m venv .venv
source .venv/bin/activate
pip install -r src/requirements.txt
pip install -e src
python3 src/fastapi_app/seed_data.py
python3 -m uvicorn fastapi_app:app --reload --port=8000
選擇 [在瀏覽器中開啟],並新增一些餐廳和評論。
讓
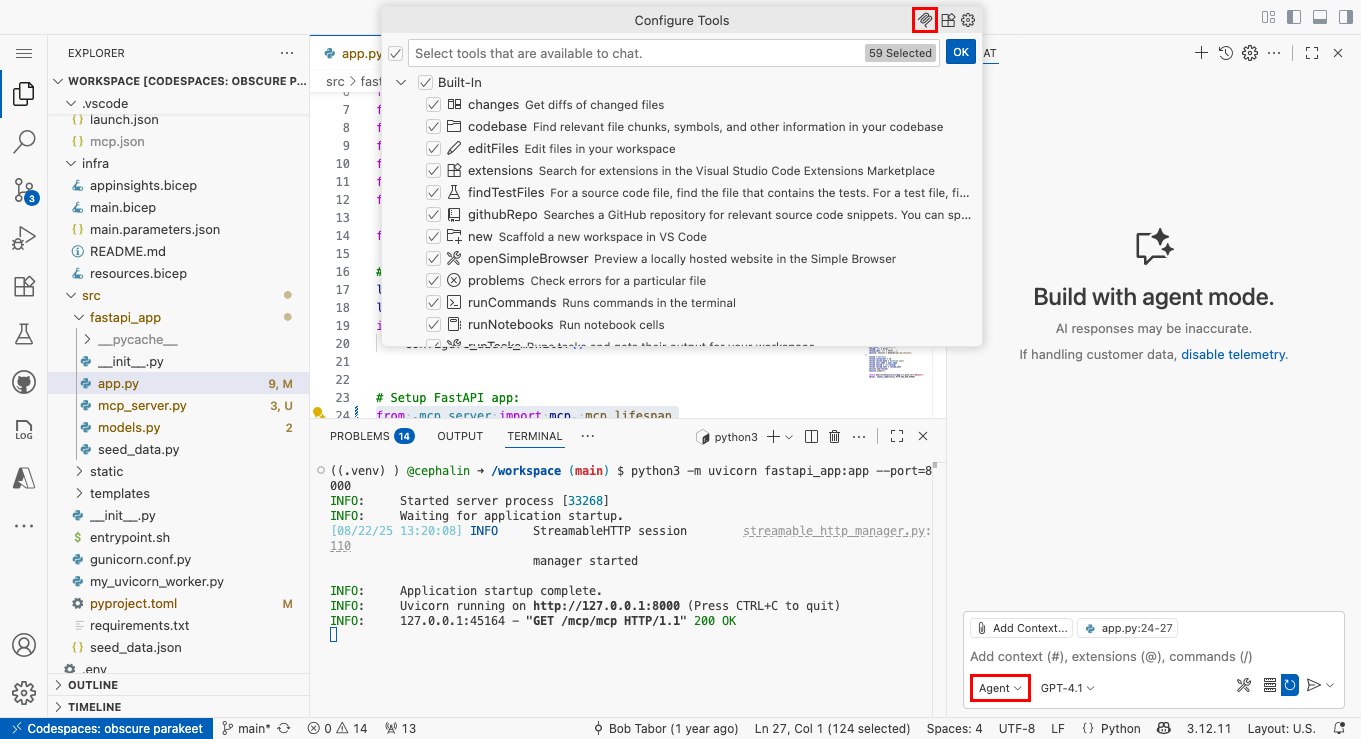
uvicorn執行, MCP 伺服器正於http://localhost:8000/mcp/mcp執行。返回 codespace,開啟 Copilot Chat,然後在提示方塊中選取 [代理程式] 模式。
選取 [工具] 按鈕,然後選取快顯視窗右上角的 [新增 MCP 伺服器] 圖示。
選取 [HTTP (HTTP 或伺服器傳送的事件)]。
在 [輸入伺服器 URL] 輸入 http://localhost:8000/mcp/mcp。
在 [輸入伺服器識別碼] 輸入 restaurant_ratings 或其他任何名稱。
選取 [工作區設定]。
在新的 Copilot Chat 視窗中,輸入「告訴我這家餐廳的評分」之類的內容。
根據預設,GitHub Copilot 會在您叫用 MCP 伺服器時顯示安全性確認通知。 選取繼續。

現在應該會看到回應,顯示 MCP 工具呼叫成功。
將 MCP 伺服器部署至 App Service
返回 codespace 終端機,藉由認可變更 (GitHub Actions 方法) 或執行
azd up(Azure 開發人員 CLI 方法) 來部署變更。在 AZD 輸出結果中,尋找應用程式的 URL。 AZD 輸出中 URL 看起來像這樣:
 Deploying services (azd deploy)

   (✓) Done: Deploying service web
   - Endpoint: <app-url>
azd up完成後,打開 .vscode/mcp.json。 將 URL 變更為<app-url>/mcp/mcp。在修改後的 MCP 伺服器設定上方,選取 [開始]。

啟動新的 GitHub Copilot Chat 視窗。 這時應該能夠查看餐廳評分,也可以在 Copilot 代理程式中建立新的餐廳和評分。
安全性最佳做法
如果呼叫 MCP 伺服器的是大型語言模型 (LLM) 支援的代理程式,請留意提示插入類型的攻擊。 建議採取以下安全性最佳做法:
- 認證與授權:以 Microsoft Entra 認證保護你的 MCP 伺服器,確保只有授權使用者或代理能存取你的工具。 請參閱透過 Microsoft Entra 驗證,從 Visual Studio Code 向 Azure App Service 發出安全的模型內容通訊協定呼叫 (機器翻譯)
- 輸入驗證和清理:一律驗證傳入的資料,以免輸入無效或惡意輸入。 對於 Python 應用程式,請使用 Pydantic 等程式庫,透過專用輸入模型 (例如 RestaurantCreate 和 ReviewCreate) 強制執行資料驗證規則。 請參閱其文件,以取得最佳做法和實作詳細資料。
- HTTPS:此範例依賴 Azure App Service,預設會強制執行 HTTPS,並提供免費的 TLS/SSL 憑證來加密傳輸中的資料。
- 最小權限原則:僅公開使用案例必需的工具和資料。 除非必要,否則請不要公開敏感性操作。
- 速率限制和節流:使用 API 管理或自訂的中介軟體來防堵濫用情形和阻斷服務攻擊。
- 事件記錄和監控:記錄 MCP 端點的存取和使用情況,以供稽核和異常偵測。 請監控可疑活動。
- CORS 設定:如果 MCP 伺服器是從瀏覽器存取,請將跨來源請求範圍限制在受信任的網域。 如需詳細資訊,請參閱啟用 CORS。
- 定期更新:相依性需保持最新狀態,以減輕已知漏洞的影響。