您可以使用 PowerShell 和 SendGrid 從 Runbook 傳送電子郵件。
如果您沒有 Azure 訂用帳戶,請在開始前建立免費帳戶。
必要條件
SendGrid 傳送者驗證。 網域或單一傳送者
您的 SendGrid API 金鑰。
Azure 自動化帳戶至少會有一個使用者指派的受控識別。 如需詳細資訊,請參閱啟用受控識別。
Az 模組:
Az.Accounts和Az.KeyVault已匯入至自動化帳戶。 如需詳細資訊,請參閱匯入 Az 模組。安裝在您電腦上的 Azure Az PowerShell 模組。 若要安裝或升級,請參閱如何安裝 Azure Az PowerShell 模組。
建立 Azure Key Vault
建立可以讓認證在指定的金鑰保存庫中取得和設定金鑰保存庫秘密的 Azure Key Vault 和 Key Vault 存取原則。
使用 Connect-AzAccount cmdlet 以互動方式登入 Azure 並遵循指示。
# Sign in to your Azure subscription
$sub = Get-AzSubscription -ErrorAction SilentlyContinue
if(-not($sub))
{
    Connect-AzAccount
}

# If you have multiple subscriptions, set the one to use
# Select-AzSubscription -SubscriptionId <SUBSCRIPTIONID>
為下列變數提供適當的值,然後執行指令碼。
$resourceGroup = "<Resource group>"
$automationAccount = "<Automation account>"
$region = "<Region>"
$SendGridAPIKey = "<SendGrid API key>"
$VaultName = "<A universally unique vault name>"

$userAssignedManagedIdentity = "<User-assigned managed identity>"
建立金鑰保存庫並指派權限
# Create the new key vault
$newKeyVault = New-AzKeyVault `
    -VaultName $VaultName `
    -ResourceGroupName $resourceGroup `
    -Location $region

$resourceId = $newKeyVault.ResourceId

# Convert the SendGrid API key into a SecureString
$Secret = ConvertTo-SecureString -String $SendGridAPIKey `
    -AsPlainText -Force

Set-AzKeyVaultSecret -VaultName $VaultName `
    -Name 'SendGridAPIKey' `
    -SecretValue $Secret

# Grant Key Vault access to the Automation account's system-assigned managed identity.
$SA_PrincipalId = (Get-AzAutomationAccount `
    -ResourceGroupName $resourceGroup `
    -Name $automationAccount).Identity.PrincipalId

Set-AzKeyVaultAccessPolicy `
    -VaultName $vaultName `
    -ObjectId $SA_PrincipalId `
    -PermissionsToSecrets Set, Get

# Grant Key Vault access to the user-assigned managed identity.
$UAMI = Get-AzUserAssignedIdentity `
    -ResourceGroupName $resourceGroup `
    -Name $userAssignedManagedIdentity

Set-AzKeyVaultAccessPolicy `
    -VaultName $vaultName `
    -ObjectId $UAMI.PrincipalId `
    -PermissionsToSecrets Set, Get
如需建立 Azure Key Vault 和儲存秘密的其他方式,請參閱 Key Vault 快速入門。
將權限指派給受控識別
將權限指派給適當的受控識別。 Runbook 可以使用自動化帳戶的系統指派受控識別或使用者指派的受控識別。 本文提供了將權限指派給每個身分識別的步驟。 下列步驟會使用 PowerShell。 如果您比較想使用入口網站,請參閱使用 Azure 入口網站指派 Azure 角色。
使用 PowerShell cmdlet New-AzRoleAssignment 將角色指派給系統指派的受控識別。
New-AzRoleAssignment `
    -ObjectId $SA_PrincipalId `
    -ResourceGroupName $resourceGroup `
    -RoleDefinitionName "Reader"
對使用者指派的受控識別指派角色。
New-AzRoleAssignment `
    -ObjectId $UAMI.PrincipalId`
    -ResourceGroupName $resourceGroup `
    -RoleDefinitionName "Reader"
針對系統指派的受控識別,顯示
ClientId並記錄其值以供稍後使用。$UAMI.ClientId
建立 Runbook 以傳送電子郵件
建立 Key Vault 並儲存您的 SendGrid API 金鑰之後,即可建立會擷取 API 金鑰並傳送電子郵件的 Runbook。 請以會使用系統指派受控識別的 Runbook 向 Azure 進行驗證,以從 Azure Key Vault 擷取祕密。 我們會呼叫 Runbook Send-GridMailMessage。 您可以修改在不同案例中使用的 PowerShell 指令碼。
登入 Azure 入口網站,然後瀏覽至您的自動化帳戶。
在您開啟的自動化帳戶頁面中,選取 [程序自動化] 下的 [Runbook]
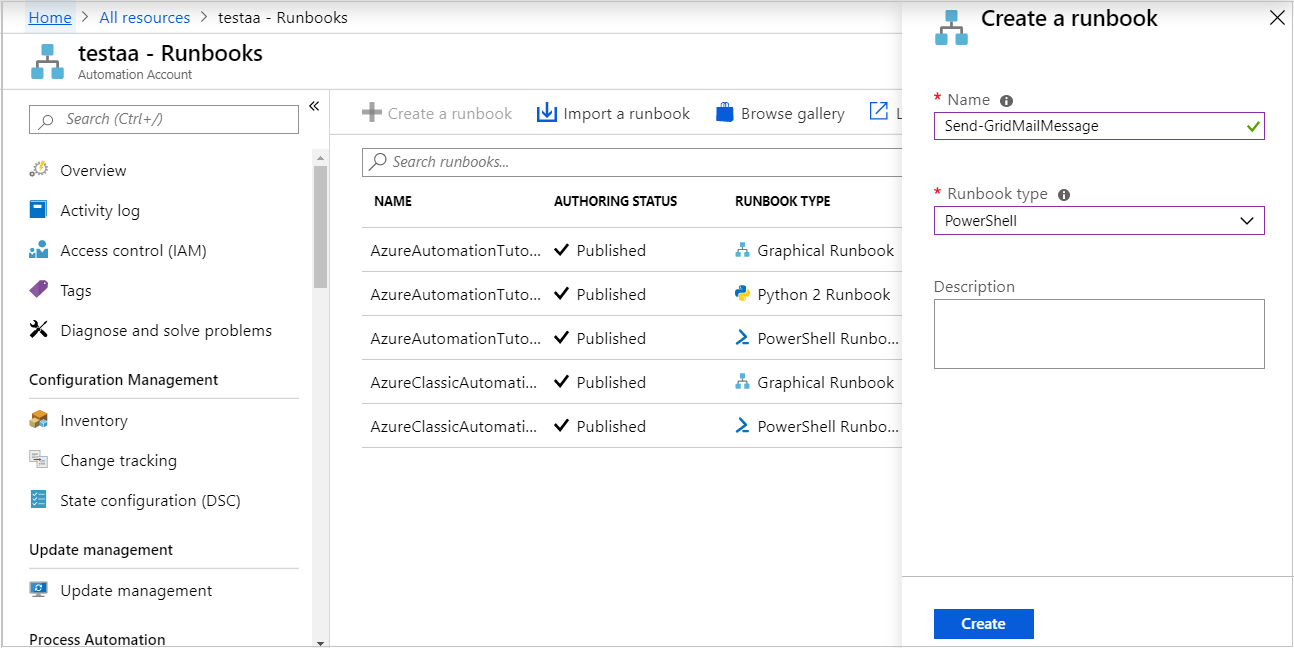
選取 [+建立 Runbook]。
- 將 Runbook 命名為
Send-GridMailMessage。 - 從 [Runbook 類型] 下拉式清單中,選取 [PowerShell]。
- 選取 建立。
- 將 Runbook 命名為
隨即建立 Runbook,並隨即開啟 [編輯 PowerShell Runbook] 頁面。
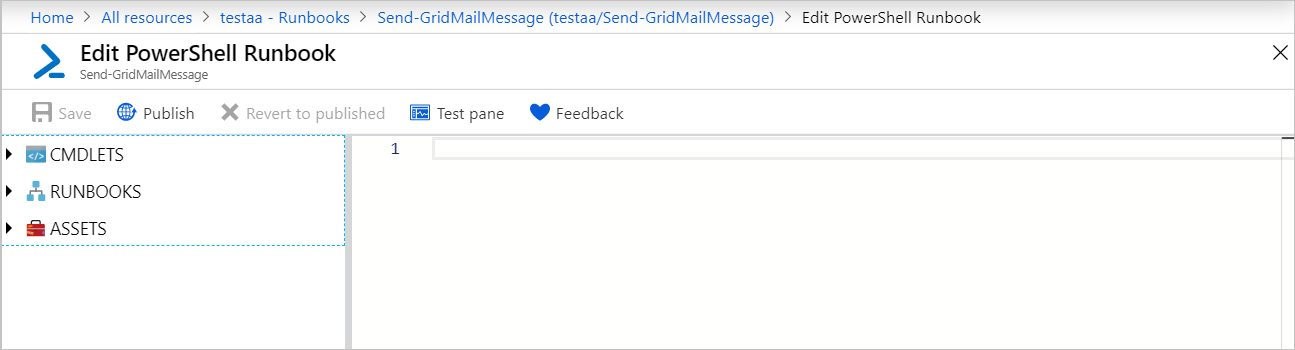
將下列 PowerShell 範例複製到編輯頁面中。 請確定
VaultName指定您為 Key Vault 選擇的名稱。Param( [Parameter(Mandatory=$True)] [String] $destEmailAddress, [Parameter(Mandatory=$True)] [String] $fromEmailAddress, [Parameter(Mandatory=$True)] [String] $subject, [Parameter(Mandatory=$True)] [String] $content, [Parameter(Mandatory=$True)] [String] $ResourceGroupName ) # Ensures you do not inherit an AzContext in your runbook Disable-AzContextAutosave -Scope Process # Connect to Azure with system-assigned managed identity $AzureContext = (Connect-AzAccount -Identity).context # set and store context $AzureContext = Set-AzContext -SubscriptionName $AzureContext.Subscription -DefaultProfile $AzureContext $VaultName = "<Enter your vault name>" $SENDGRID_API_KEY = Get-AzKeyVaultSecret ` -VaultName $VaultName ` -Name "SendGridAPIKey" ` -AsPlainText -DefaultProfile $AzureContext $headers = New-Object "System.Collections.Generic.Dictionary[[String],[String]]" $headers.Add("Authorization", "Bearer " + $SENDGRID_API_KEY) $headers.Add("Content-Type", "application/json") $body = @{ personalizations = @( @{ to = @( @{ email = $destEmailAddress } ) } ) from = @{ email = $fromEmailAddress } subject = $subject content = @( @{ type = "text/plain" value = $content } ) } $bodyJson = $body | ConvertTo-Json -Depth 4 $response = Invoke-RestMethod -Uri https://api.sendgrid.com/v3/mail/send -Method Post -Headers $headers -Body $bodyJson如果您想要 Runbook 以系統指派的受控識別來執行,請將程式碼保持原狀。 如果您偏好使用使用者指派的受控識別,則:
- 從第 18 行移除
$AzureContext = (Connect-AzAccount -Identity).context、 - 將其取代為
$AzureContext = (Connect-AzAccount -Identity -AccountId <ClientId>).context,然後 - 輸入您稍早取得的 [用戶端識別碼]。
- 從第 18 行移除
選取 [儲存]、[發佈],然後在出現提示時選取 [是]。
若要確認 Runbook 是否順利執行,您可以依照測試 Runbook 或啟動 Runbook 下的步驟操作。
如果您一開始未看到測試電子郵件,請查看垃圾郵件資料夾。
清除資源
當不再需要 Runbook 時,請在 Runbook 清單中加以選取,然後選取 [刪除]。
使用 Remove-AzKeyVault Cmdlet 刪除 Key Vault。
$VaultName = "<your KeyVault name>"
$resourceGroup = "<your ResourceGroup name>"
Remove-AzKeyVault -VaultName $VaultName -ResourceGroupName $resourceGroup
下一步
- 若要將 Runbook 作業資料傳送至您的 Log Analytics 工作區,請參閱將 Azure 自動化作業資料轉送至 Azure 監視器記錄。
- 若要監視基本層級計量和記錄,請參閱使用警示來觸發 Azure 自動化 Runbook。