教學課程:將功能推出至 ASP.NET Core 應用程式中的目標物件
在本教學課程中,您將使用目標篩選將功能推出至 ASP.NET Core 應用程式的目標物件。 如需目標篩選的詳細資訊,請參閱 向目標物件推出功能。
必要條件
- 具有有效訂用帳戶的 Azure 帳戶。 免費建立一個。
- 應用程式組態存放區。 建立存放區。
- 具有目標篩選的功能旗標。 建立功能旗標。
- .NET SDK 6.0 或更新版本。
使用功能旗標建立 Web 應用程式
在本節中,您將建立 Web 應用程式,讓用戶能夠登入並使用您之前建立的 Beta 功能旗標。
使用下列命令建立 Web 應用程式,以針對本地資料庫進行驗證。
dotnet new webapp --auth Individual -o TestFeatureFlags新增下列 NuGet 套件的參考。
dotnet add package Microsoft.Azure.AppConfiguration.AspNetCore
dotnet add package Microsoft.FeatureManagement.AspNetCore
儲存 應用程式組態 存放區的 連接字串。
dotnet user-secrets init
dotnet user-secrets set ConnectionStrings:AppConfig "<your_connection_string>"
將 Azure 應用程式組態和功能管理新增至您的應用程式。
使用下列程式代碼更新Program.cs檔案。
// Existing code in Program.cs
// ... ...

var builder = WebApplication.CreateBuilder(args);

// Retrieve the App Config connection string
string AppConfigConnectionString = builder.Configuration.GetConnectionString("AppConfig") ?? throw new InvalidOperationException("Connection string 'AppConfig' not found."); ;

// Load feature flag configuration from Azure App Configuration
builder.Configuration.AddAzureAppConfiguration(options =>
{
    options.Connect(AppConfigConnectionString);
    options.UseFeatureFlags();
});

// Add Azure App Configuration middleware to the container of services
builder.Services.AddAzureAppConfiguration();

// Add feature management to the container of services
builder.Services.AddFeatureManagement();

// The rest of existing code in Program.cs
// ... ...
使用 應用程式組態 中間件,從 Azure 應用程式組態 啟用組態和功能旗標重新整理。
使用下列程式碼更新 Program.cs。
// Existing code in Program.cs
// ... ...

var app = builder.Build();

// Use Azure App Configuration middleware for dynamic configuration refresh
app.UseAzureAppConfiguration();

// The rest of existing code in Program.cs
// ... ...
在 Pages 目錄下新增名為 Beta 的新空白 Razor 頁面。 包含 Beta.cshtml 和 Beta.cshtml.cs 這兩個檔案。
@page
@model TestFeatureFlags.Pages.BetaModel
@{
    ViewData["Title"] = "Beta Page";
}

<h1>This is the beta website.</h1>
開啟 Beta.cshtml.cs,將
FeatureGate屬性新增至BetaModel類別。using Microsoft.AspNetCore.Mvc.RazorPages; using Microsoft.FeatureManagement.Mvc; namespace TestFeatureFlags.Pages { [FeatureGate("Beta")] public class BetaModel : PageModel { public void OnGet() { } } }開啟 Pages/_ViewImports.cshtml,並使用 指示詞註冊功能管理員標籤協助程式
@addTagHelper。@addTagHelper *, Microsoft.FeatureManagement.AspNetCore在 Pages/Shared 目錄中開啟 _Layout.cshtml。 在 [首頁] 與 [隱私權] 導覽列項目之間插入新的
<feature>標籤,如下列醒目提示的這幾行。<nav class="navbar navbar-expand-sm navbar-toggleable-sm navbar-light bg-white border-bottom box-shadow mb-3"> <div class="container"> <a class="navbar-brand" asp-area="" asp-page="/Index">TestAppConfigNet3</a> <button class="navbar-toggler" type="button" data-toggle="collapse" data-target=".navbar-collapse" aria-controls="navbarSupportedContent" aria-expanded="false" aria-label="Toggle navigation"> <span class="navbar-toggler-icon"></span> </button> <div class="navbar-collapse collapse d-sm-inline-flex flex-sm-row-reverse"> <ul class="navbar-nav flex-grow-1"> <li class="nav-item"> <a class="nav-link text-dark" asp-area="" asp-page="/Index">Home</a> </li> <feature name="Beta"> <li class="nav-item"> <a class="nav-link text-dark" asp-area="" asp-page="/Beta">Beta</a> </li> </feature> <li class="nav-item"> <a class="nav-link text-dark" asp-area="" asp-page="/Privacy">Privacy</a> </li> </ul> </div> </div> </nav>
啟用 Web 應用程式的目標
目標篩選條件會根據使用者的目標內容來評估使用者的功能狀態,其中包含使用者所屬的使用者標識元和群組。 在此範例中,您會使用登入使用者的電子郵件地址作為使用者標識碼,並使用電子郵件位址的域名作為群組。
使用下列程式代碼新增ExampleTargetingContextAccessor.cs檔案。 您可以實作
ITargetingContextAccessor介面,為目前要求的登入使用者提供目標內容。using Microsoft.FeatureManagement.FeatureFilters; namespace TestFeatureFlags { public class ExampleTargetingContextAccessor : ITargetingContextAccessor { private const string TargetingContextLookup = "ExampleTargetingContextAccessor.TargetingContext"; private readonly IHttpContextAccessor _httpContextAccessor; public ExampleTargetingContextAccessor(IHttpContextAccessor httpContextAccessor) { _httpContextAccessor = httpContextAccessor ?? throw new ArgumentNullException(nameof(httpContextAccessor)); } public ValueTask<TargetingContext> GetContextAsync() { HttpContext httpContext = _httpContextAccessor.HttpContext; if (httpContext.Items.TryGetValue(TargetingContextLookup, out object value)) { return new ValueTask<TargetingContext>((TargetingContext)value); } List<string> groups = new List<string>(); if (httpContext.User.Identity.Name != null) { groups.Add(httpContext.User.Identity.Name.Split("@", StringSplitOptions.None)[1]); } TargetingContext targetingContext = new TargetingContext { UserId = httpContext.User.Identity.Name, Groups = groups }; httpContext.Items[TargetingContextLookup] = targetingContext; return new ValueTask<TargetingContext>(targetingContext); } } }開啟Program.cs檔案,並藉由呼叫
WithTargeting方法來啟用目標篩選。 您會傳入目標篩選條件在功能旗標評估期間用來取得目標內容的類型ExampleTargetingContextAccessor。 將 新增HttpContextAccessor至服務集合,以允許ExampleTargetingContextAccessor從HttpContext存取登入的用戶資訊。// Existing code in Program.cs // ... ... // Add feature management to the container of services builder.Services.AddFeatureManagement() .WithTargeting<ExampleTargetingContextAccessor>(); // Add HttpContextAccessor to the container of services. builder.Services.AddHttpContextAccessor(); // The rest of existing code in Program.cs // ... ...注意
針對 Blazor 應用程式,請參閱 將功能管理啟用為範圍服務的指示。
以作用中的篩選為目標
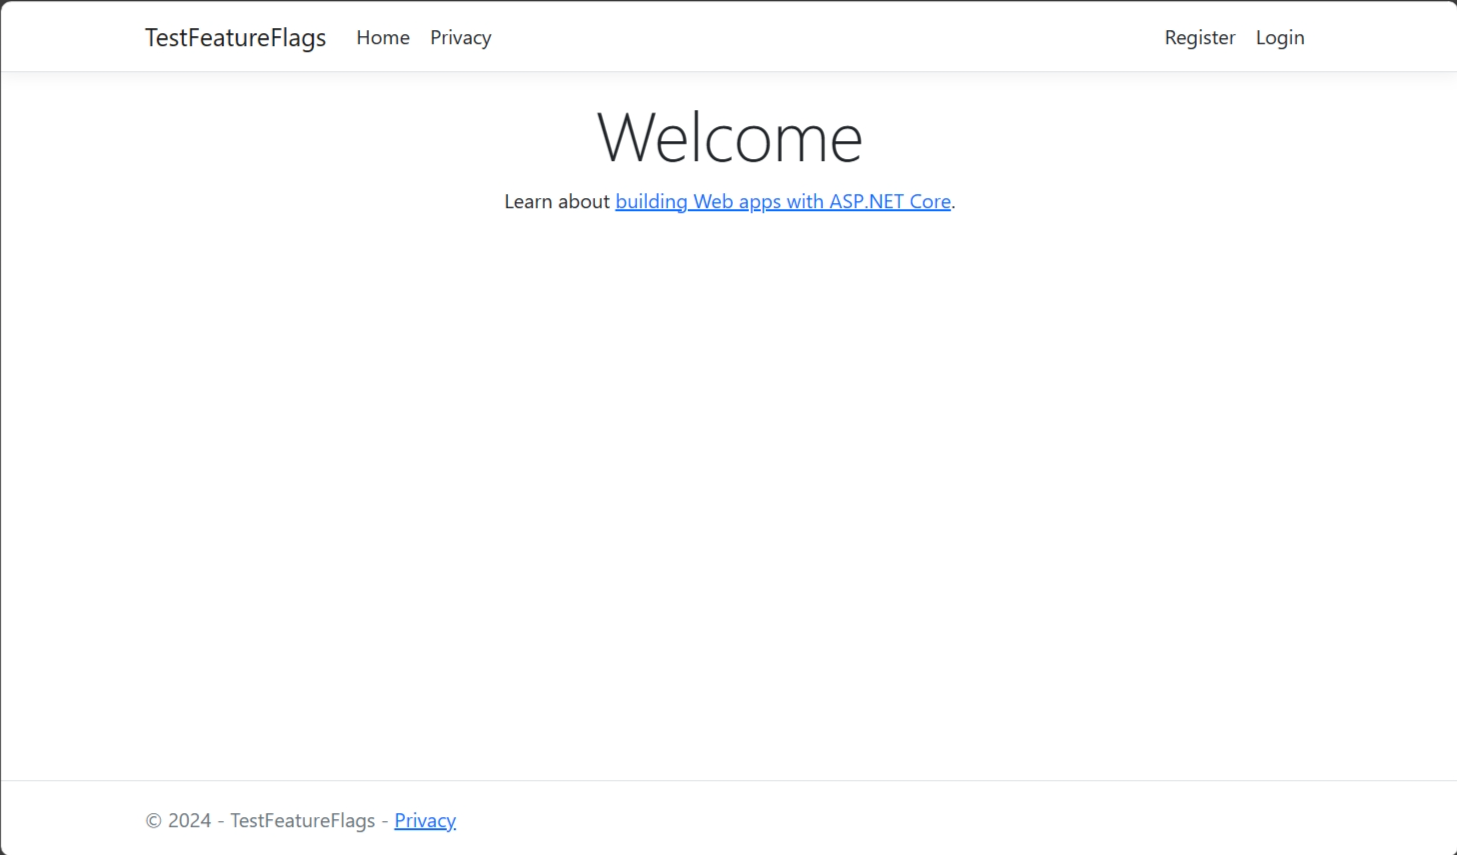
建置並執行應用程式。 一開始,Beta 項目不會出現在工具列上,因為 [預設百分比] 選項設定為 0。
選取右上角的 [ 註冊 ] 連結,以建立新的用戶帳戶。 使用
test@contoso.com的電子郵件地址。 在 [註冊確認] 畫面上,選取 [按一下這裡以確認您的帳戶]。以 身分
test@contoso.com登入 ,使用您在註冊帳戶時設定的密碼。Beta 項目現在會出現在工具列上,因為將
test@contoso.com指定為目標使用者。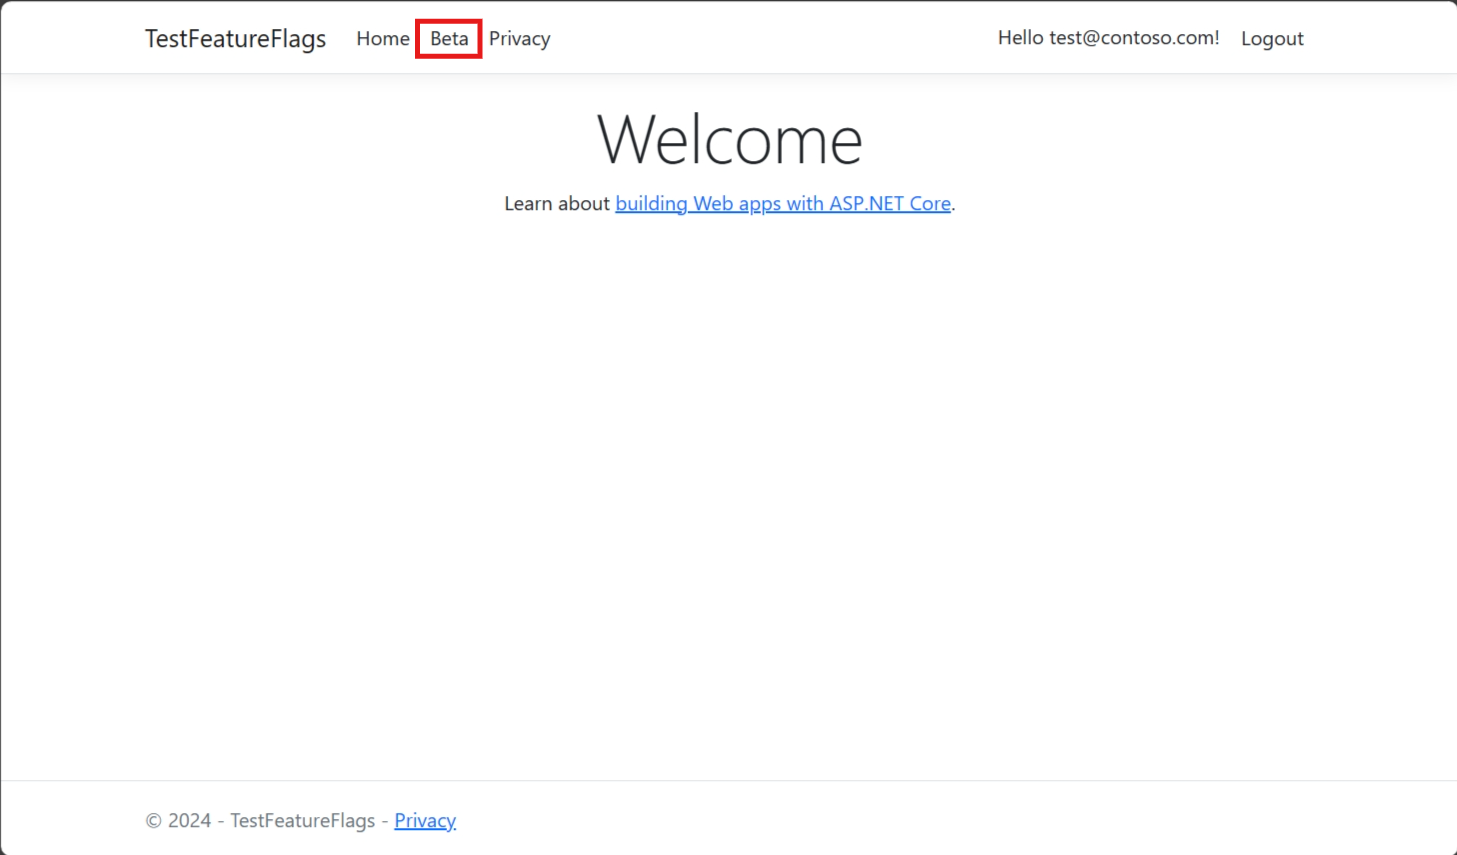
現在,使用您在註冊帳戶時設定的密碼來登入
testuser@contoso.com。 Beta 項目不會出現在工具列上,因為將testuser@contoso.com指定為排除的使用者。您可以使用
@contoso.com和@contoso-xyz.com電子郵件地址建立更多使用者,以查看群組設定的行為。使用
contoso-xyz.com電子郵件地址的使用者不會看到 Beta 項目。 雖然使用@contoso.com電子郵件位址的 50% 使用者會看到 Beta 項目,但其他 50% 的使用者看不到 Beta 項目。
下一步
若要深入瞭解功能篩選,請繼續進行下列教學課程。