如何:佈建 Azure 流體轉送服務
您必須先在 Azure 帳戶中佈建 Azure 流體轉送伺服器資源,才能將應用程式連線至 Azure 流體轉送。 此文章將逐步解說步驟,以佈建 Azure 流體轉送服務並準備好使用。
必要條件
若要建立 Azure 流體轉送資源,您必須擁有 Azure 帳戶。 如果您沒有帳戶,您可以免費試用 Azure。
建立資源群組
資源群組是 Azure 資源的邏輯集合。 所有資源都會在資源群組中部署與管理。 若要建立資源群組︰
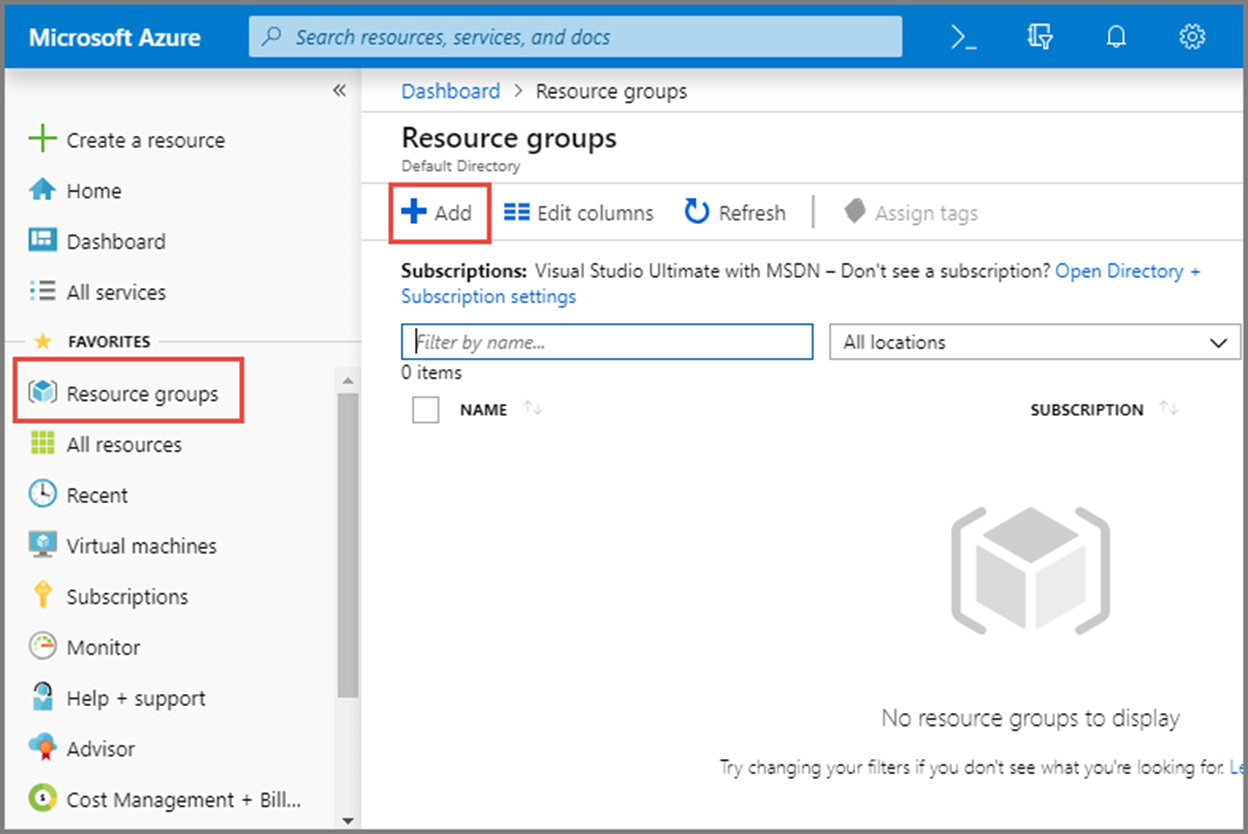
登入 Azure 入口網站。
在左側瀏覽中,選取 [資源群組]。 然後選取 [新增]。
在 [訂用帳戶] 中,選取要在其中建立資源群組的 Azure 訂用帳戶名稱。 如需訂用帳戶的詳細資訊,請參閱描述核心 Azure 架構元件。
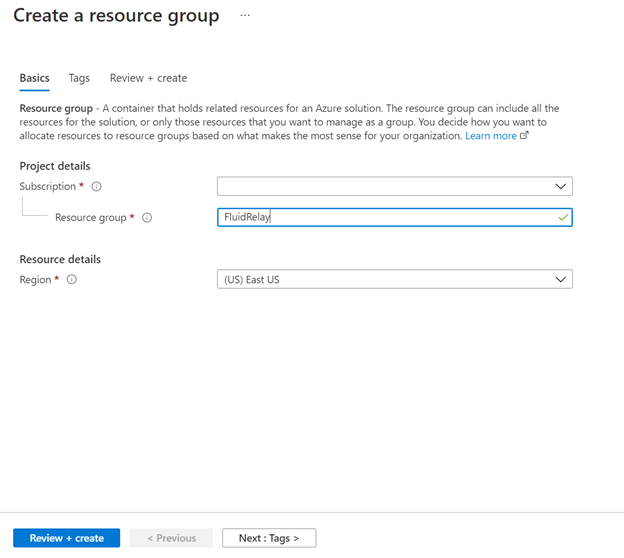
輸入資源群組的唯一名稱。 系統會立即檢查名稱是否可用於目前選取的 Azure 訂用帳戶。
選取資源群組的區域。
選取 [檢閱 + 建立] 。
在 [檢閱 + 建立] 頁面上,選取 [建立]。
建立流體轉送資源
每個 Azure 流體轉送伺服器資源都會提供一個租用戶,供您在 Fluid 應用程式中使用。 在該租用戶中,您可以建立許多容器/工作階段。 若要使用入口網站在資源群組中建立流體轉送:
在 Azure 入口網站中,選取畫面左上方的 [建立資源]。
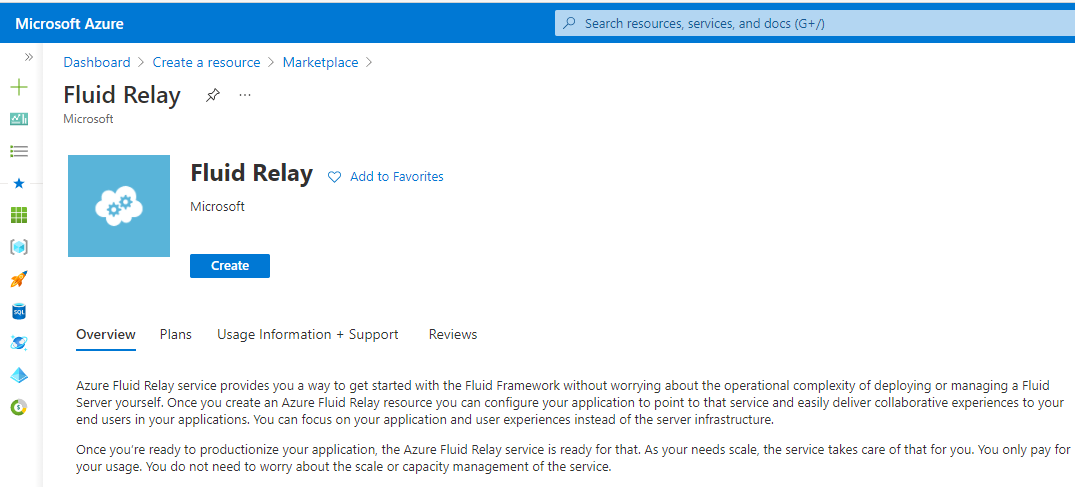
搜尋「流體」

選取 [流體轉送],然後選取 [建立]。
在 [建立] 頁面上,執行下列步驟:
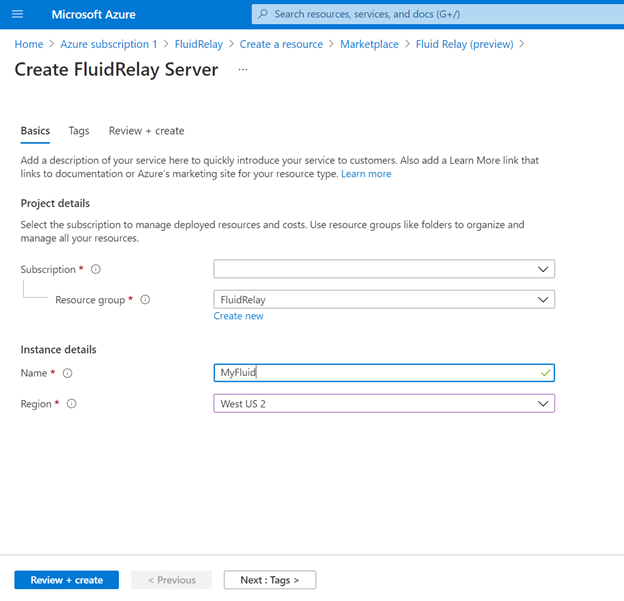
- 選取您要在其中建立命名空間的訂用帳戶。
- 選取您在上一個步驟中建立的資源群組。
- 輸入流體轉送資源的名稱。
- 選取命名空間的位置。
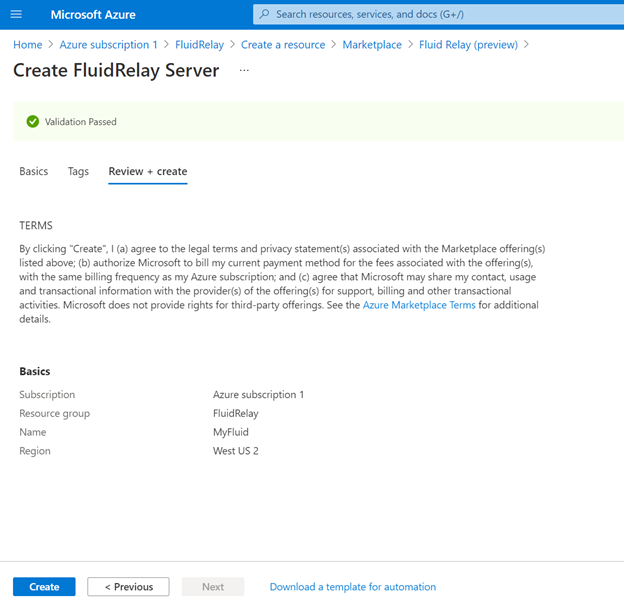
按一下頁面底部的 [檢閱 + 建立] 按鈕。
在 [檢閱 + 建立] 頁面上檢閱設定,然後選取 [建立]。 等待部署完成。
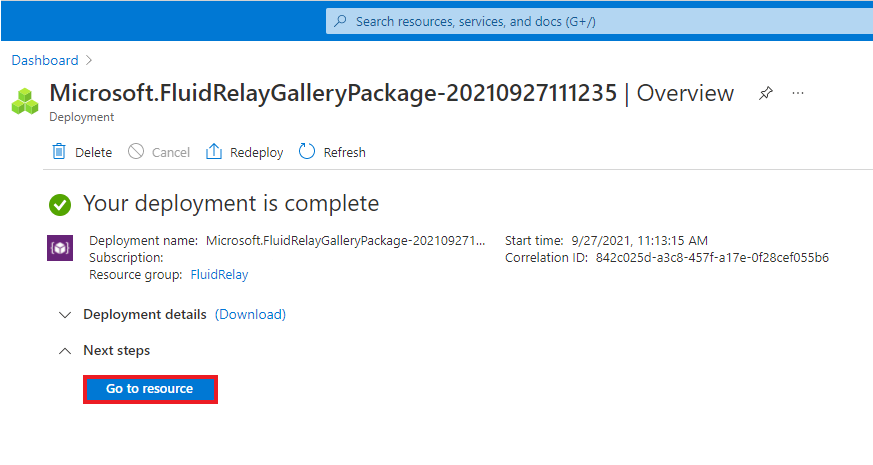
在 [部署] 頁面上,選取 [移至資源] 以瀏覽至您命名空間的頁面。
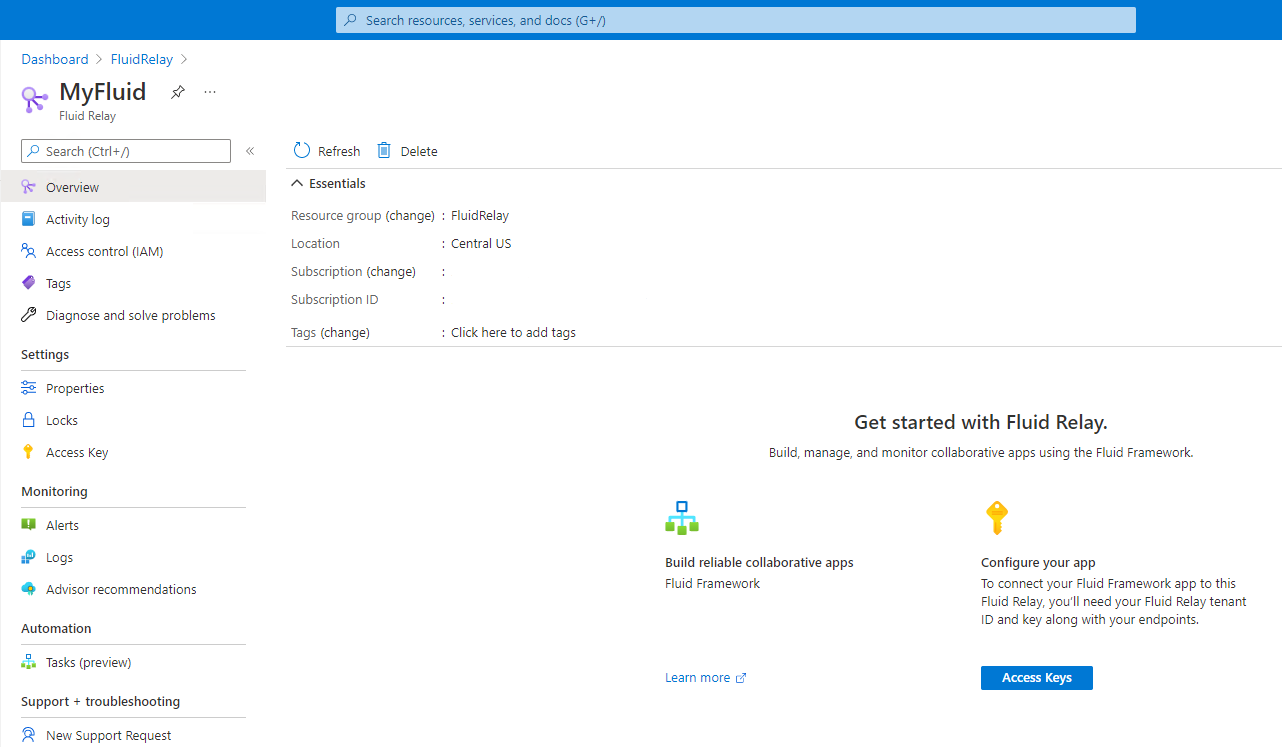
確認您看到類似此範例的流體轉送頁面。
下一步
您剛剛建立了資源群組,並在該群組中佈建了 Azure 流體轉送資源。 接下來,您可以在應用程式中連線至 Azure 流體轉送服務。