從 Azure Cloud Shell 部署 ARM 範本
您可以使用 Azure Cloud Shell,部署 Azure Resource Manager 範本 (ARM 範本)。 您可以部署儲存在遠端的 ARM 範本,或是部署為 Cloud Shell 儲存在本機儲存體帳戶中的 ARM 範本。
您可以部署到任何範圍。 此文章說明如何部署到資源群組。
所需的權限
若要部署 Bicep 檔案或 ARM 範本,您需要對即將進行部署的資源具備寫入存取權,並可存取 Microsoft.Resources/部署資源類型上的所有作業。 例如,若要部署虛擬機器,您需要 Microsoft.Compute/virtualMachines/write 和 Microsoft.Resources/deployments/* 權限。 假設狀況作業具有相同的權限需求。
如需角色與權限的清單,請參閱 Azure 內建角色。
部署遠端範本
若要部署外部範本,請提供範本的 URI,就如同您對任何外部部署所做的一樣。 外部範本可能位於 GitHub 存放庫或外部儲存體帳戶。
請開啟 Cloud Shell 提示字元。

若要部署範本,請使用下列命令:
az group create --name ExampleGroup --location "Central US"
az deployment group create \
  --name ExampleDeployment \
  --resource-group ExampleGroup \
  --template-uri "https://raw.githubusercontent.com/Azure/azure-quickstart-templates/master/quickstarts/microsoft.storage/storage-account-create/azuredeploy.json" \
  --parameters storageAccountType=Standard_GRS
部署本機範本
若要部署本機範本,必須先將範本上傳至已連線至 Cloud Shell 工作階段的儲存體帳戶。
登入 Cloud Shell。
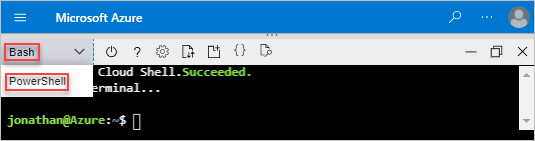
選取 [PowerShell] 或 [Bash]。
選取 [上傳/下載檔案],然後選取 [上傳]。
![Cloud Shell 介面的螢幕快照,其中已醒目提示 [上傳檔案] 選項。](media/deploy-cloud-shell/cloud-shell-upload.png)
選取想要上傳的 ARM 範本,然後選取 [開啟]。
若要部署範本,請使用下列命令:
az group create --name ExampleGroup --location "South Central US"
az deployment group create \
  --resource-group ExampleGroup \
  --template-file azuredeploy.json \
  --parameters storageAccountType=Standard_GRS
下一步
- 如需部署命令的詳細資訊,請參閱使用 ARM 範本與 Azure CLI 部署資源以及使用 ARM 範本與 Azure PowerShell 部署資源。
- 若要在部署範本之前先預覽變更,請參閱 ARM 範本部署假設作業。