使用 Terraform 方案來部署 Google Cloud Platform Windows 實例,並將其連線至 Azure Arc
本文提供使用提供的 Terraform 計劃來部署 Windows Server Google Cloud Platform (GCP) 實例的指引,並將其連線為已啟用 Azure Arc 的伺服器資源。
必要條件
複製 Azure Arc Jumpstart 存放庫。
git clone https://github.com/microsoft/azure_arc.git將 Azure CLI 安裝或更新為 2.7 版和更新版本。 使用下列命令來檢查您目前的已安裝版本。
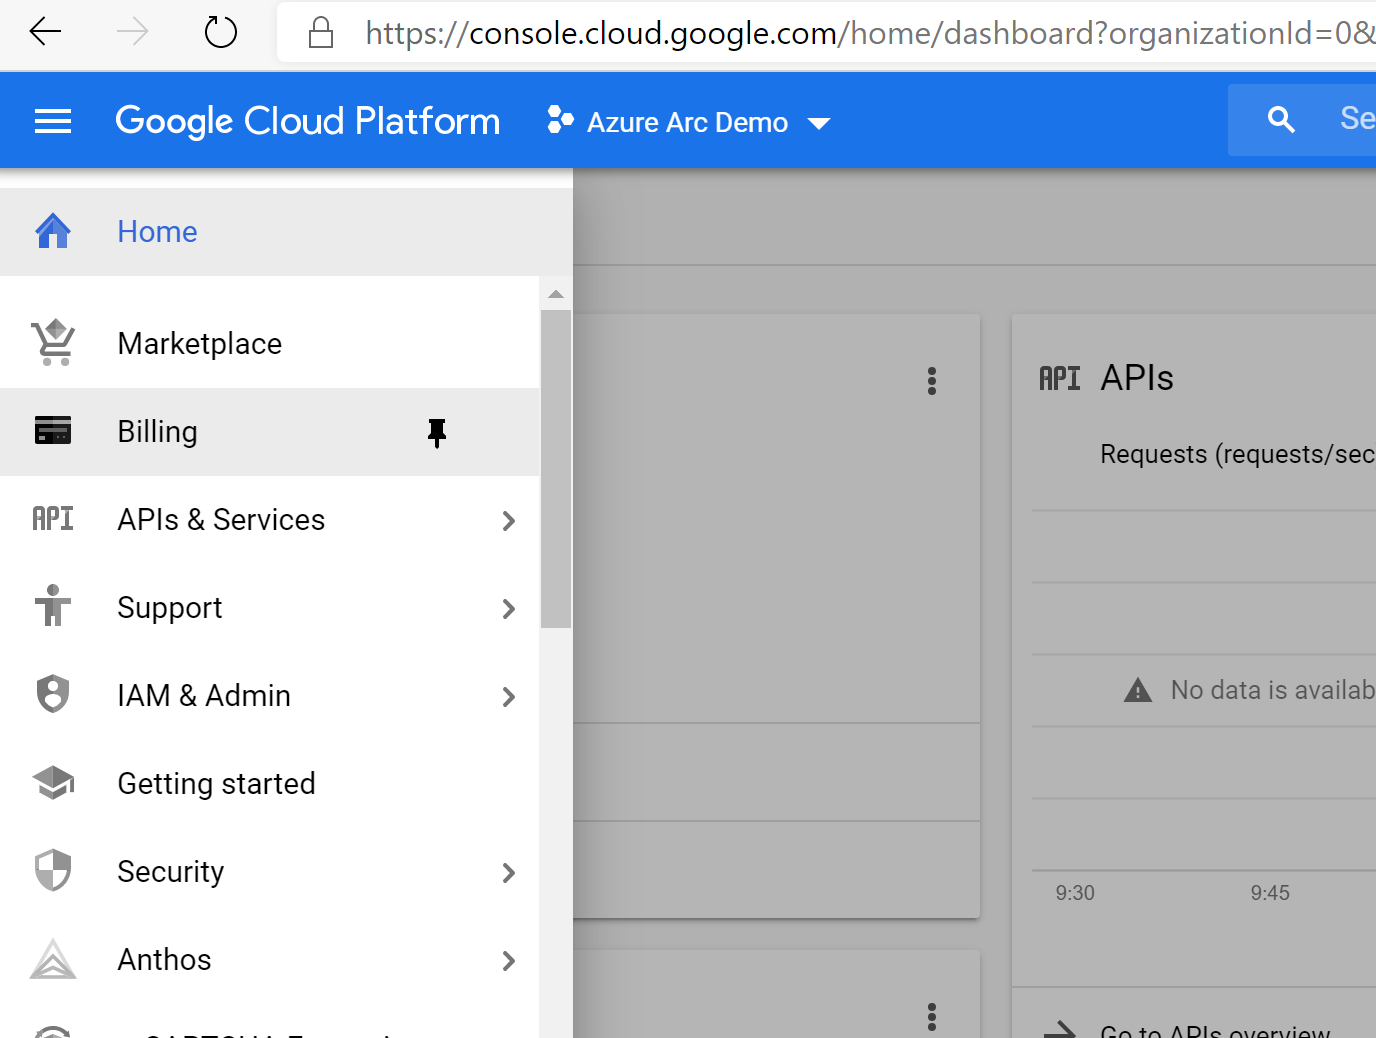
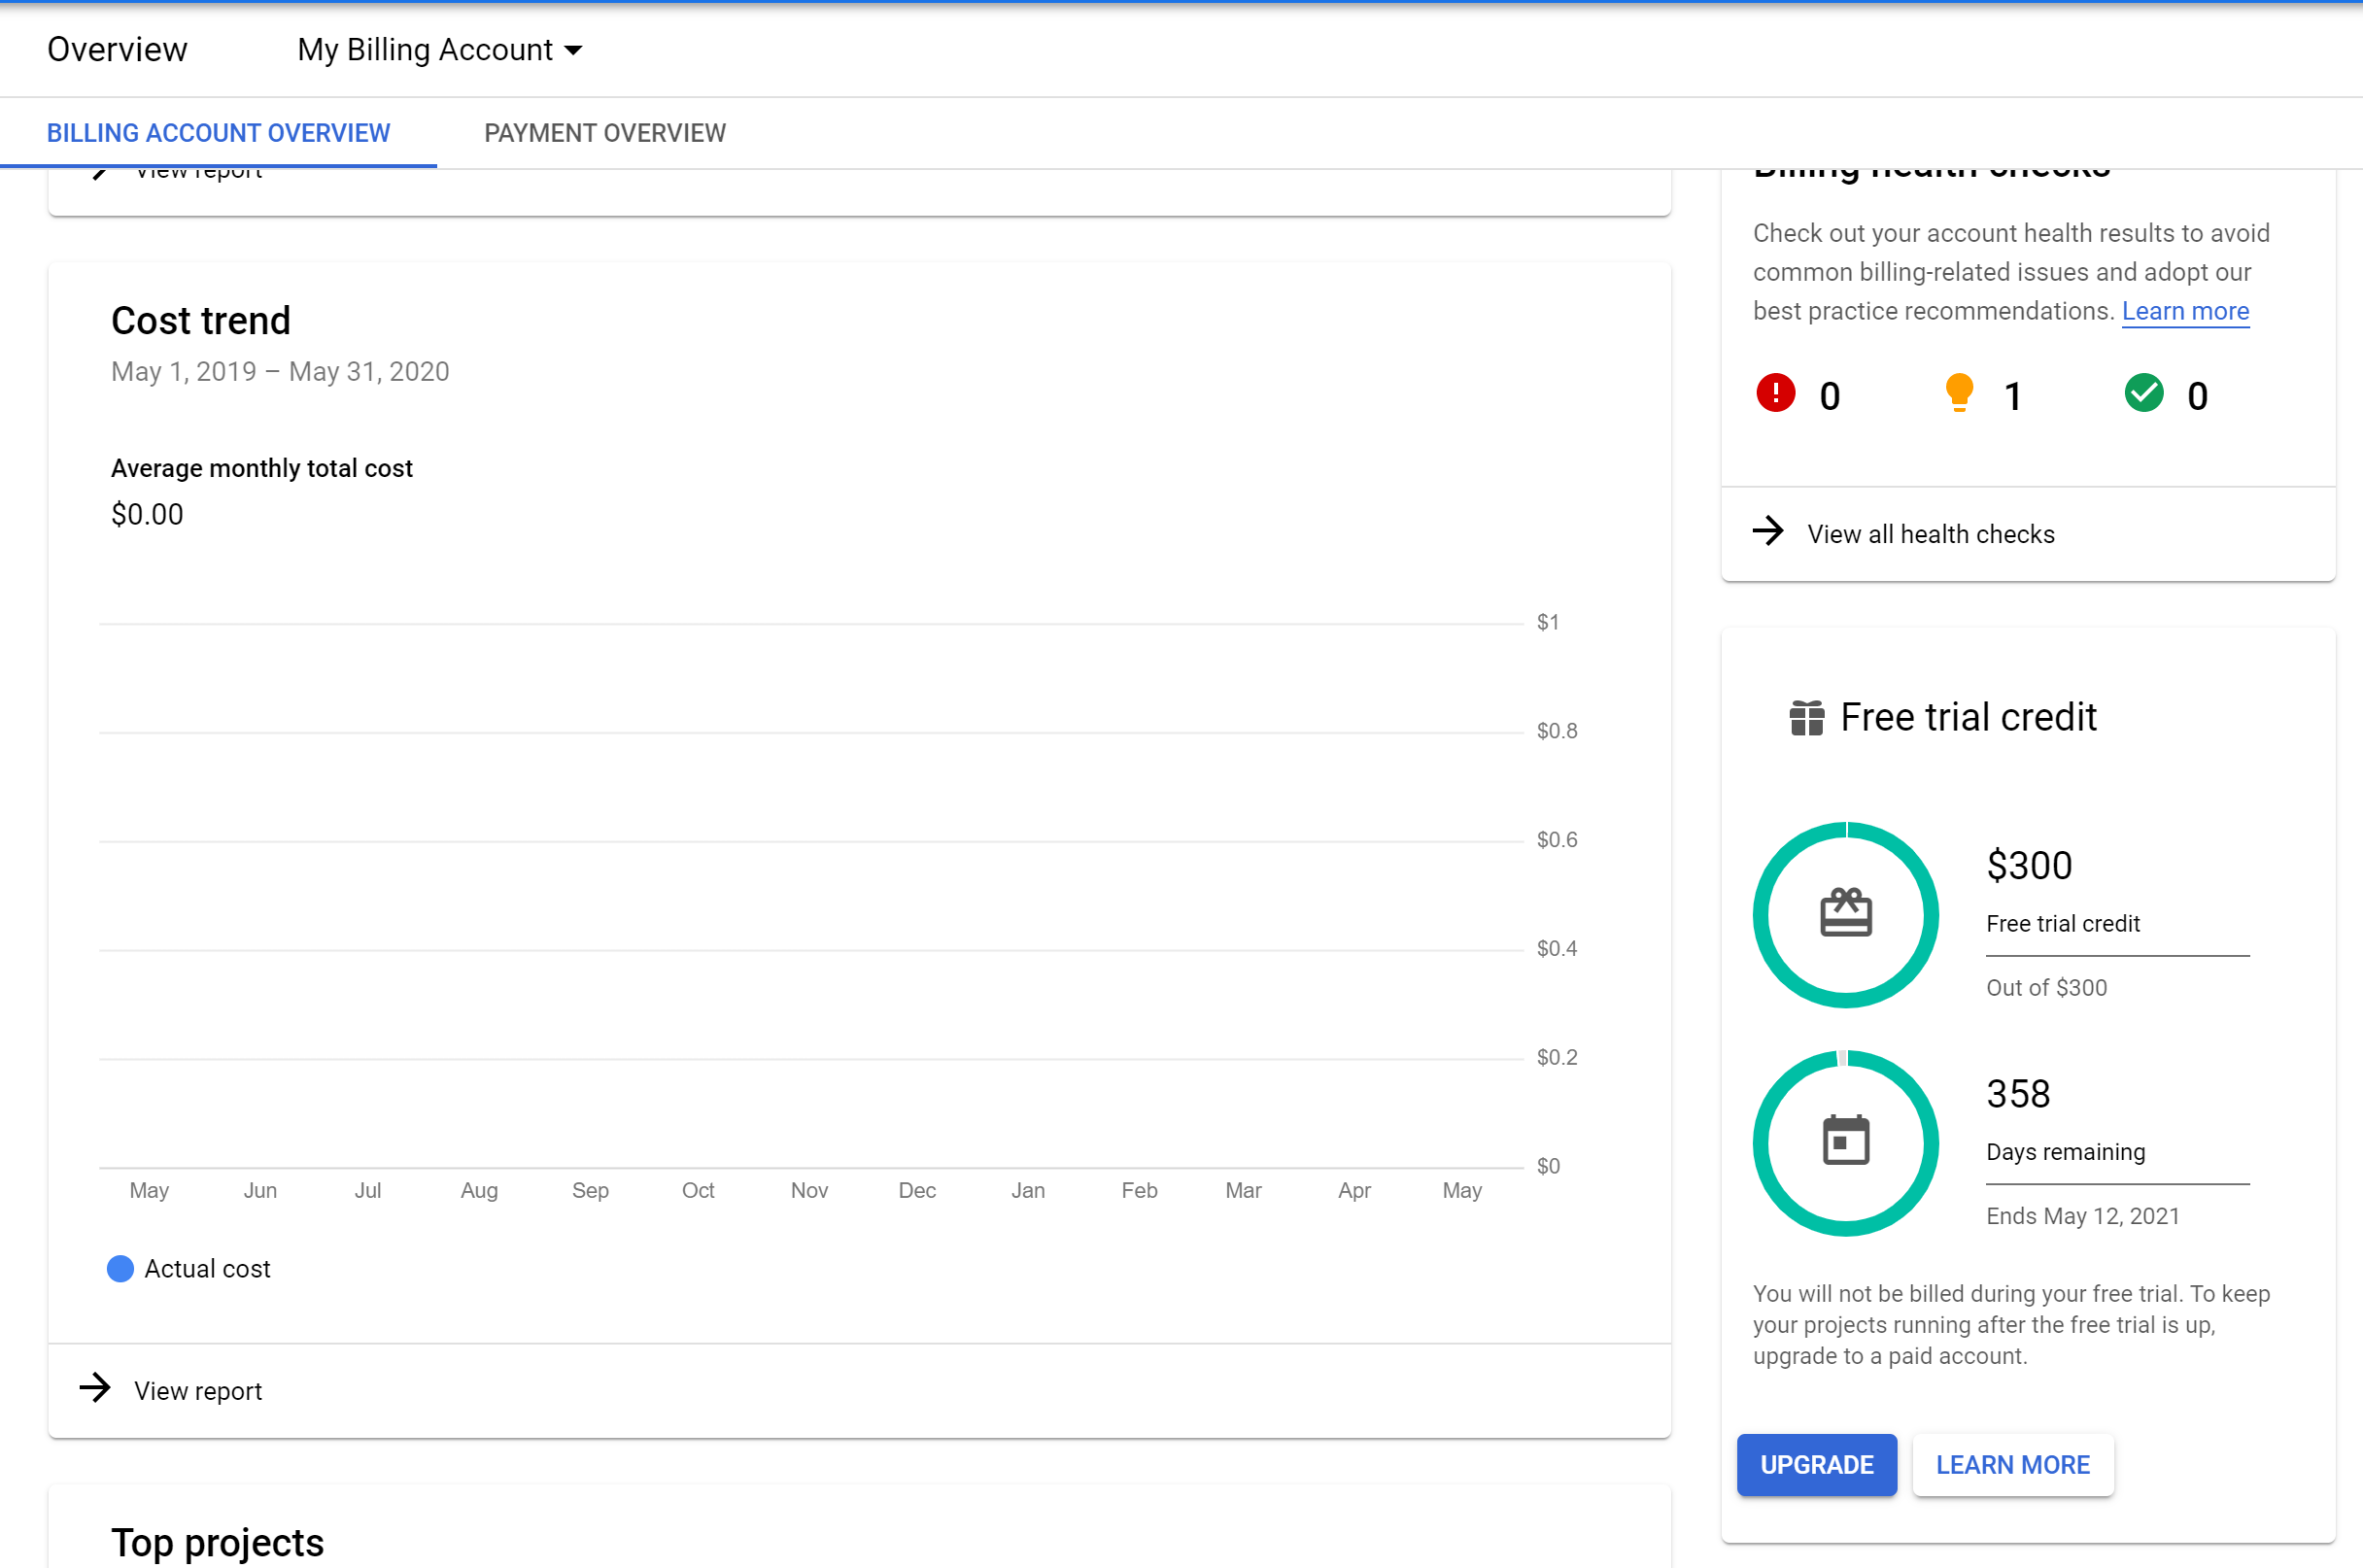
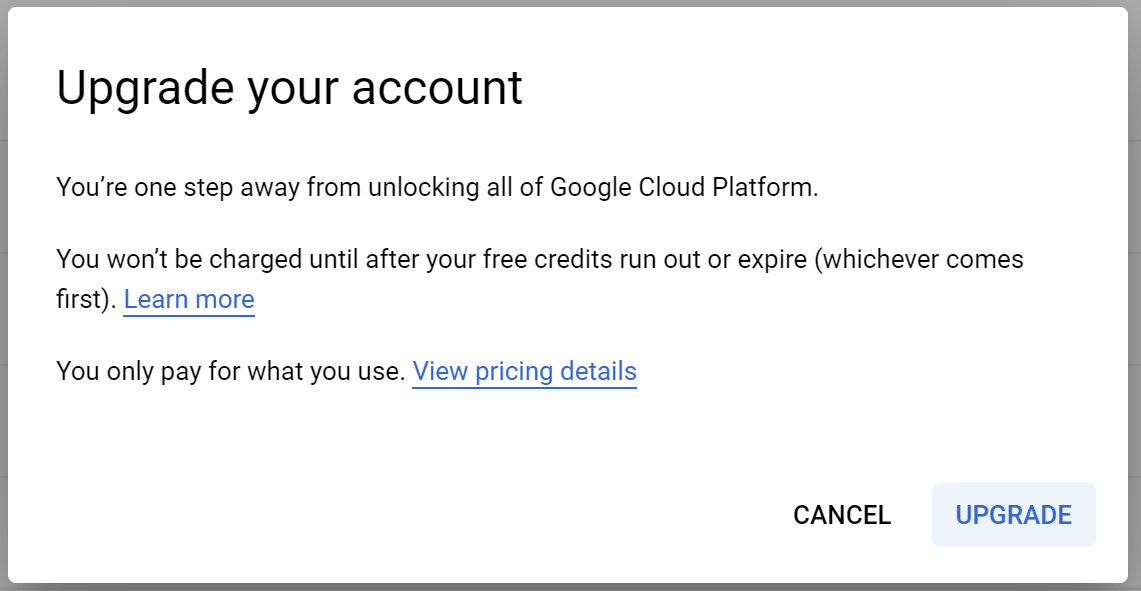
az --version已啟用計費的Google Cloud Platform 帳戶:建立免費試用帳戶。 若要建立 Windows Server 虛擬機,您必須升級您的帳戶以啟用計費。 從功能表中選取 [帳單 ],然後選取右下方的 [ 升級 ]。
免責聲明: 若要防止非預期的費用,請遵循本文結尾的「刪除部署」一節。
建立 Azure 服務主體。
若要將 GCP 虛擬機連線到 Azure Arc,則需要指派參與者角色的 Azure 服務主體。 若要建立它,請登入您的 Azure 帳戶,然後執行下列命令。 您也可以在 Azure Cloud Shell 中執行此命令。
az login
az account set -s <Your Subscription ID>
az ad sp create-for-rbac -n "<Unique SP Name>" --role contributor --scopes "/subscriptions/<Your Subscription ID>"
例如:
az ad sp create-for-rbac -n "http://AzureArcGCP" --role contributor --scopes "/subscriptions/00000000-0000-0000-0000-000000000000"輸出應該看起來像這樣:
{
  "appId": "XXXXXXXXXXXXXXXXXXXXXXXXXXXX",
  "displayName": "http://AzureArcGCP",
  "password": "XXXXXXXXXXXXXXXXXXXXXXXXXXXX",
  "tenant": "XXXXXXXXXXXXXXXXXXXXXXXXXXXX"
}
注意
強烈建議您將服務主體的範圍設定為特定的 Azure 訂用帳戶和資源群組。
建立新的 GCP 專案
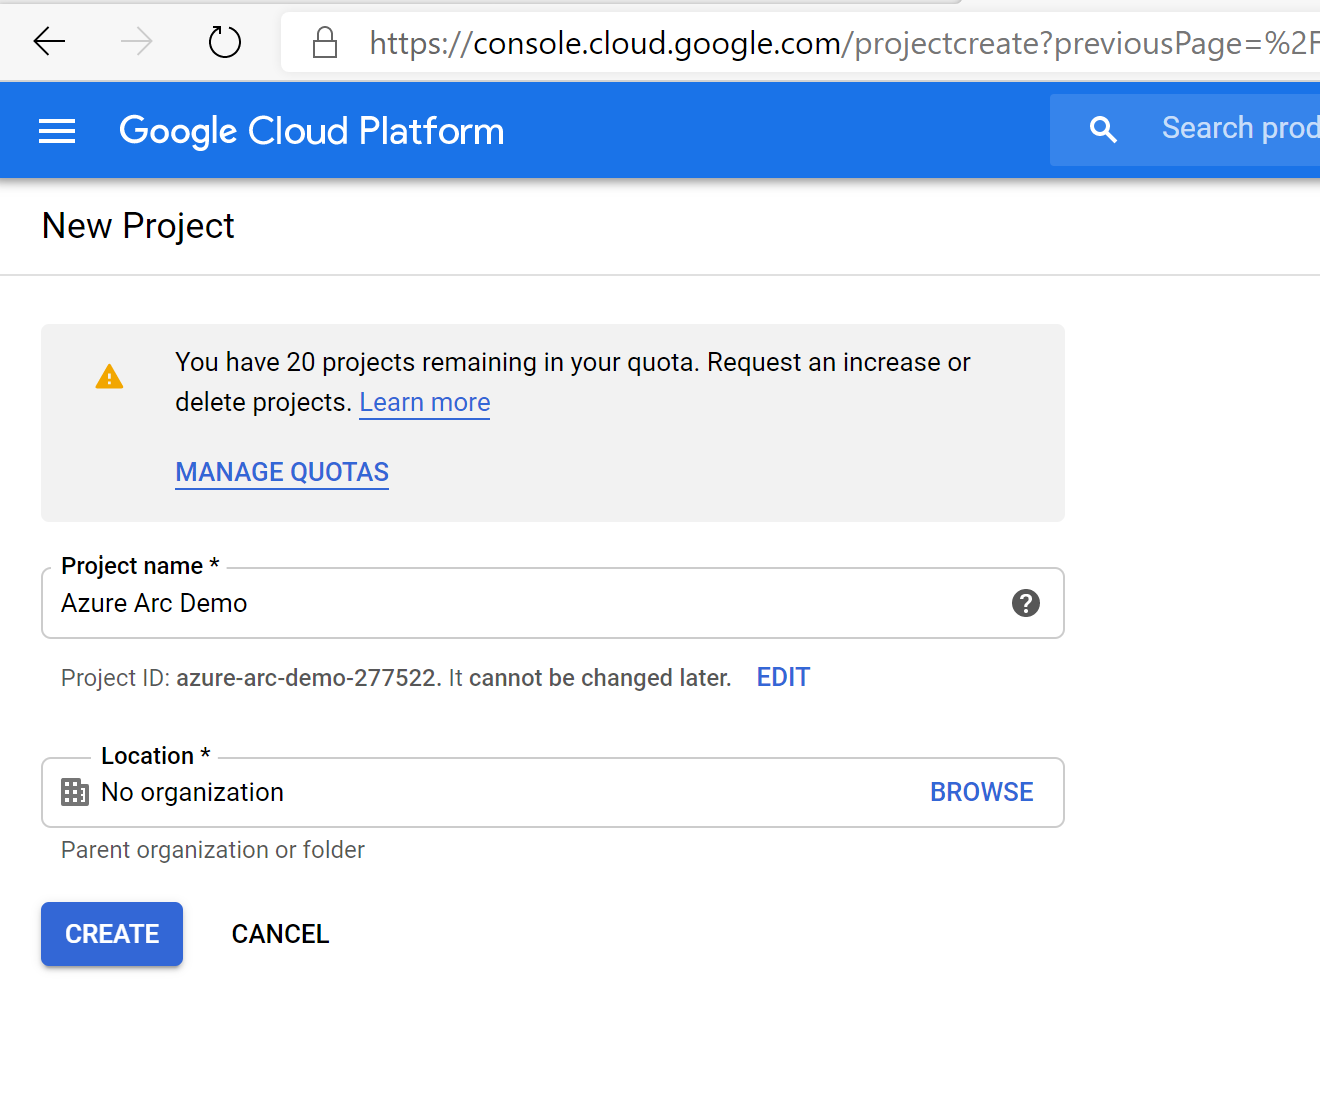
流覽至 Google API控制台 ,並使用您的Google帳戶登入。 登入之後,請建立名為
Azure Arc demo的新專案。 建立之後,請務必複製專案標識符,因為它通常與項目名稱不同。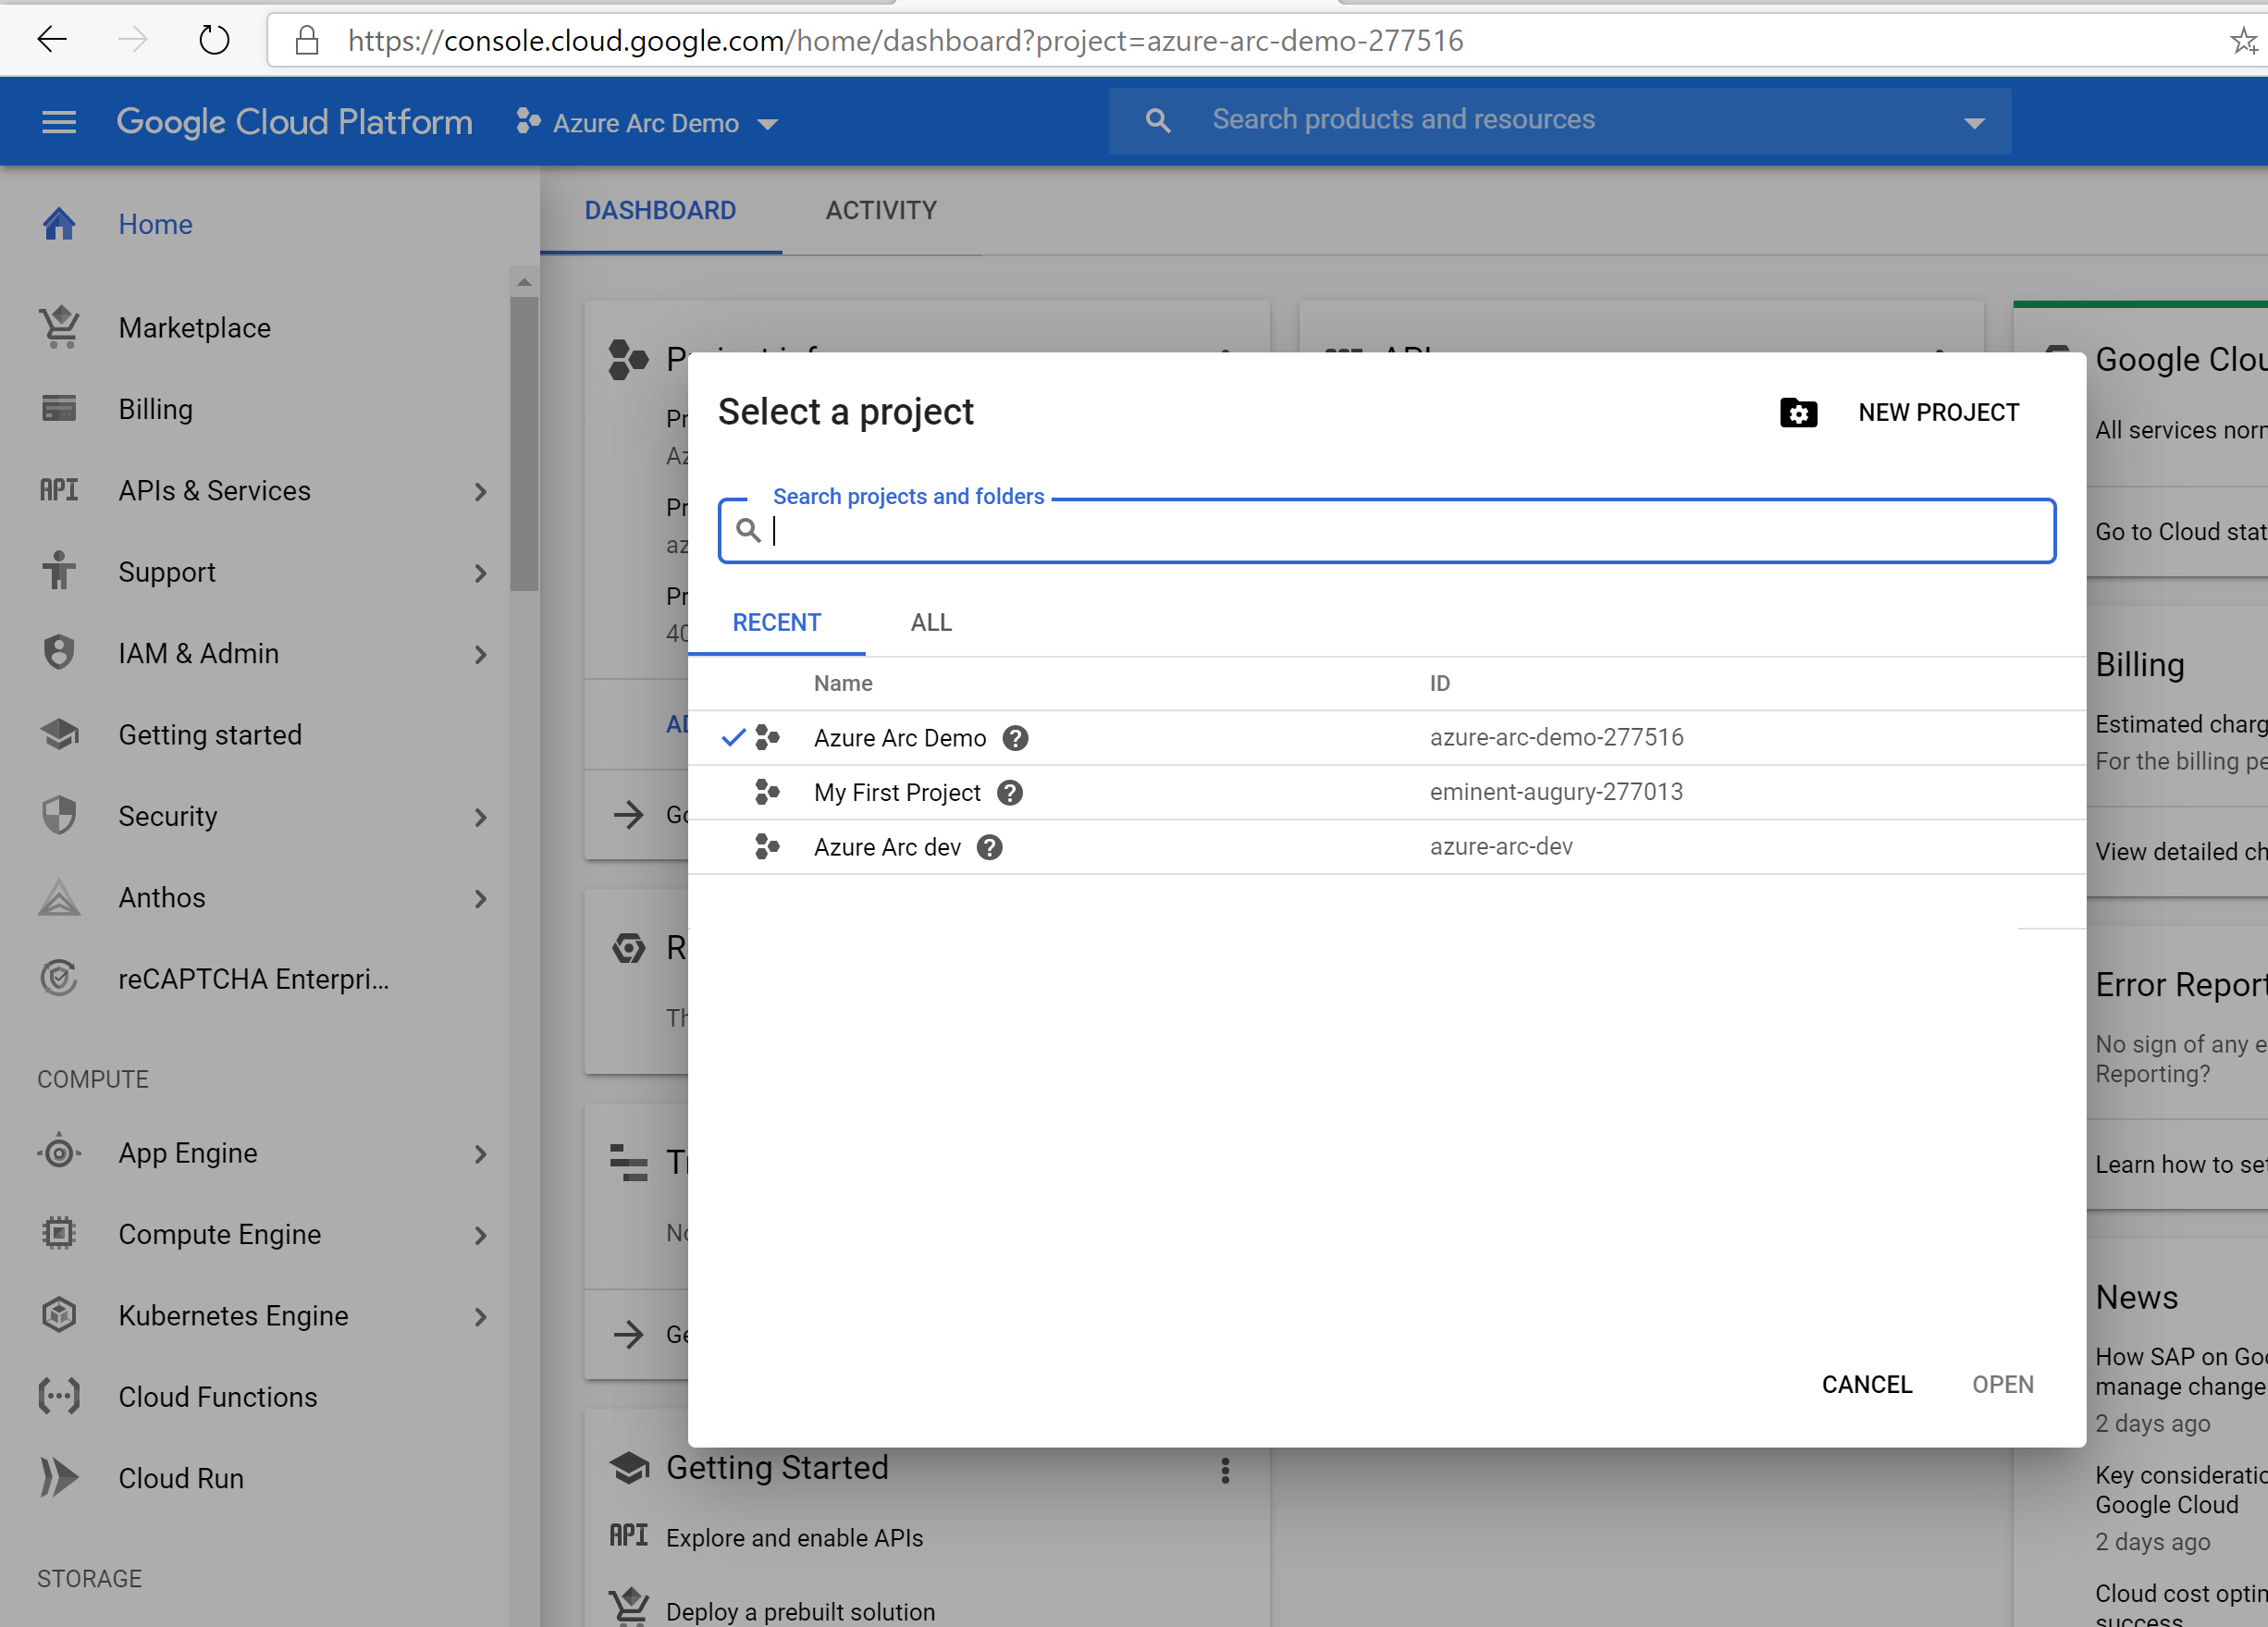
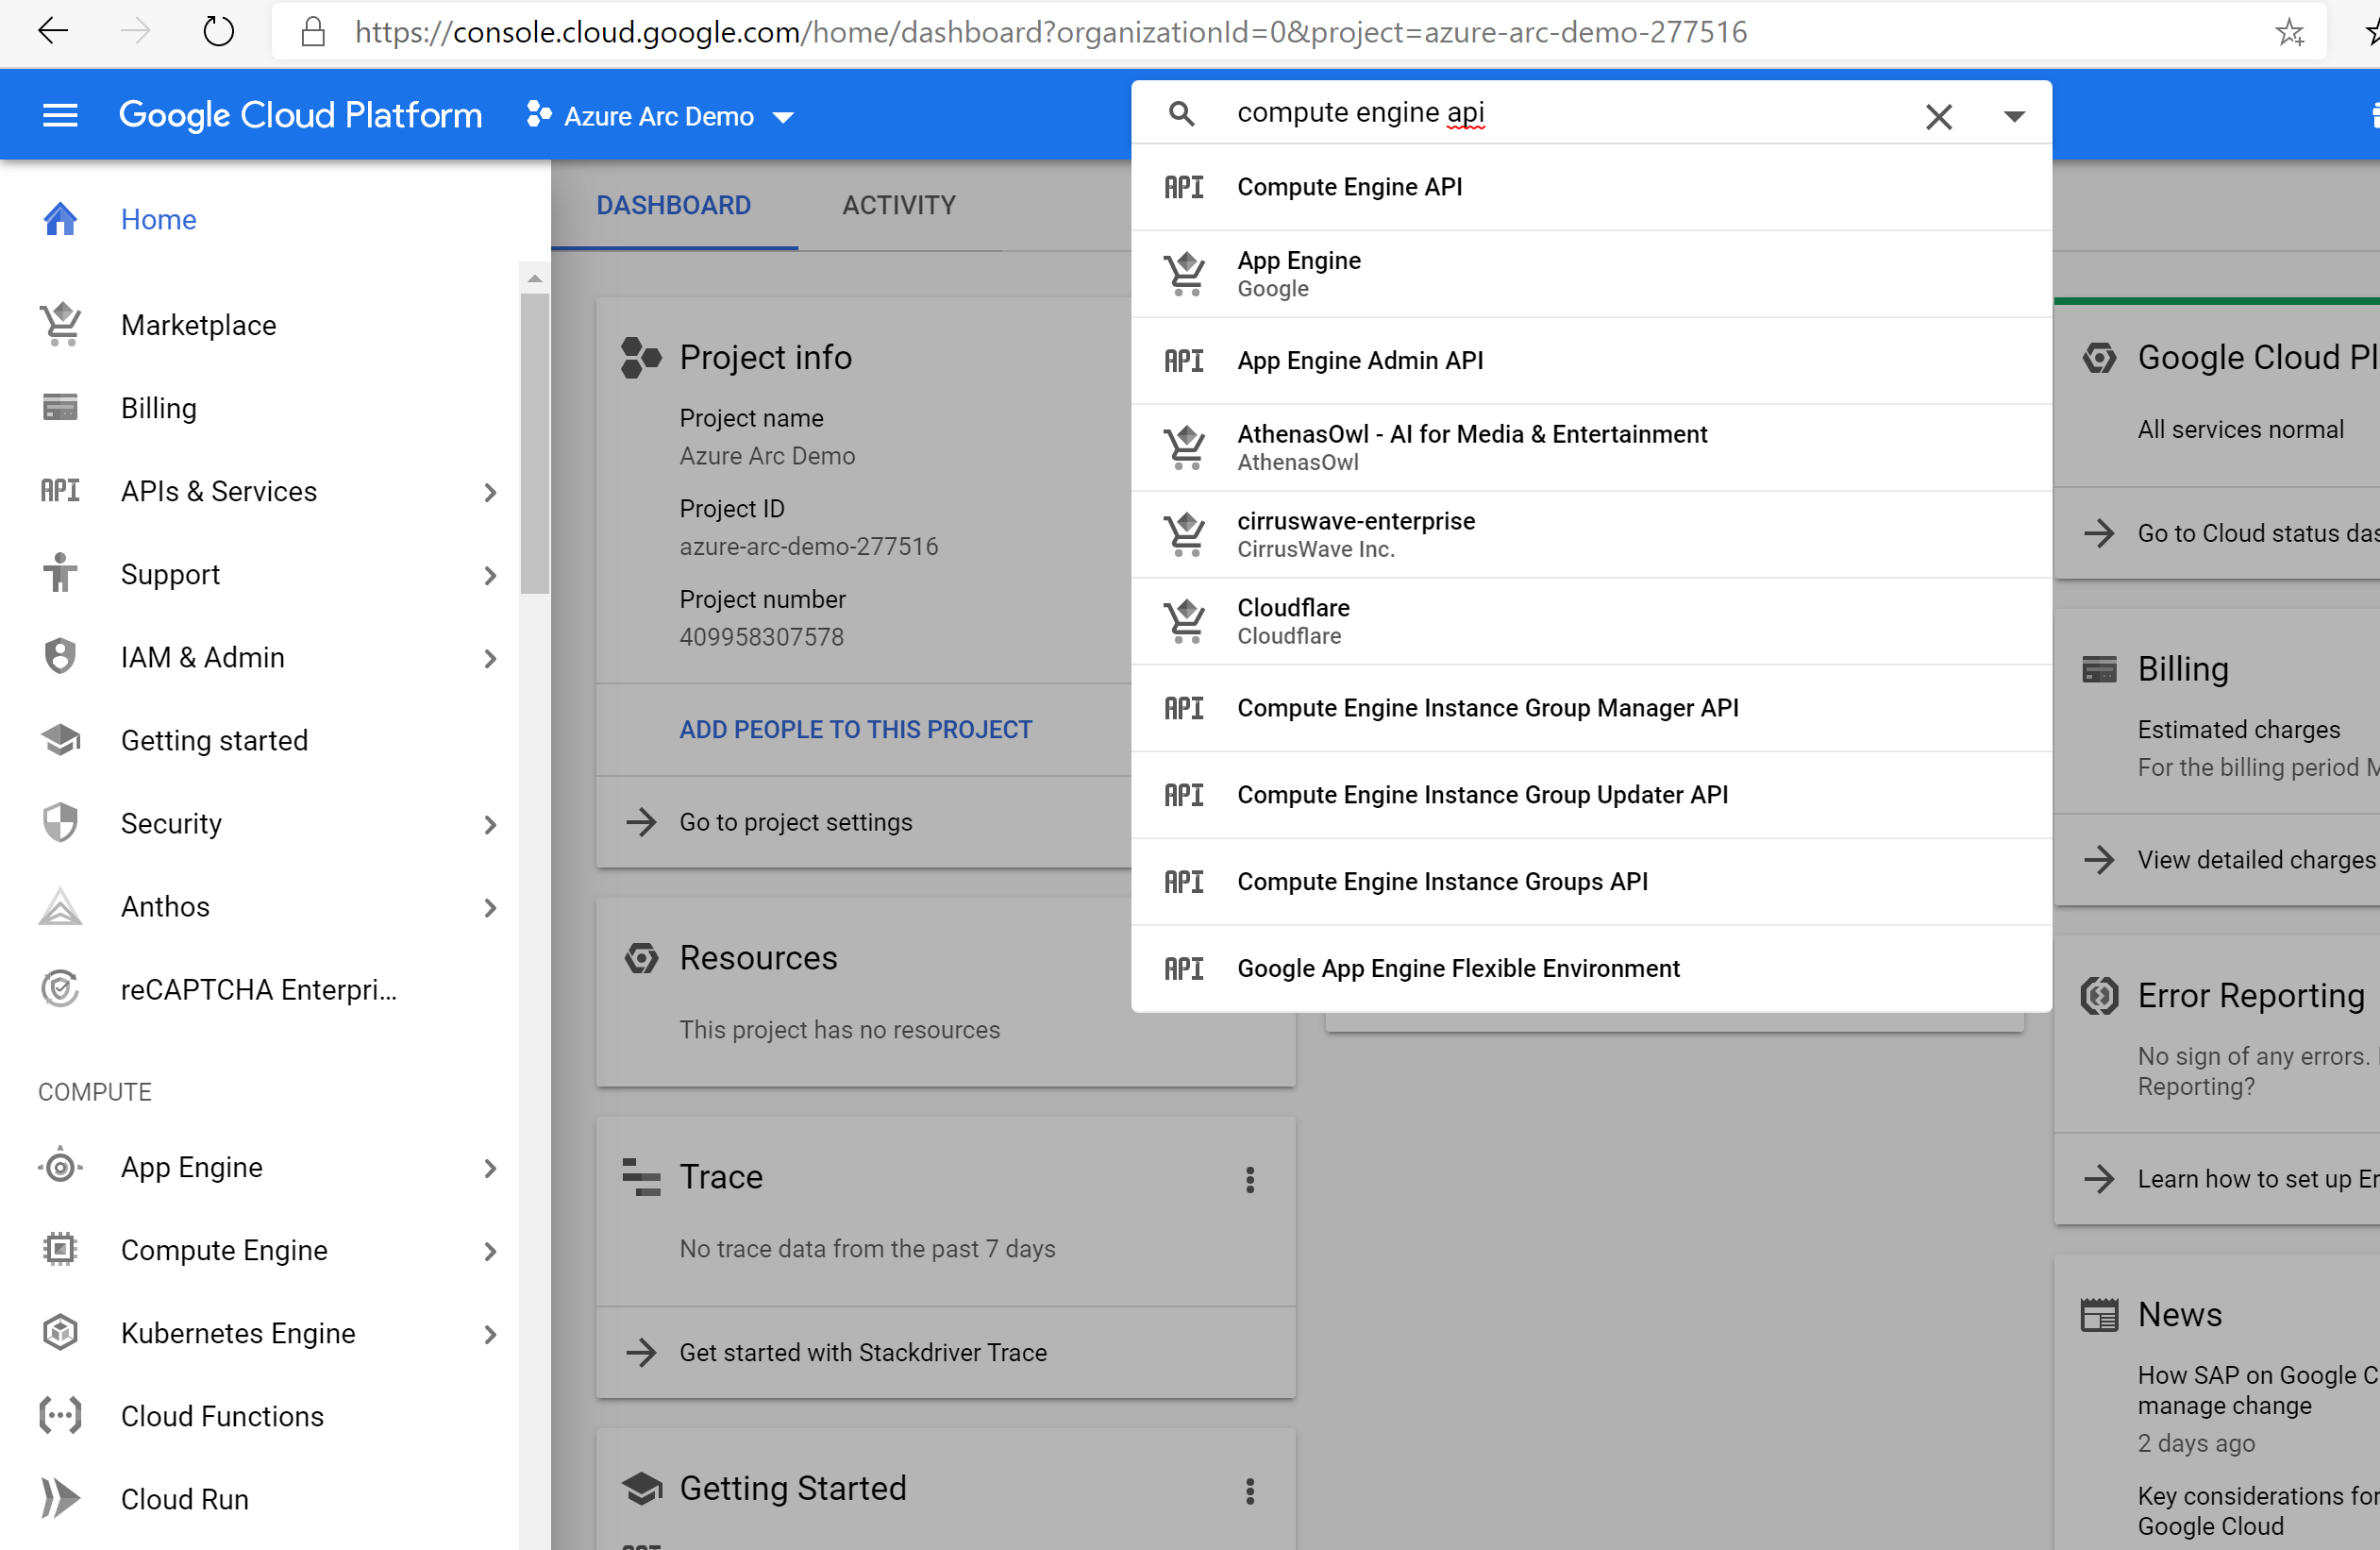
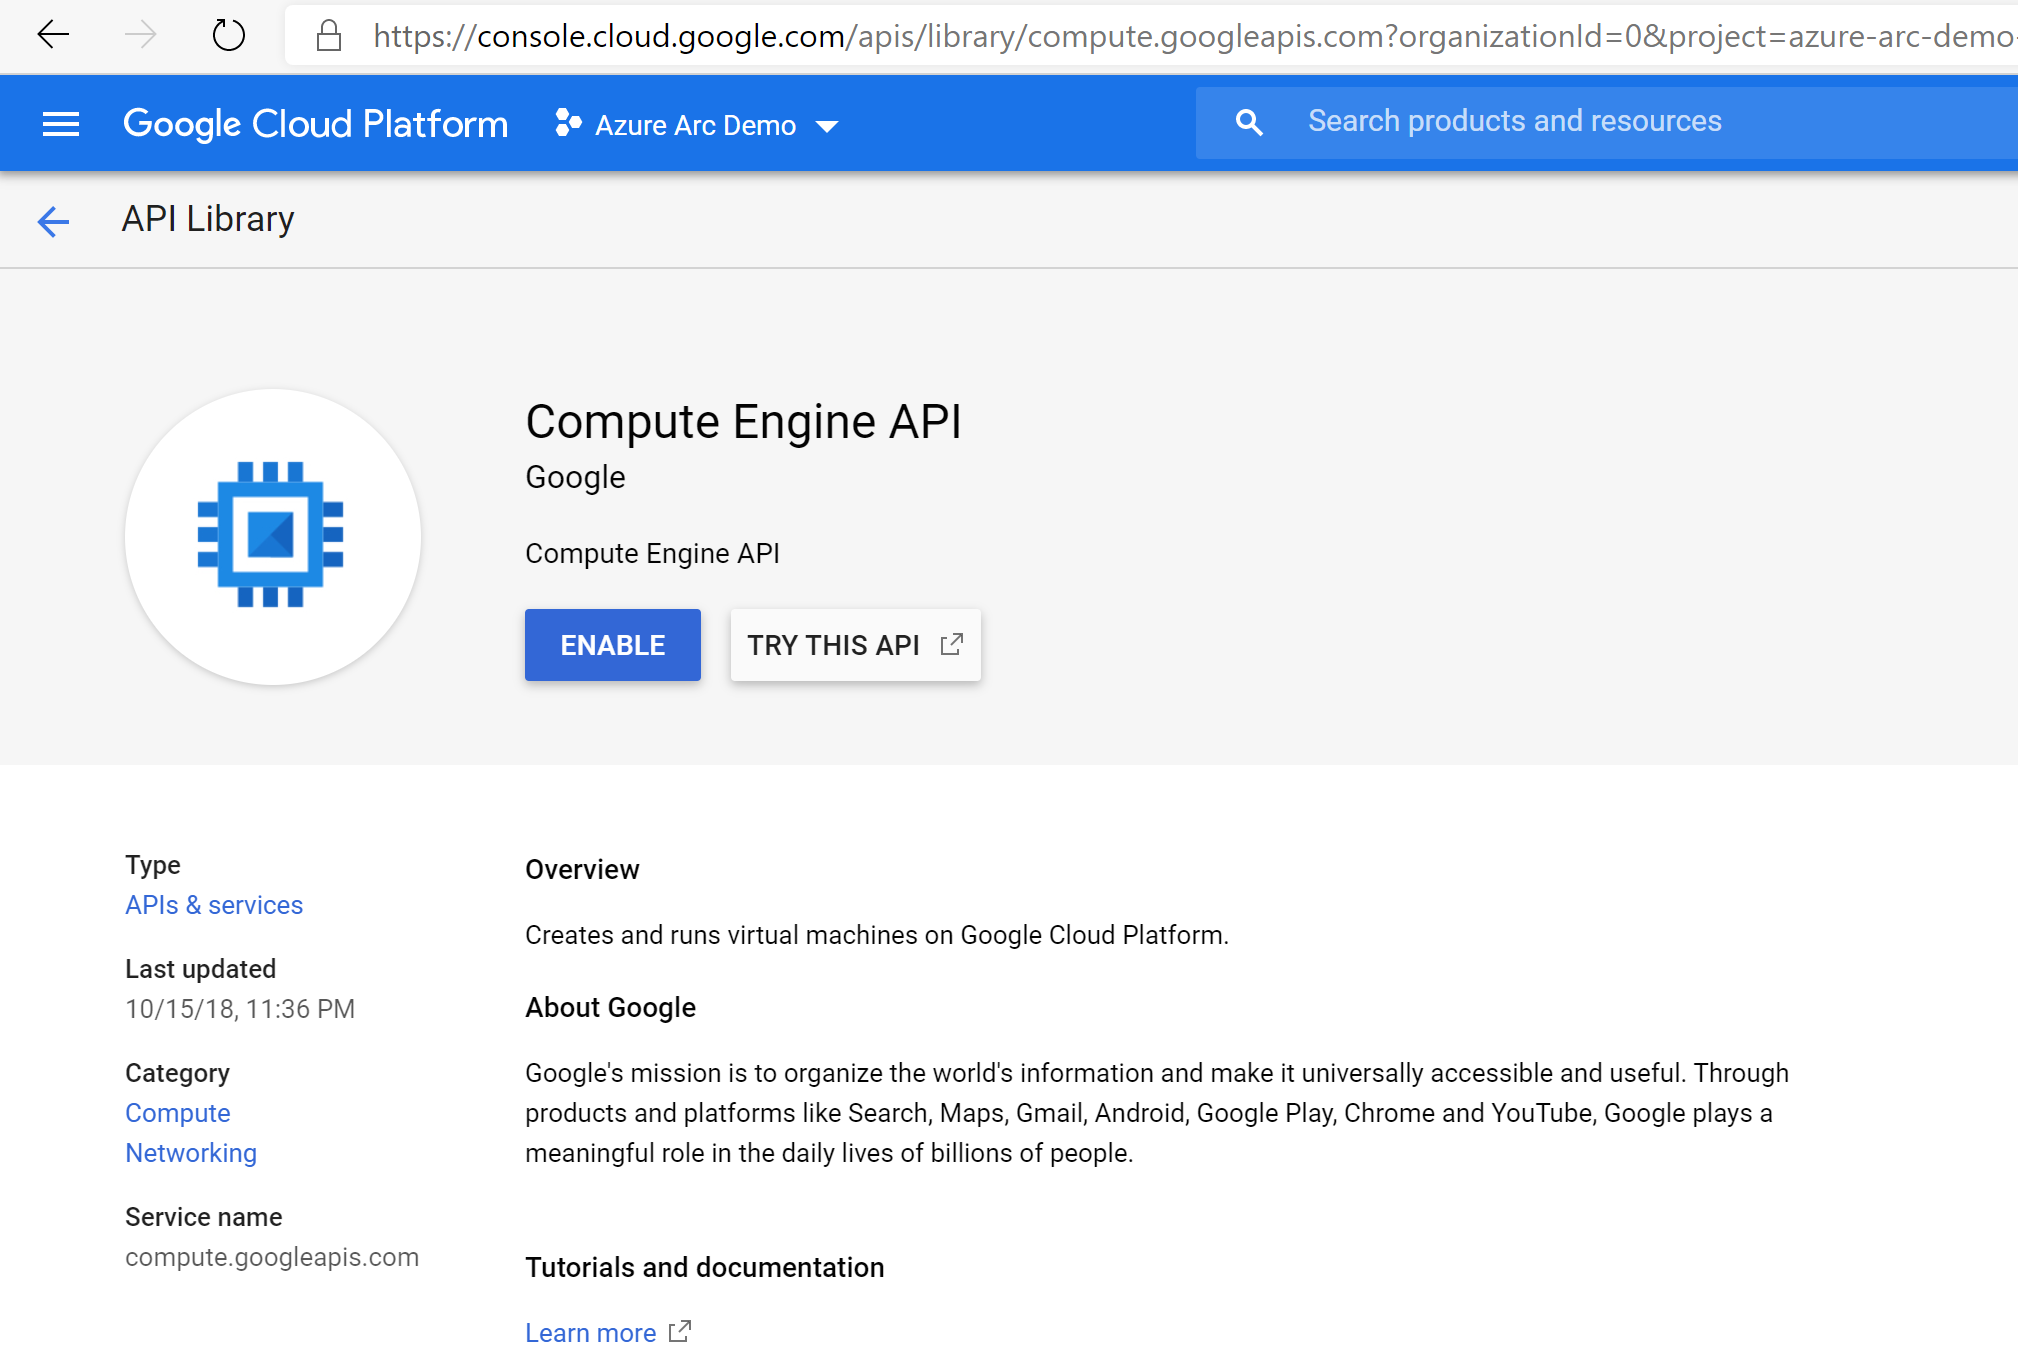
在頁面頂端的下拉式清單中建立並選取新項目之後,您必須啟用專案的計算引擎 API 存取。 按兩下 [ + 啟用 API 和服務 ],然後搜尋 計算引擎。 然後選取 [ 啟用 ] 以啟用 API 存取。
接下來,設定服務帳戶密鑰,Terraform 將會用來在 GCP 專案中建立和管理資源。 移至 [ 建立服務帳戶金鑰] 頁面。 從下拉式清單中選取 [新增服務帳戶],為其命名、選取專案,然後選取擁有者作為角色、JSON 作為密鑰類型,然後選取 [建立]。 這會下載 JSON 檔案,其中包含 Terraform 管理資源所需的所有認證。 將下載的 JSON 檔案複製到
azure_arc_servers_jumpstart/gcp/windows/terraform目錄。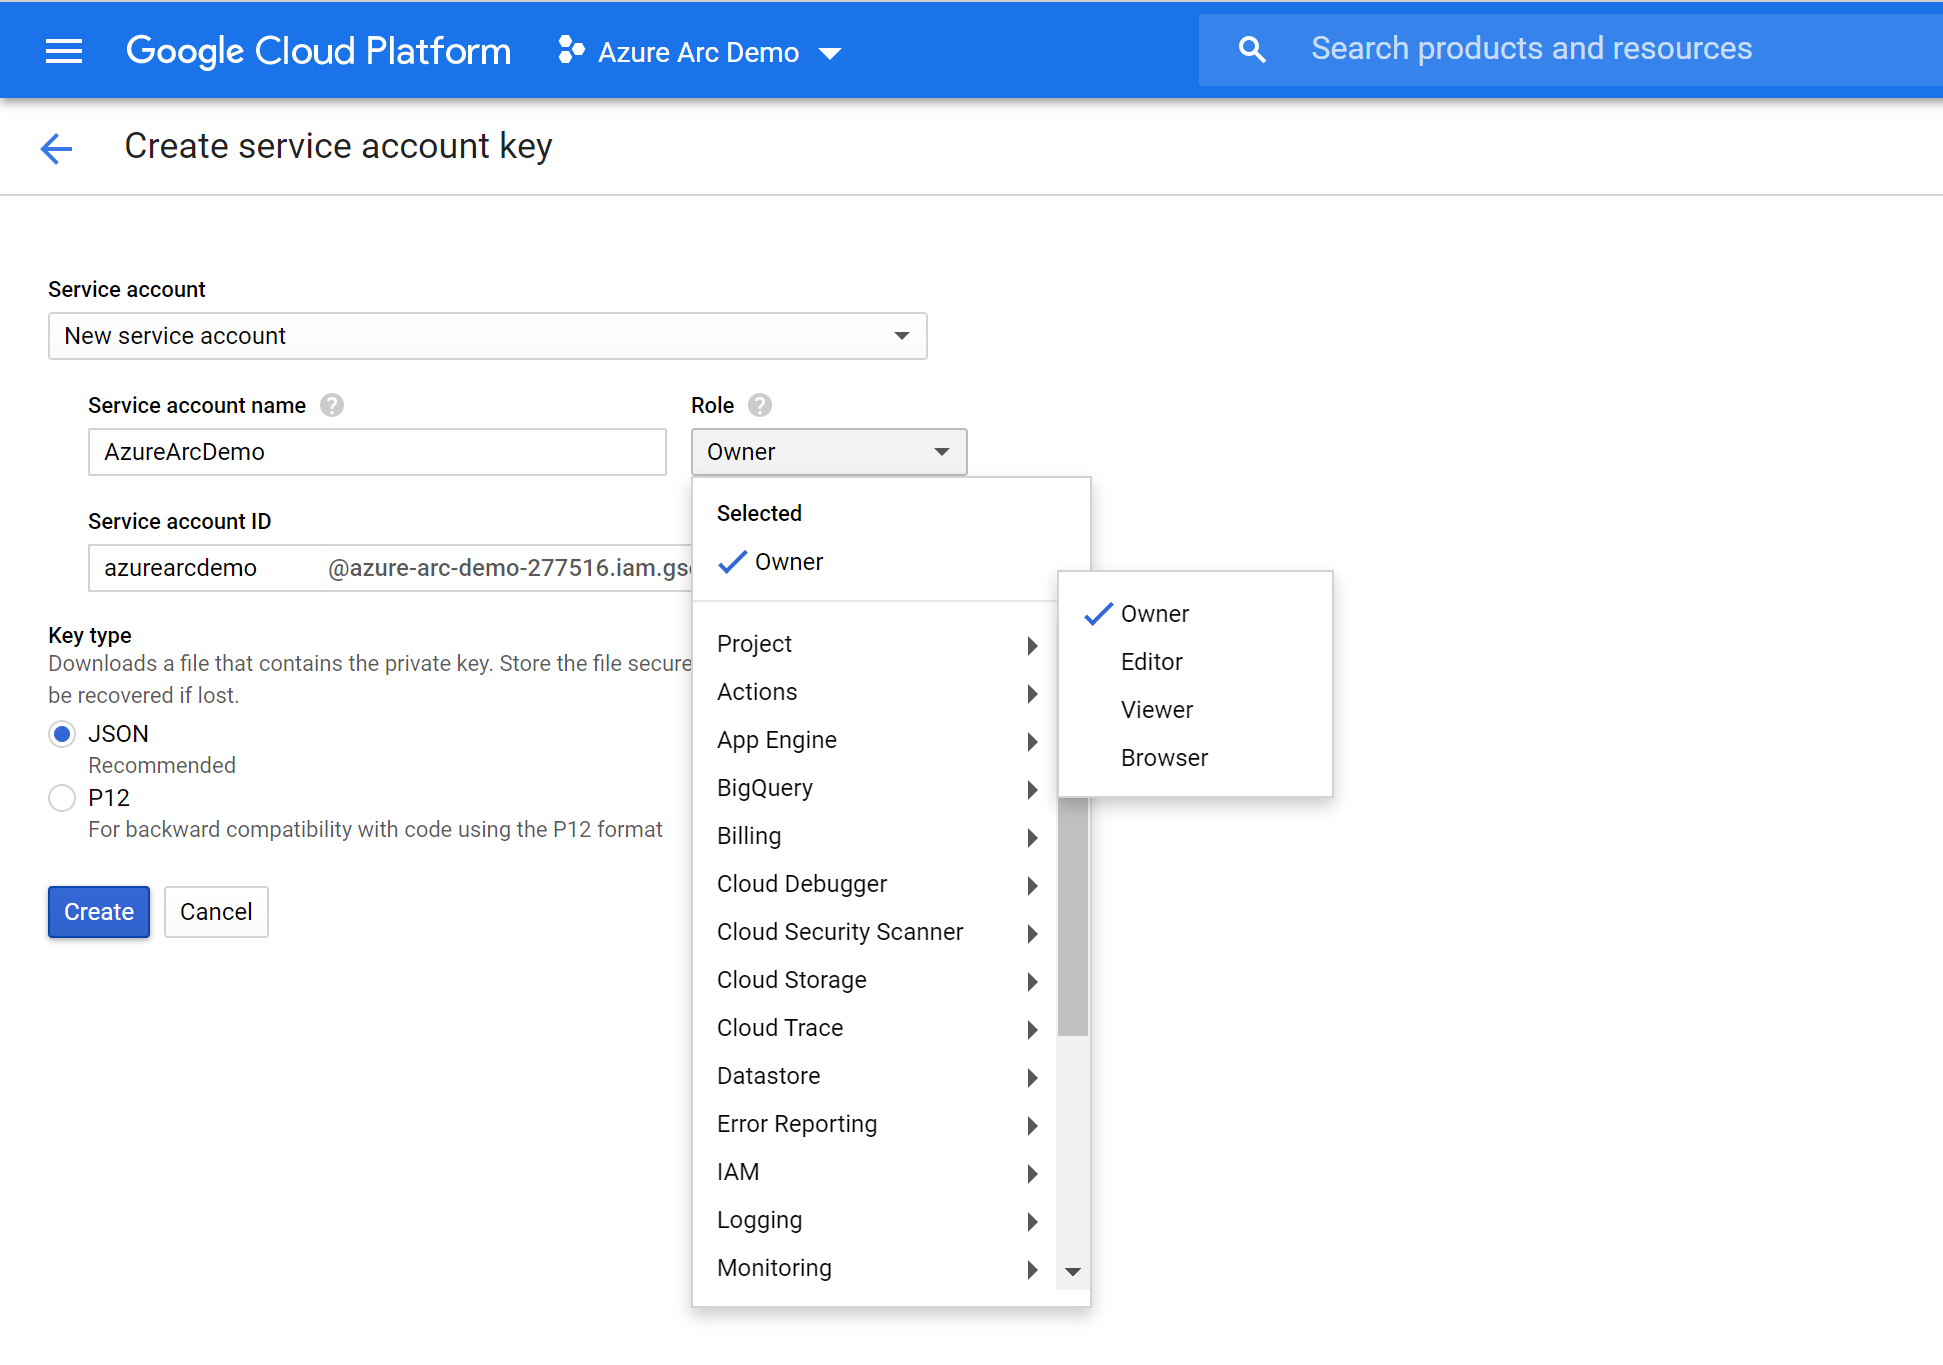
部署
在執行 Terraform 方案之前,您必須先設定然後匯出計劃將使用的環境變數。 這些變數是以您剛才建立的 Azure 服務主體、您的 Azure 訂用帳戶和租使用者,以及 GCP 專案名稱為基礎。
使用 命令擷取您的 Azure 訂用帳戶標識碼和租用戶
az account list標識碼。Terraform 方案會在 Microsoft Azure 和 Google Cloud Platform 中建立資源。 接著,它會在 GCP 虛擬機上執行腳本,以安裝 Azure Arc 代理程式和所有必要的成品。 此腳本需要 GCP 和 Azure 環境的特定資訊。 使用適當的值編輯
scripts/vars.sh和更新每個變數。TF_VAR_subscription_id= 您的 Azure 訂用帳戶識別碼TF_VAR_client_id= 您的 Azure 服務主體應用程式識別碼TF_VAR_client_secret= 您的 Azure 服務主體密碼TF_VAR_tenant_id= 您的 Azure 租使用者識別碼TF_VAR_gcp_project_id= GCP 項目識別碼TF_VAR_gcp_credentials_filename= GCP 認證 JSON 檔名
從 CLI,瀏覽至
azure_arc_servers_jumpstart/gcp/windows/terraform複製存放庫的目錄。使用source命令執行
scripts/vars.sh來匯出您編輯的環境變數,如下所示。 Terraform 需要設定這些項目,計劃才能正確執行。source ./scripts/vars.shterraform init執行命令,以下載 Terraform AzureRM 提供者。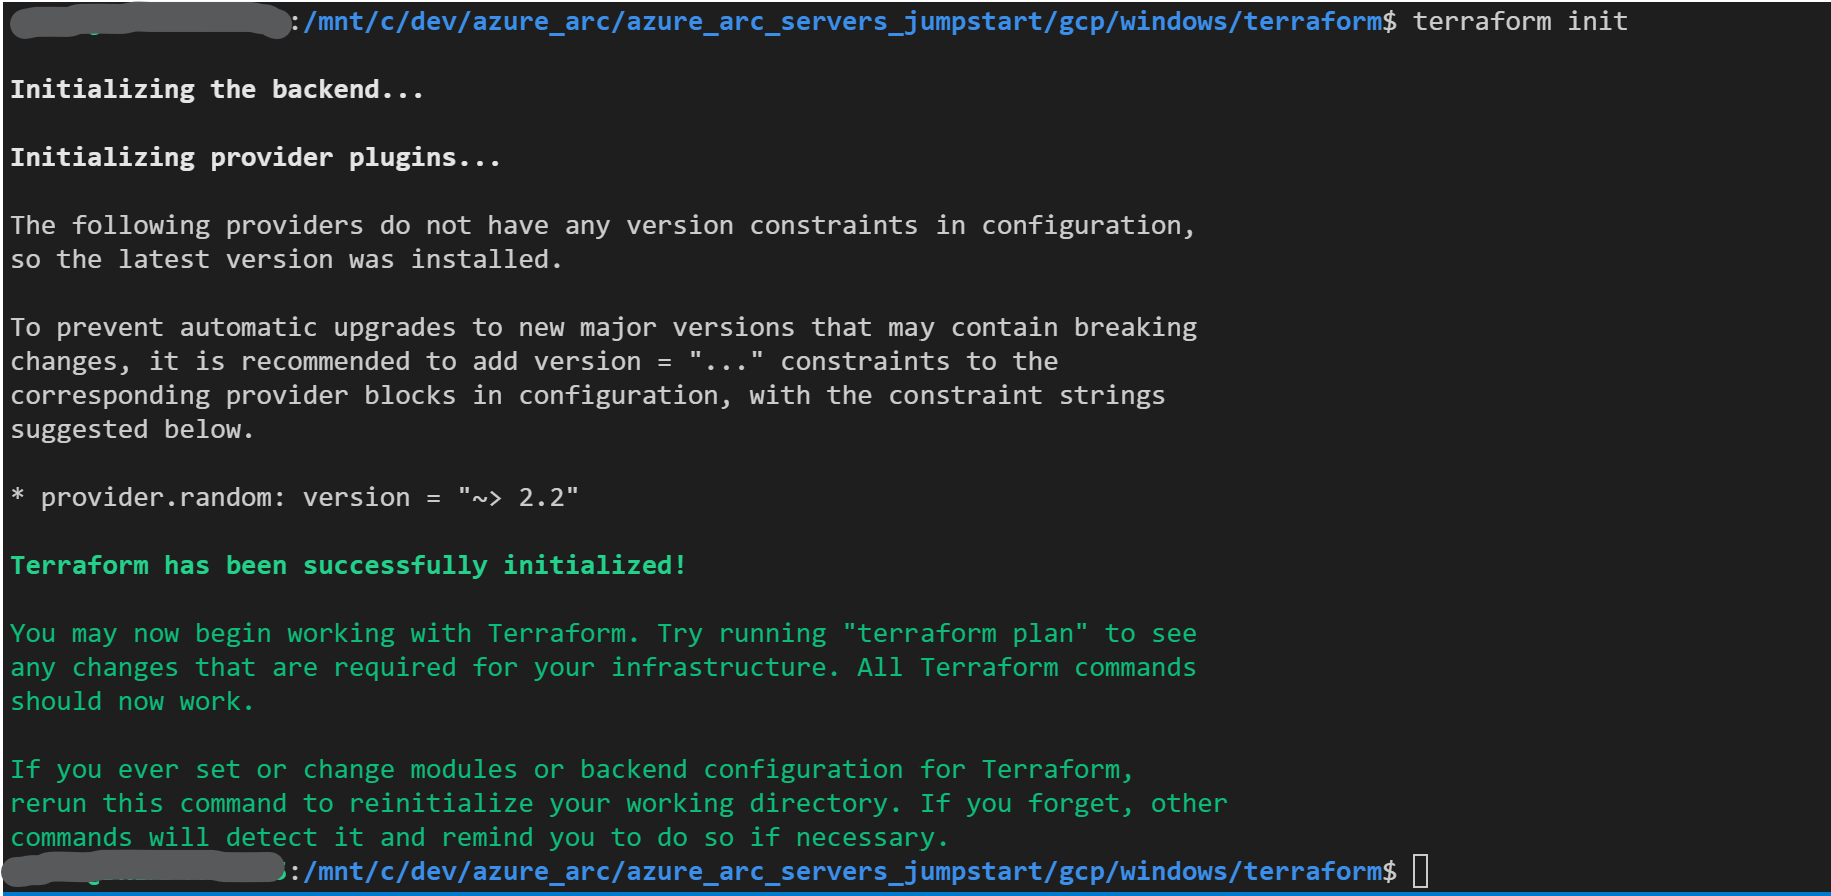
接下來,執行
terraform apply --auto-approve命令,並等候計劃完成。 完成 Terraform 腳本之後,您將會部署 GCP Windows Server 2019 VM,並起始腳本,將 Azure Arc 代理程式下載至 VM,並將 VM 連線為新的 Azure Arc 資源群組內已啟用 Azure Arc 的新伺服器。 代理程式需要幾分鐘的時間才能完成布建,所以請拿一杯咖啡。
幾分鐘后,您應該能夠開啟 Azure 入口網站 並瀏覽至
arc-gcp-demo資源群組。 在 GCP 中建立的 Windows Server 虛擬機會顯示為資源。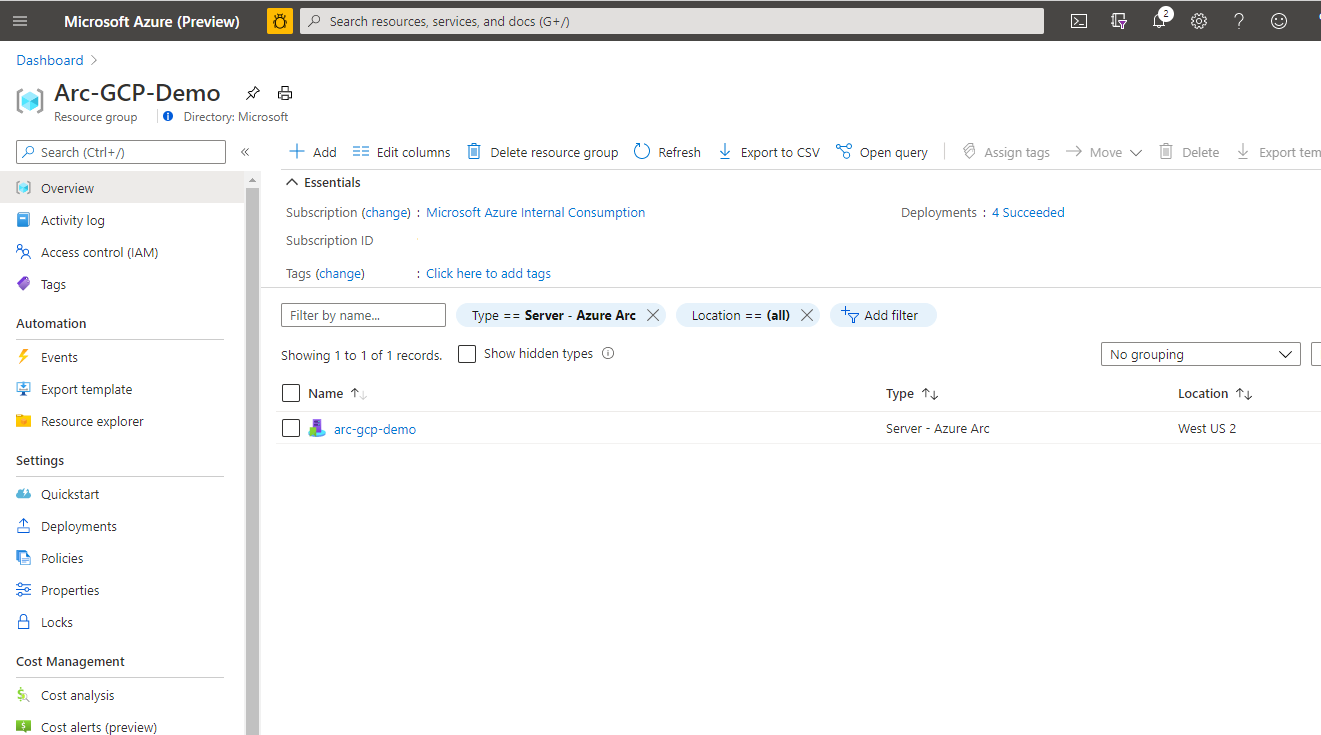
半自動化部署(選擇性)
Terraform 方案會自動安裝 Azure Arc 代理程式,並在 VM 第一次開機時執行 PowerShell 腳本,以受控資源的形式將 VM 連線至 Azure。
如果您想要示範/控制實際的註冊程式,請執行下列動作:
執行
terraform apply命令之前,請開啟main.tf並批註出windows-startup-script-ps1 = local-file.install_arc_agent-ps1.content這一行並儲存盤案。
如
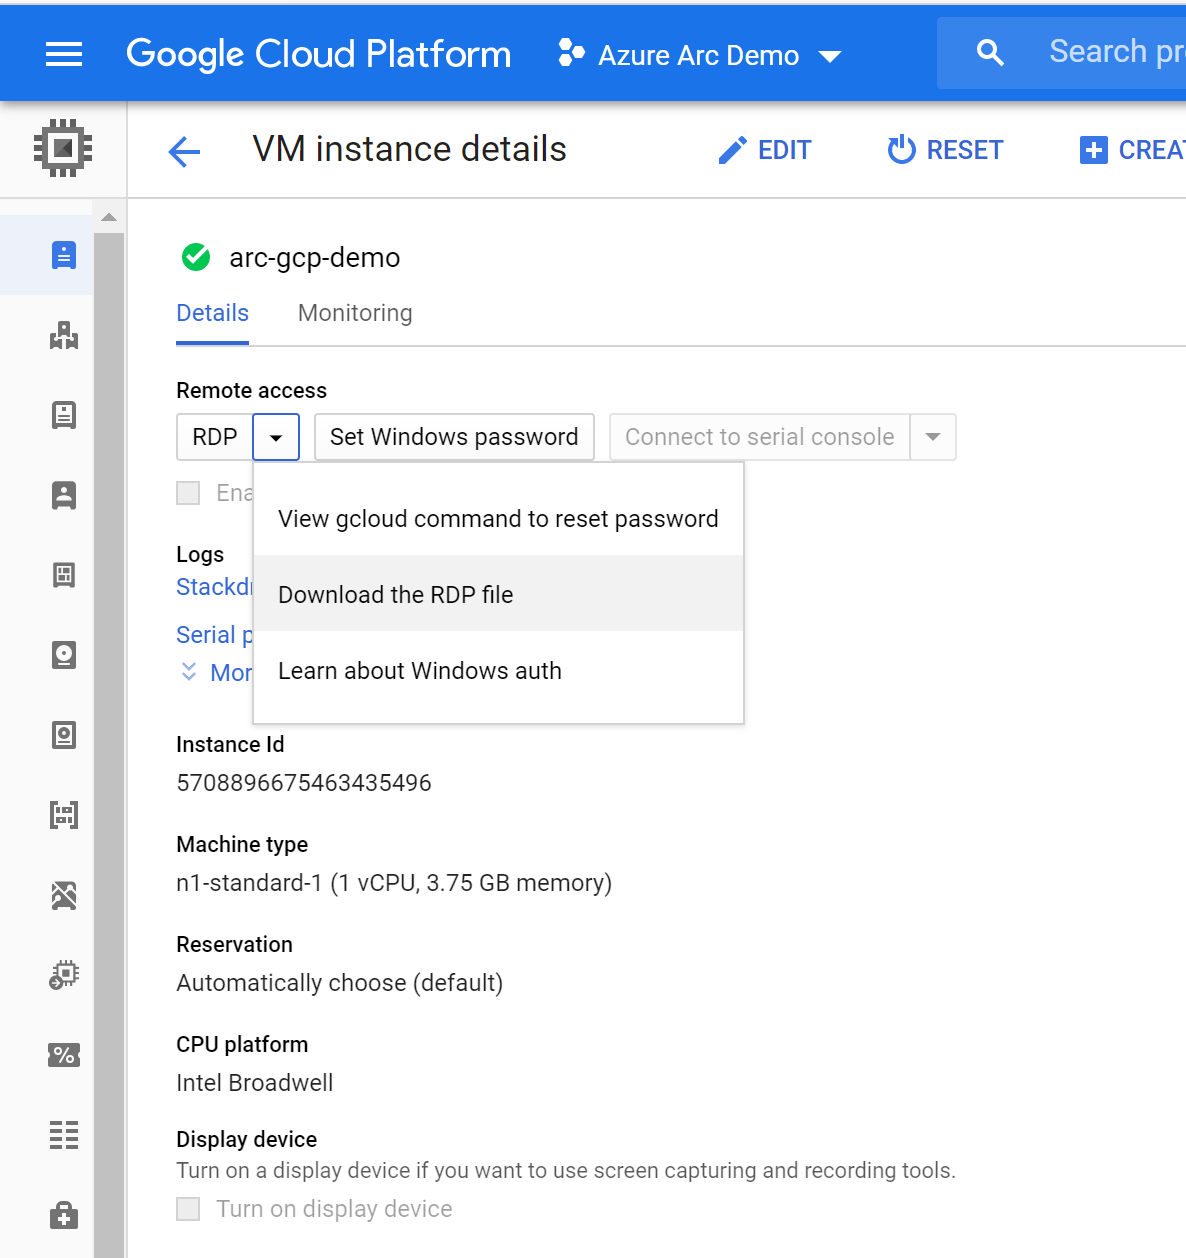
terraform apply --auto-approve上述指示執行。開啟 GCP 控制台並瀏覽至 計算實例頁面,然後選取已建立的 VM。
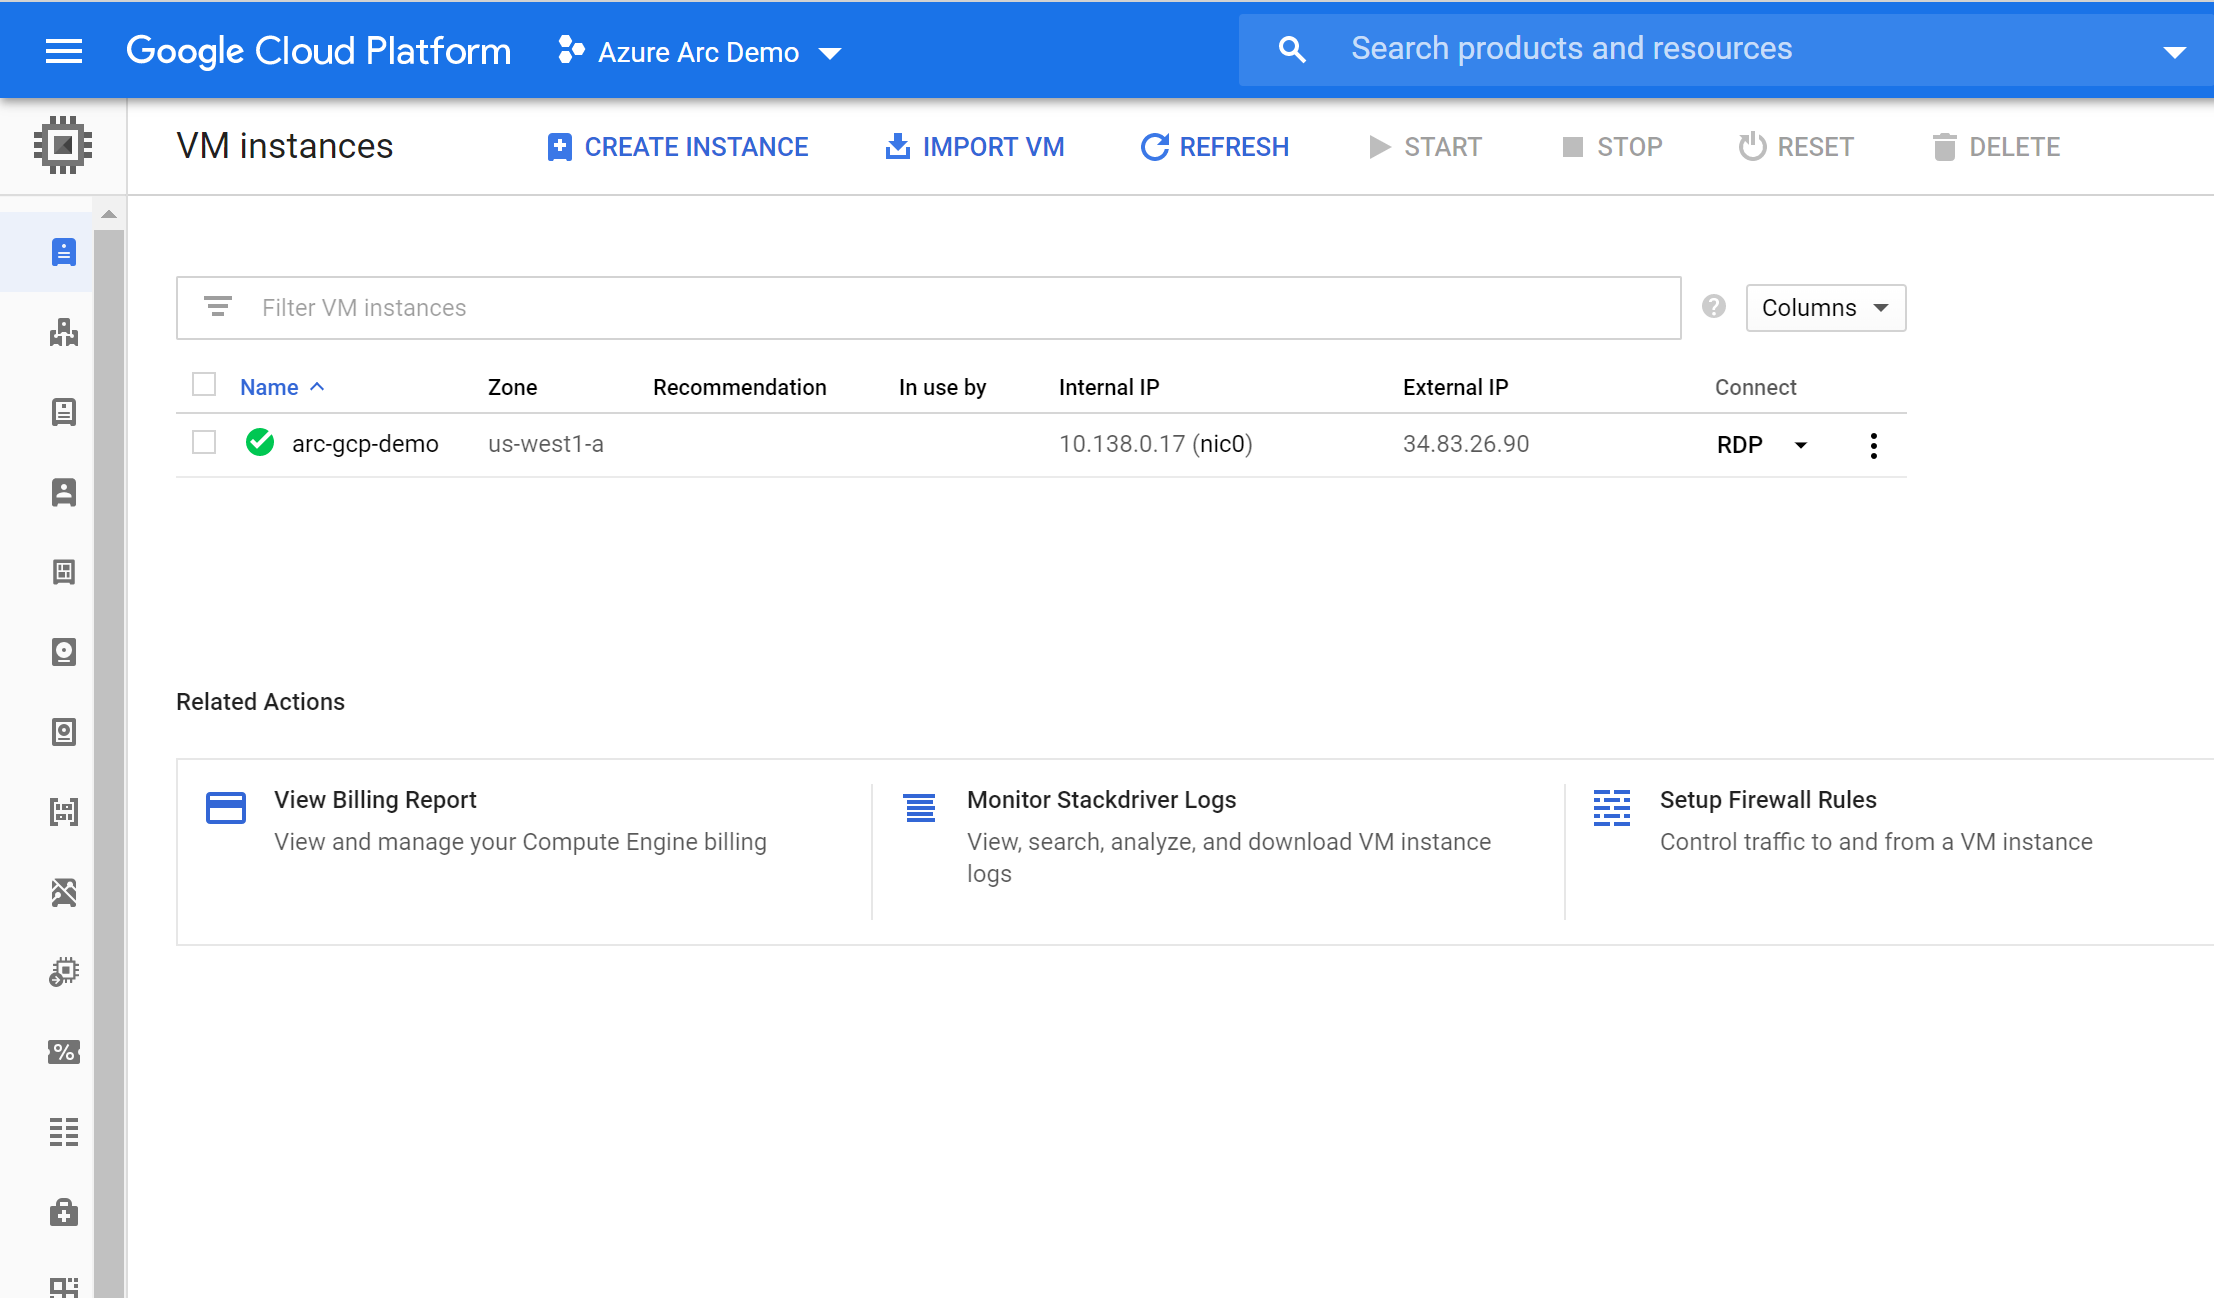

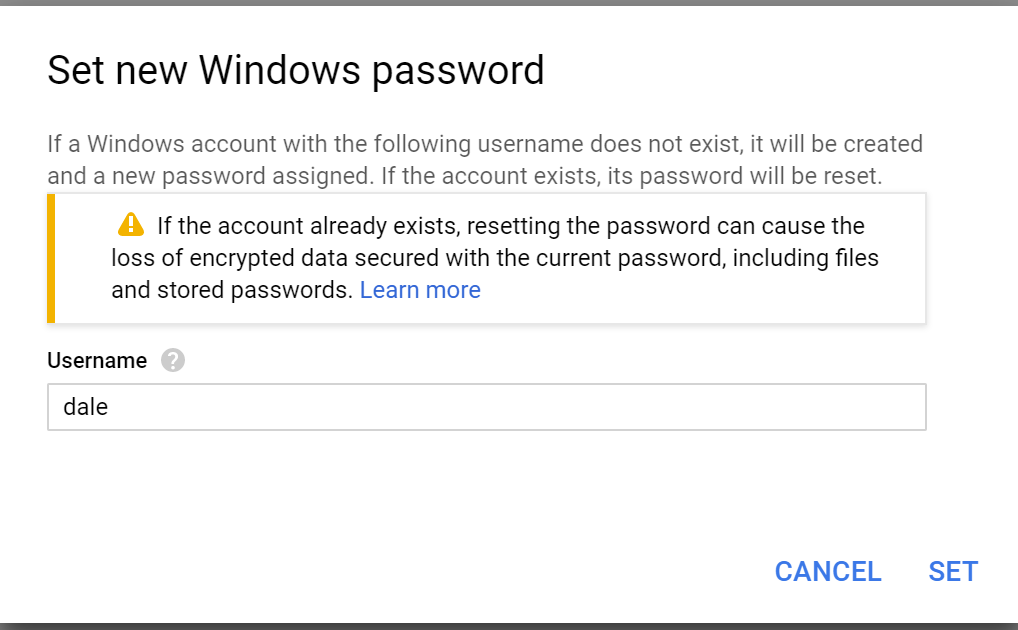
選取 [設定密碼 ] 並指定使用者名稱,以建立 VM 的用戶和密碼。
從 GCP 控制台的 VM 頁面中選取 [RDP] 按鈕,然後使用您剛才建立的使用者名稱和密碼登入 VM。
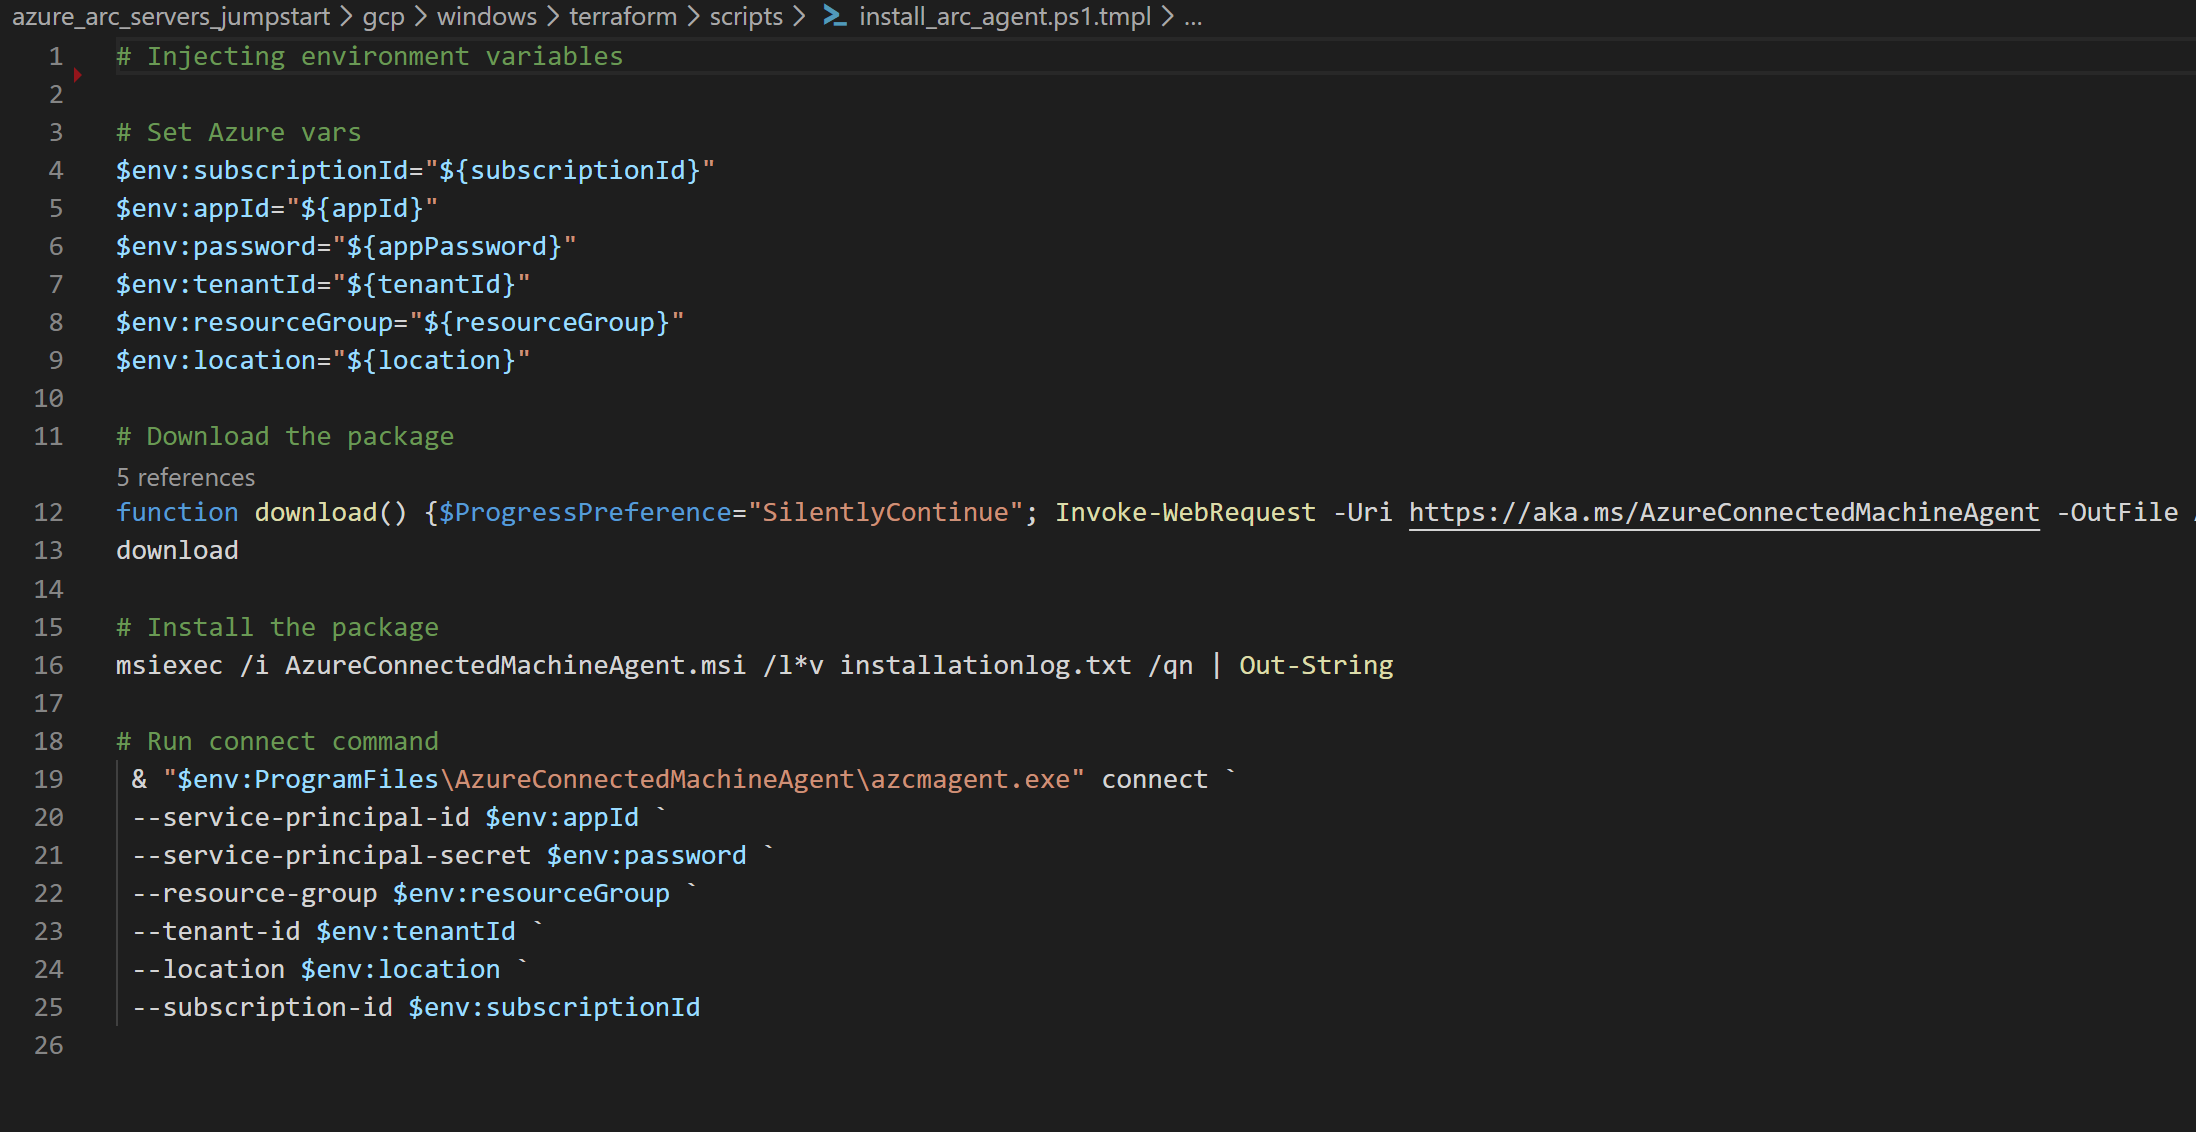
登入之後,請以 管理員 istrator 開啟 PowerShell ISE。 請確定您執行的是 x64 版本的 PowerShell ISE,而不是 x86 版本。 開啟之後,選取 [ 檔案 > 新增 ] 以建立空白
.ps1檔案。 然後貼上 的整個內容./scripts/install_arc_agent.ps1。 按兩下播放按鈕以執行文稿。 完成時,您應該會看到顯示機器上線成功的輸出。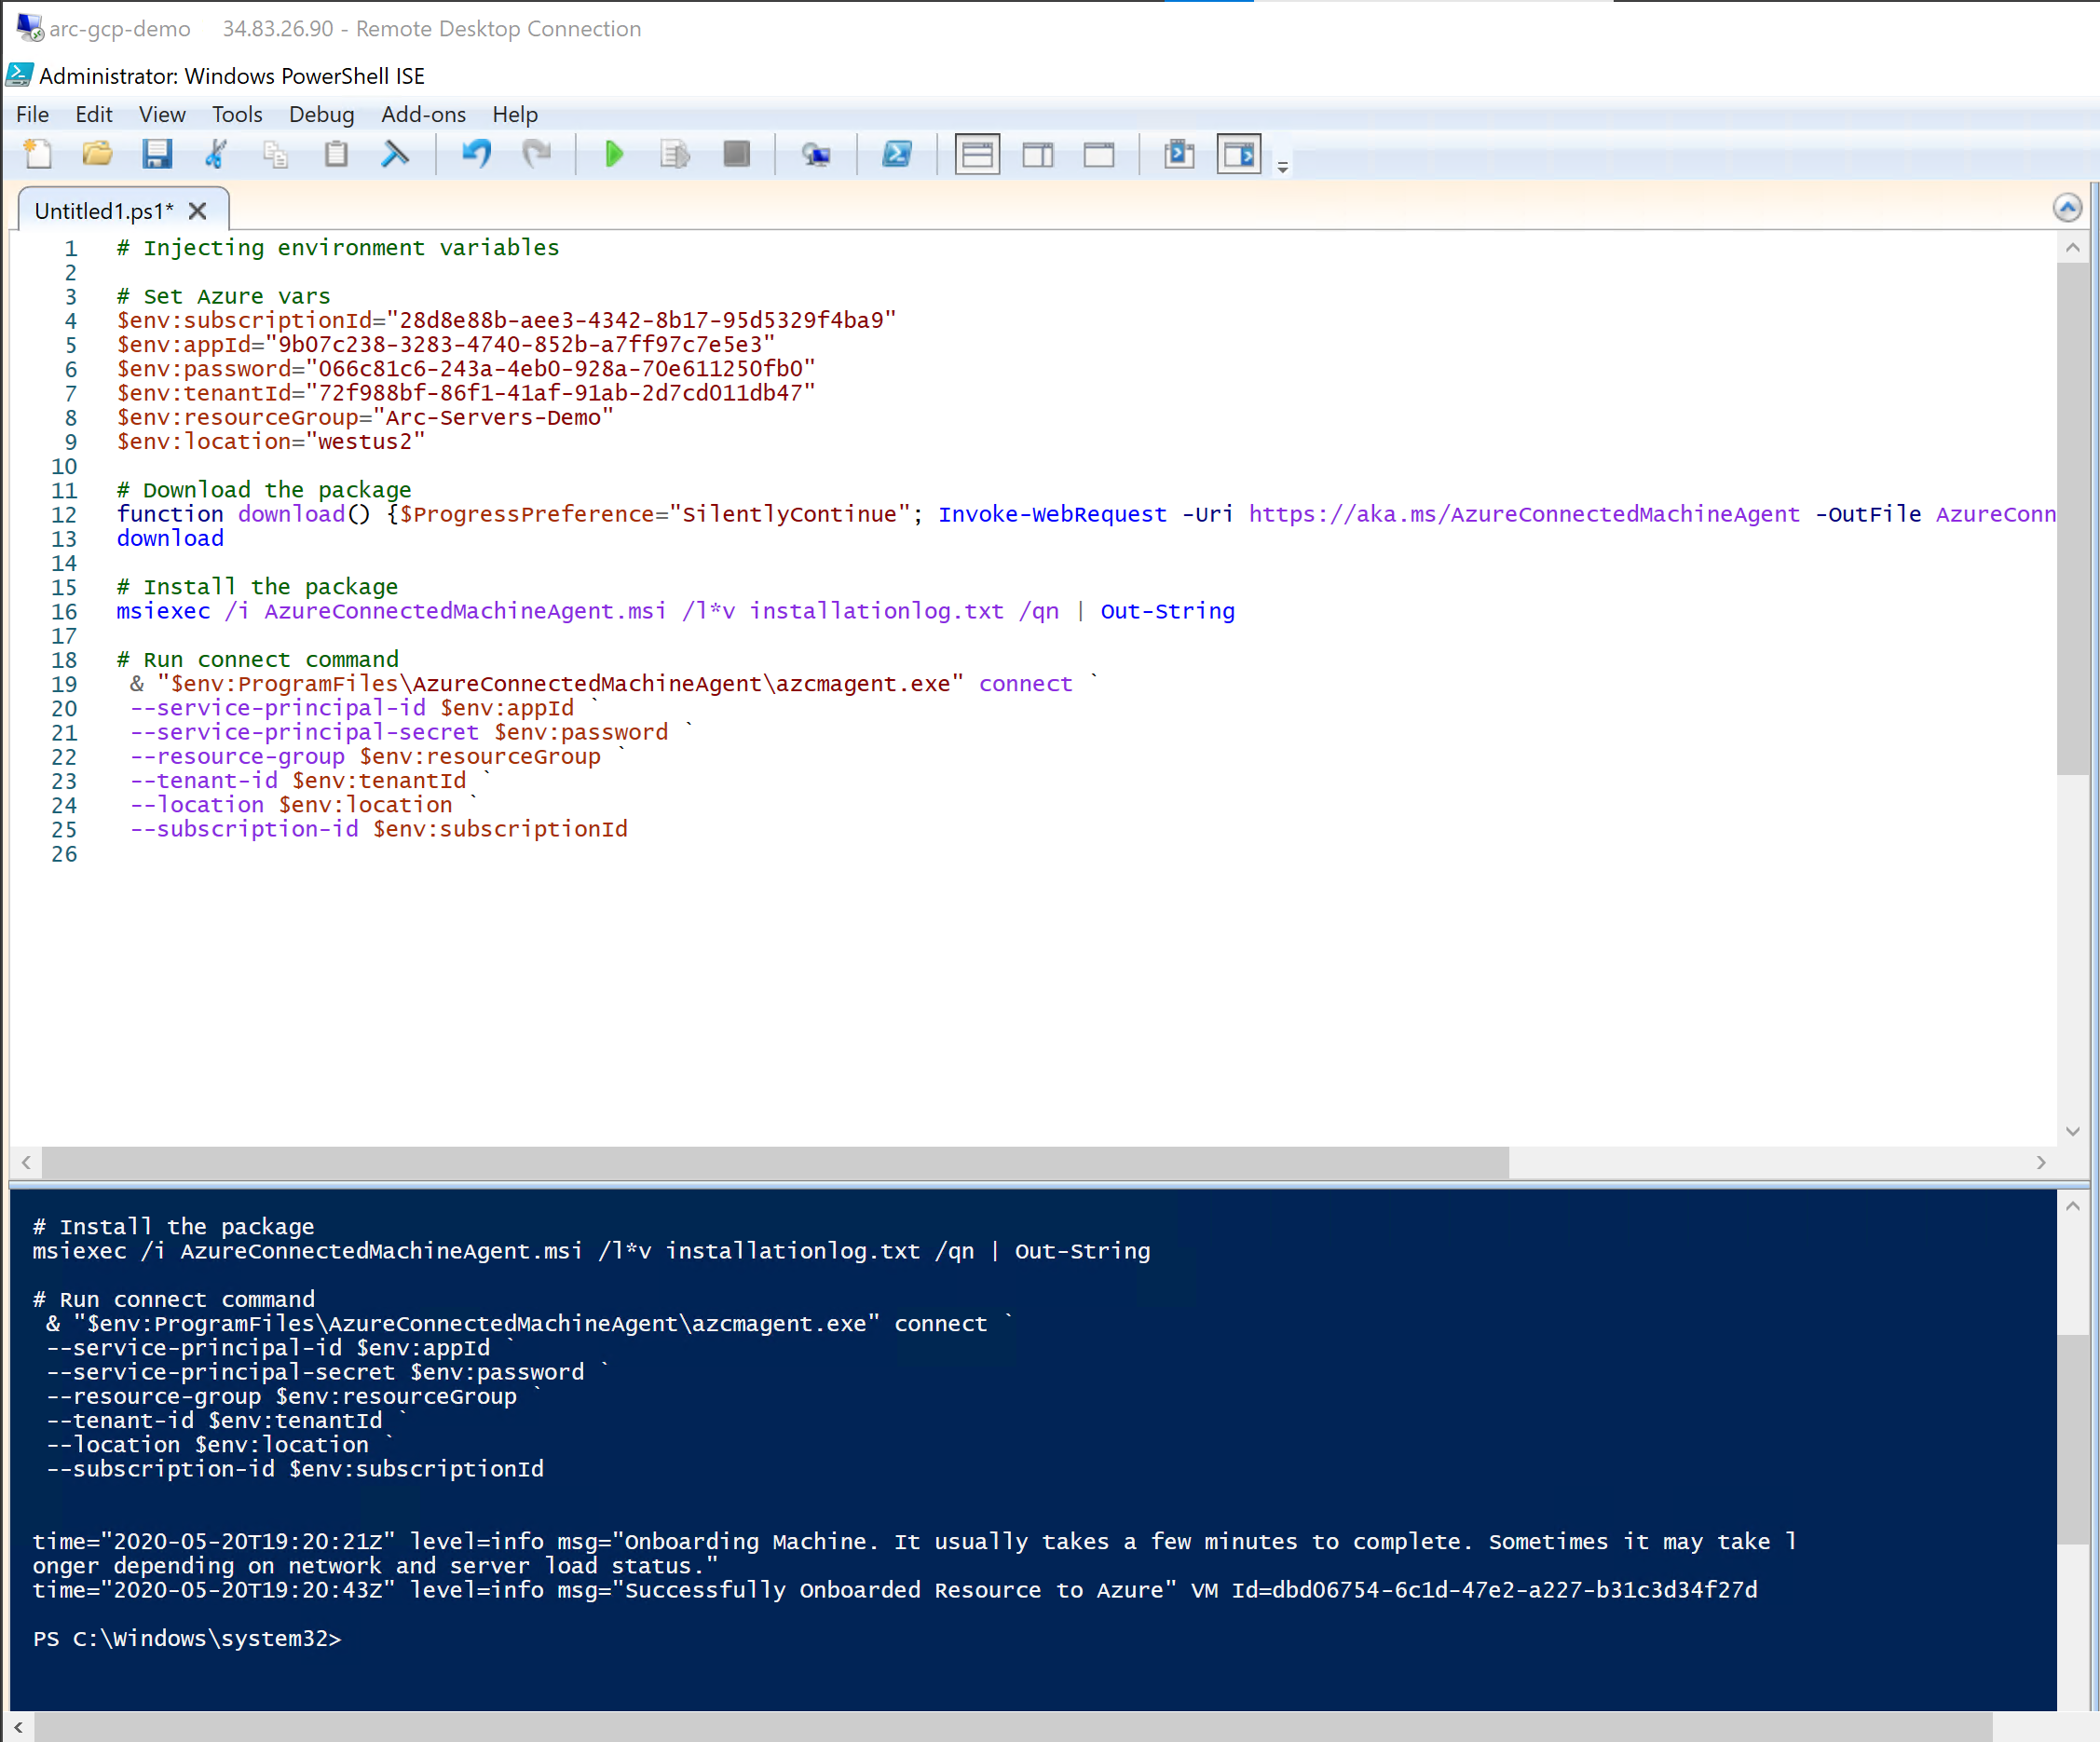
刪除部署
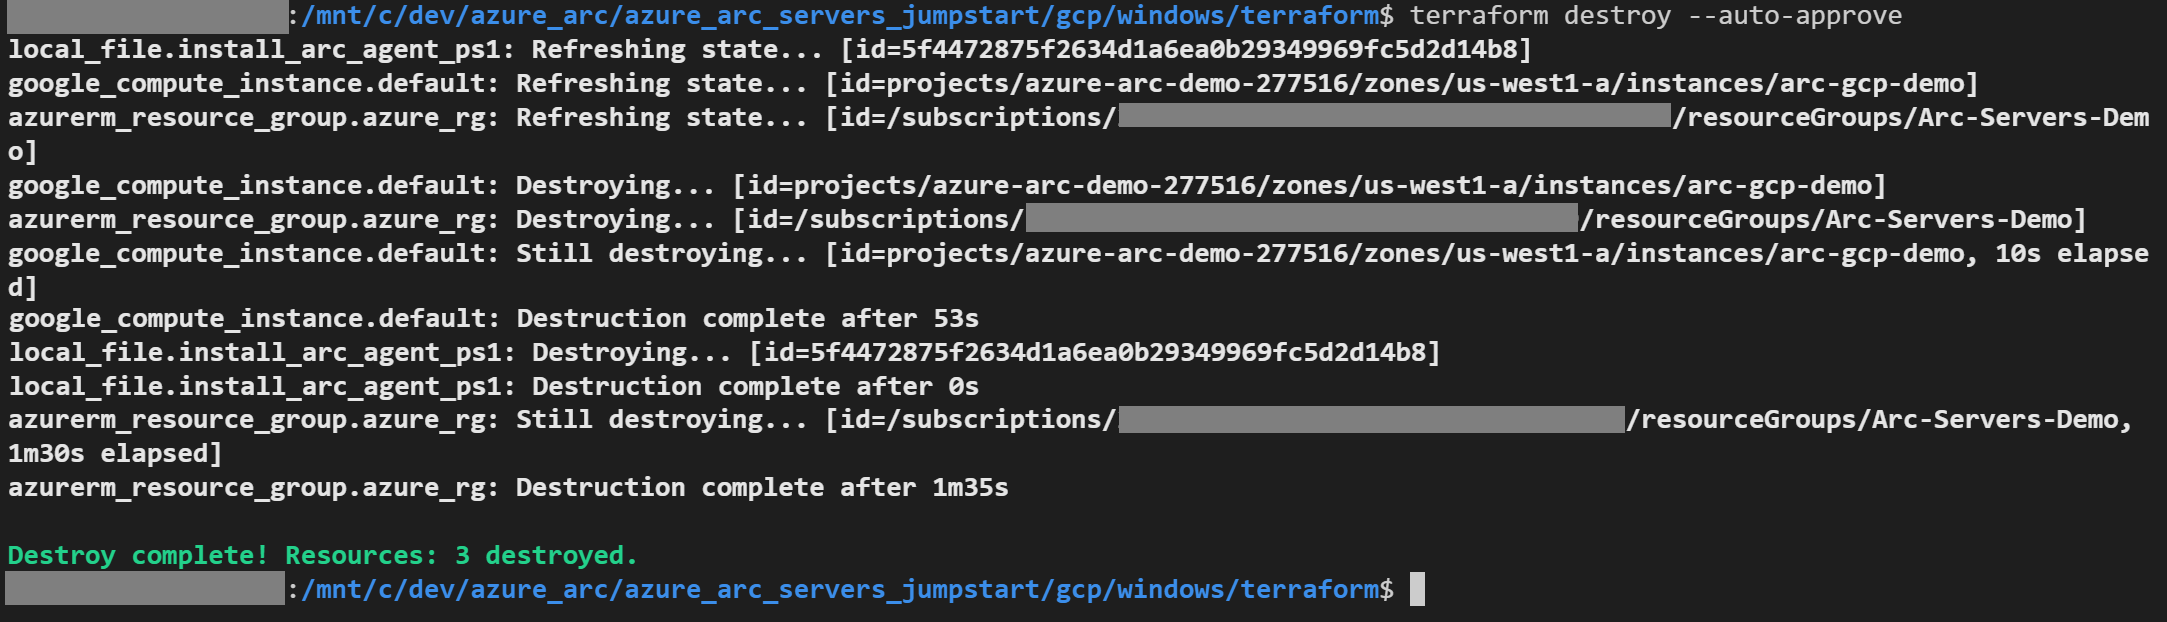
若要刪除您在此示範中建立的所有資源,請使用 terraform destroy --auto-approve 命令,如下所示。
或者,您可以直接從 GCP 控制台刪除 GCP VM。

意見反應
即將登場:在 2024 年,我們將逐步淘汰 GitHub 問題作為內容的意見反應機制,並將它取代為新的意見反應系統。 如需詳細資訊,請參閱:https://aka.ms/ContentUserFeedback。
提交並檢視相關的意見反應