部署 Vagrant 所裝載的本機 Windows Server 實例,並將其連線至 Azure Arc
下列文章提供使用 Vagrant 部署本機 Windows 10 虛擬機的指引,並將它連線為已啟用 Azure Arc 的伺服器資源。
必要條件
複製 Azure Arc Jumpstart 存放庫。
git clone https://github.com/microsoft/azure_arc.git將 Azure CLI 安裝或更新為 2.7 版和更新版本。 使用下列命令來檢查您目前的已安裝版本。
az --versionVagrant 依賴基礎 Hypervisor。 針對本指南,我們使用 Oracle VM VirtualBox。
安裝 VirtualBox。
- 如果您是macOS使用者,請執行
brew cask install virtualbox - 如果您是 Windows 使用者,您可以使用 Chocolatey 套件
- 如果您是 Linux 使用者,您可以在下載適用於 Linux 主機的 VirtualBox 中找到所有套件安裝方法。
- 如果您是macOS使用者,請執行
安裝 Vagrant
- 如果您是macOS使用者,請執行
brew cask install vagrant - 如果您是 Windows 使用者,您可以使用 Chocolatey 套件
- 如果您是Linux使用者,請流覽 Vagrant 下載頁面。
- 如果您是macOS使用者,請執行
建立 Azure 服務主體。
若要將 Vagrant 虛擬機連線到 Azure Arc,則需要指派參與者角色的 Azure 服務主體。 若要建立它,請登入您的 Azure 帳戶,然後執行下列命令。 您也可以在 Azure Cloud Shell 中執行此命令。
az login
az account set -s <Your Subscription ID>
az ad sp create-for-rbac -n "<Unique SP Name>" --role contributor --scopes "/subscriptions/<Your Subscription ID>"
例如:
az ad sp create-for-rbac -n "http://AzureArcServers" --role contributor --scopes "/subscriptions/00000000-0000-0000-0000-000000000000"輸出應該看起來像這樣:
{
  "appId": "XXXXXXXXXXXXXXXXXXXXXXXXXXXX",
  "displayName": "http://AzureArcServers",
  "password": "XXXXXXXXXXXXXXXXXXXXXXXXXXXX",
  "tenant": "XXXXXXXXXXXXXXXXXXXXXXXXXXXX"
}
注意
強烈建議您將服務主體的範圍設定為特定的 Azure 訂用帳戶和資源群組。
vagrantfile 會在 VM OS 上執行腳本,以安裝所有必要的成品,並插入環境變數。
scripts/vars.ps1編輯 PowerShell 腳本,以符合您所建立的 Azure 服務主體。subscriptionId= 您的 Azure 訂用帳戶識別碼appId= 您的 Azure 服務主體名稱password= 您的 Azure 服務主體密碼tenantId= 您的 Azure 租使用者識別碼resourceGroup= Azure 資源組名location= Azure 區域
部署
如同任何 Vagrant 部署, 需要 Vagrantfile 和 Vagrant 方 塊。 概括而言,部署會:
- 下載 Windows 10 映射檔 Vagrant 方塊
- 執行 Azure Arc 安裝腳本
編輯 scripts/vars.ps1 文稿以符合您的環境之後,請從 Vagrantfile 資料夾執行 vagrant up。 由於這是您第一次建立 VM,第一次執行會 比後續執行慢 得多。 這是因為部署會第一次下載 Windows 10 方塊。

下載完成後,就會開始實際布建。 如下列螢幕快照所示,此程式需要 7 到 10 分鐘。

注意
如果您看到有關檢查憑證撤銷的錯誤,請將此設定新增至 Vagrantfile:
config.vm.box_download_insecure = true
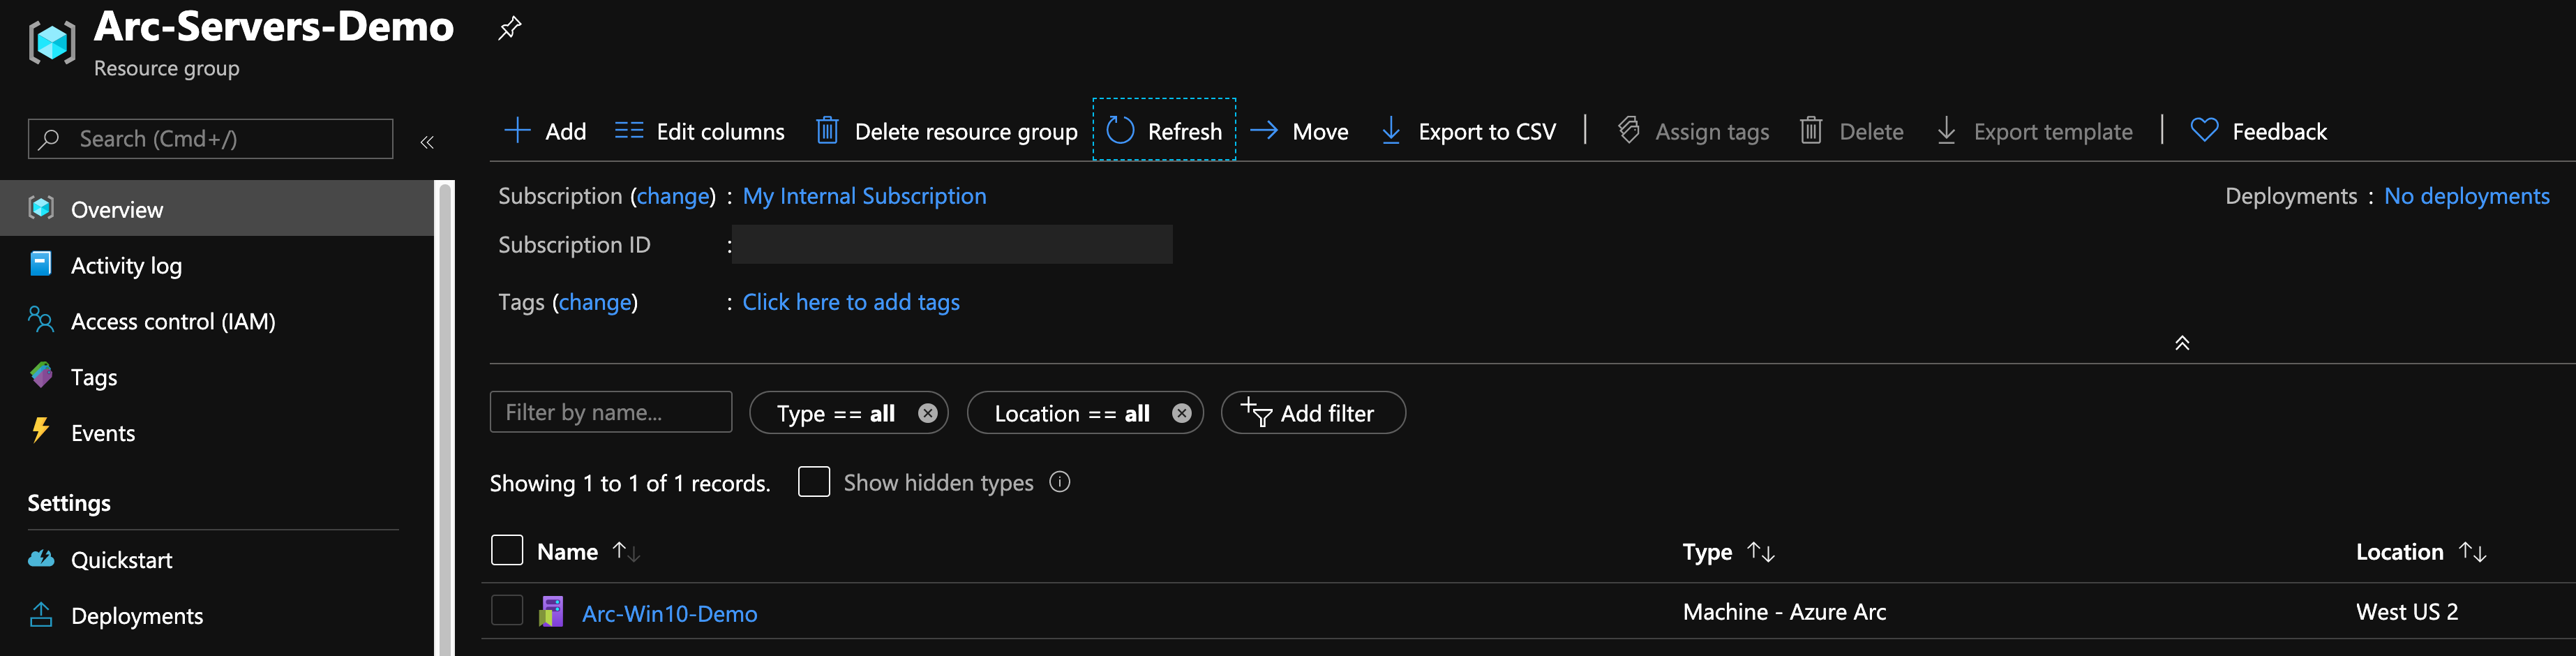
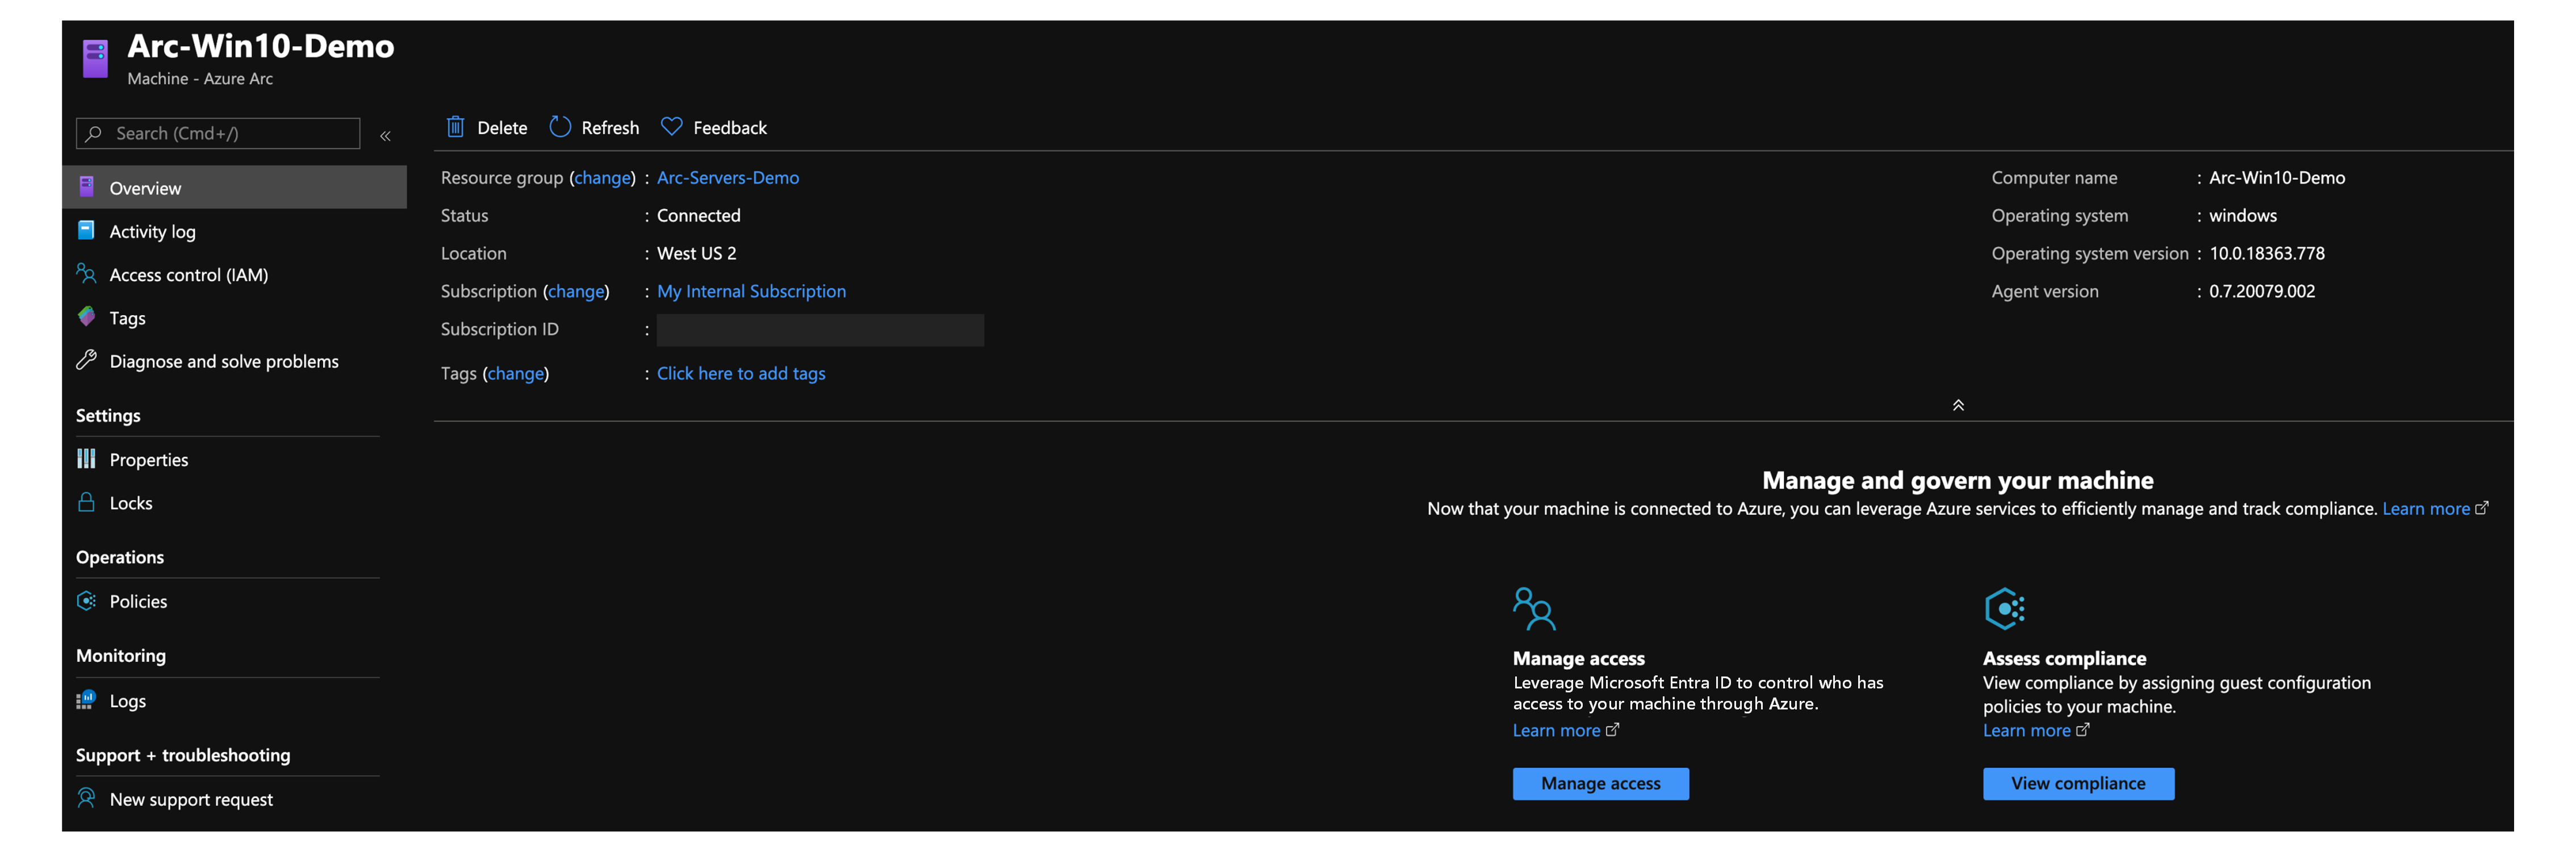
完成後,您將部署本機 Windows 10 VM,並在新的資源群組內連線為已啟用 Azure Arc 的新伺服器。
半自動化部署(選擇性)
執行的最後一個步驟是將 VM 註冊為已啟用 Azure Arc 的新伺服器資源。

如果您想要示範/控制實際的註冊程式,請執行下列動作:
在 PowerShell 腳本中
install_arc_agent,將 區段批注run connect command化並儲存盤案。 您也可以批註化或變更資源群組的建立。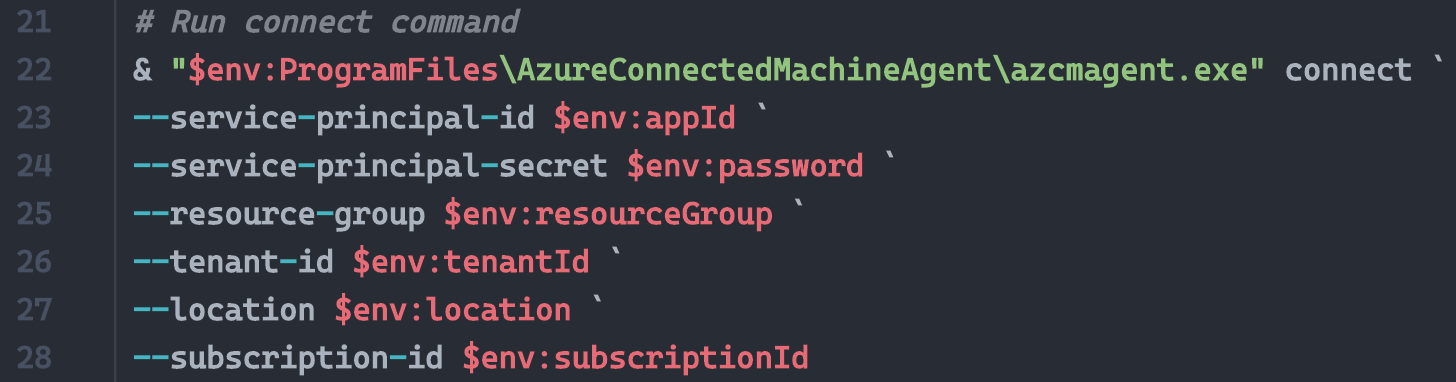

使用
vagrant rdp命令 RDP VM。 使用vagrant/vagrant作為使用者名稱/密碼。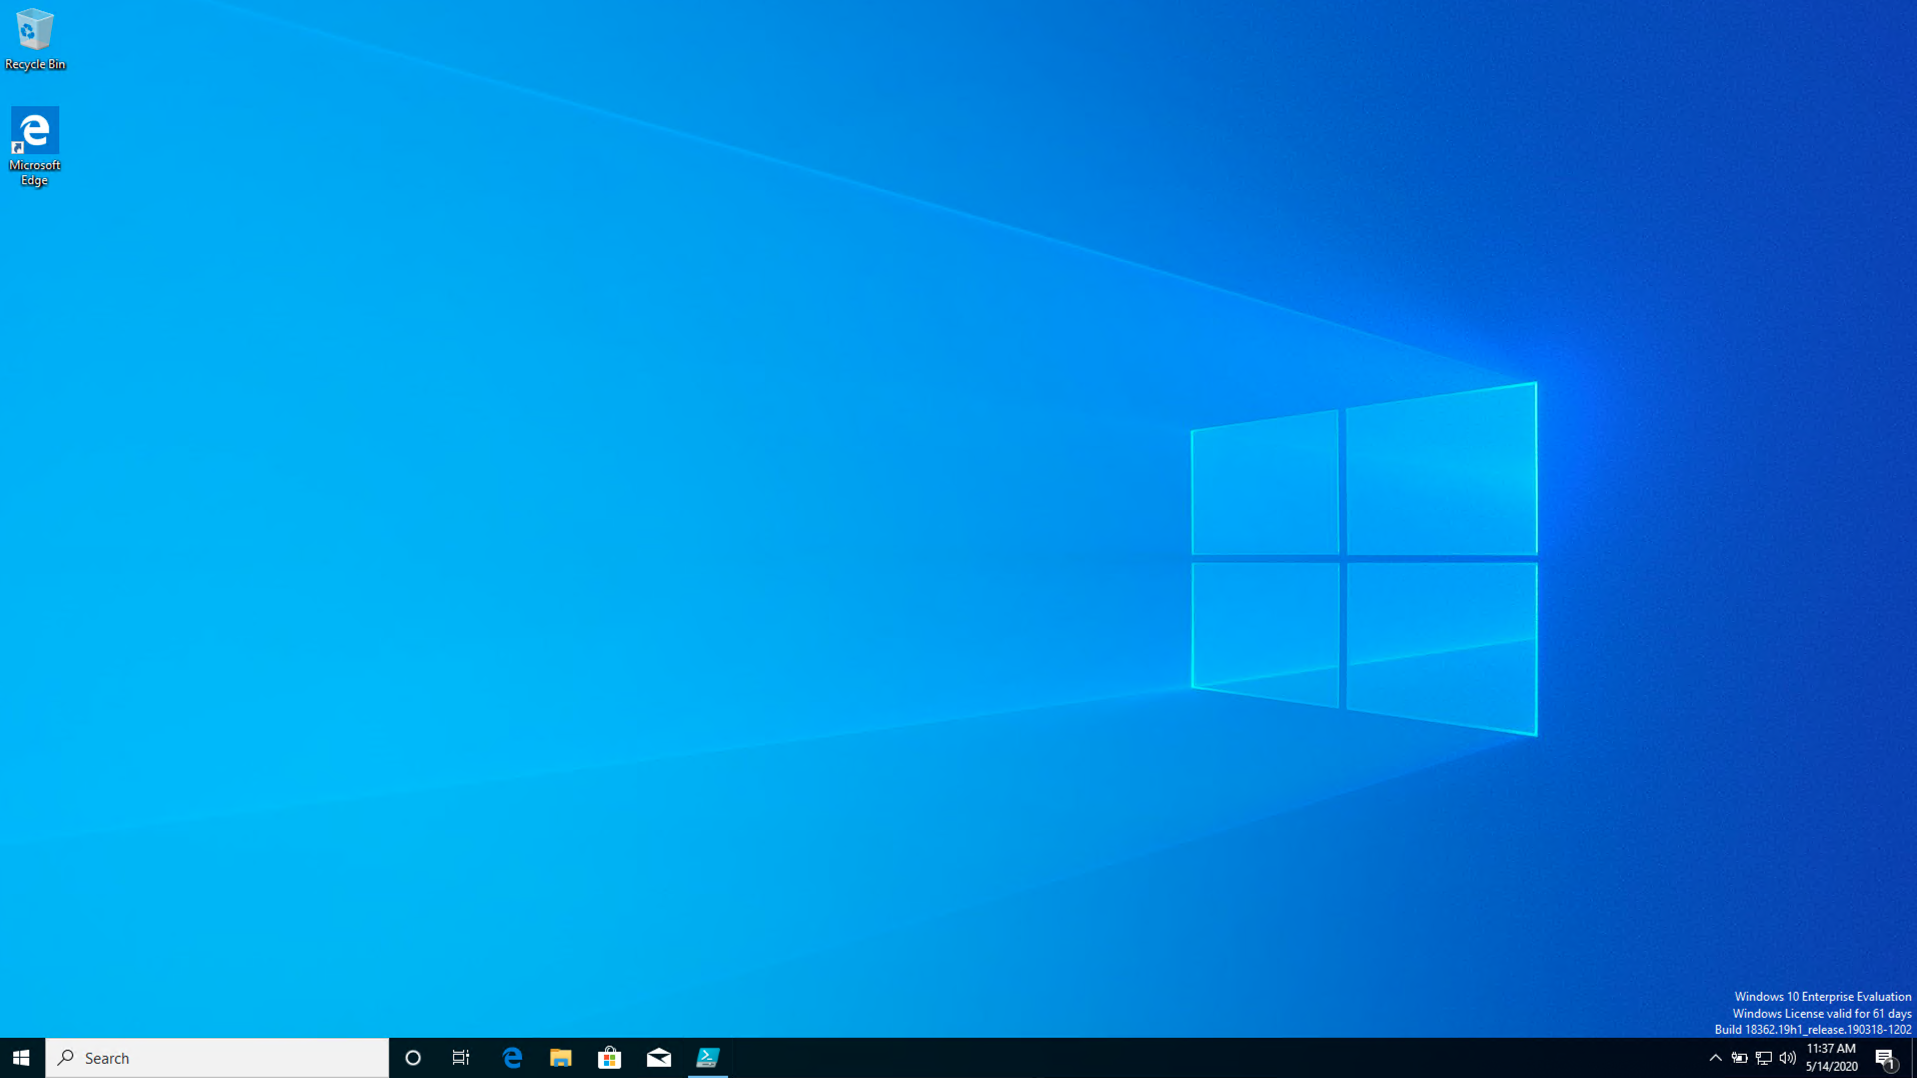
以 管理員 istrator 開啟 PowerShell ISE,並使用環境變數編輯
C:\runtime\vars.ps1檔案。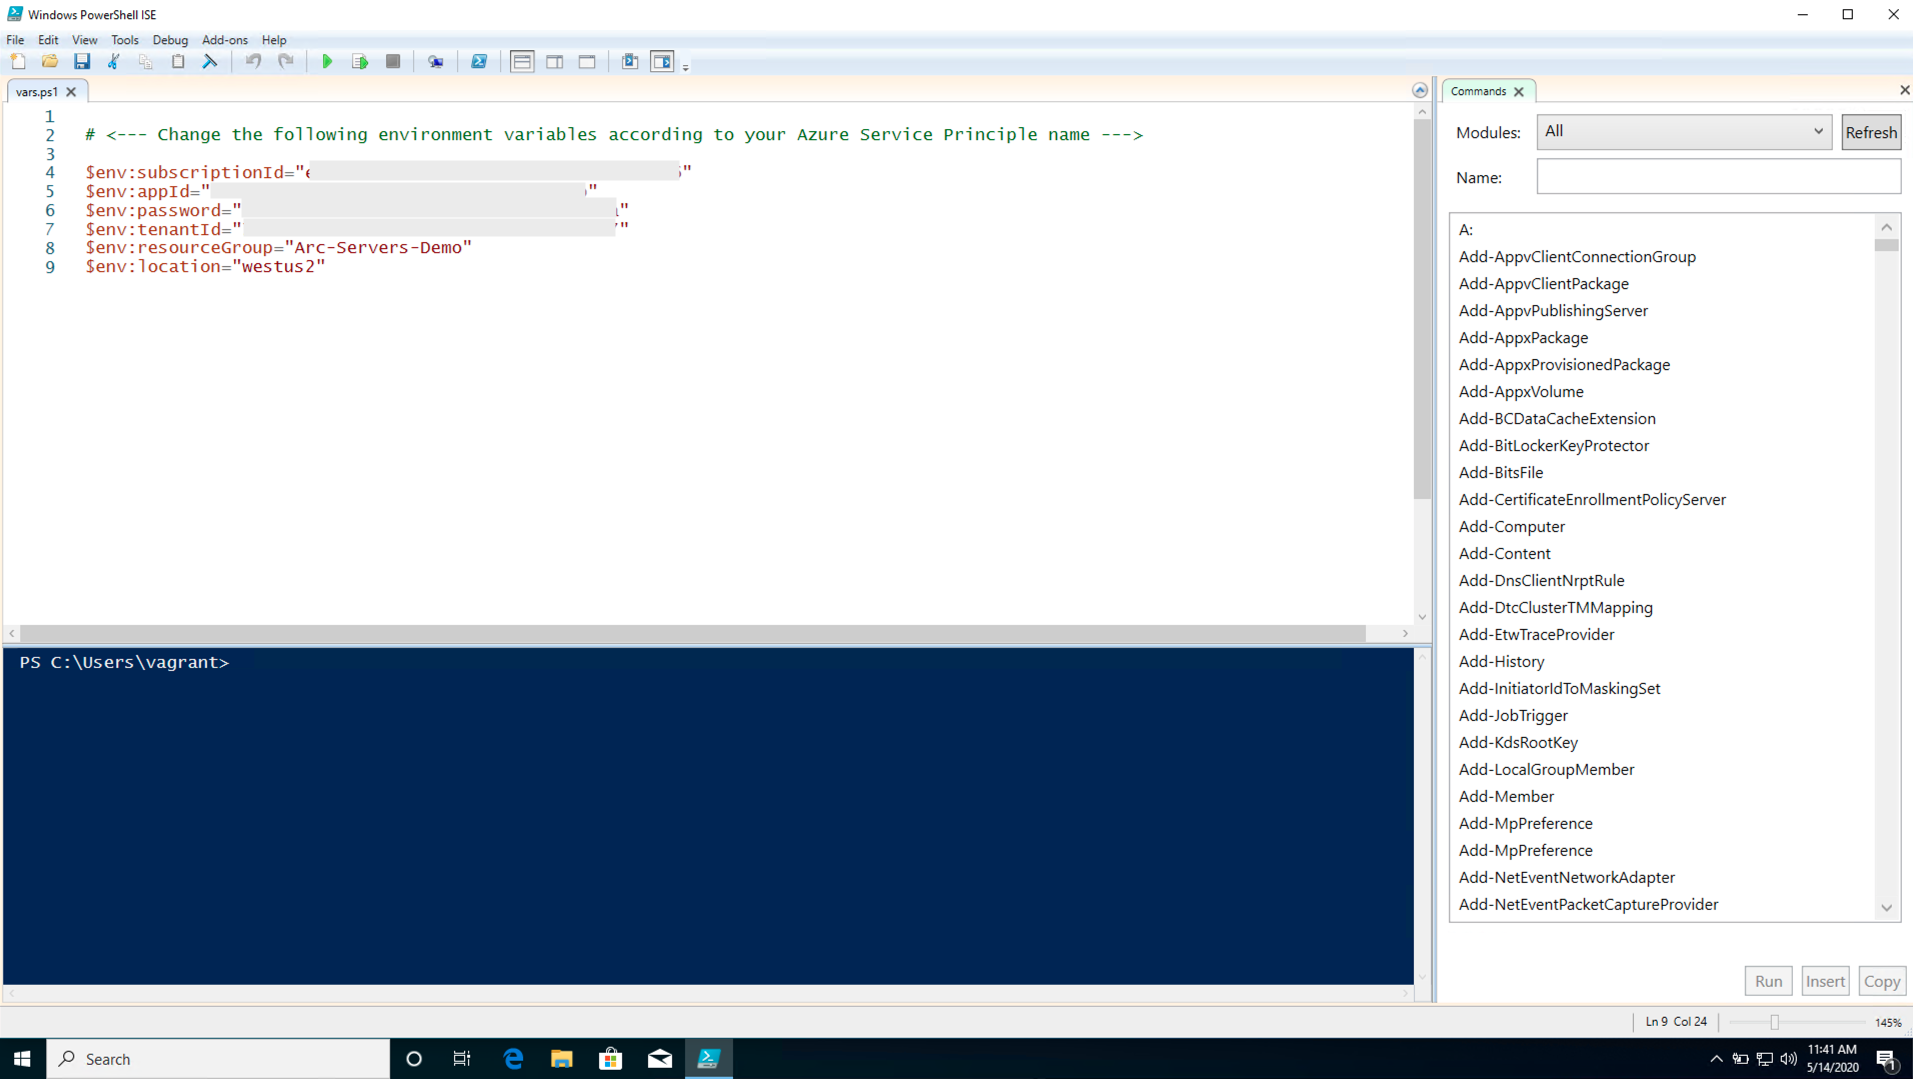
貼上
Invoke-Expression C:\runtime\vars.ps1命令、az group create --location $env:location --name $env:resourceGroup --subscription $env:subscriptionId命令,以及您輸出並執行腳本的相同azcmagent connect命令。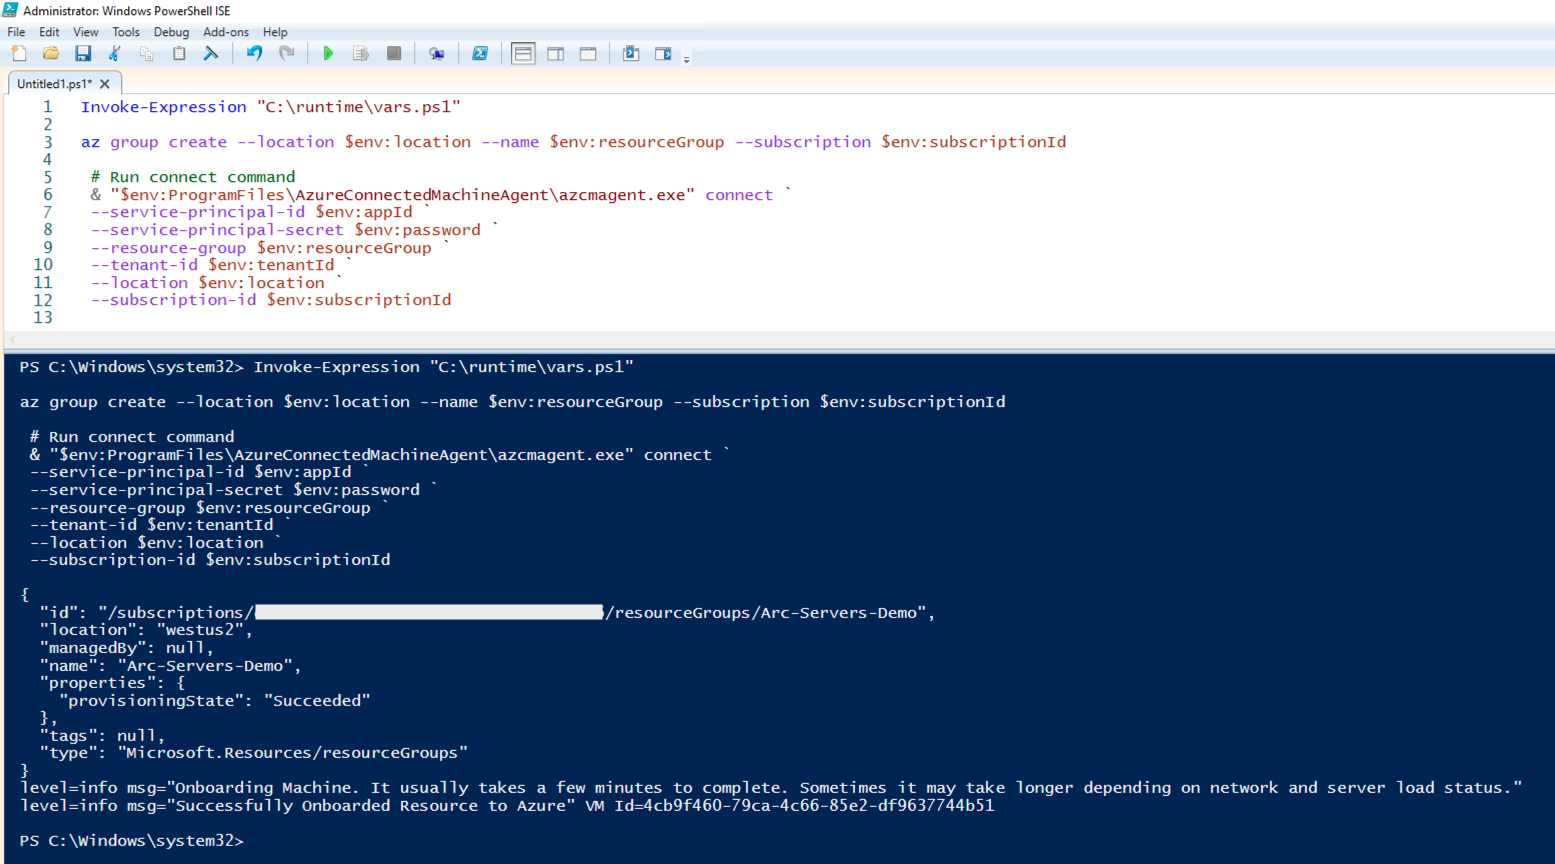
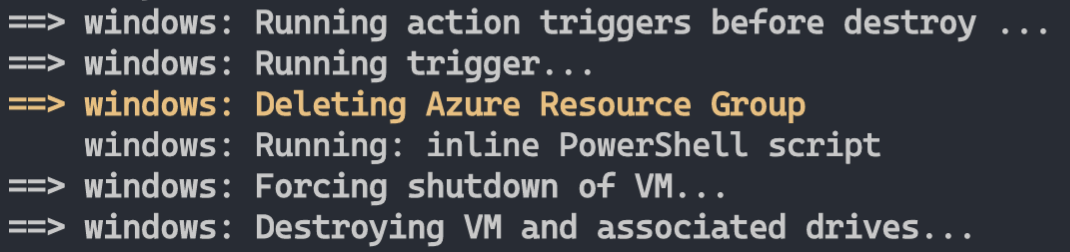
刪除部署
若要刪除整個部署,請執行 vagrant destroy -f 命令。 vagrantfile 包含 before: destroy Vagrant 觸發程式,它會執行 命令來刪除 Azure 資源群組,再終結實際的 VM。
意見反應
即將登場:在 2024 年,我們將逐步淘汰 GitHub 問題作為內容的意見反應機制,並將它取代為新的意見反應系統。 如需詳細資訊,請參閱:https://aka.ms/ContentUserFeedback。
提交並檢視相關的意見反應