使用 Databricks Apps 範本建立並部署你的第一個 AI 代理。 在本教學課程中,您會:
- 從 Databricks Apps 的介面中建立並部署代理程式。
- 使用預先建構的聊天介面與客服聊天。
先決條件
在您的工作區啟用 Databricks 應用程式。 請參閱 設定 Databricks Apps 工作區和開發環境。
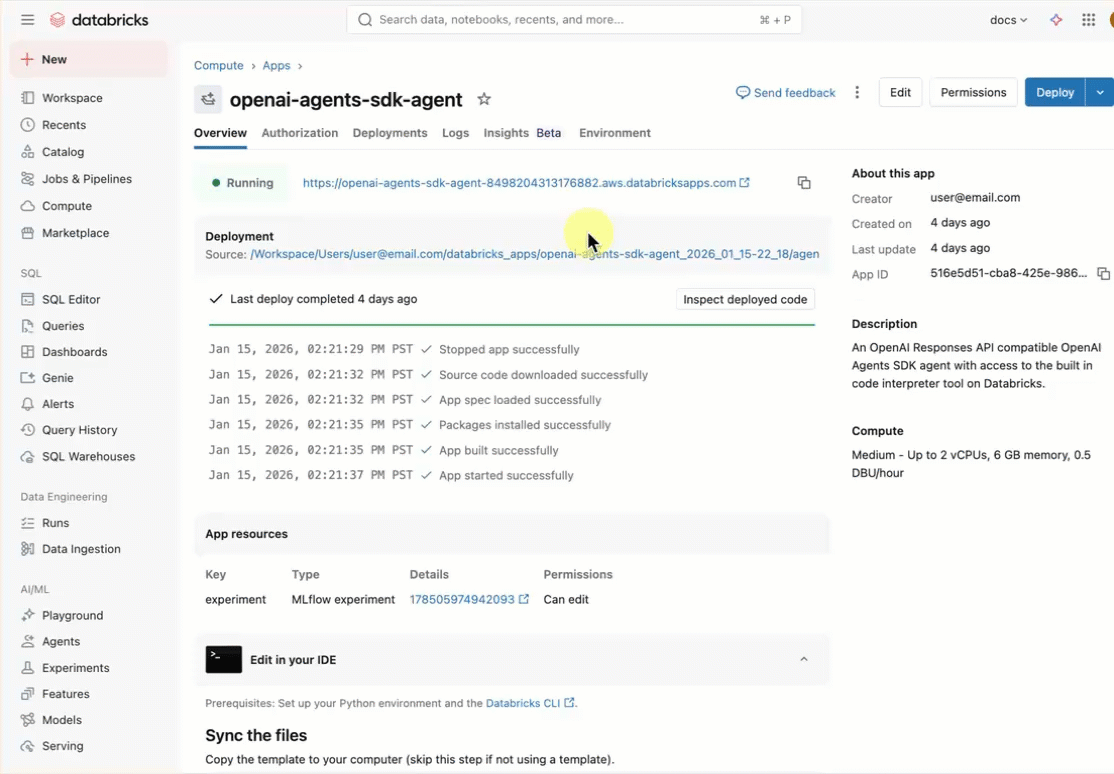
部署代理範本
請使用來自 Databricks 應用程式範本庫的預先建置代理範本開始。
本教學使用範本 agent-openai-agents-sdk ,內容包括:
- 使用 OpenAI 代理 SDK 建立的代理程式
- 一個代理應用程式的起始程式碼,具備對話式 REST API 與互動式聊天介面
- 使用 MLflow 評估代理的程式碼
用 Workspace 介面安裝應用程式範本。 這會安裝應用程式並將它部署到你工作空間中的運算資源。
在你的 Databricks 工作區,點選 + 新>應用程式。
點擊 Agents>Agent - OpenAI Agents SDK。
建立一個新的 MLflow 實驗,並用這個名稱
openai-agents-template完成剩下的設定來安裝範本。建立應用程式後,點擊應用程式網址即可開啟聊天介面。
了解代理應用程式
代理範本展示了具備以下關鍵元件的生產準備架構:
MLflow AgentServer:一個非同步的 FastAPI 伺服器,處理代理請求,內建追蹤與可觀察性。 AgentServer 提供 /invocations 查詢代理的端點,並自動管理請求路由、日誌記錄及錯誤處理。
OpenAI Agents SDK:該範本使用 OpenAI Agents SDK 作為對話管理與工具編排的代理框架。 你可以用任何框架來撰寫代理。 關鍵是用 MLflow ResponsesAgent 介面包裝你的代理。
ResponsesAgent 介面:此介面確保您的代理能跨越不同框架運作,並與 Databricks 工具整合。 你可以用 OpenAI SDK、LangGraph、LangChain 或純 Python 來建立你的代理,然後再包裝它 ResponsesAgent ,這樣就能自動相容於 AI Playground、代理評估和 Databricks 應用程式的部署。
MCP(模型情境協定)伺服器:範本連接 Databricks 的 MCP 伺服器,以存取代理、工具與資料來源。 請參閱 Databricks 上的模型內容通訊協定 (MCP)。

後續步驟
學習如何撰寫自訂代理:撰寫 AI 代理並部署到 Databricks 應用程式中