代理驗證會使用系統驗證代理程式來收集使用者認證,以驗證應用程式。 系統驗證代理程式是在使用者電腦上執行的應用程式,可管理所有連線帳戶的驗證交握和權杖維護。
代理驗證提供下列優點:
- 啟用單一 Sign-On (SSO): 可讓應用程式簡化使用者使用 Microsoft Entra ID 進行驗證的方式,並保護 Microsoft Entra ID 重新整理權杖免於外流和濫用。
- 增強安全性: 許多安全性增強功能隨代理程式一起提供,而不需要更新應用程式邏輯。
- 增強的功能支援: 在代理的幫助下,開發人員可以存取豐富的作業系統和服務功能。
- 系統整合: 使用代理程式的應用程式可隨插即用,並內建帳戶選擇器,讓使用者快速選擇現有帳戶,而不是一遍又一遍地重新輸入相同的憑證。
- 代幣保護: 確保重新整理權杖是裝置系結的,並可讓應用程式取得裝置系結的存取權杖。 請參閱 權杖保護。
Windows 提供稱為 Web 帳戶管理員 (WAM) 的驗證代理程式。 WAM 可讓身分識別提供者 (例如 Microsoft Entra ID) 原生插入 OS,並為應用程式提供安全的登入服務。 代理驗證可讓應用程式執行互動式登入認證所允許的所有作業。
支持個人Microsoft帳戶和公司或學校帳戶。 在支援的 Windows 版本上,預設的瀏覽器型 UI 會取代為更流暢的驗證體驗,類似於內建的 Windows 應用程式。
macOS 本身不包含內建驗證代理程式。 Azure Identity 用戶端函式庫實作了利用平台特定機制的經紀驗證功能,並在設備管理時可與 Microsoft Company Portal 等應用程式整合。 如需詳細資訊,請參閱 Microsoft Apple 裝置的企業 SSO 外掛程式。
Linux 會使用 Linux 的 Microsoft 單一登入作為 其驗證代理程式。
設定應用程式以進行代理驗證
若要在應用程式中啟用代理驗證,請遵循下列步驟:
在 Azure 入口網站中,流覽至 Microsoft Entra ID ,然後選取左側功能表上的 [ 應用程式註冊 ]。
選取您的應用程式的註冊,然後選取 [驗證]。
透過平台設定,將適當的重新導向 URI 新增至您的應用程式註冊:
在 [平台組態] 底下,選取 [+ 新增平臺]。
在 [設定平台] 底下,選取應用程式類型 (平台) 的磚以設定其設定,例如 行動和桌面應用程式。
在 [自訂重新導向 URI] 中,輸入您平台的下列重新導向 URI:
平台 重定向 URI Windows 10+ 或 WSL ms-appx-web://Microsoft.AAD.BrokerPlugin/{your_client_id}macOS msauth.com.msauth.unsignedapp://auth對於未簽署的應用程式
msauth.{bundle_id}://auth針對已簽署的應用程式Linux https://login.microsoftonline.com/common/oauth2/nativeclient將 或
{your_client_id}取代{bundle_id}為應用程式註冊的 [概觀] 窗格中的 [應用程式 (用戶端) 識別碼]。選取[],然後設定[]。
若要深入瞭解,請參閱 將重新導向 URI 新增至應用程式註冊。
回到 [驗證] 窗格的 [進階設定] 底下,針對 [允許公用用戶端流程] 選取 [是]。
選取 [儲存] 以套用變更。
若要為特定資源授權應用程式,請流覽至該特定資源,選取 API 許可權,然後啟用 Microsoft Graph 和其他您想要存取的資源。
這很重要
當您第一次登入時,您也必須是租戶的系統管理員,才能授予應用程式同意。
指派角色
若要使用代理驗證成功執行應用程式程式碼,請使用 Azure 角色型存取控制 (RBAC) 授與使用者帳戶許可權。 將適當的角色指派給相關 Azure 服務的使用者帳戶。 例如:
- Azure Blob 儲存體:指派 儲存體帳戶資料參與者 角色。
- Azure 金鑰保存庫:指派 金鑰保存庫秘密官員 角色。
如果已指定應用程式,則必須為 user_impersonation Access Azure 記憶體 設定 API 許可權(上一節的步驟 6)。 此 API 許可權可讓應用程式在登入期間授與同意之後,代表登入使用者存取 Azure 記憶體。
實作程序代碼
下列範例示範如何使用 InteractiveBrowserBrokerCredential 來向 BlobServiceClient進行驗證:
安裝套件。
pywin32在 Windows 中會用來擷取目前前景中的視窗。pip install azure-identity-broker pywin32取得父視窗的參考,帳戶選擇器對話方塊應該顯示在其上。 在下面的程式碼範例中,這行會是:
current_window_handle = win32gui.GetForegroundWindow()建立一個傳
InteractiveBrowserBrokerCredential入父視窗參考的實例。 在最後的程式碼範例中,這行會是:credential = InteractiveBrowserBrokerCredential(parent_window_handle=current_window_handle)使用
credential來存取 Azure 服務,此例中是 Blob Storage。
以下是最終的程式碼範例:
import win32gui
from azure.identity.broker import InteractiveBrowserBrokerCredential
from azure.storage.blob import BlobServiceClient

# Get the handle of the current window
current_window_handle = win32gui.GetForegroundWindow()

# To authenticate and authorize with an app, use the following line to get a credential and
# substitute the <app_id> and <tenant_id> placeholders with the values for your app and tenant.
# credential = InteractiveBrowserBrokerCredential(parent_window_handle=current_window_handle, client_id=<app_id>, tenant_id=<tenant_id>)
credential = InteractiveBrowserBrokerCredential(parent_window_handle=current_window_handle)
client = BlobServiceClient("https://<storage-account-name>.blob.core.windows.net/", credential=credential)

# Prompt for credentials appears on first use of the client
for container in client.list_containers():
    print(container.name)
如需更精確的控制,例如設定逾時,您可以提供特定的自變數給 InteractiveBrowserBrokerCredential ,例如 timeout。
若要讓程式碼成功執行,您的使用者帳戶必須在儲存體帳戶上指派 Azure 角色,以允許存取 儲存體帳戶資料參與者等 Blob 容器。 如果已指定應用程式,則必須為 user_impersonation Access Azure 記憶體 設定 API 許可權(上一節的步驟 6)。 此 API 許可權可讓應用程式在登入期間授與同意之後,代表登入使用者存取 Azure 記憶體。
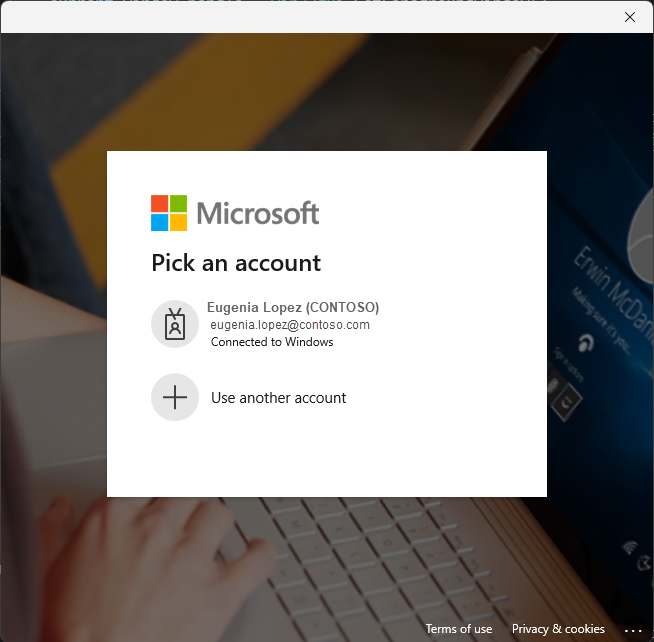
下列螢幕擷取畫面顯示替代互動式代理驗證體驗:
這很重要
macOS 支援存在於 1.3.0 版及更新版本中 azure-identity-broker 。
以下範例示範如何使用 InteractiveBrowserBrokerCredential 進行 BlobServiceClient 的身份驗證。
安裝套件。
msal(Microsoft 認證函式庫)用於提供parent_window_handle參數的常數。pip install azure-identity-broker msal建立一個傳
InteractiveBrowserBrokerCredential入父視窗參考的實例。 這需要你取得父視窗的參考,該視窗上方應該會出現帳號選擇對話框(由msal模組提供)。 在下面的程式碼範例中,這行會是:credential = InteractiveBrowserBrokerCredential( parent_window_handle=msal.PublicClientApplication.CONSOLE_WINDOW_HANDLE )使用
credential來存取 Azure 服務,在這個例子中稱為 Blob Storage。
以下是最終的程式碼範例:
from azure.identity.broker import InteractiveBrowserBrokerCredential
from azure.storage.blob import BlobServiceClient
import msal
credential = InteractiveBrowserBrokerCredential(
    parent_window_handle=msal.PublicClientApplication.CONSOLE_WINDOW_HANDLE
)
client = BlobServiceClient("https://<storage-account-name>.blob.core.windows.net/", credential=credential)
# Prompt for credentials appears on first use of the client
for container in client.list_containers():
print(container.name)
欲了解更多關於在 macOS 上使用 MSAL Python 搭配認證代理的資訊,請參閱《 在 macOS 上使用 MSAL Python 搭配認證代理工具》。
如需更精確的控制,例如設定逾時,您可以提供特定的自變數給 InteractiveBrowserBrokerCredential ,例如 timeout。
若要讓程式碼成功執行,您的使用者帳戶必須在儲存體帳戶上指派 Azure 角色,以允許存取 儲存體帳戶資料參與者等 Blob 容器。 如果已指定應用程式,則必須為 user_impersonation Access Azure 記憶體 設定 API 許可權(上一節的步驟 6)。 此 API 許可權可讓應用程式在登入期間授與同意之後,代表登入使用者存取 Azure 記憶體。
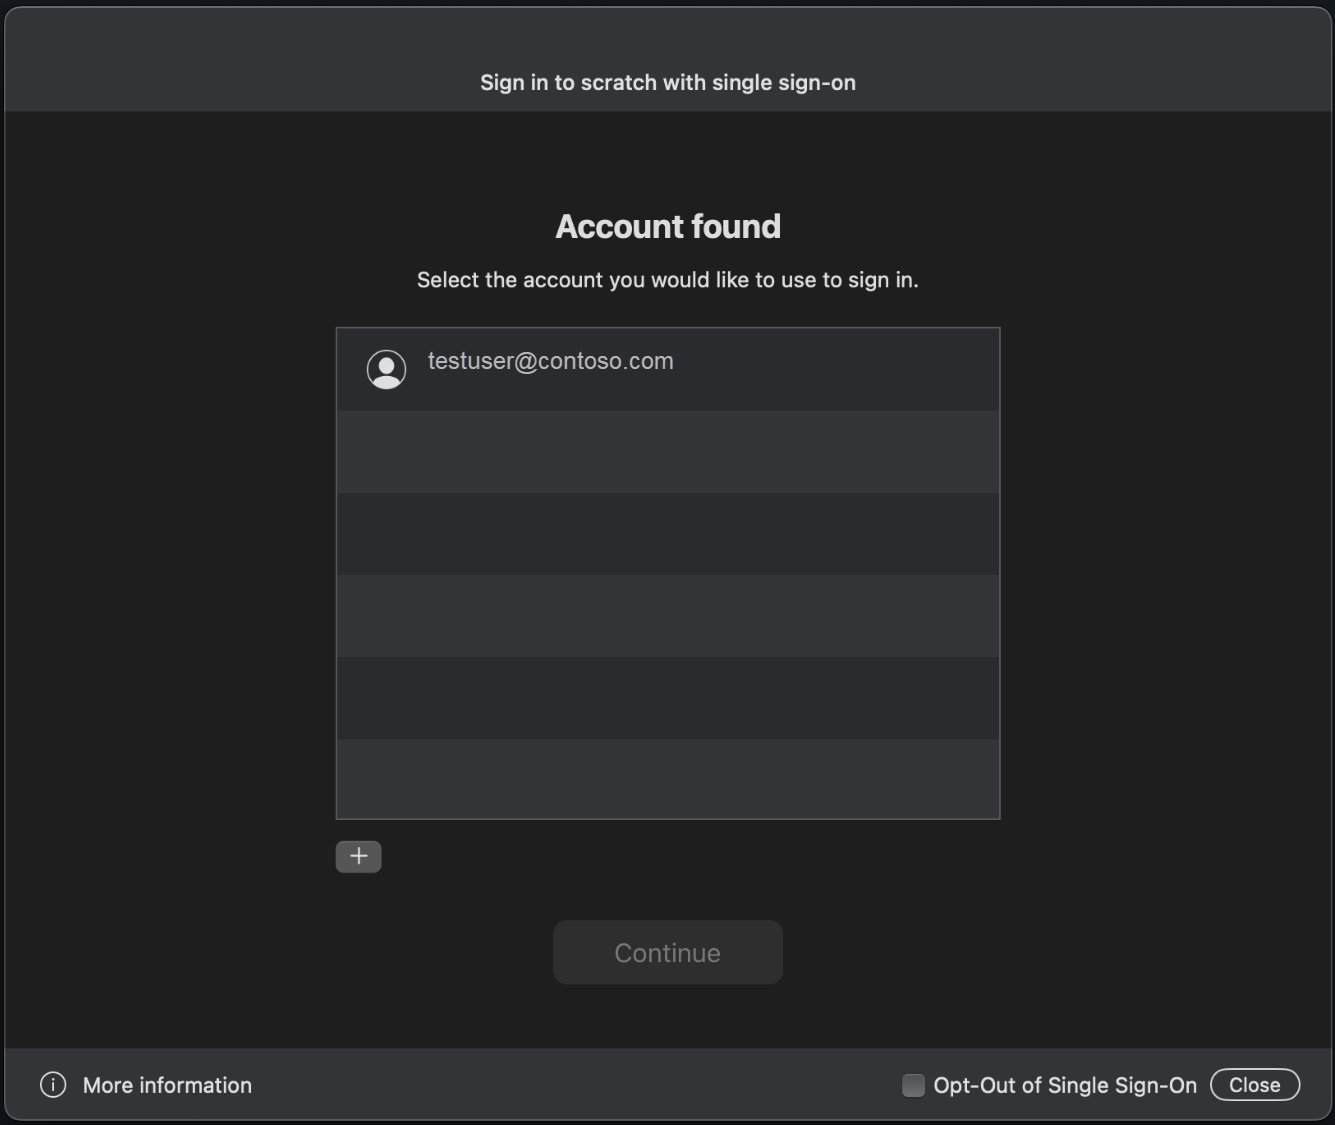
下列螢幕擷取畫面顯示替代互動式代理驗證體驗:
這很重要
Linux 支援存在於 1.3.0 版和更新版本中 azure-identity-broker 。
下列範例示範如何使用 InteractiveBrowserBrokerCredential 來向 BlobServiceClient進行驗證:
安裝套件。
msal(Microsoft 認證函式庫)用於為參數parent_window_handle提供常數。pip install azure-identity-broker msal建立一個傳
InteractiveBrowserBrokerCredential入父視窗參考的實例。 這需要你取得父視窗的參考,該視窗上方應該會出現帳號選擇對話框(由msal模組提供)。 在下面的程式碼範例中,這行會是:credential = InteractiveBrowserBrokerCredential( parent_window_handle=msal.PublicClientApplication.CONSOLE_WINDOW_HANDLE )使用
credential存取 Azure 服務,在這個例子中是指 Blob Storage。
以下是最終的程式碼範例:
from azure.identity.broker import InteractiveBrowserBrokerCredential
from azure.storage.blob import BlobServiceClient
import msal

credential = InteractiveBrowserBrokerCredential(
    parent_window_handle=msal.PublicClientApplication.CONSOLE_WINDOW_HANDLE
)

client = BlobServiceClient("https://<storage-account-name>.blob.core.windows.net/", credential=credential)

# Prompt for credentials appears on first use of the client
for container in client.list_containers():
    print(container.name)
在執行這個程式碼範例前,請確保你的 Linux 發行版已安裝 Linux 相依 套件。 此外,根據不同發行版本,WSL 也有 獨立說明。
如需更精確的控制,例如設定逾時,您可以提供特定的自變數給 InteractiveBrowserBrokerCredential ,例如 timeout。
若要讓程式碼成功執行,您的使用者帳戶必須在儲存體帳戶上指派 Azure 角色,以允許存取 儲存體帳戶資料參與者等 Blob 容器。 如果已指定應用程式,則必須為 user_impersonation Access Azure 記憶體 設定 API 許可權(上一節的步驟 6)。 此 API 許可權可讓應用程式在登入期間授與同意之後,代表登入使用者存取 Azure 記憶體。
下列影片顯示替代的互動式代理驗證體驗: