Visual Studio Code (VS Code) 可讓您將語言、調試程式和工具等擴充功能新增至 VS Code 安裝,以支援您的開發工作流程。 Visual Studio Code 的 Azure IoT 中樞 延伸模組可讓您在開發期間,將 Azure IoT 中樞 支援新增至 VS Code 安裝,以便管理 IoT 中樞、裝置和模組並與其互動。 您可以從 Visual Studio Code Marketplace 取得 Azure IoT 中樞 延伸模組。
注意
本文中提及的某些功能 (例如雲端對裝置傳訊、裝置對應項和裝置管理) 僅適用於 IoT 中樞的標準層。 如需有關基本和標準/免費 IoT 中樞層的詳細資訊,請參閱為您的解決方案選擇適合的 IoT 中樞層。
安裝延伸項目
您可以從 Visual Studio Code 或 Visual Studio Code Marketplace 中找到並安裝延伸模組。
從 Visual Studio Code 安裝
若要從 Visual Studio Code 中尋找並安裝延伸模組,請執行下列步驟。
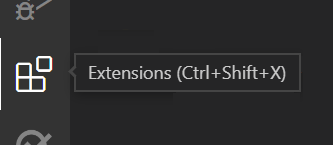
在 VS Code 中,從檢視列選取 [延伸模組] 檢視圖示,或選取 Ctrl+Shift+X,以選取 [延伸模組] 檢視。
在搜尋方塊中輸入 Azure IoT 中樞,以篩選 Marketplace 供應專案。 您應該會在清單中看到 Azure IoT 中樞 延伸模組。 從清單中選取延伸模組以顯示延伸模組詳細數據頁面。
![顯示 Visual Studio Code [延伸模組] 檢視中搜尋列和清單的螢幕快照。](media/reference-iot-hub-extension/iot-hub-vscode-extension-list.png)
確認選取延伸模組的唯一識別元,顯示在延伸模組詳細資料頁面的 [更多資訊] 區段中,設定為
vsciot-vscode.azure-iot-toolkit。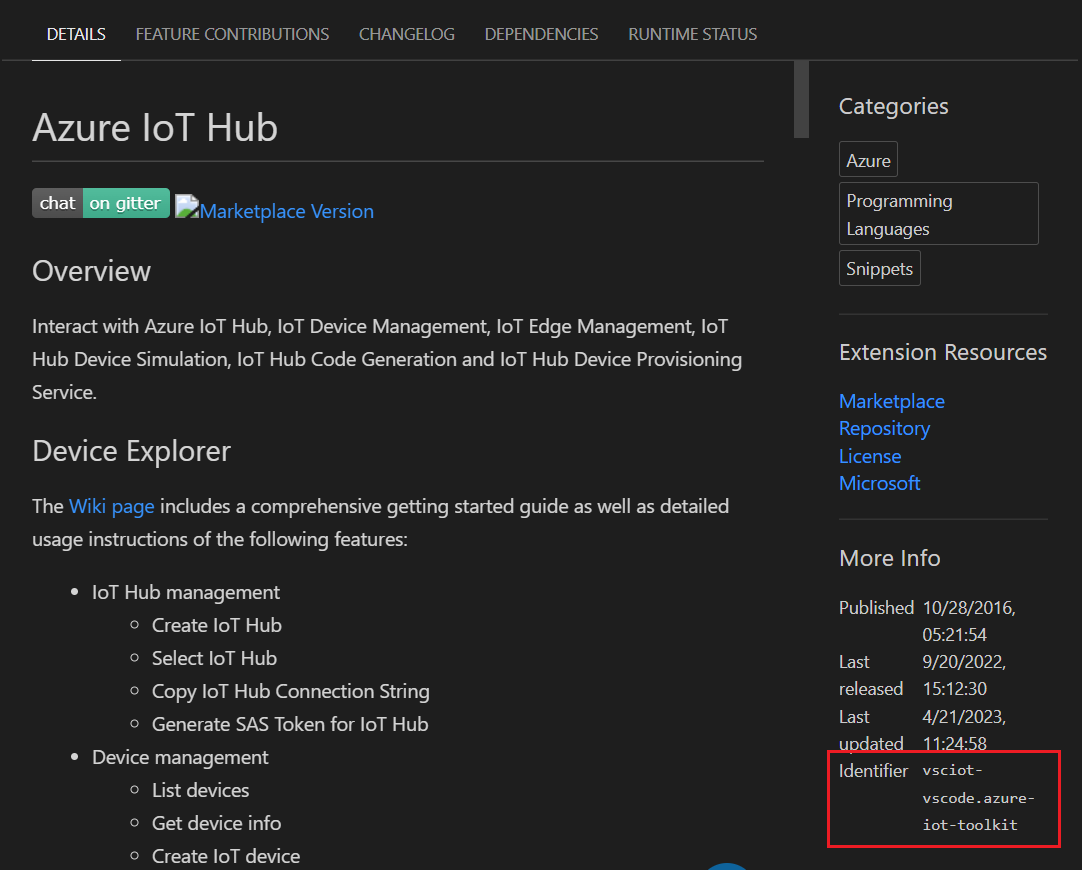
從清單或延伸模組詳細數據頁面選取所選延伸模組的 [安裝] 按鈕,以安裝延伸模組。
從 Visual Studio Code Marketplace 安裝
若要從 VS Code Marketplace 尋找並安裝延伸模組,請執行下列步驟。
在您的瀏覽器中,流覽至 VS Code Marketplace 中的 [Azure IoT 中樞 擴充功能] 頁面。
確認選取延伸模組的唯一識別碼,顯示在 [Azure IoT 中樞 延伸模組] 頁面的 [更多資訊] 區段中,設定為
vsciot-vscode.azure-iot-toolkit。如果 Visual Studio Code 尚未執行,請選取 [ 安裝 ] 按鈕以啟動 Visual Studio Code,並在 VS Code 中顯示延伸模組的詳細數據頁面。
在 VS Code 中,從延伸模組詳細數據頁面選取 [安裝 ] 按鈕,以安裝延伸模組。
安裝適用於 Visual Studio Code 的 Azure IoT 中樞 延伸模組也會安裝適用於 Visual Studio Code 的 Azure 帳戶延伸模組,為所有其他 Azure 延伸模組提供單一 Azure 登入和訂用帳戶篩選體驗。 Azure 帳戶擴充功能也可在 VS Code 的整合式終端機中提供 Azure Cloud Shell 服務。
注意
Azure IoT 中樞 擴充功能取決於 Azure 帳戶擴充功能以進行連線。 您無法卸載 Azure 帳戶擴充功能,而不需卸載 Azure IoT 中樞 擴充功能。
登入您的 Azure 帳戶
在擴充功能可以與 Azure IoT 中樞 互動之前,您必須從 Visual Studio Code 登入您的 Azure 帳戶。 您可以使用 Azure 帳戶擴充功能來:
- 建立 Azure 帳戶
- 登入和註銷您的 Azure 帳戶
- 從您的 Azure 帳戶篩選可供 Azure IoT 中樞 擴充功能的 Azure 訂用帳戶
- 將檔案上傳至您的 Azure Cloud Shell 儲存器帳戶
請遵循下列步驟來登入 Azure,並從 Azure 訂用帳戶中選取 IoT 中樞:
在 VS Code 的 [總管] 檢視中,展開側邊列中的 [Azure IoT 中樞] 區段。
選取 [Azure IoT 中樞] 區段的省略符號 (...) 按鈕以顯示動作功能表,然後從動作功能表中選取 [選取 IoT 中樞]。
如果您未登入 Azure,則會在右下角顯示快顯通知,讓您登入 Azure。 選取 [登入],然後遵循指示登入 Azure。
從 [選取訂用帳戶] 下拉式清單中,選取您的 Azure 訂用帳戶。
從 [選取 IoT 中樞] 下拉式清單中,選取您的 IoT 中樞。
IoT 中樞的裝置會從 IoT 中樞擷取,並顯示在側邊列 [Azure IoT 中樞] 區段中的 [裝置] 節點底下。
注意
您也可以從動作功能表中選取 [設定 IoT 中樞連接字串],然後在 [IoT 中樞連接字串] 輸入方塊中,針對 IoT 中樞輸入 iothubowner 原則連接字串,以使用連接字串來存取 IoT 中樞。
登入之後,您可以從 VS Code 總管檢視中的命令選擇區或動作選單,與中樞、裝置和模塊互動。 如需與延伸模塊互動的詳細資訊,包括常見問題和互動範例,請參閱 Azure IoT 中樞 延伸模組的wiki。
管理IoT中樞
您可以從延伸模組執行下列 IoT 中樞管理工作:
- 建立新的IoT中樞 ,並將其選取為擴充功能的目前IoT中樞
- 選取現有的IoT中樞 作為擴充功能的目前IoT中樞
- 在 [總管] 檢視中選取 [Azure IoT 中樞] 區段的 [重新整理] 按鈕,以列出目前 IoT 中樞的現有內建和自定義端點
- 將目前 IoT 中樞的 連接字串 複製到剪貼簿
- 產生目前 IoT 中樞 的 SAS 令牌,並將其複製到剪貼簿
管理您的裝置
您可以從延伸模組執行目前 IoT 中樞的下列裝置管理工作:
- 建立新的 IoT 中樞 裝置
- 建立新的IoT Edge裝置
- 在 [總管] 檢視中選取目前 IoT 中樞的 [重新整理] 按鈕,或在命令選擇區中指定 [Azure IoT 中樞:列出裝置] 命令,以列出現有的裝置
- 取得所選裝置 作為 JSON 檔的相關信息,如 VS Code 的 [輸出] 面板中所示
- 在 VS Code 編輯器中,以 JSON 檔形式編輯所選裝置的裝置對應項
- 將所選裝置的 連接字串 複製到剪貼簿
- 為選取的裝置 產生 SAS 令牌,並將其複製到剪貼簿
- 叫用所選裝置 的直接方法,並在 VS Code 的 [輸出] 面板中顯示結果
- 從目前的IoT中樞刪除選取的裝置
提示
您可以啟用 IoT 資源的鎖定,以防止意外或惡意刪除這些資源。 如需 Azure 中資源鎖定的詳細資訊,請參閱 鎖定您的資源以保護基礎結構。
管理模組
您可以針對目前 IoT 中樞中選取的裝置執行下列模組管理工作:
- 建立新的模組
- 在 VS Code 的 [總管] 檢視中選取目前裝置的 [重新整理] 按鈕,以列出現有的模組
- 取得所選取模組 作為 JSON 檔的相關信息,如 VS Code 的 [輸出] 面板中所示
- 編輯所選模組的模組 對應項,做為 VS Code 編輯器中的 JSON 檔
- 將所選取模組的 連接字串 複製到剪貼簿
- 叫用所選模組 的直接方法,並在 VS Code 的 [輸出] 面板中顯示結果
- 從目前的裝置刪除選取的模組
注意
Azure IoT Edge 系統模組是唯讀的,無法修改。 您可以藉由部署相關 IoT Edge 裝置的設定來提交變更。
與 IoT 中樞 互動
您可以針對目前 IoT 中樞內的資源執行下列互動式工作:
- 以選取的程式設計語言產生程式碼 ,以執行一般工作,例如針對所選資源傳送裝置到雲端訊息
- 將裝置到雲端 (D2C) 訊息傳送至所選裝置的 IoT 中樞
- 啟動和停止 監視目前IoT中樞 的內建事件端點,並在 VS Code 的 [輸出] 面板中顯示結果
- 將雲端到裝置 (C2D) 訊息傳送至您目前 IoT 中樞的所選裝置 ,並在 VS Code 的 [輸出] 面板中顯示結果
- 啟動和停止 監視目前IoT中樞所選裝置 的 C2D 訊息,並在 VS Code 的 [輸出] 面板中顯示結果
- 更新裝置的分散式追蹤設定
- 啟動和停止 監視目前IoT中樞的自訂事件中樞 端點,並在 VS Code 的 [輸出] 面板中顯示結果
與IoT Edge互動
您可以針對 目前 IoT 中樞內的 Azure IoT Edge 裝置執行下列互動式工作:
- 為選取的 IoT Edge 裝置 建立部署,並在 VS Code 的 [輸出] 面板中顯示結果
- 如果您有適當的部署指令清單, 請為多個 IoT Edge 裝置 大規模建立部署,並在 VS Code 的 [輸出] 面板中顯示結果