from azure.identity import DefaultAzureCredential
from azure.ai.ml import MLClient
mlflow_client = MlflowClient()

credential = DefaultAzureCredential()
ml_client = None
try:
    ml_client = MLClient.from_config(credential)
except Exception as ex:
    print(ex)
    # Enter details of your Azure Machine Learning workspace
    subscription_id = ''
    resource_group = ''
    workspace_name = ''
    ml_client = MLClient(credential, subscription_id, resource_group, workspace_name)
import mlflow
from mlflow.tracking.client import MlflowClient

# Obtain the tracking URL from MLClient
MLFLOW_TRACKING_URI = ml_client.workspaces.get(
    name=ml_client.workspace_name
).mlflow_tracking_uri

mlflow.set_tracking_uri(MLFLOW_TRACKING_URI)

# Specify the job name
job_name = ''

# Get the parent run
mlflow_parent_run = mlflow_client.get_run(job_name)
best_child_run_id = mlflow_parent_run.data.tags['automl_best_child_run_id']
# get the best child run
best_run = mlflow_client.get_run(best_child_run_id)
下載 labels.json 檔案,其包含定型資料集中的所有類別和標籤。
local_dir = './automl_models'
if not os.path.exists(local_dir):
    os.mkdir(local_dir)

labels_file = mlflow_client.download_artifacts(
    best_run.info.run_id, 'train_artifacts/labels.json', local_dir
)
inputs = {'model_name': 'fasterrcnn_resnet34_fpn',  # enter the faster rcnn or retinanet model name
         'batch_size': 8,  # enter the batch size of your choice
         'height_onnx': 600,  # enter the height of input to ONNX model
         'width_onnx': 800,  # enter the width of input to ONNX model
         'job_name': job_name,
         'task_type': 'image-object-detection',
         'min_size': 600,  # minimum size of the image to be rescaled before feeding it to the backbone
         'max_size': 1333,  # maximum size of the image to be rescaled before feeding it to the backbone
         'box_score_thresh': 0.3,  # threshold to return proposals with a classification score > box_score_thresh
         'box_nms_thresh': 0.5,  # NMS threshold for the prediction head
         'box_detections_per_img': 100   # maximum number of detections per image, for all classes
         }
inputs = {'model_name': 'yolov5',  # enter the yolo model name
          'batch_size': 8,  # enter the batch size of your choice
          'height_onnx': 640,  # enter the height of input to ONNX model
          'width_onnx': 640,  # enter the width of input to ONNX model
          'job_name': job_name,
          'task_type': 'image-object-detection',
          'img_size': 640,  # image size for inference
          'model_size': 'small',  # size of the yolo model
          'box_score_thresh': 0.1,  # threshold to return proposals with a classification score > box_score_thresh
          'box_iou_thresh': 0.5
        }
inputs = {'model_name': 'maskrcnn_resnet50_fpn',  # enter the maskrcnn model name
         'batch_size': 8,  # enter the batch size of your choice
         'height_onnx': 600,  # enter the height of input to ONNX model
         'width_onnx': 800,  # enter the width of input to ONNX model
         'job_name': job_name,
         'task_type': 'image-instance-segmentation',
         'min_size': 600,  # minimum size of the image to be rescaled before feeding it to the backbone
         'max_size': 1333,  # maximum size of the image to be rescaled before feeding it to the backbone
         'box_score_thresh': 0.3,  # threshold to return proposals with a classification score > box_score_thresh
         'box_nms_thresh': 0.5,  # NMS threshold for the prediction head
         'box_detections_per_img': 100  # maximum number of detections per image, for all classes
         }
from azure.ai.ml import command

job = command(
    code="./onnx_generator_files",  # local path where the code is stored
    command="python ONNX_batch_model_generator_automl_for_images.py --model_name ${{inputs.model_name}} --batch_size ${{inputs.batch_size}} --height_onnx ${{inputs.height_onnx}} --width_onnx ${{inputs.width_onnx}} --job_name ${{inputs.job_name}} --task_type ${{inputs.task_type}} --min_size ${{inputs.min_size}} --max_size ${{inputs.max_size}} --box_score_thresh ${{inputs.box_score_thresh}} --box_nms_thresh ${{inputs.box_nms_thresh}} --box_detections_per_img ${{inputs.box_detections_per_img}}",
    inputs=inputs,
    environment=env,
    compute=compute_name,
    display_name="ONNX-batch-model-generation-rcnn",
    description="Use the PyTorch to generate ONNX batch scoring model.",
)
returned_job = ml_client.create_or_update(job)
ml_client.jobs.stream(returned_job.name)
from azure.ai.ml import command

job = command(
    code="./onnx_generator_files",  # local path where the code is stored
    command="python ONNX_batch_model_generator_automl_for_images.py --model_name ${{inputs.model_name}} --batch_size ${{inputs.batch_size}} --height_onnx ${{inputs.height_onnx}} --width_onnx ${{inputs.width_onnx}} --job_name ${{inputs.job_name}} --task_type ${{inputs.task_type}} --img_size ${{inputs.img_size}} --model_size ${{inputs.model_size}} --box_score_thresh ${{inputs.box_score_thresh}} --box_iou_thresh ${{inputs.box_iou_thresh}}",
    inputs=inputs,
    environment=env,
    compute=compute_name,
    display_name="ONNX-batch-model-generation",
    description="Use the PyTorch to generate ONNX batch scoring model.",
)
returned_job = ml_client.create_or_update(job)
ml_client.jobs.stream(returned_job.name)
from azure.ai.ml import command

job = command(
    code="./onnx_generator_files",  # local path where the code is stored
    command="python ONNX_batch_model_generator_automl_for_images.py --model_name ${{inputs.model_name}} --batch_size ${{inputs.batch_size}} --height_onnx ${{inputs.height_onnx}} --width_onnx ${{inputs.width_onnx}} --job_name ${{inputs.job_name}} --task_type ${{inputs.task_type}} --min_size ${{inputs.min_size}} --max_size ${{inputs.max_size}} --box_score_thresh ${{inputs.box_score_thresh}} --box_nms_thresh ${{inputs.box_nms_thresh}} --box_detections_per_img ${{inputs.box_detections_per_img}}",
    inputs=inputs,
    environment=env,
    compute=compute_name,
    display_name="ONNX-batch-model-generation-maskrcnn",
    description="Use the PyTorch to generate ONNX batch scoring model.",
)
returned_job = ml_client.create_or_update(job)
ml_client.jobs.stream(returned_job.name)
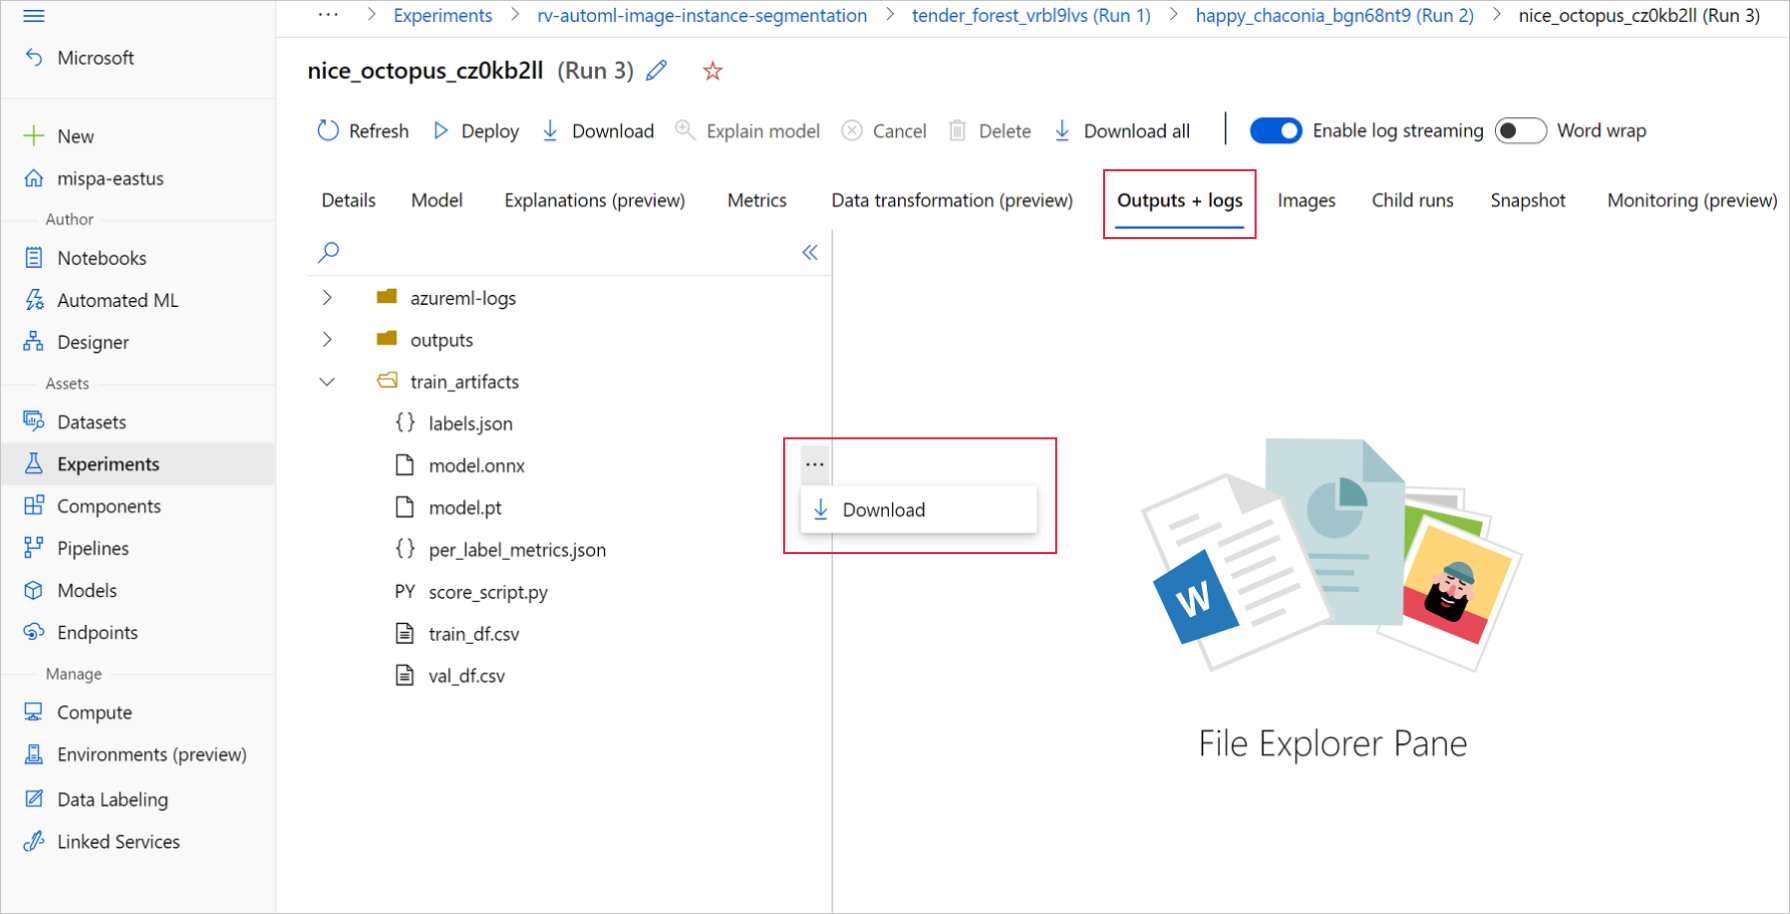
產生批次模型之後,請從 [輸出 + 記錄]>[輸出] 手動透過 UI 加以下載,或使用下列方法:
batch_size = 8  # use the batch size used to generate the model
returned_job_run = mlflow_client.get_run(returned_job.name)

# Download run's artifacts/outputs
onnx_model_path = mlflow_client.download_artifacts(
    returned_job_run.info.run_id, 'outputs/model_'+str(batch_size)+'.onnx', local_dir
)
import glob
import numpy as np
from PIL import Image

def preprocess(image, resize_size, crop_size_onnx):
    """Perform pre-processing on raw input image

    :param image: raw input image
    :type image: PIL image
    :param resize_size: value to resize the image
    :type image: Int
    :param crop_size_onnx: expected height of an input image in onnx model
    :type crop_size_onnx: Int
    :return: pre-processed image in numpy format
    :rtype: ndarray 1xCxHxW
    """

    image = image.convert('RGB')
    # resize
    image = image.resize((resize_size, resize_size))
    #  center  crop
    left = (resize_size - crop_size_onnx)/2
    top = (resize_size - crop_size_onnx)/2
    right = (resize_size + crop_size_onnx)/2
    bottom = (resize_size + crop_size_onnx)/2
    image = image.crop((left, top, right, bottom))

    np_image = np.array(image)
    # HWC -> CHW
    np_image = np_image.transpose(2, 0, 1) # CxHxW
    # normalize the image
    mean_vec = np.array([0.485, 0.456, 0.406])
    std_vec = np.array([0.229, 0.224, 0.225])
    norm_img_data = np.zeros(np_image.shape).astype('float32')
    for i in range(np_image.shape[0]):
        norm_img_data[i,:,:] = (np_image[i,:,:]/255 - mean_vec[i])/std_vec[i]

    np_image = np.expand_dims(norm_img_data, axis=0) # 1xCxHxW
    return np_image

# following code loads only batch_size number of images for demonstrating ONNX inference
# make sure that the data directory has at least batch_size number of images

test_images_path = "automl_models_multi_cls/test_images_dir/*" # replace with path to images
# Select batch size needed
batch_size = 8
# you can modify resize_size based on your trained model
resize_size = 256
# height and width will be the same for classification
crop_size_onnx = height_onnx_crop_size

image_files = glob.glob(test_images_path)
img_processed_list = []
for i in range(batch_size):
    img = Image.open(image_files[i])
    img_processed_list.append(preprocess(img, resize_size, crop_size_onnx))

if len(img_processed_list) > 1:
    img_data = np.concatenate(img_processed_list)
elif len(img_processed_list) == 1:
    img_data = img_processed_list[0]
else:
    img_data = None

assert batch_size == img_data.shape[0]
包含 PyTorch
import glob
import torch
import numpy as np
from PIL import Image
from torchvision import transforms

def _make_3d_tensor(x) -> torch.Tensor:
    """This function is for images that have less channels.

    :param x: input tensor
    :type x: torch.Tensor
    :return: return a tensor with the correct number of channels
    :rtype: torch.Tensor
    """
    return x if x.shape[0] == 3 else x.expand((3, x.shape[1], x.shape[2]))

def preprocess(image, resize_size, crop_size_onnx):
    transform = transforms.Compose([
        transforms.Resize(resize_size),
        transforms.CenterCrop(crop_size_onnx),
        transforms.ToTensor(),
        transforms.Lambda(_make_3d_tensor),
        transforms.Normalize([0.485, 0.456, 0.406], [0.229, 0.224, 0.225])])

    img_data = transform(image)
    img_data = img_data.numpy()
    img_data = np.expand_dims(img_data, axis=0)
    return img_data

# following code loads only batch_size number of images for demonstrating ONNX inference
# make sure that the data directory has at least batch_size number of images

test_images_path = "automl_models_multi_cls/test_images_dir/*"  # replace with path to images
# Select batch size needed
batch_size = 8
# you can modify resize_size based on your trained model
resize_size = 256
# height and width will be the same for classification
crop_size_onnx = height_onnx_crop_size

image_files = glob.glob(test_images_path)
img_processed_list = []
for i in range(batch_size):
    img = Image.open(image_files[i])
    img_processed_list.append(preprocess(img, resize_size, crop_size_onnx))

if len(img_processed_list) > 1:
    img_data = np.concatenate(img_processed_list)
elif len(img_processed_list) == 1:
    img_data = img_processed_list[0]
else:
    img_data = None

assert batch_size == img_data.shape[0]
import glob
import numpy as np
from PIL import Image

def preprocess(image, resize_size, crop_size_onnx):
    """Perform pre-processing on raw input image

    :param image: raw input image
    :type image: PIL image
    :param resize_size: value to resize the image
    :type image: Int
    :param crop_size_onnx: expected height of an input image in onnx model
    :type crop_size_onnx: Int
    :return: pre-processed image in numpy format
    :rtype: ndarray 1xCxHxW
    """

    image = image.convert('RGB')
    # resize
    image = image.resize((resize_size, resize_size))
    # center  crop
    left = (resize_size - crop_size_onnx)/2
    top = (resize_size - crop_size_onnx)/2
    right = (resize_size + crop_size_onnx)/2
    bottom = (resize_size + crop_size_onnx)/2
    image = image.crop((left, top, right, bottom))

    np_image = np.array(image)
    # HWC -> CHW
    np_image = np_image.transpose(2, 0, 1) # CxHxW

    # normalize the image
    mean_vec = np.array([0.485, 0.456, 0.406])
    std_vec = np.array([0.229, 0.224, 0.225])
    norm_img_data = np.zeros(np_image.shape).astype('float32')
    for i in range(np_image.shape[0]):
        norm_img_data[i,:,:] = (np_image[i,:,:] / 255 - mean_vec[i]) / std_vec[i]
    np_image = np.expand_dims(norm_img_data, axis=0) # 1xCxHxW
    return np_image

# following code loads only batch_size number of images for demonstrating ONNX inference
# make sure that the data directory has at least batch_size number of images

test_images_path = "automl_models_multi_label/test_images_dir/*" # replace with path to images
# Select batch size needed
batch_size = 8
# you can modify resize_size based on your trained model
resize_size = 256
# height and width will be the same for classification
crop_size_onnx = height_onnx_crop_size

image_files = glob.glob(test_images_path)
img_processed_list = []
for i in range(batch_size):
    img = Image.open(image_files[i])
    img_processed_list.append(preprocess(img, resize_size, crop_size_onnx))

if len(img_processed_list) > 1:
    img_data = np.concatenate(img_processed_list)
elif len(img_processed_list) == 1:
    img_data = img_processed_list[0]
else:
    img_data = None

assert batch_size == img_data.shape[0]
包含 PyTorch
import glob
import torch
import numpy as np
from PIL import Image
from torchvision import transforms

def _make_3d_tensor(x) -> torch.Tensor:
    """This function is for images that have less channels.

    :param x: input tensor
    :type x: torch.Tensor
    :return: return a tensor with the correct number of channels
    :rtype: torch.Tensor
    """
    return x if x.shape[0] == 3 else x.expand((3, x.shape[1], x.shape[2]))

def preprocess(image, resize_size, crop_size_onnx):
    """Perform pre-processing on raw input image

    :param image: raw input image
    :type image: PIL image
    :param resize_size: value to resize the image
    :type image: Int
    :param crop_size_onnx: expected height of an input image in onnx model
    :type crop_size_onnx: Int
    :return: pre-processed image in numpy format
    :rtype: ndarray 1xCxHxW
    """
    transform = transforms.Compose([
        transforms.Resize(resize_size),
        transforms.CenterCrop(crop_size_onnx),
        transforms.ToTensor(),
        transforms.Lambda(_make_3d_tensor),
        transforms.Normalize([0.485, 0.456, 0.406], [0.229, 0.224, 0.225])])

    img_data = transform(image)
    img_data = img_data.numpy()
    img_data = np.expand_dims(img_data, axis=0)

    return img_data

# following code loads only batch_size number of images for demonstrating ONNX inference
# make sure that the data directory has at least batch_size number of images

test_images_path = "automl_models_multi_label/test_images_dir/*"  # replace with path to images
# Select batch size needed
batch_size = 8
# you can modify resize_size based on your trained model
resize_size = 256
# height and width will be the same for classification
crop_size_onnx = height_onnx_crop_size

image_files = glob.glob(test_images_path)
img_processed_list = []
for i in range(batch_size):
    img = Image.open(image_files[i])
    img_processed_list.append(preprocess(img, resize_size, crop_size_onnx))

if len(img_processed_list) > 1:
    img_data = np.concatenate(img_processed_list)
elif len(img_processed_list) == 1:
    img_data = img_processed_list[0]
else:
    img_data = None

assert batch_size == img_data.shape[0]
import glob
import numpy as np
from PIL import Image

def preprocess(image, height_onnx, width_onnx):
    """Perform pre-processing on raw input image

    :param image: raw input image
    :type image: PIL image
    :param height_onnx: expected height of an input image in onnx model
    :type height_onnx: Int
    :param width_onnx: expected width of an input image in onnx model
    :type width_onnx: Int
    :return: pre-processed image in numpy format
    :rtype: ndarray 1xCxHxW
    """

    image = image.convert('RGB')
    image = image.resize((width_onnx, height_onnx))
    np_image = np.array(image)
    # HWC -> CHW
    np_image = np_image.transpose(2, 0, 1) # CxHxW
    # normalize the image
    mean_vec = np.array([0.485, 0.456, 0.406])
    std_vec = np.array([0.229, 0.224, 0.225])
    norm_img_data = np.zeros(np_image.shape).astype('float32')
    for i in range(np_image.shape[0]):
        norm_img_data[i,:,:] = (np_image[i,:,:] / 255 - mean_vec[i]) / std_vec[i]
    np_image = np.expand_dims(norm_img_data, axis=0) # 1xCxHxW
    return np_image

# following code loads only batch_size number of images for demonstrating ONNX inference
# make sure that the data directory has at least batch_size number of images

test_images_path = "automl_models_od/test_images_dir/*" # replace with path to images
image_files = glob.glob(test_images_path)
img_processed_list = []
for i in range(batch_size):
    img = Image.open(image_files[i])
    img_processed_list.append(preprocess(img, height_onnx, width_onnx))

if len(img_processed_list) > 1:
    img_data = np.concatenate(img_processed_list)
elif len(img_processed_list) == 1:
    img_data = img_processed_list[0]
else:
    img_data = None

assert batch_size == img_data.shape[0]
import glob
import numpy as np
from yolo_onnx_preprocessing_utils import preprocess

# use height and width based on the generated model
test_images_path = "automl_models_od_yolo/test_images_dir/*" # replace with path to images
image_files = glob.glob(test_images_path)
img_processed_list = []
pad_list = []
for i in range(batch_size):
    img_processed, pad = preprocess(image_files[i])
    img_processed_list.append(img_processed)
    pad_list.append(pad)

if len(img_processed_list) > 1:
    img_data = np.concatenate(img_processed_list)
elif len(img_processed_list) == 1:
    img_data = img_processed_list[0]
else:
    img_data = None

assert batch_size == img_data.shape[0]
import glob
import numpy as np
from PIL import Image

def preprocess(image, resize_height, resize_width):
    """Perform pre-processing on raw input image

    :param image: raw input image
    :type image: PIL image
    :param resize_height: resize height of an input image
    :type resize_height: Int
    :param resize_width: resize width of an input image
    :type resize_width: Int
    :return: pre-processed image in numpy format
    :rtype: ndarray of shape 1xCxHxW
    """

    image = image.convert('RGB')
    image = image.resize((resize_width, resize_height))
    np_image = np.array(image)
    # HWC -> CHW
    np_image = np_image.transpose(2, 0, 1)  # CxHxW
    # normalize the image
    mean_vec = np.array([0.485, 0.456, 0.406])
    std_vec = np.array([0.229, 0.224, 0.225])
    norm_img_data = np.zeros(np_image.shape).astype('float32')
    for i in range(np_image.shape[0]):
        norm_img_data[i,:,:] = (np_image[i,:,:]/255 - mean_vec[i])/std_vec[i]
    np_image = np.expand_dims(norm_img_data, axis=0)  # 1xCxHxW
    return np_image

# following code loads only batch_size number of images for demonstrating ONNX inference
# make sure that the data directory has at least batch_size number of images
# use height and width based on the trained model
# use height and width based on the generated model
test_images_path = "automl_models_is/test_images_dir/*" # replace with path to images
image_files = glob.glob(test_images_path)
img_processed_list = []
for i in range(batch_size):
    img = Image.open(image_files[i])
    img_processed_list.append(preprocess(img, height_onnx, width_onnx))

if len(img_processed_list) > 1:
    img_data = np.concatenate(img_processed_list)
elif len(img_processed_list) == 1:
    img_data = img_processed_list[0]
else:
    img_data = None

assert batch_size == img_data.shape[0]
 Python SDK azure-ai-ml v2 (目前)