本文示範如何將 Hugo Web 應用程式建立及部署至 Azure Static Web Apps。 最後的結果是新的 Azure 靜態 Web 應用程式與相關聯的 GitHub Actions,可讓您控制應用程式的建置和發布方式。
在本教學課程中,您將瞭解如何:
- 建立 Hugo 應用程式
- 配置 Azure Static Web Apps
- 將 Hugo 應用程式部署至 Azure
如果您沒有 Azure 帳戶,請在開始之前建立 免費帳戶 。
先決條件
- 具有有效訂閱的 Azure 帳戶。 如果您沒有帳戶,您可以 免費建立帳戶。
- GitHub 帳戶。 如果您沒有帳戶,您可以 免費建立帳戶。
- 已安裝 Git 安裝程式。 如果您沒有 Git,您可以 安裝 Git。
建立 Hugo 應用程式
使用 Hugo 命令列介面建立 Hugo 應用程式(CLI):
請遵循在你的作業系統上安裝 Hugo 的 安裝指南。
開啟終端機
執行 Hugo CLI 以建立新的應用程式。
hugo new site static-app移至新建立的應用程式。
cd static-app初始化 Git 存放庫。
git init請確定您的分支名稱為
main。git branch -M main接下來,將主題安裝為 git 子模組,然後在 Hugo 組態檔中指定主題,以將主題新增至網站。
git submodule add https://github.com/budparr/gohugo-theme-ananke.git themes/ananke
echo 'theme = "ananke"' >> config.toml
認可變更。
git add -A
git commit -m "initial commit"
將您的應用程式推送至 GitHub
您需要 GitHub 上的存放庫才能連線到 Azure Static Web Apps。 下列步驟說明如何為您的網站建立儲存庫。
從 https://github.com/new 名為 hugo-static-app 建立空白 GitHub 存放庫(不要建立自述檔)。
將 GitHub 存放庫新增為遠端至本機存放庫。 請務必在下列命令中新增您的 GitHub 用戶名稱,以取代
<YOUR_USER_NAME>佔位元。git remote add origin https://github.com/<YOUR_USER_NAME>/hugo-static-app將本機存放庫推送至 GitHub。
git push --set-upstream origin main
部署 Web 應用程式
下列步驟示範如何建立新的靜態網站應用程式,並將其部署至生產環境。
建立應用程式
移至 Azure 入口網站
選取 [建立資源]
搜尋靜態 Web 應用程式
選取 靜態 Web 應用程式
選擇 建立
在 [基本] 索引標籤中,輸入下列值。
房產 價值觀 訂閱 您的 Azure 訂用帳戶名稱。 資源群組 my-hugo-group 名稱 hugo-static-app 方案類型 免費 Azure Functions API 和預備環境的區域 選取最靠近您的區域。 來源 GitHub的 選取 [使用 GitHub 登入],並使用 GitHub 進行驗證。
輸入下列 GitHub 值。
房產 價值觀 組織 選取您想要的 GitHub 組織。 存放庫 選取 hugo-static-app。 分支 選擇 主要。 備註
如果您沒有看到任何存放庫,可能需要在 GitHub 中授權 Azure Static Web Apps。 瀏覽至您的 GitHub 存放庫,並移至 [設定] > [應用程式] > [授權的 OAuth 應用程式],選取 [Azure Static Web Apps],然後選取 [授與]。 針對組織存放庫,您必須是組織的所有者才能授予許可權。
在 [建置詳細數據] 區段中,從 [建置預設] 下拉式清單中選取 [Hugo],並保留預設值。
檢閱並建立
選取 [ 檢閱 + 建立 ] 以確認詳細數據都正確無誤。
選取 [建立 ] 以開始建立 App Service 靜態 Web 應用程式,並布建 GitHub Actions 以進行部署。
部署完成之後,請選擇 [移至資源。
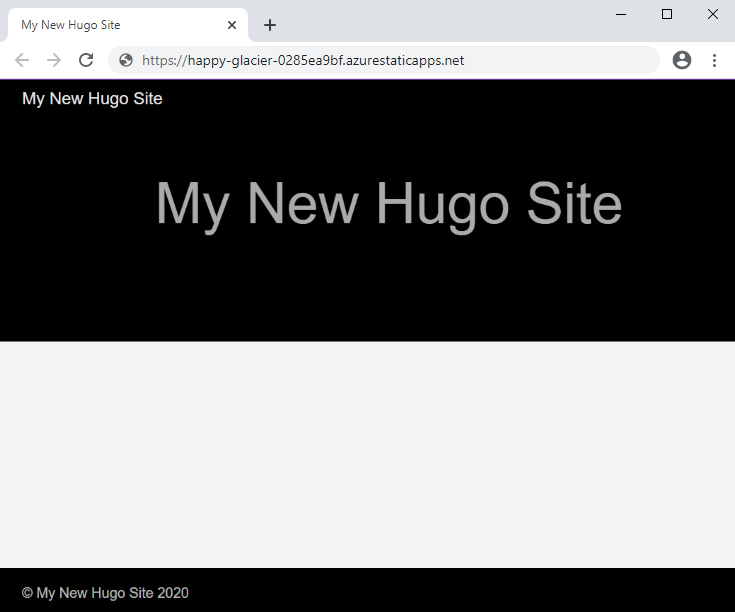
在資源畫面上 ,選取 URL 連結以開啟已部署的應用程式。 您可能需要等候一兩分鐘,GitHub Actions 才能完成。
自訂 Hugo 版本
當您產生靜態 Web 應用程式時,會產生 工作流程檔案 ,其中包含應用程式的發佈組態設定。 您可以在工作流程檔案中的 HUGO_VERSION 區段提供 env 的值,以指定特定的 Hugo 版本。 下列範例組態示範如何將 Hugo 設定為特定版本。
jobs:
  build_and_deploy_job:
    if: github.event_name == 'push' || (github.event_name == 'pull_request' && github.event.action != 'closed')
    runs-on: ubuntu-latest
    name: Build and Deploy Job
    steps:
      - uses: actions/checkout@v3
        with:
          submodules: true
      - name: Build And Deploy
        id: builddeploy
        uses: Azure/static-web-apps-deploy@v1
        with:
          azure_static_web_apps_api_token: ${{ secrets.AZURE_STATIC_WEB_APPS_API_TOKEN }}
          repo_token: ${{ secrets.GITHUB_TOKEN }} # Used for GitHub integrations (i.e. PR comments)
          action: "upload"
          ###### Repository/Build Configurations - These values can be configured to match you app requirements. ######
          # For more information regarding Static Web App workflow configurations, please visit: https://aka.ms/swaworkflowconfig
          app_location: "/" # App source code path
          api_location: "api" # Api source code path - optional
          output_location: "public" # Built app content directory - optional
          ###### End of Repository/Build Configurations ######
        env:
          HUGO_VERSION: 0.58.0
在 Hugo 應用程式中使用 Git 資訊功能
如果您的 Hugo 應用程式使用 Git 資訊功能,則為靜態 Web 應用程式建立的預設 工作流程檔案 會使用 結帳 GitHub Action 來擷取 Git 存放庫 的淺 層版本,預設深度為 1。 在此情境中,Hugo 會將您的所有內容檔案視為源自 單一提交,因此它們具有相同的作者、最後修改時間戳和其他 .GitInfo 變數。
更新您的工作流程文件,以 擷取完整的 Git 歷程記錄。具體操作是,在步驟下新增一個新參數,然後將actions/checkout設置為fetch-depth(表示無限制):
      - uses: actions/checkout@v3
        with:
          submodules: true
          fetch-depth: 0
擷取完整歷程記錄會增加 GitHub Actions 工作流程的建置時間,但您的 .Lastmod 和 .GitInfo 變數會精確且可供每個內容檔案使用。
清理資源
如果您不打算繼續使用此應用程式,您可以透過下列步驟刪除 Azure 靜態 Web 應用程式資源:
- 開啟 Azure 入口網站
- 在頂端搜尋列中,依您稍早提供的名稱搜尋您的應用程式
- 按兩下應用程式
- 按兩下 [ 刪除] 按鈕
- 按兩下 [ 是 ] 以確認刪除動作