本指南將逐步解說如何上傳 Xamarin.Mac 應用程式以發行至 Mac App Store。
透過 iTunes Connect 將應用程式提交給 Mac App Store 核准。 您也會需要來自 App Store 的 Transporter 工具。
選擇要建立的 macOS 應用程式:
輸入應用程式的名稱與其他詳細資料。 開發人員只能從先前建立的現有 [Bundle ID] \(套件組合識別碼\) 中選擇:
選取上市日期與價格。 不論開發人員選取的上市日期為何,應用程式只有在通過核准後才可供銷售。 如果開發人員想要更充分掌控實際的上市日期,可將此值設定為很久以後的將來:
輸入應用程式的資訊,包括其所屬的 App Store 類別:
選取適用的分級:
描述、關鍵字及連絡 URL:
提供給 App Store 檢閱者的連絡資訊和建議:
最後,螢幕擷取畫面:
螢幕擷取畫面的格式應為 JPG、TIF 或 PNG,大小為 1280x800、1440x900、2880x1800 或 2560x1600 像素。 按 [Save] \(儲存\) 以完成。
應用程式資訊隨即顯示以供檢閱。 按一下 [View Details] \(檢視詳細資料\) 來變更狀態:
在詳細資料檢視中,按一下 [Ready to Upload Binary] \(上傳二進位檔準備就緒\),以提交應用程式套件檔案:
回答加密問題:
網站準備就緒可接受應用程式套件檔案時會通知您:
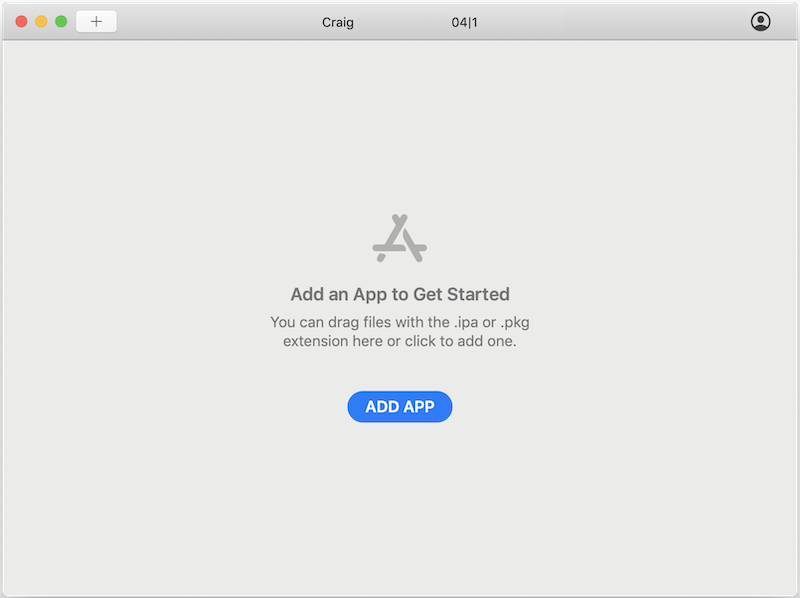
啟動 Transporter 並使用您的 Apple ID 登入,然後選擇 [新增應用程式]:
遵循指示將應用程式套件上傳至 iTunes Connect。
注意
Transporter 取代 Xcode 10 和較舊版本曾使用的 Application Loader 工具。 Xcode 11 或更新版本中已不再提供 Application Loader。
應用程式通過核准後,即可從 Mac App Store 下載或購買。
相關連結
- 安裝
- Hello, Mac 範例
- 在 Mac App Store 上散發應用程式 \(英文\)
- 工具指南:對應用程式進行程式碼簽署 \(英文\)
- 開發人員識別碼和閘道管理員 \(英文\)


