練習:建立您的第一個 .NET MAUI 應用程式
在本練習中,您將開始為連鎖雜貨店建立 .NET MAUI 應用程式。 您將使用範本來產生預設應用程式,並在 Windows 和 Android 模擬器中執行。 您將在稍後的練習中修改此應用程式,以自訂使用者介面,並新增連鎖雜貨店應用程式所需的功能。
建立新專案
開啟 Visual Studio 並且建立新方案。 這動作會在 Visual Studio 中開啟新增專案精靈。
提示
請確定您已使用 Visual Studio 2022 v17.3 或更新版本安裝 .NET MAUI 工作負載(慣用 .NET 8 的 v17.8)。 這裡提供詳細資訊。
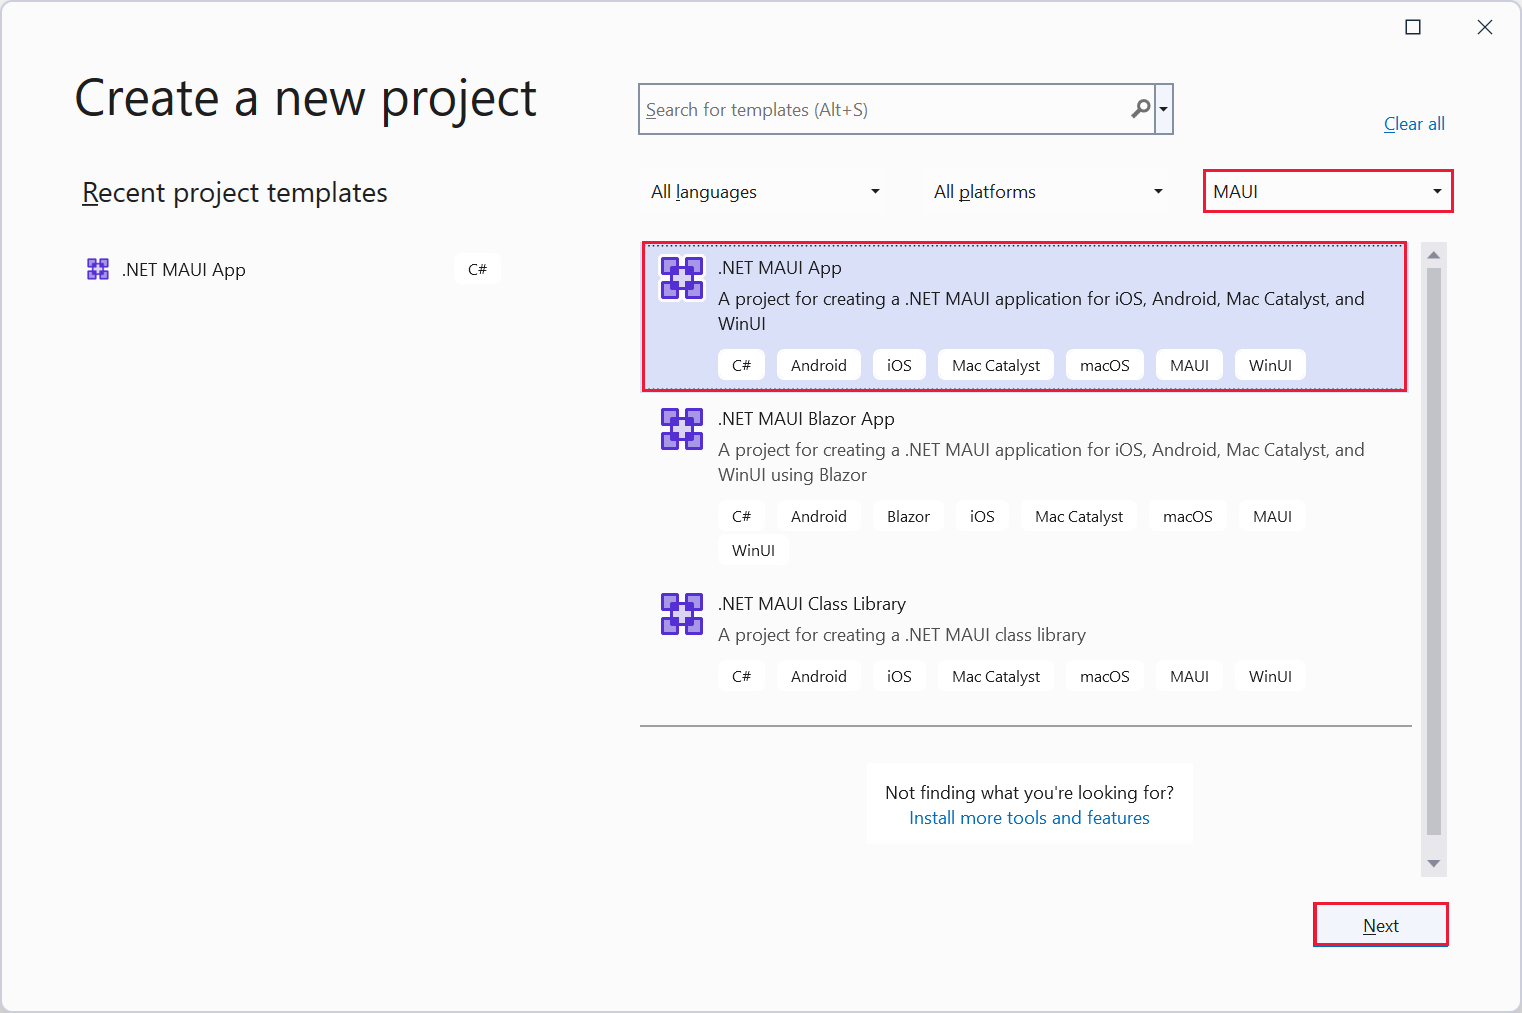
選取 MAUI 應用程式類型,選取 [.NET MAUI 應用程式範本],然後選取 [下一步]。
在 [設定新專案] 頁面上,命名專案為 Phoneword,然後將其儲存在您選擇的位置。 選取 [下一步] 。
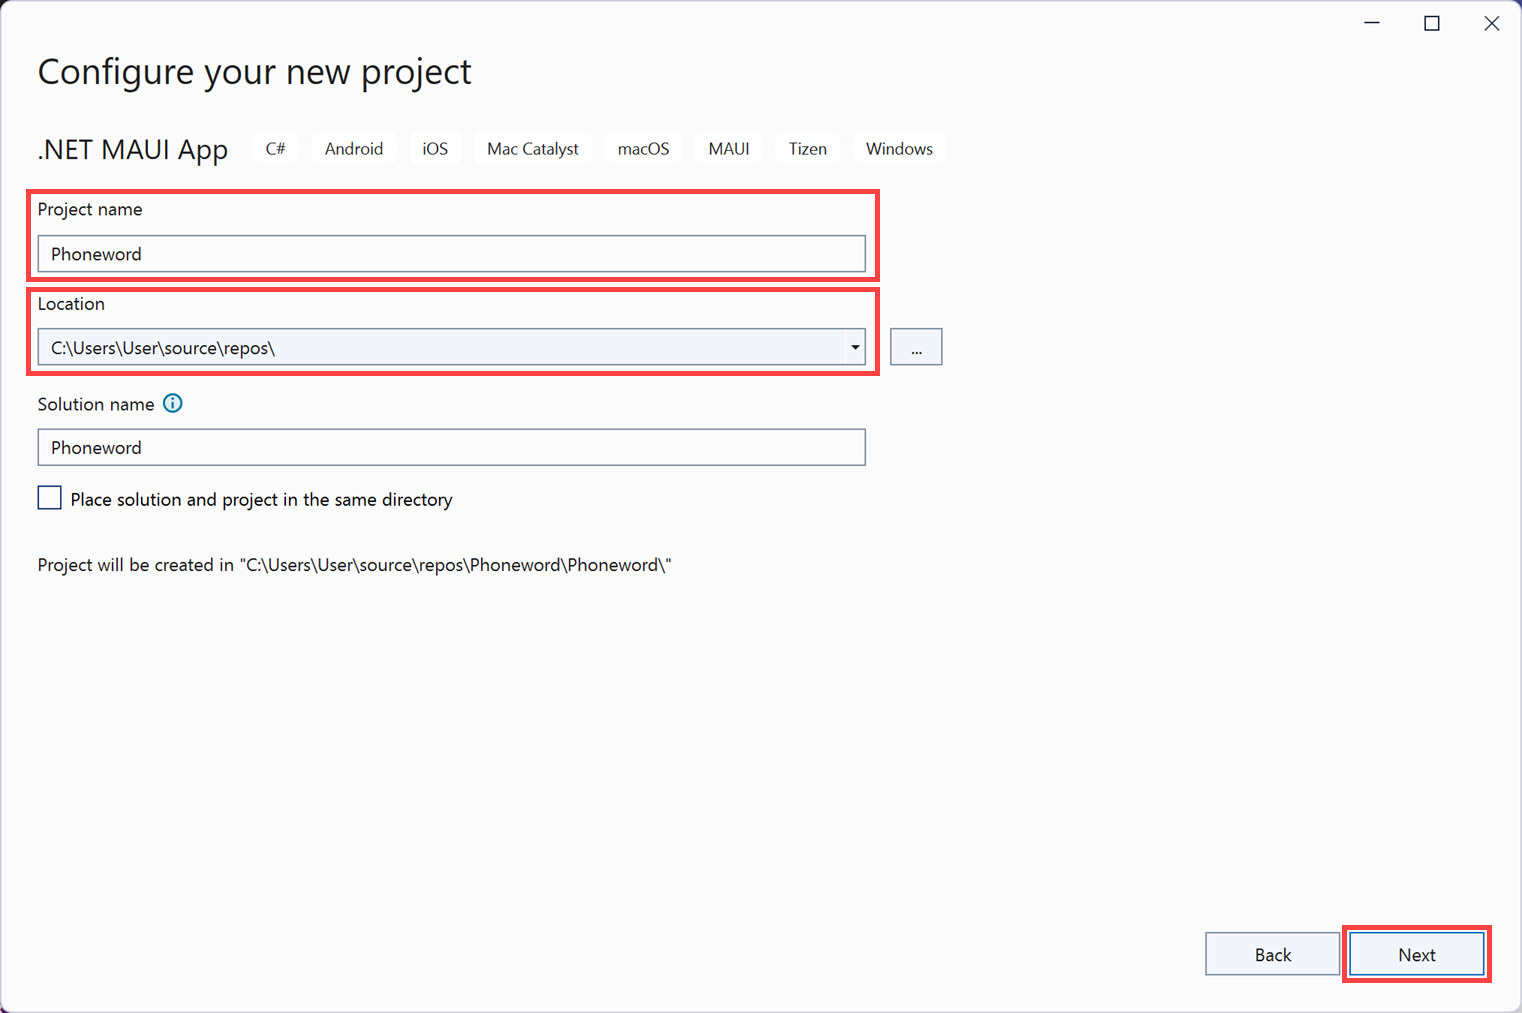
在 Framework 下拉式清單中選取 [.NET 8.0 (長期支援)],然後選取 [建立] 以建立應用程式。
檢查解決方案結構
在 [方案總管] 視窗中,展開 [Phoneword] 專案。 展開 [資源] 資料夾及其子資料夾,展開 App.xaml 節點、AppShell.xaml 節點和 MainPage.xaml 節點。
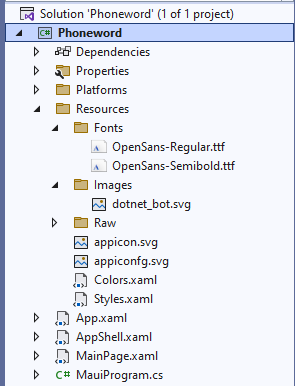
在專案中,請注意下列項目:
[資源] 資料夾包括所有平台所使用的共用字型、影像和資產。
MauiProgram.cs 檔案包括設定應用程式的程式碼,並指定應該使用 App 類別來執行應用程式。
App.xaml.cs 檔案中,App 類別的建構函式會建立 AppShell 類別的新執行個體,然後顯示在應用程式視窗中。
AppShell.xaml 檔案包括 MainPage 應用程式和起始頁面的主要版面配置。
MainPage.xaml 檔案包括該頁面的版面配置。 此版面配置包括按鈕的 XAML 程式碼,標題為 [按一下我],以及顯示 dotnet_bot.png 檔案的影像。 另外還有兩個標籤。
MainPage.xaml.cs 檔案包括該頁面的應用程式邏輯。 具體來說,MainPage 類別包括名為
OnCounterClicked的方法,會在使用者點選 [按一下我] 按鈕時執行。
在 Windows 上組建並執行應用程式
在 Visual Studio 工具列中,選取 [Windows 電腦] 設定檔。 從架構下拉式清單方塊中的清單中選取 [.net6.0-windows] 架構。
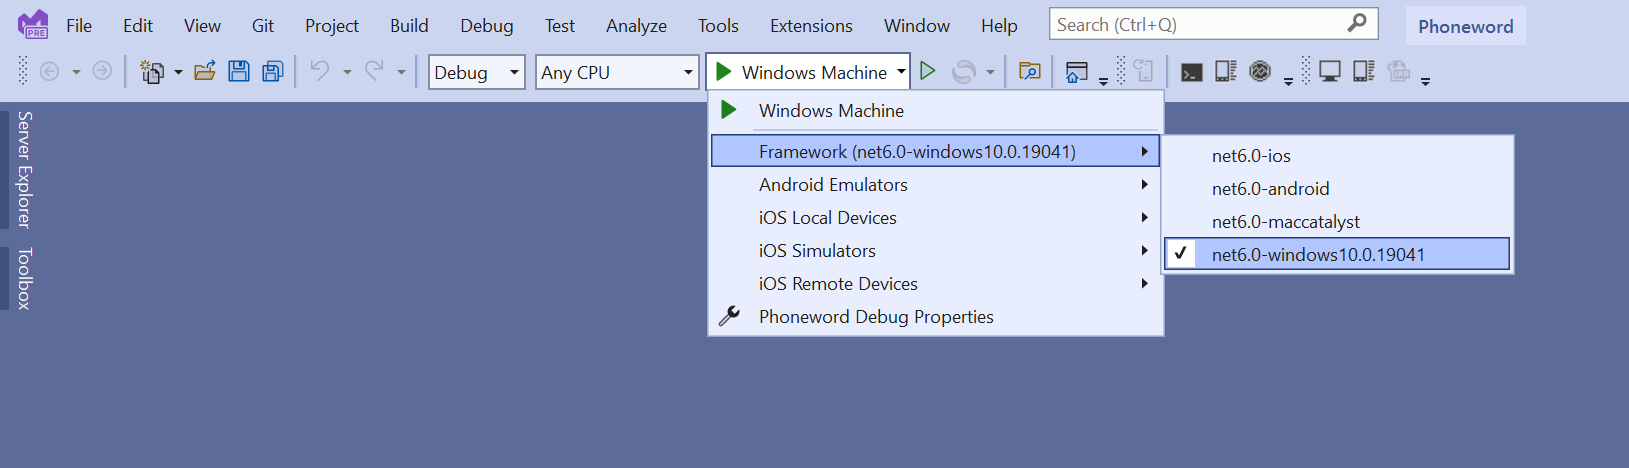
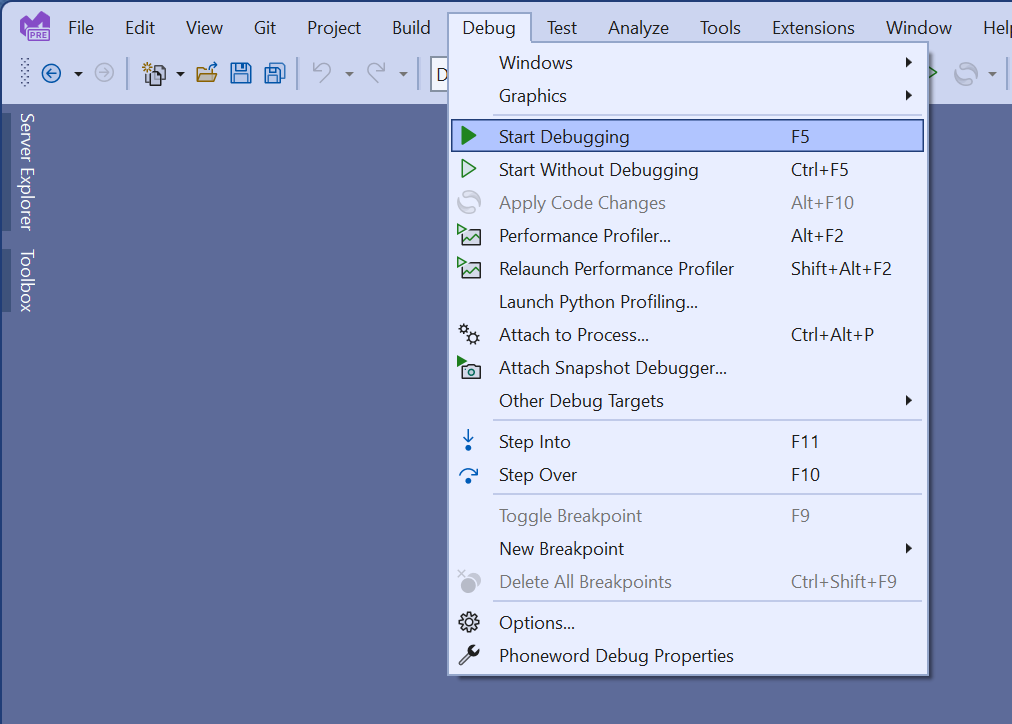
在 [偵錯] 功能表上,選取 [開始偵錯]。 這個動作會在 Windows 上組建、部署及執行應用程式:
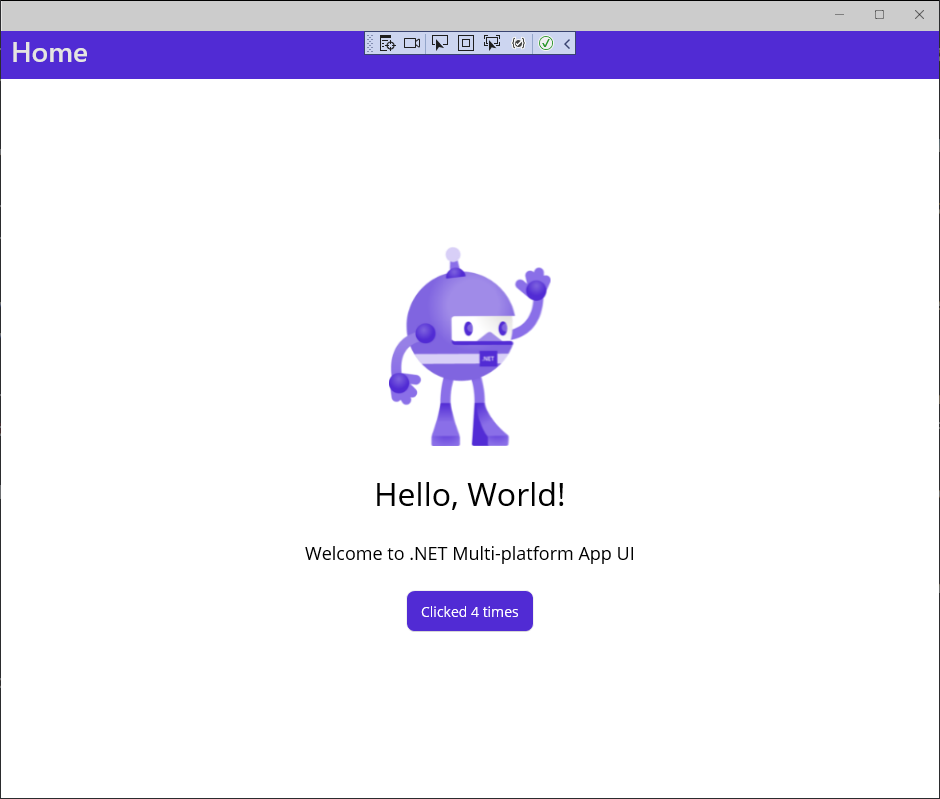
驗證應用程式的 Windows 版本啟動。 選取 [按一下我] 按鈕數次。 按鈕文字應該會隨著每次點選增加計數而更新。
在 [檢視] 功能表上,選取 [方案總管]。 在 [方案總管] 視窗中,展開 MainPage.xaml 節點,然後開啟 MainPage.xaml.cs 程式碼後置檔案。
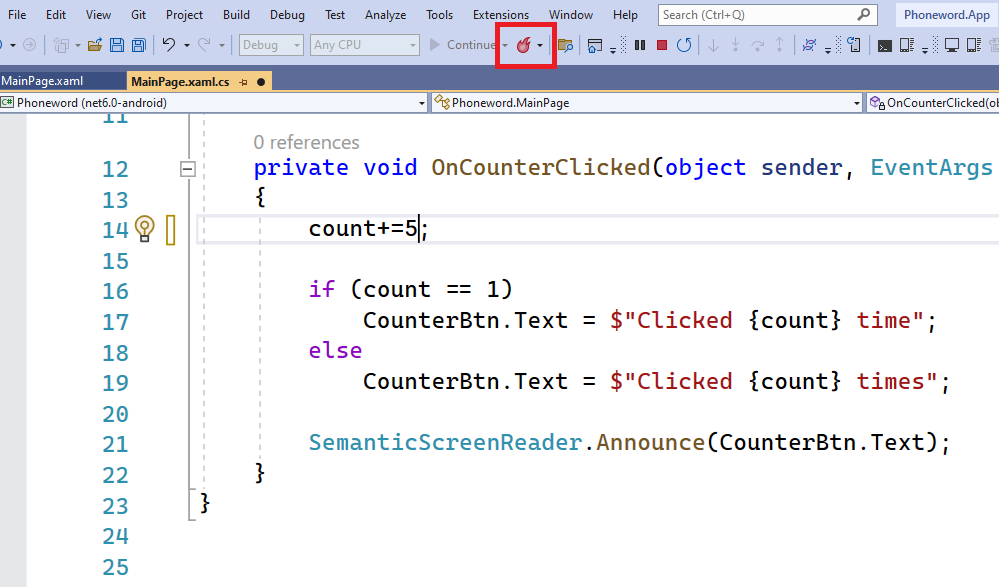
在 OnCounterClicked 方法中,改為變更計算變數以加 5 遞增到此變數的陳述式:
private void OnCounterClicked(object sender, EventArgs e)
{
    count+=5; // update this

    if (count == 1)
        CounterBtn.Text = $"Clicked {count} time";
    else
        CounterBtn.Text = $"Clicked {count} times";

    SemanticScreenReader.Announce(CounterBtn.Text);
}
在 Visual Studio 工具列中,選取 [熱重新載入] 按鈕:
切換回應用程式,然後選取 [按一下我] 按鈕。 驗證計數現在以 5 遞增。
注意
Visual Studio 的熱重新載入功能讓您可在應用程式以偵錯模式執行時修改您的程式碼。 您不需要停止應用程式即可看見變更。 除了修改程式碼,您也可以變更頁面的 XAML 標記,這些變更會在執行中的應用程式中顯示。
關閉應用程式並返回 Visual Studio。
在 Android 上組建並執行應用程式
在 Visual Studio 工具列中,選取 [Phoneword] 專案。
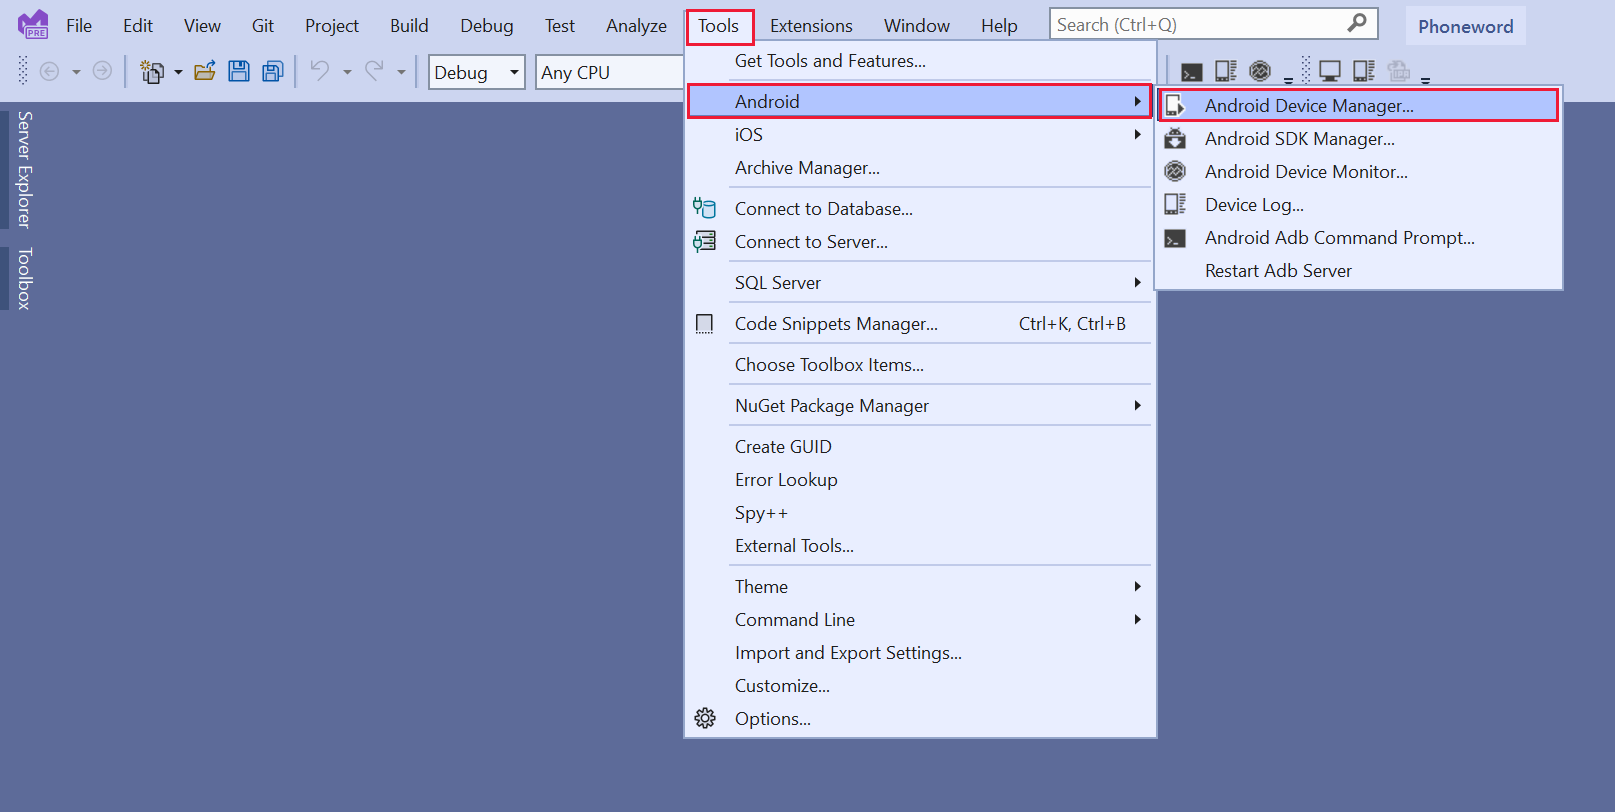
在 [工具] 功能表上,選取 [Android],然後選取 [Android 裝置管理員]。 如果系統提示您讓 Android 裝置管理員對電腦進行變更,請選取 [是]。
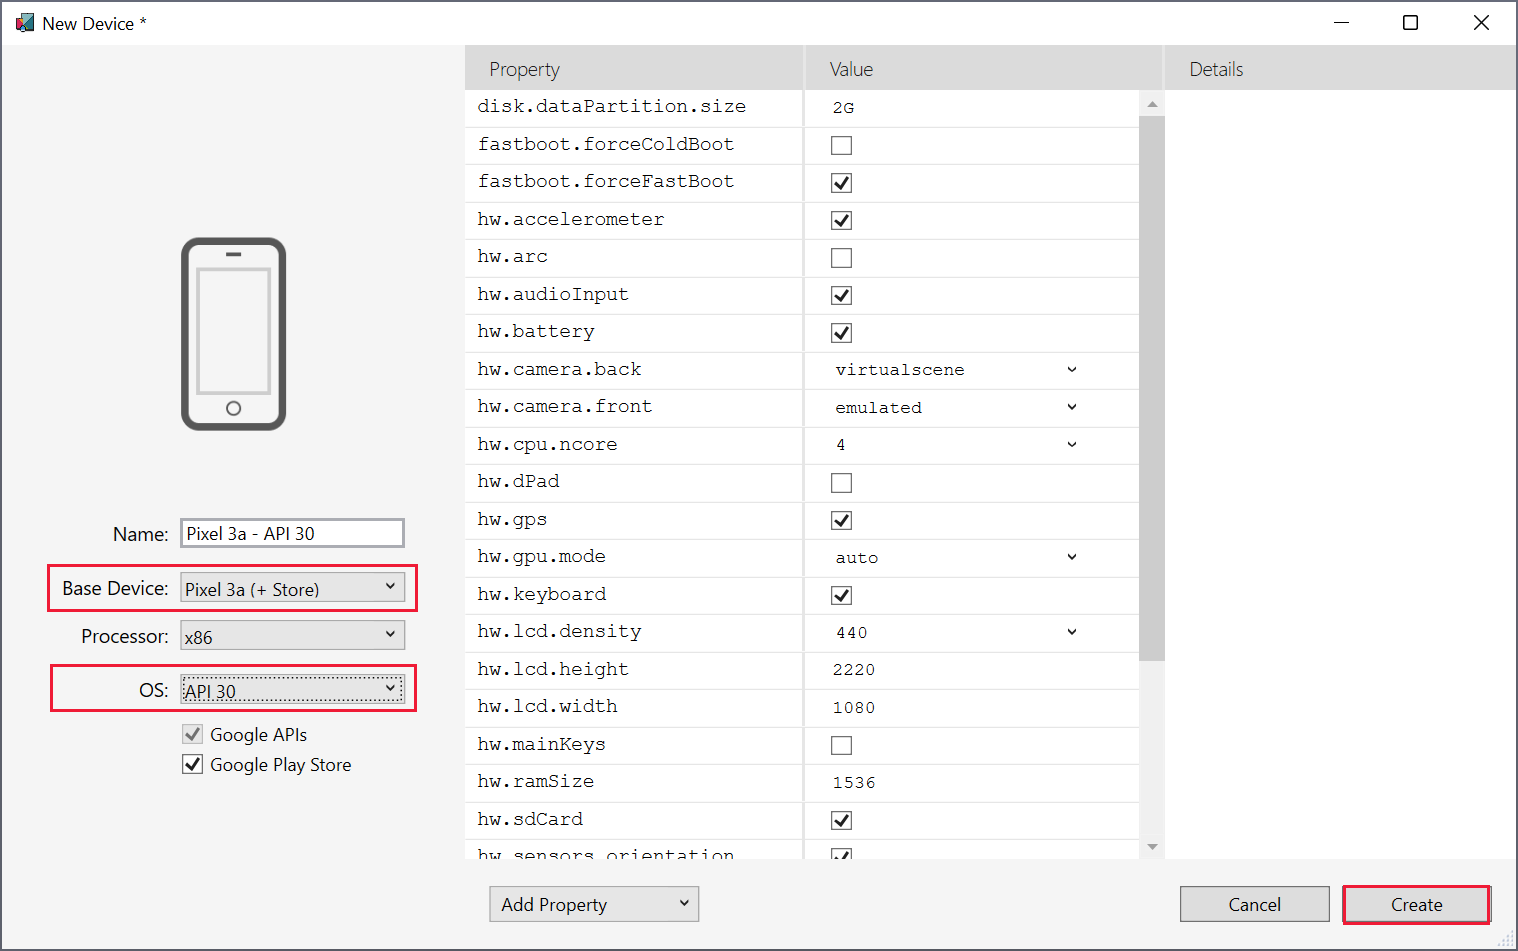
在 [Android 裝置管理員] 視窗中,選取 [+ 新增]。 在 [新裝置] 視窗中,選取 [Pixel 3a (+ Microsoft Store)] 基本裝置,選取 [API 30] 作業系統,然後選取 [建立]。 請等候下載各種程式庫,並設定裝置。
建立裝置後,返回 Visual Studio。
在 Visual Studio 工具列的 [偵錯] 設定下拉式清單方塊中,選取 [Android 模擬器] 設定檔,然後選取 pixel_3a-api_30 裝置。 這是您剛才建立的裝置。
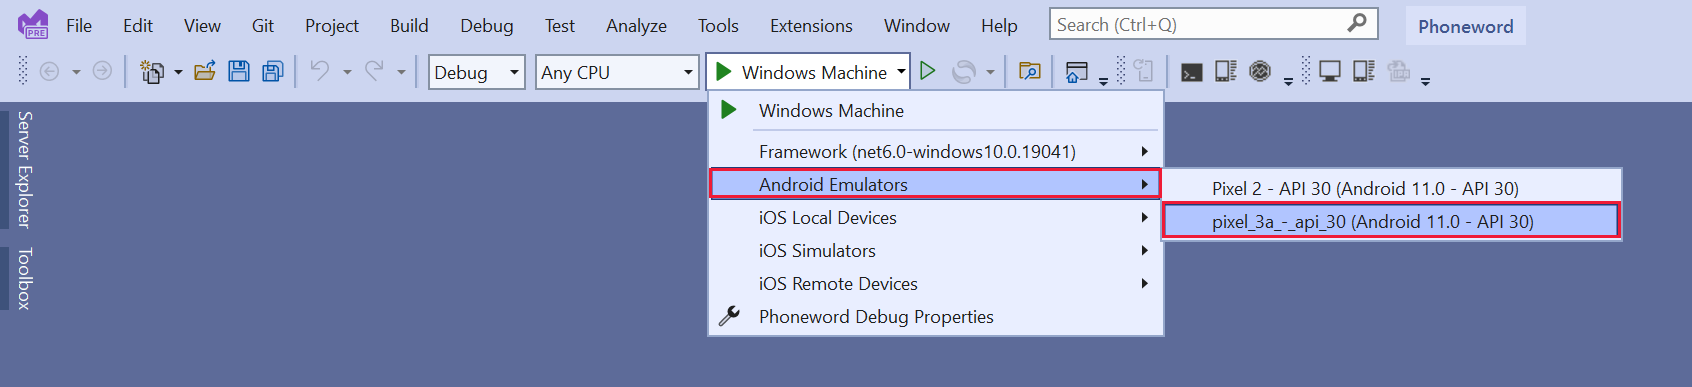
使用 pixel_3a-api_30 設定檔開始偵錯。 這個動作會在 Android 裝置上組建、部署及執行應用程式。

當應用程式開始在模擬器上執行時 (這可能需要幾分鐘的時間),請點選 [按一下我] 按鈕,並檢查應用程式的執行方式與 Windows 的執行方式完全相同。

返回 Visual Studio,並停止偵錯。