Exercise - Build a canvas app
In this exercise, you create a mobile application using data from an Excel table. Download the RealEstateProperties.xlsx for use in this exercise.
Note
Microsoft Power Apps requires a Microsoft 365 license or a free trial. Learn more about your licensing options: Microsoft products include Power Apps and Power Automate.
Create a solution
Go to make.powerapps.com and sign in with your Power Apps credentials.
Note
On the top of the Power Apps Home page, you may see a Try the new data experience toggle - make sure this is toggled off.
On the left navigation bar, select Solutions.
On the Solutions page, under Current preferred solution, select Manage.
On the Set your preferred solution dialog box, select + New solution.
In the New solution dialog box, enter the following:
- Display Name:
Real Estate Solution - Name:
RealEstateSolution - Publisher: Select a publisher from the dropdown list or create a new one.
- Version:
1.0.0.0
Select Create.
The Real Estate Solution solution is created and populated into the preferred solution dropdown list. Select Apply to set it as the preferred solution.

Note
A solution is a container that helps you manage and package apps, flows, and other components in the Power Platform.
Setting a preferred solution is helpful because it allows you to select where your future updates will be saved so your work stays organized.
- Display Name:
On the left navigation bar, select Home to return to the Power Apps home page.

Create a canvas app from an Excel file
On the Power Apps home page, select Start with data.
Select Create new tables.
Select the From Excel option. Under Select from device find the location where you saved the RealEstateProperties.xlsx Excel file and then select Open. (The maximum file size limit is 5 GB.)
Copilot in Power Apps generates a table that's based on the data from the RealEstateProperties.xlsx Excel file. It has also defined seven columns of data.
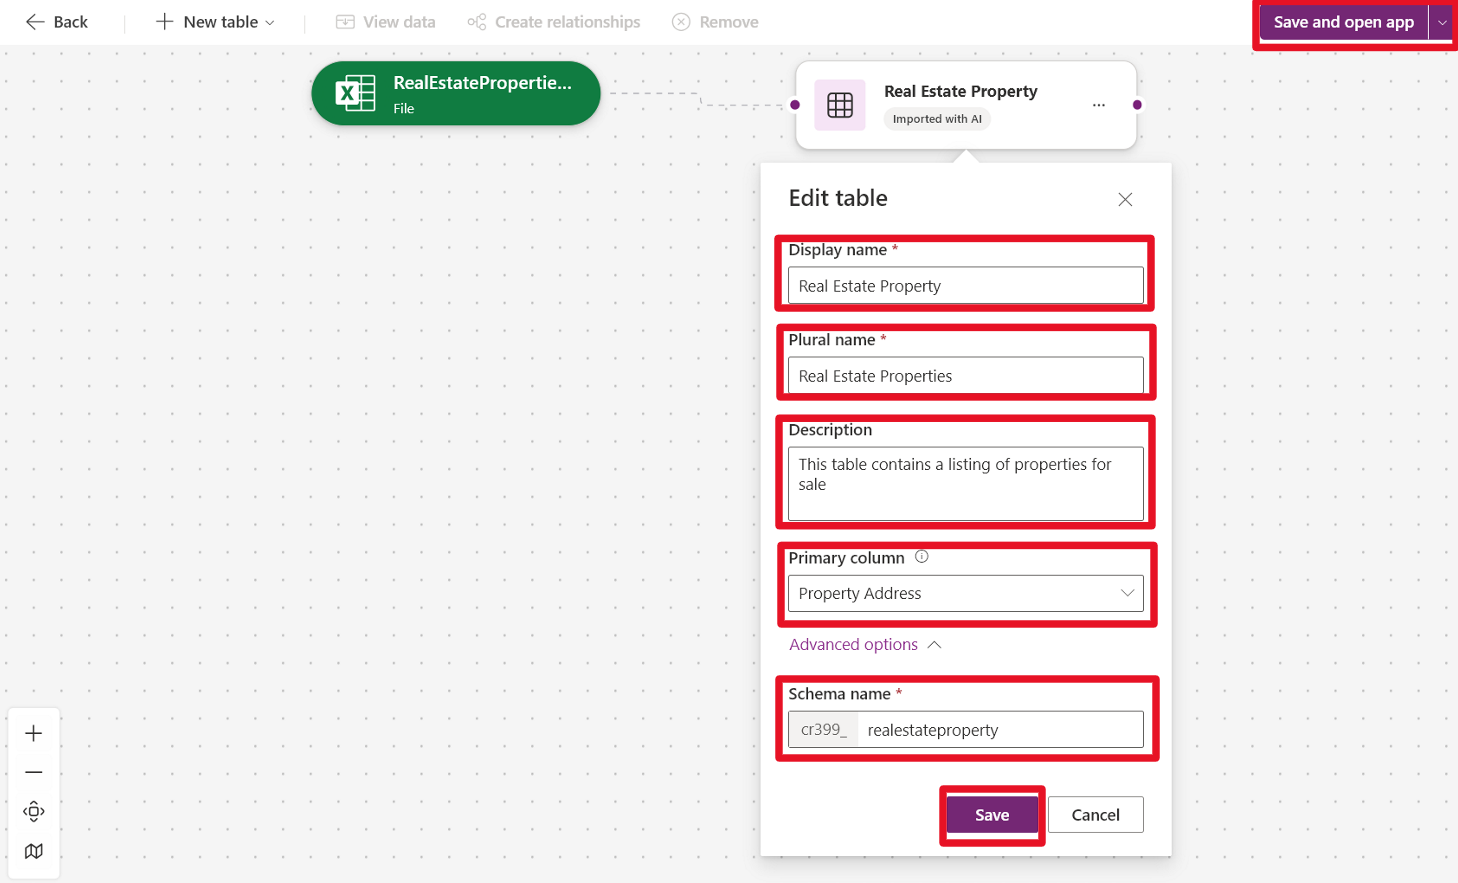
Next to the table name, select the three ellipses and then select Properties.
Change the table properties to the following:
- Display name: Real Estate Property
- Plural name: Real Estate Properties
- Description: This table contains a listing of properties for sale.
- Primary column: Property Address
Expand the Advanced settings section and change the schema name to realestateproperty.
Select Save.
Select the Save and open app button in the upper-right corner of the screen. From the pop-up, select Save and open app again.
When the app first loads, a dialog might appear stating Welcome to Power Apps Studio. If so, select the Skip button.
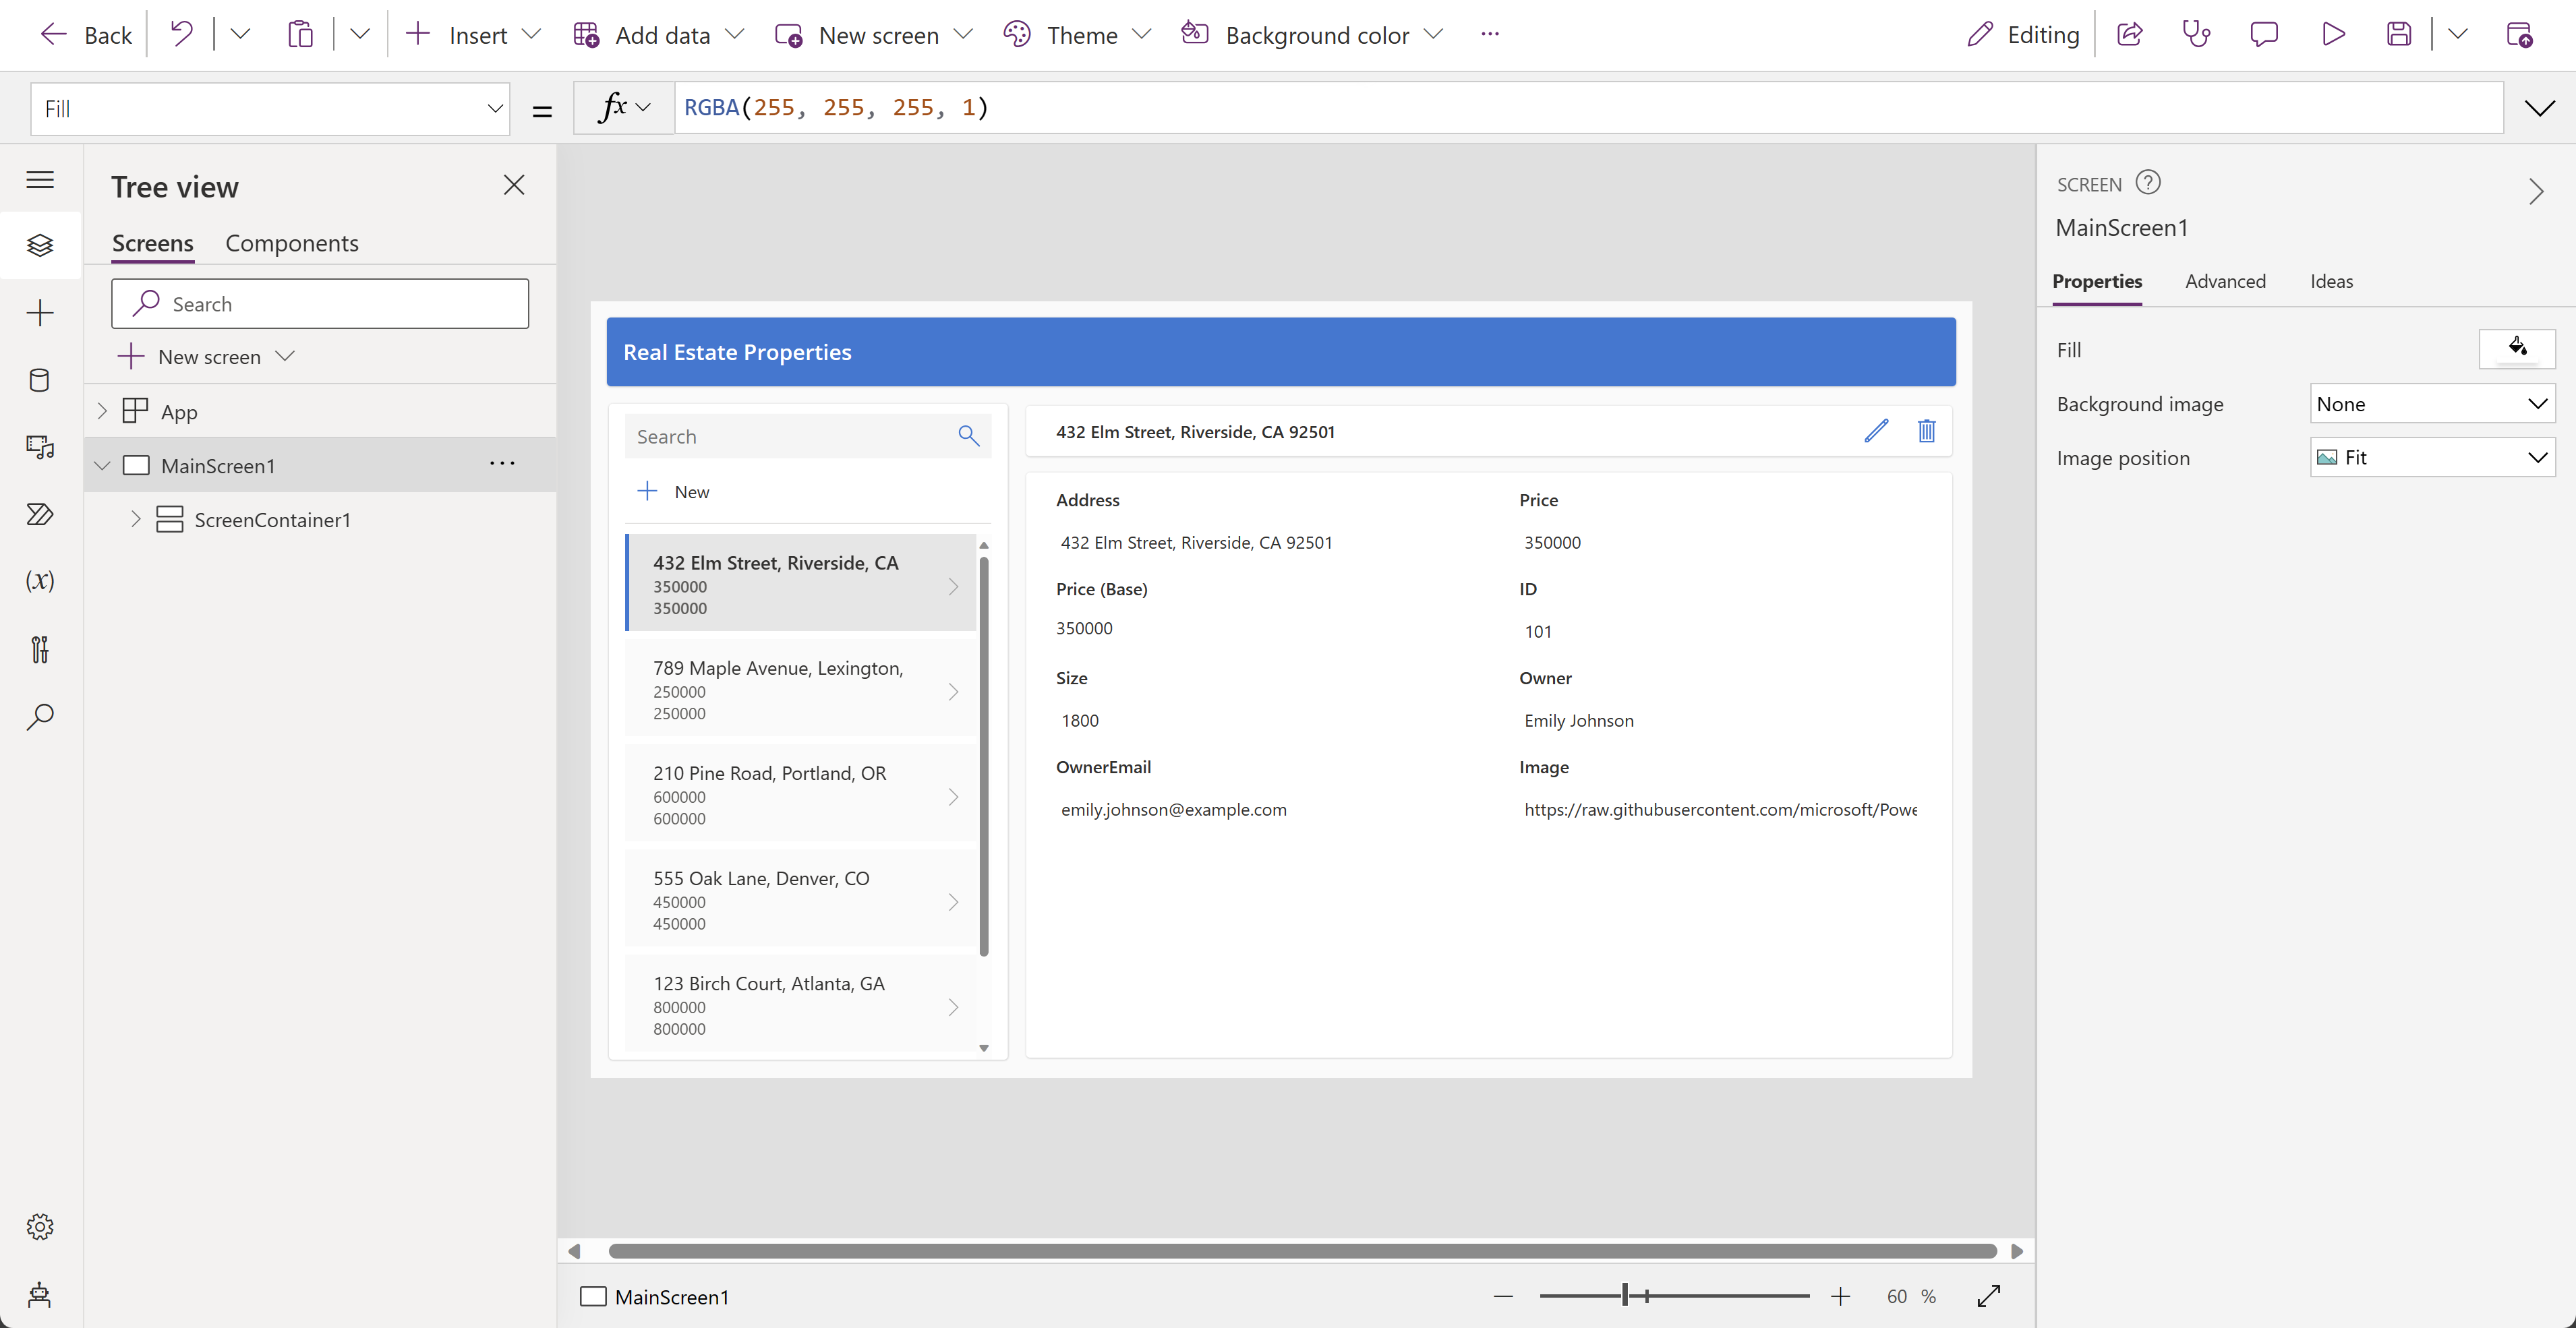
The generated app should display in Edit mode.
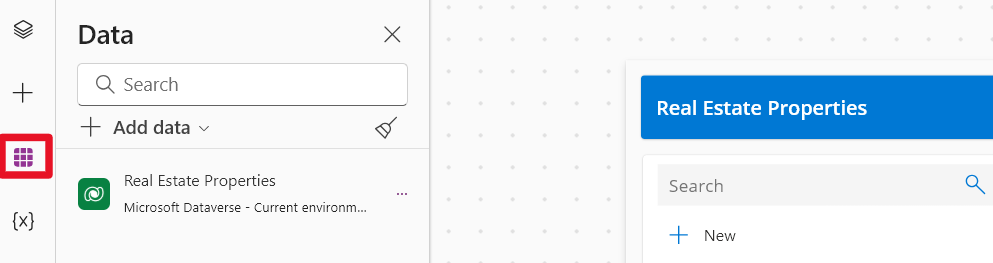
Select the Data icon from the left navigation bar. A Dataverse table has been created from on the RealEstateProperties.xlsx Excel file.
Select the Tree view icon to return to the Tree view.
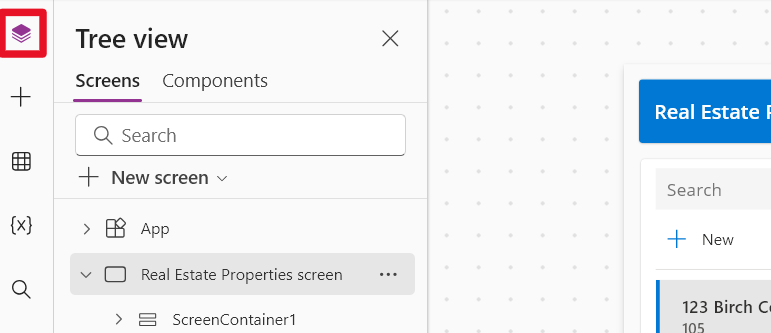
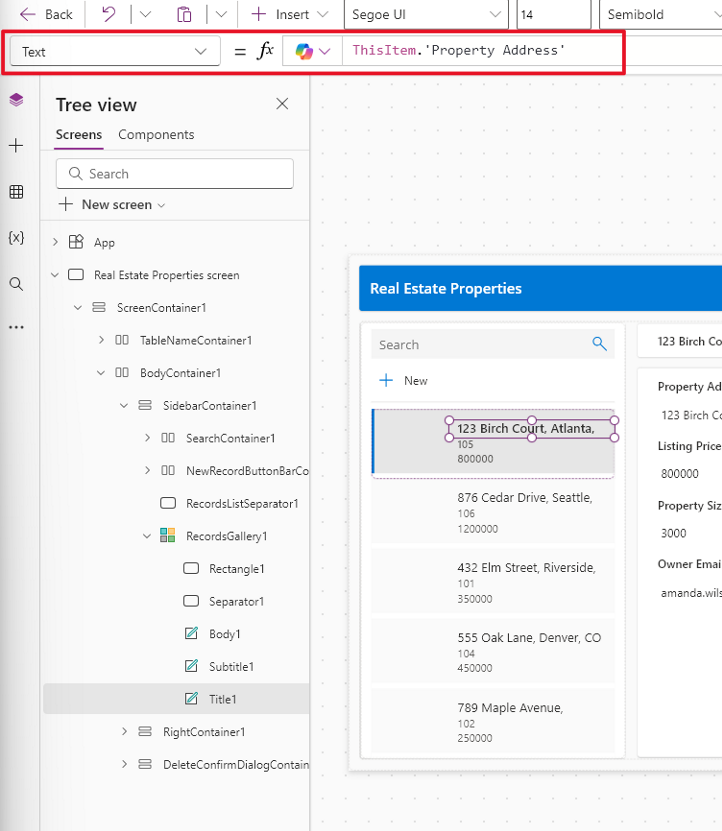
On the app's main screen, select the gallery that's displaying the Real Estate Properties details and then select RecordsGallery1 in the Tree view to expand it.
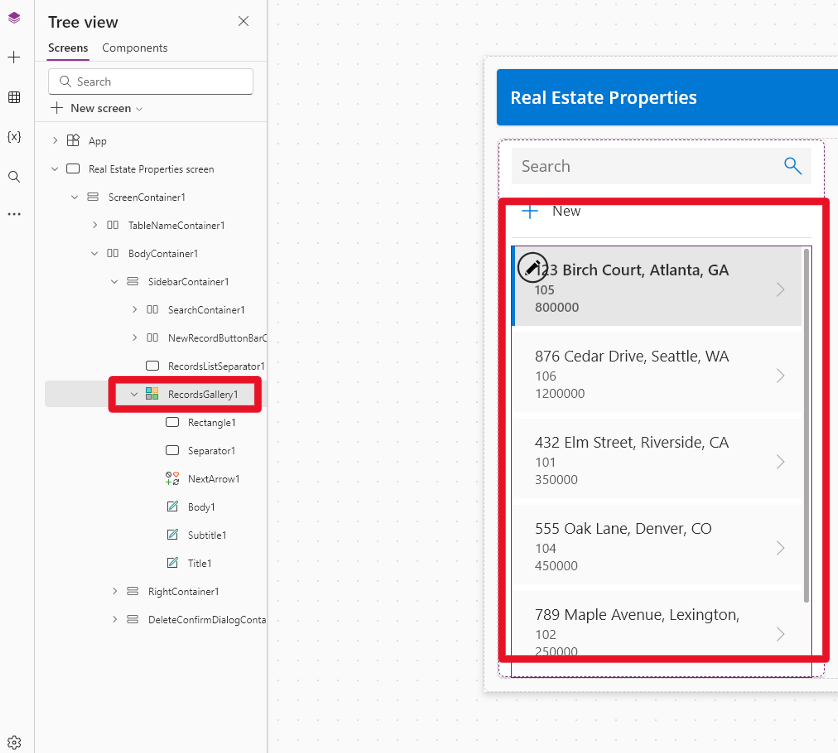
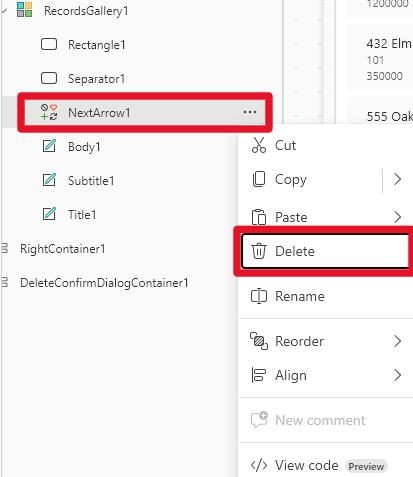
Select the ellipsis (...) next to the NextArrow option and then delete it.
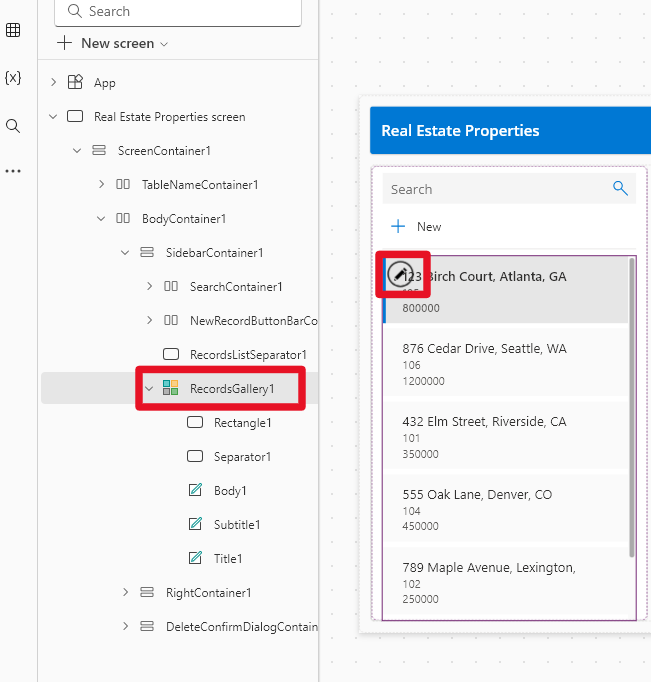
Select RecordsGallery1 and then select the edit button to put the gallery in edit mode.
Select, reduce the width, and move the position of the Title component so that it's toward the right side of the template cell.
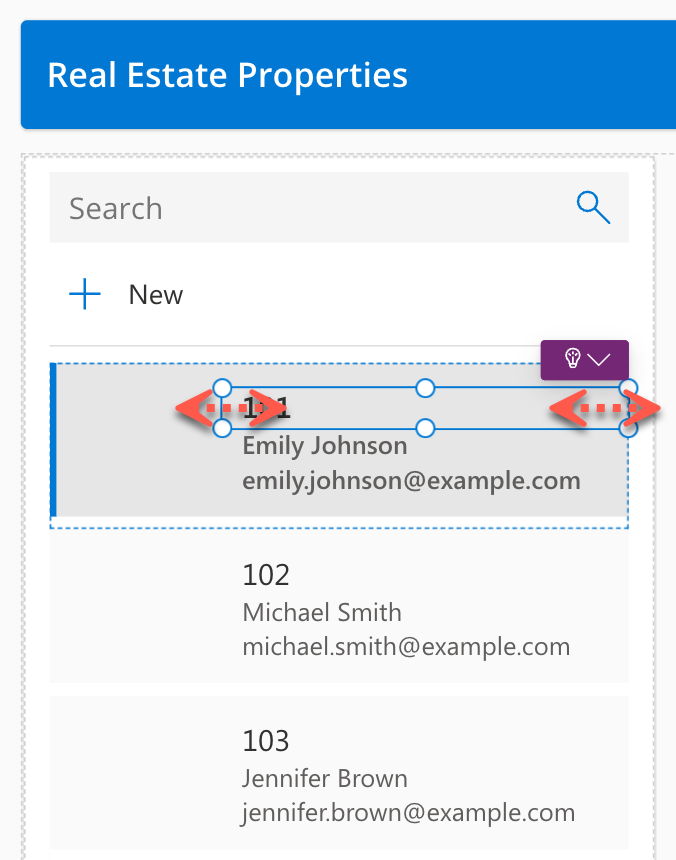
Other components should reposition alongside the Title component. If not, move them until they resemble the preceding screenshot.
Make sure that the gallery is still in edit mode. Select the Title.
Verify that the Text value of the Title component is set to the following formula:
ThisItem.'Property Address'
Select the Subtitle component in the gallery.
Set the Text value of the Subtitle to the following formula:
ThisItem.'Property Size'
Using the tool bar in the upper part of the page, change the Size to 13.

Select the Body component in the gallery.
Set the Text value of the Body to the following formula:
ThisItem.'Listing Price'
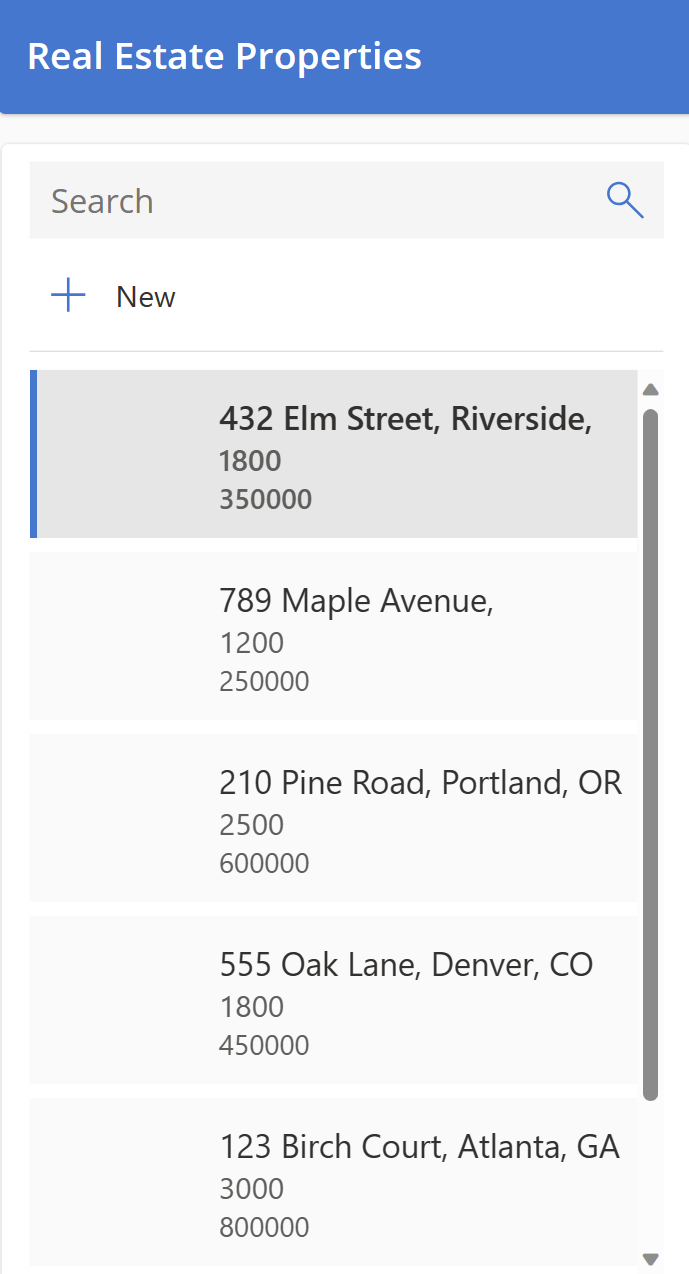
Your gallery should now resemble the following screenshot.
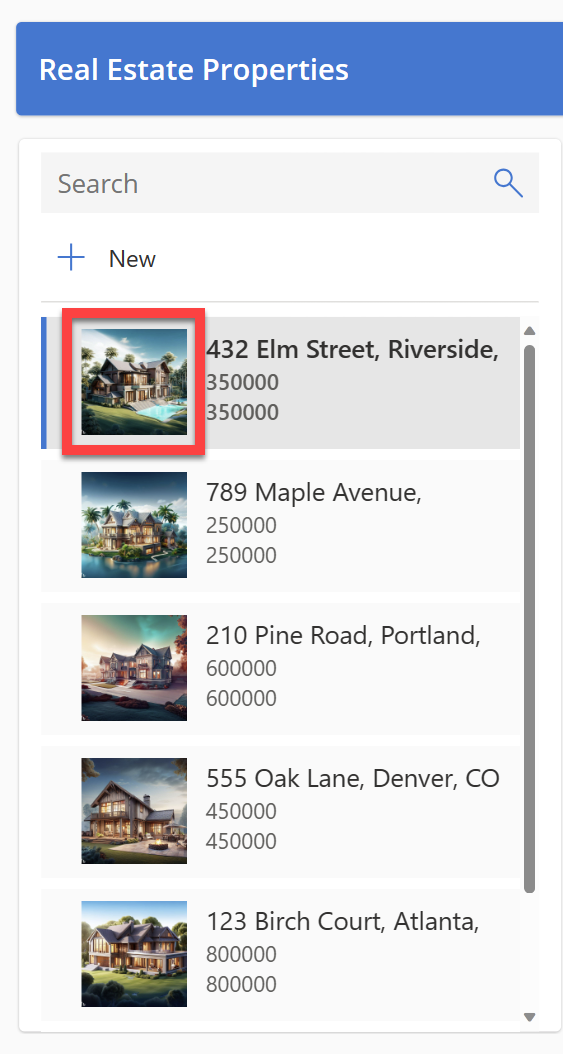
With the first item in RecordsGallery1 selected, select Insert, search for Image, and then select the Image component. This adds an image to the gallery.
The image should show up in all cells of the gallery. Reposition and resize the image so that it's in the center of each gallery cell.
Save the app as Real Estate Properties app.
Exit the app by selecting Back to return to the Power Apps home page.


Install the app on your device
Power Apps can be used on mobile devices with the Power Apps mobile application. If you want to experience what it looks like on a mobile device, install the Power Apps Mobile app on your phone.
Download Power Apps Mobile from the app store for the platform that you want to use.
Sign in by using your username and password.
On your phone or tablet, run the Real Estate Property app in Power Apps Mobile. If you don't want to install the app, you can run it in a browser.
Check how your Power App looks and runs on a mobile device to ensure the best user experience.