練習 - 定位遊戲物件並設定可見度
現在讓我們了解如何建立父物件、將預製物件新增至場景,然後使用轉換元件將其放在特定位置中。
匯入教學課程資產
若要開始,請先下載下列 Unity 自訂套件:MRTK.HoloLens2.Unity.Tutorials.Assets.GettingStarted.3.0.0.unitypackage
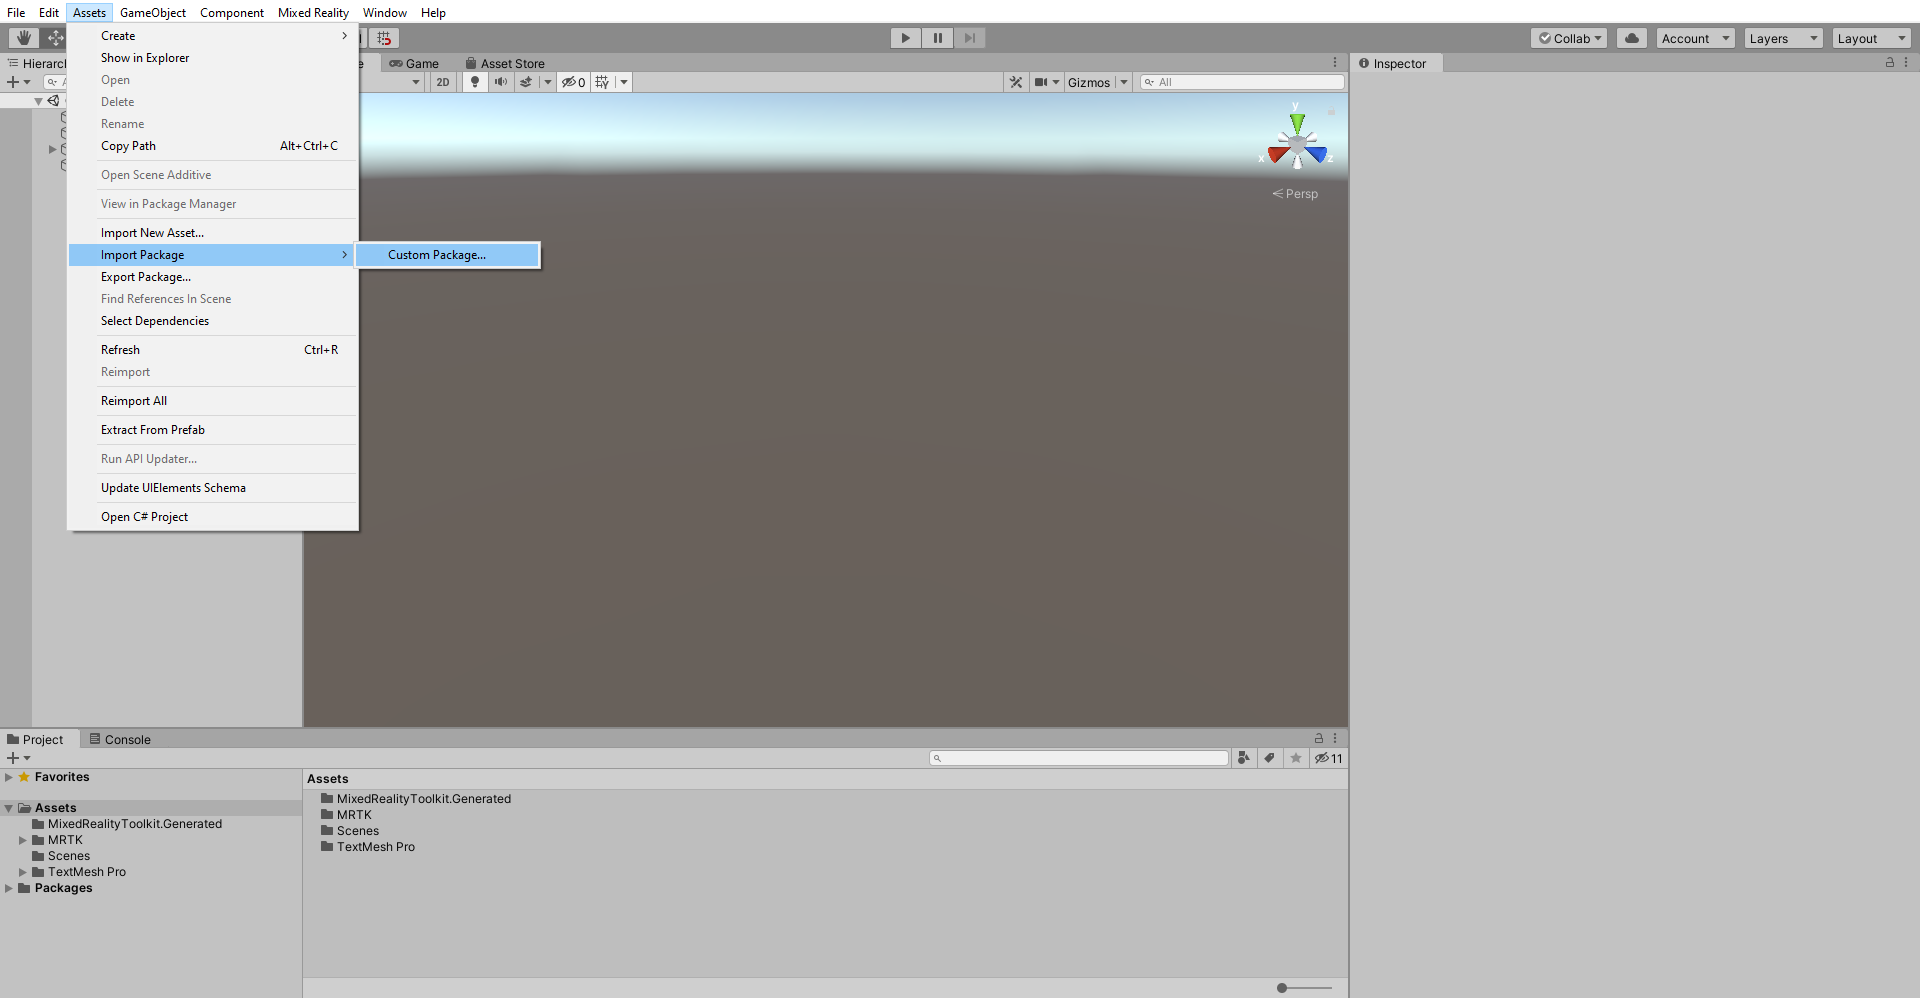
在 Unity 功能表中,選取 [資產]>[匯入套件]>[自訂套件...]。
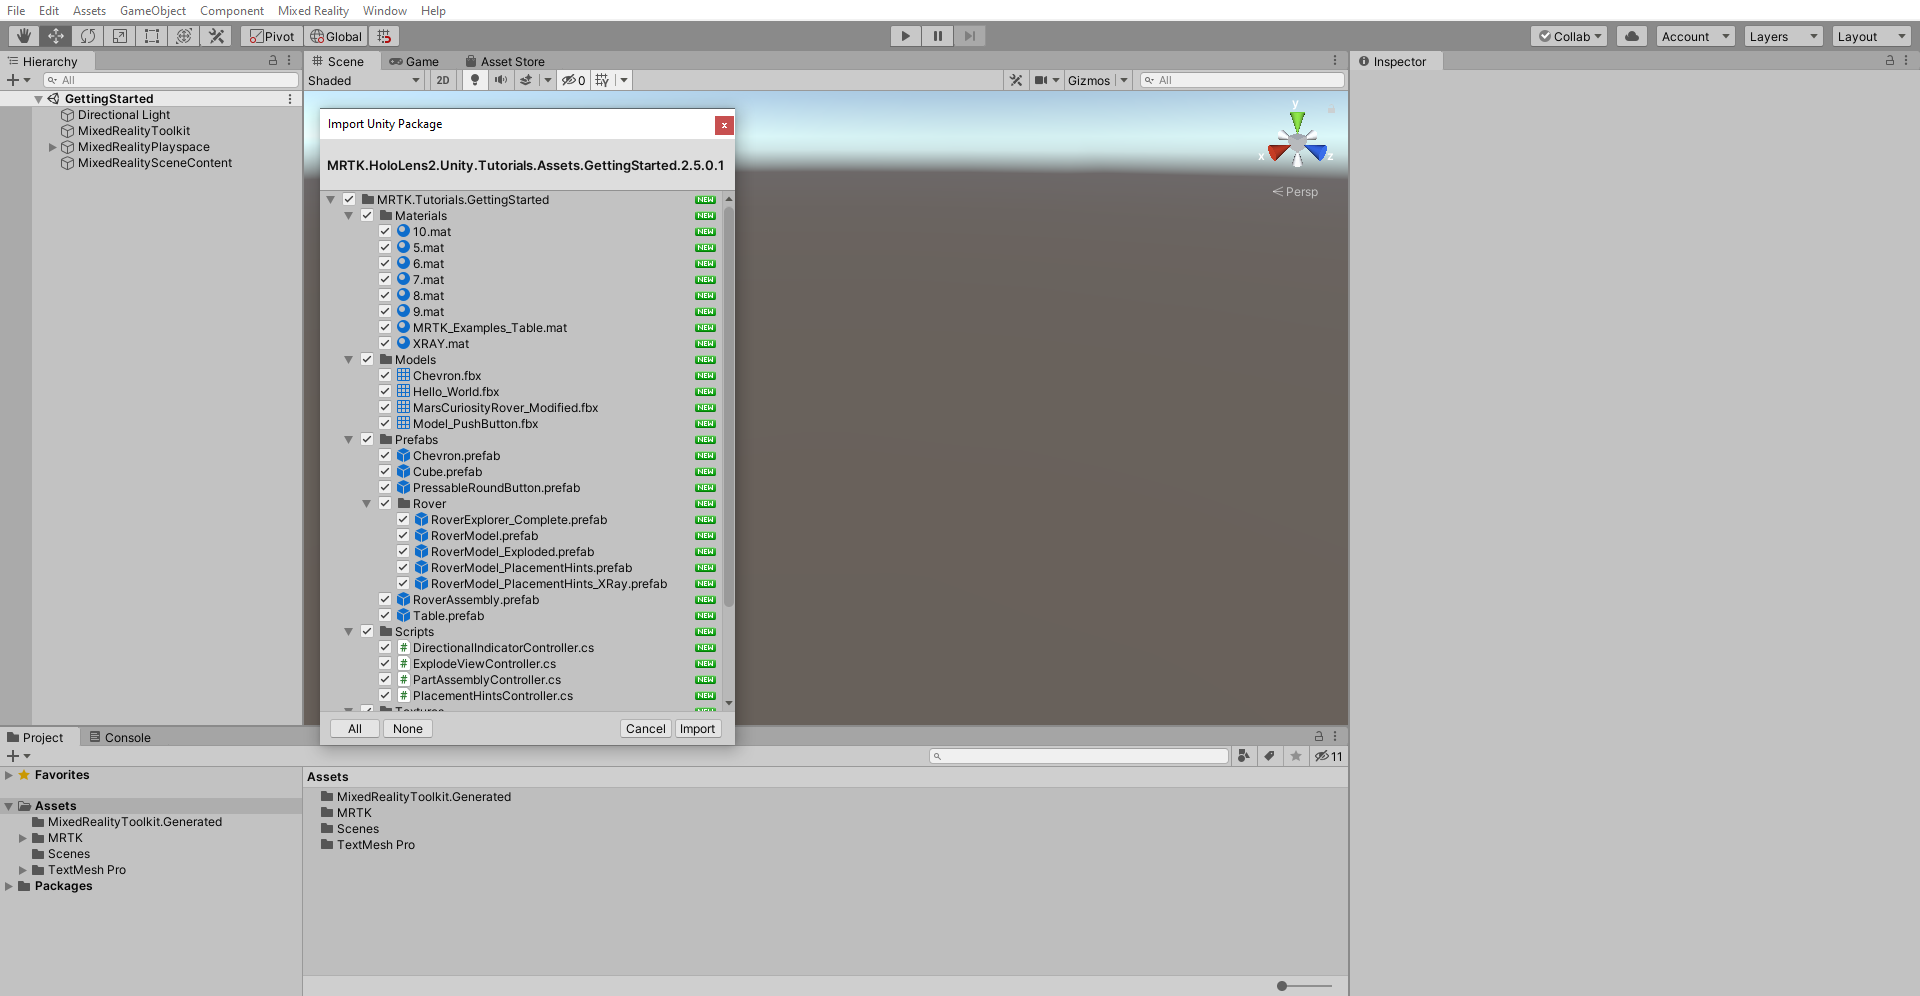
在 [匯入套件] 中,選取您已下載的 MRTK.HoloLens2.Unity.Tutorials.Assets.GettingStarted.3.0.0 unitypackage,然後選取 [開啟]。

在 [匯入 Unity 套件]中,選取 [全部] 以確保將匯入所有資產。 然後,選取 [Import] (匯入)。


建立父物件
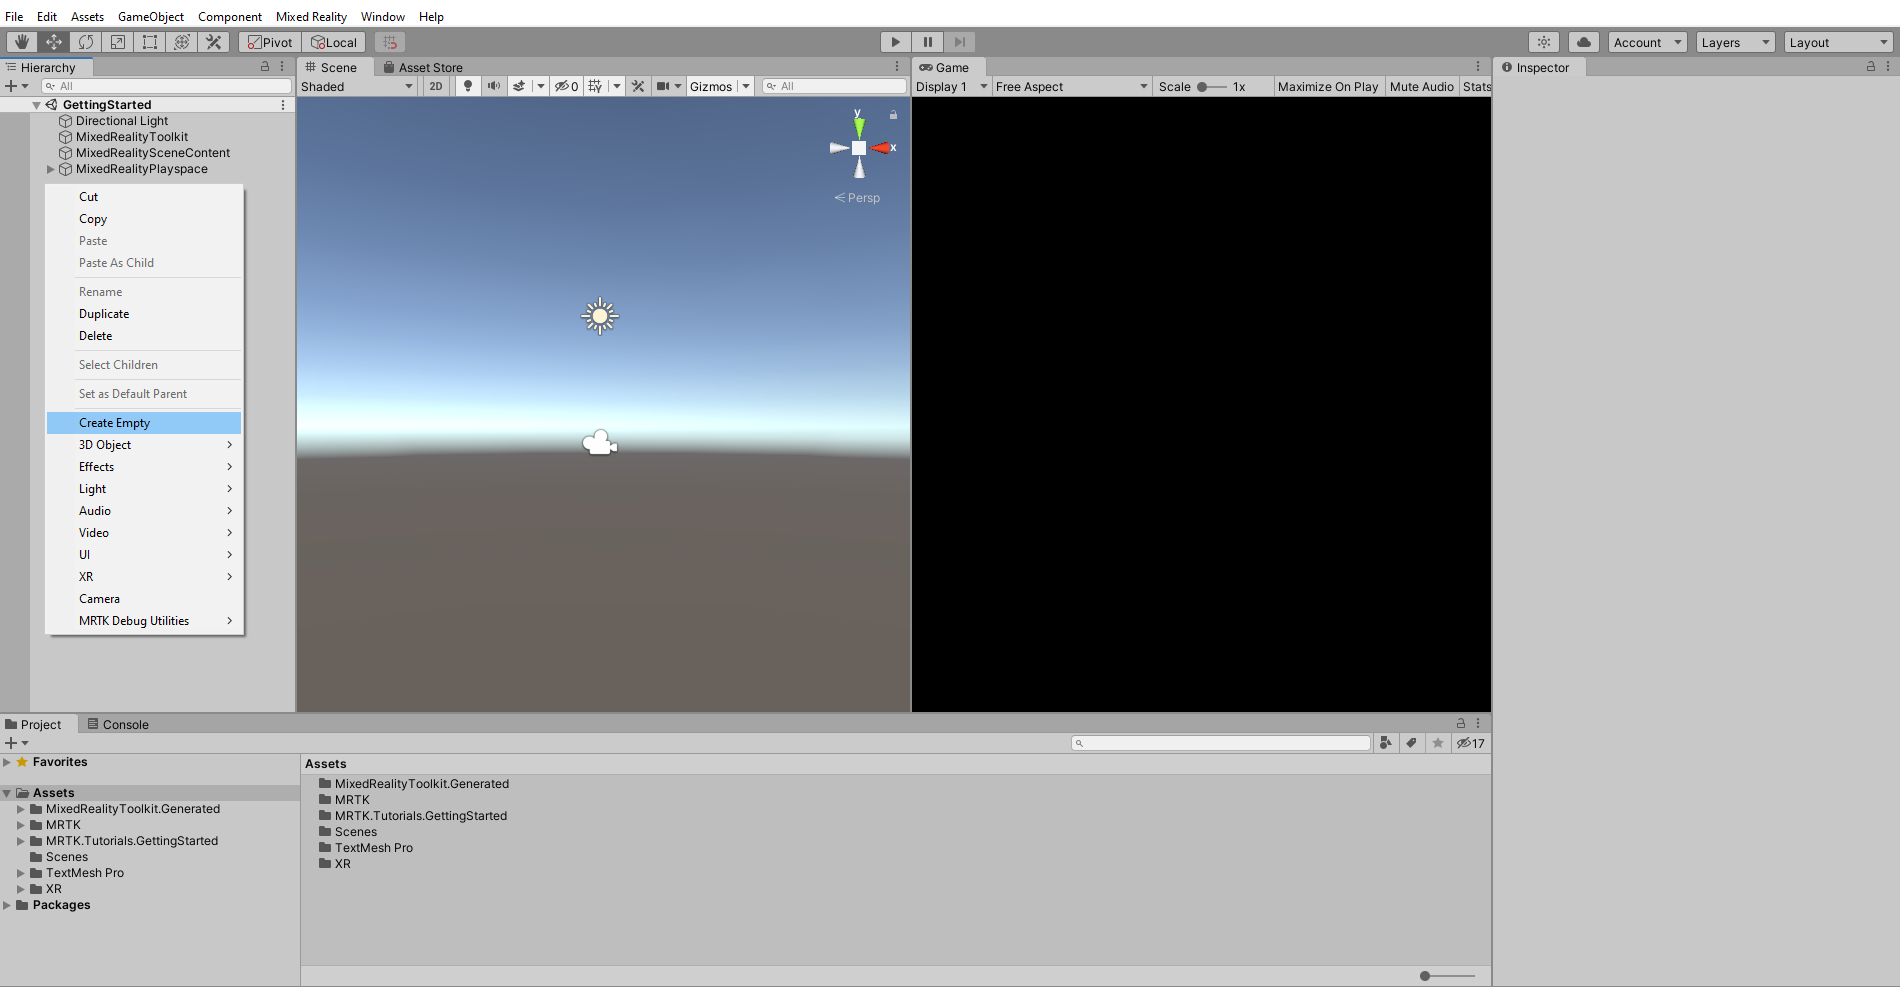
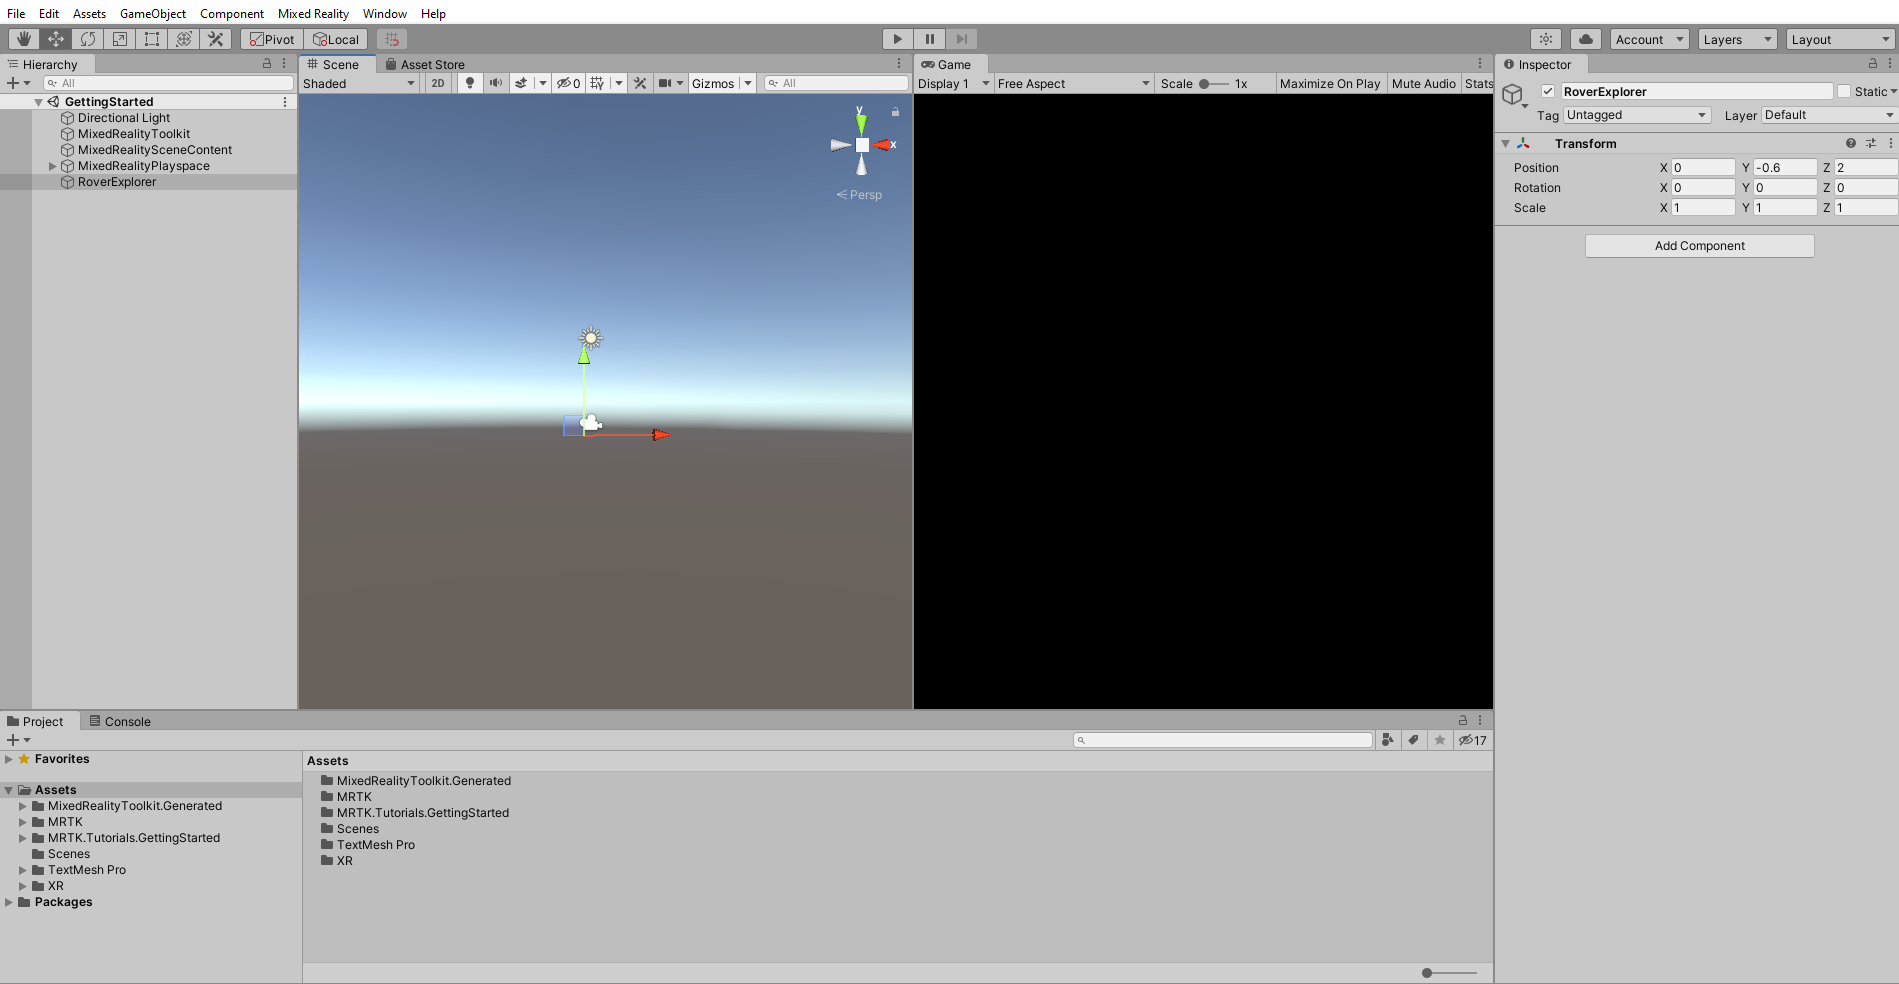
在 [階層] 視窗中,以滑鼠右鍵按一下空的位置,然後選取 [建立空物件],將空的物件新增至您的場景。
以滑鼠右鍵按一下新建立的物件、選取 [重新命名],然後將名稱變更為 RoverExplorer。
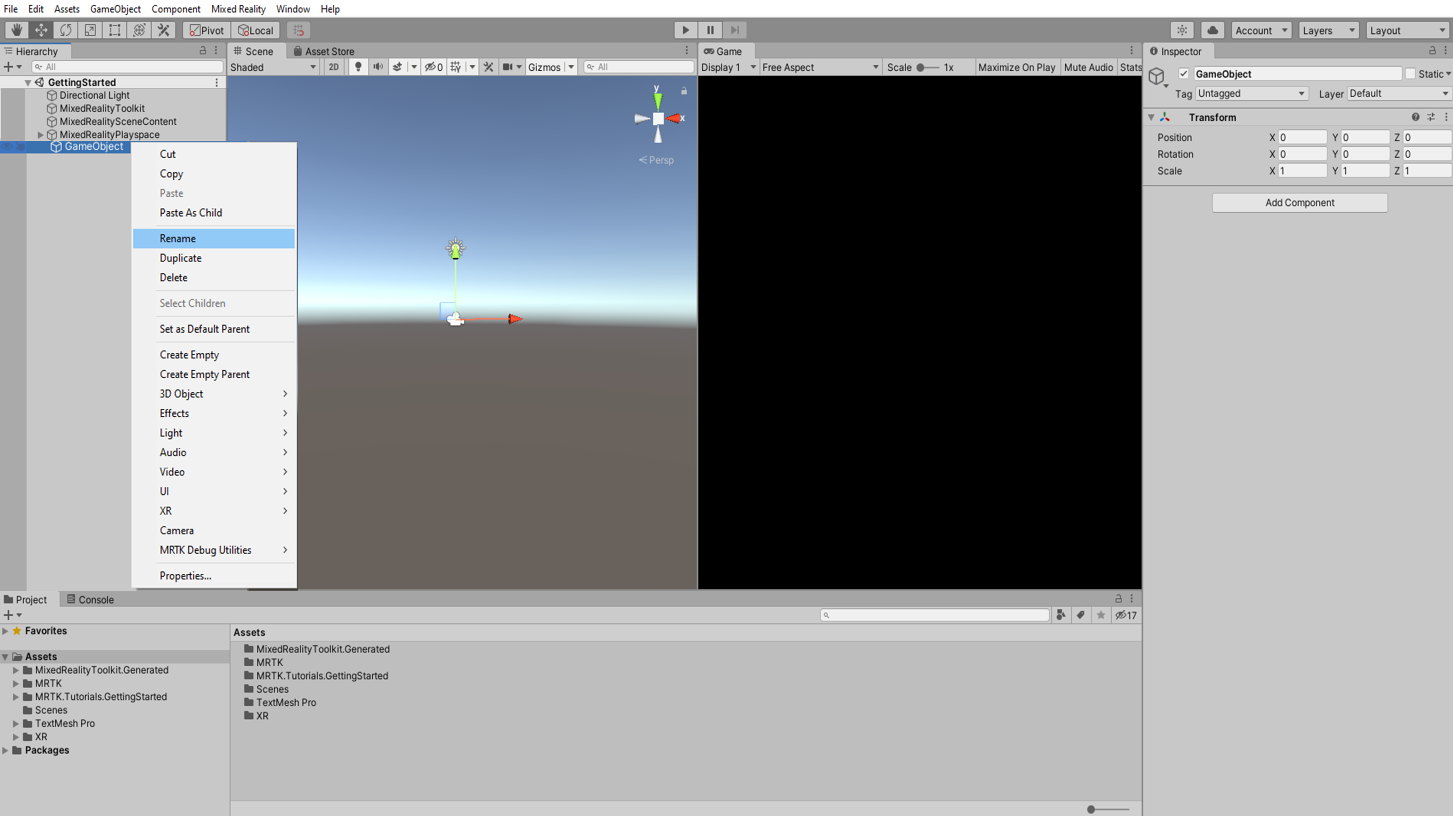
在仍選取 RoverExplorer 的情況下,於 [偵測器] 視窗中,設定如下的 [轉換]元件:
- 位置:X = 0、Y = 0.9、Z = 2
- Rotation (旋轉):X = 0、Y = 0、Z = 0
- 縮放:X = 1、Y = 1、Z = 1


新增教學課程預製物件
在 [專案] 視窗中,移至 [資產]> [MRTK.Tutorials.GettingStarted]>[預製物件] 資料夾。
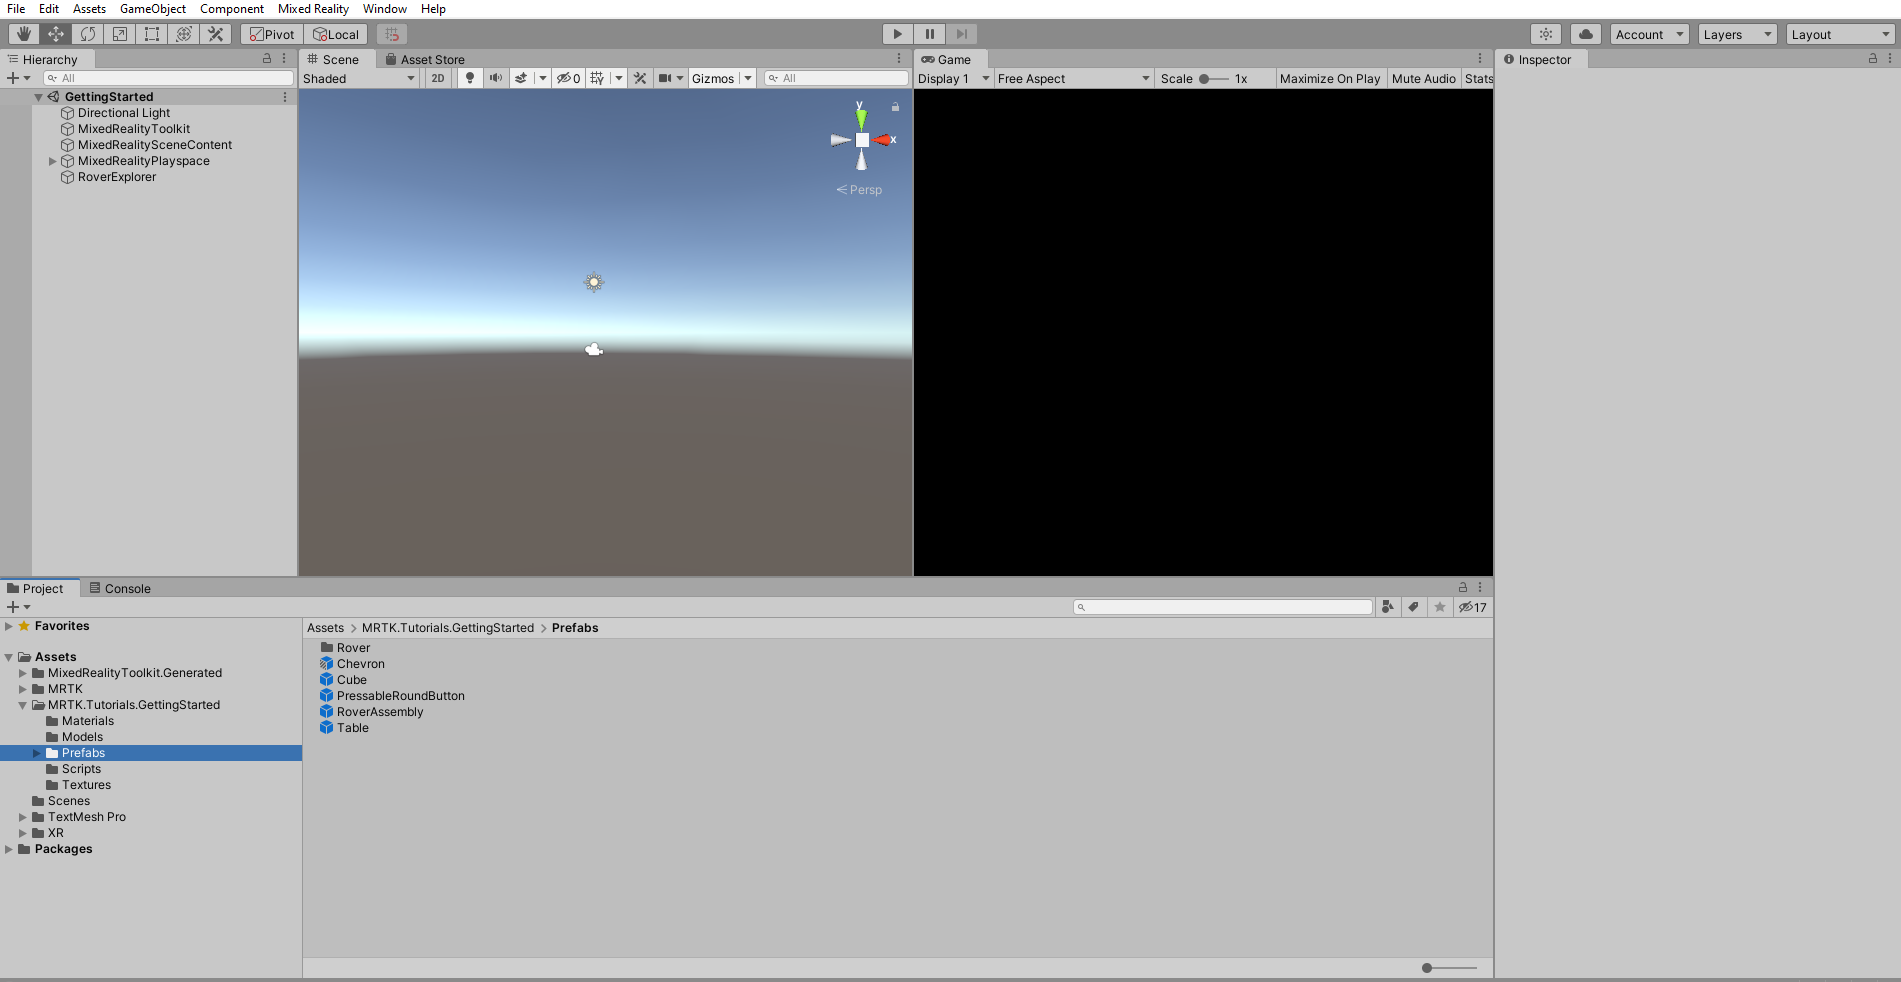
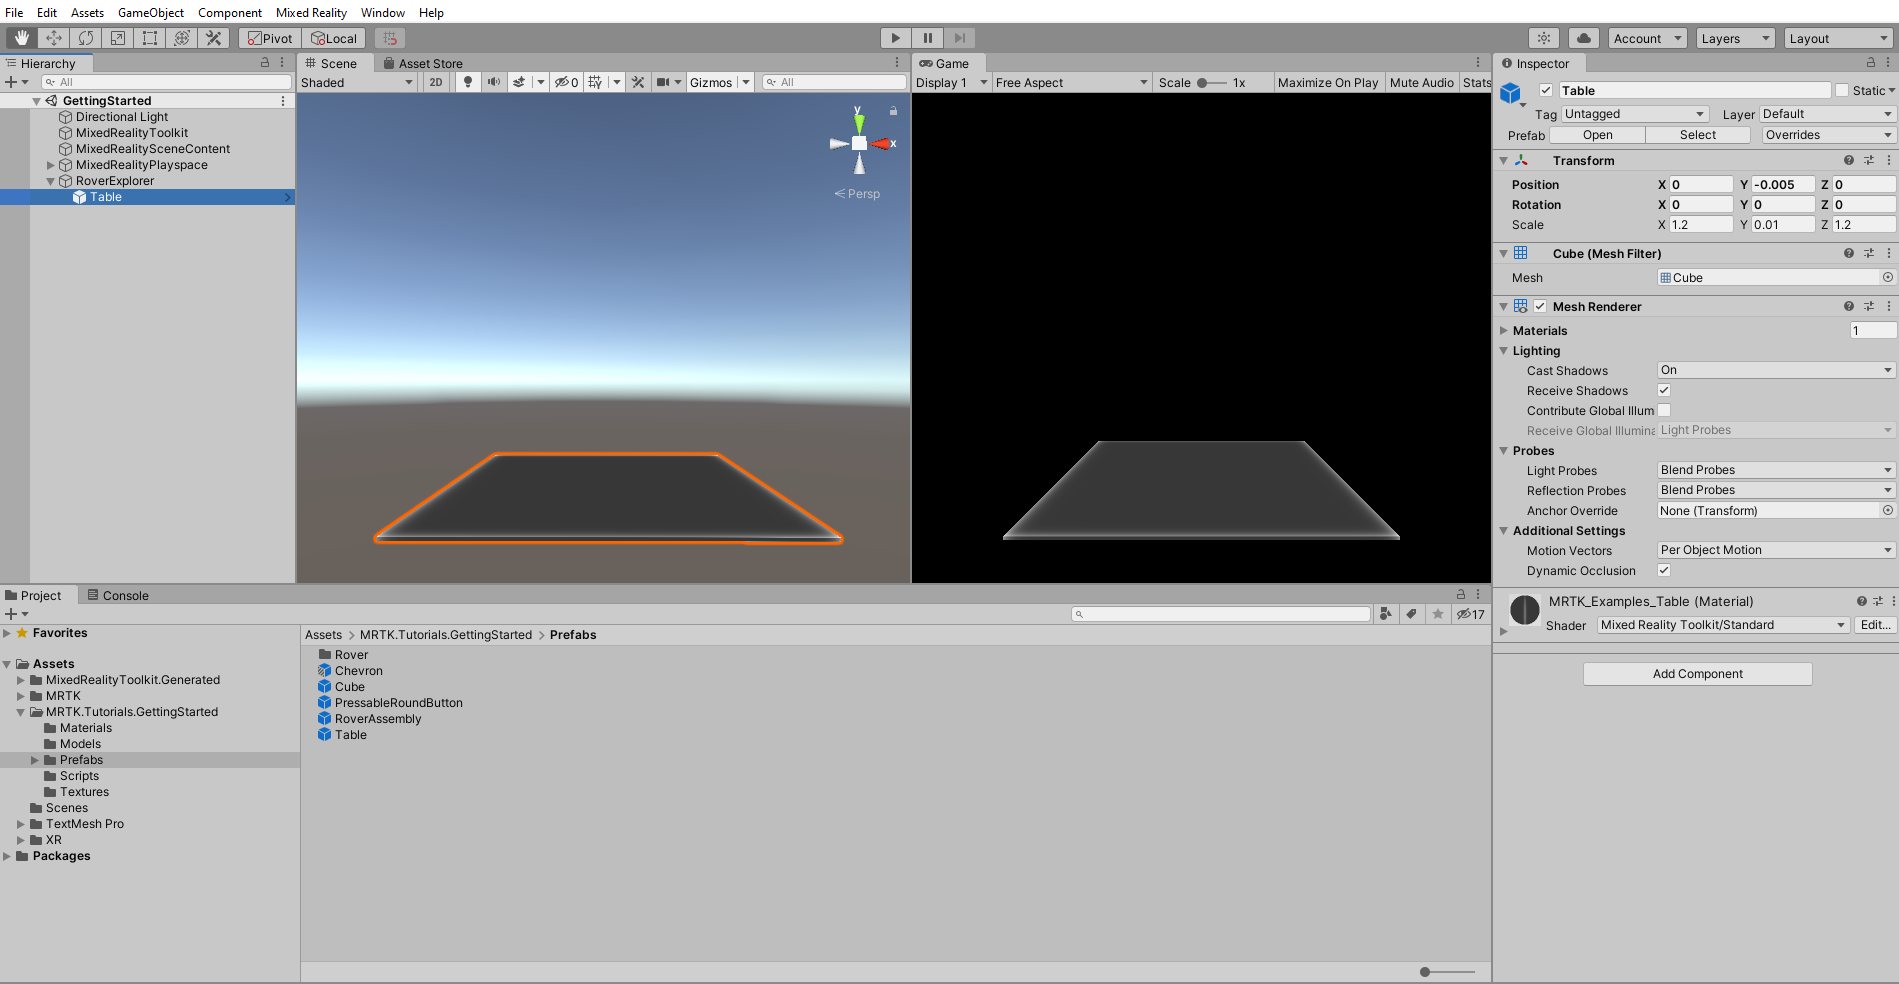
從 [專案] 視窗中,將 Table 預製物件拖曳到 RoverExplorer 物件,使其成為該物件的子系。 然後,在 [ 偵測器] 視窗中,設定資料表的 [轉換 ] 元件,如下所示:
- 位置:X = 0、Y = -0.005、Z = 0
- Rotation (旋轉):X = 0、Y = 0、Z = 0
- 縮放:X = 1.2、Y = 0.01、Z = 1.2
從 [ 專案 ] 窗格中,將 RoverAssembly 預製專案拖曳 至 RoverExplorer 物件,使其成為該物件的子系。 然後,在 [偵測器] 中,設定如下的 [轉換] 元件:
- 位置:X = -0.1、Y = 0、Z = 0
- 旋轉:X = 0、Y = -135、Z = 0
- 縮放:X = 1、Y = 1、Z = 1


