練習 - 將聊天新增至 Teams 索引標籤應用程式
在此練習中,您將建立包含索引標籤的新 Teams 應用程式專案。您將使用適用於 Visual Studio Code 的 Teams 工具組,並瞭解如何使用 Teams JavaScript 用戶端連結庫將聊天整合到索引卷標中。
注意事項
本課程模組中的練習使用Teams Toolkit v5.0.0。
首先,建立專案:
- 開啟 Visual Studio Code。
- 在活動列上,選取 Microsoft Teams 圖示以開啟 [Teams 工具組] 窗格。
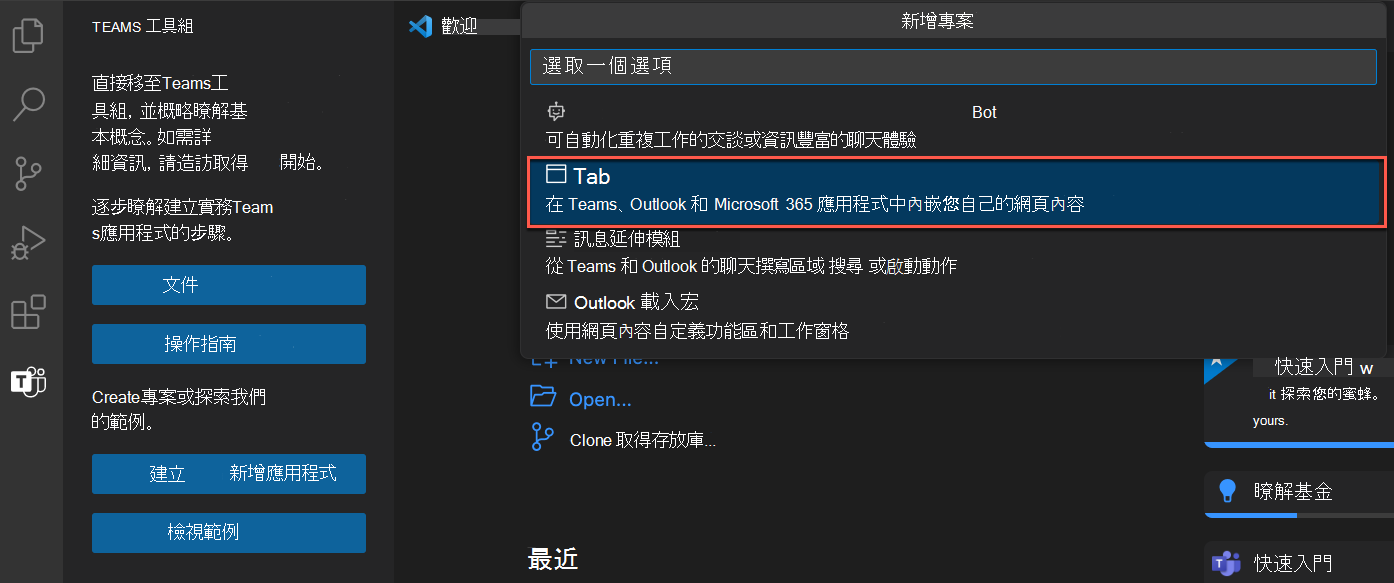
- 在 [Teams 工具組] 窗格中,選取 [ 建立新的應用程式]。
- 從選項中,選取 [ 索引卷標]。
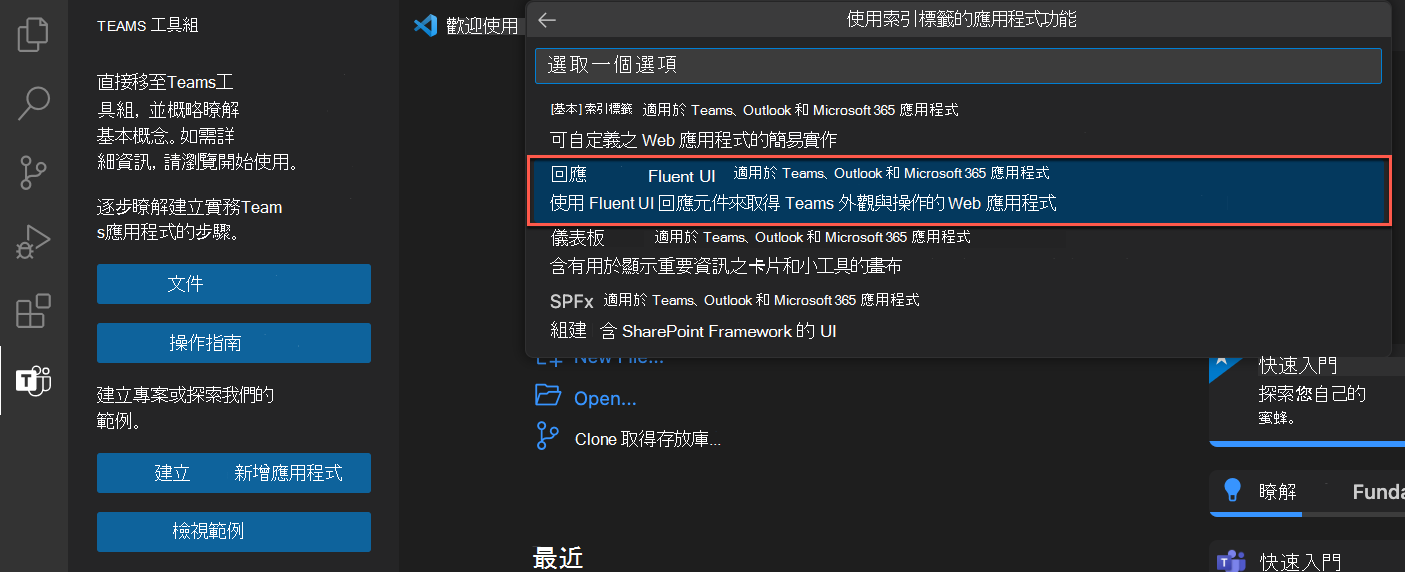
接下來,選取 React with Fluent UI。
在 [ 程序設計語言] 功能表上,選取 [JavaScript]。
在 [ 工作區] 資料夾選單上 ,選取 [ 預設資料夾]。
針對 [應用程式名稱],輸入 Teams索引標籤與聊天 ,然後選取 Enter 鍵。
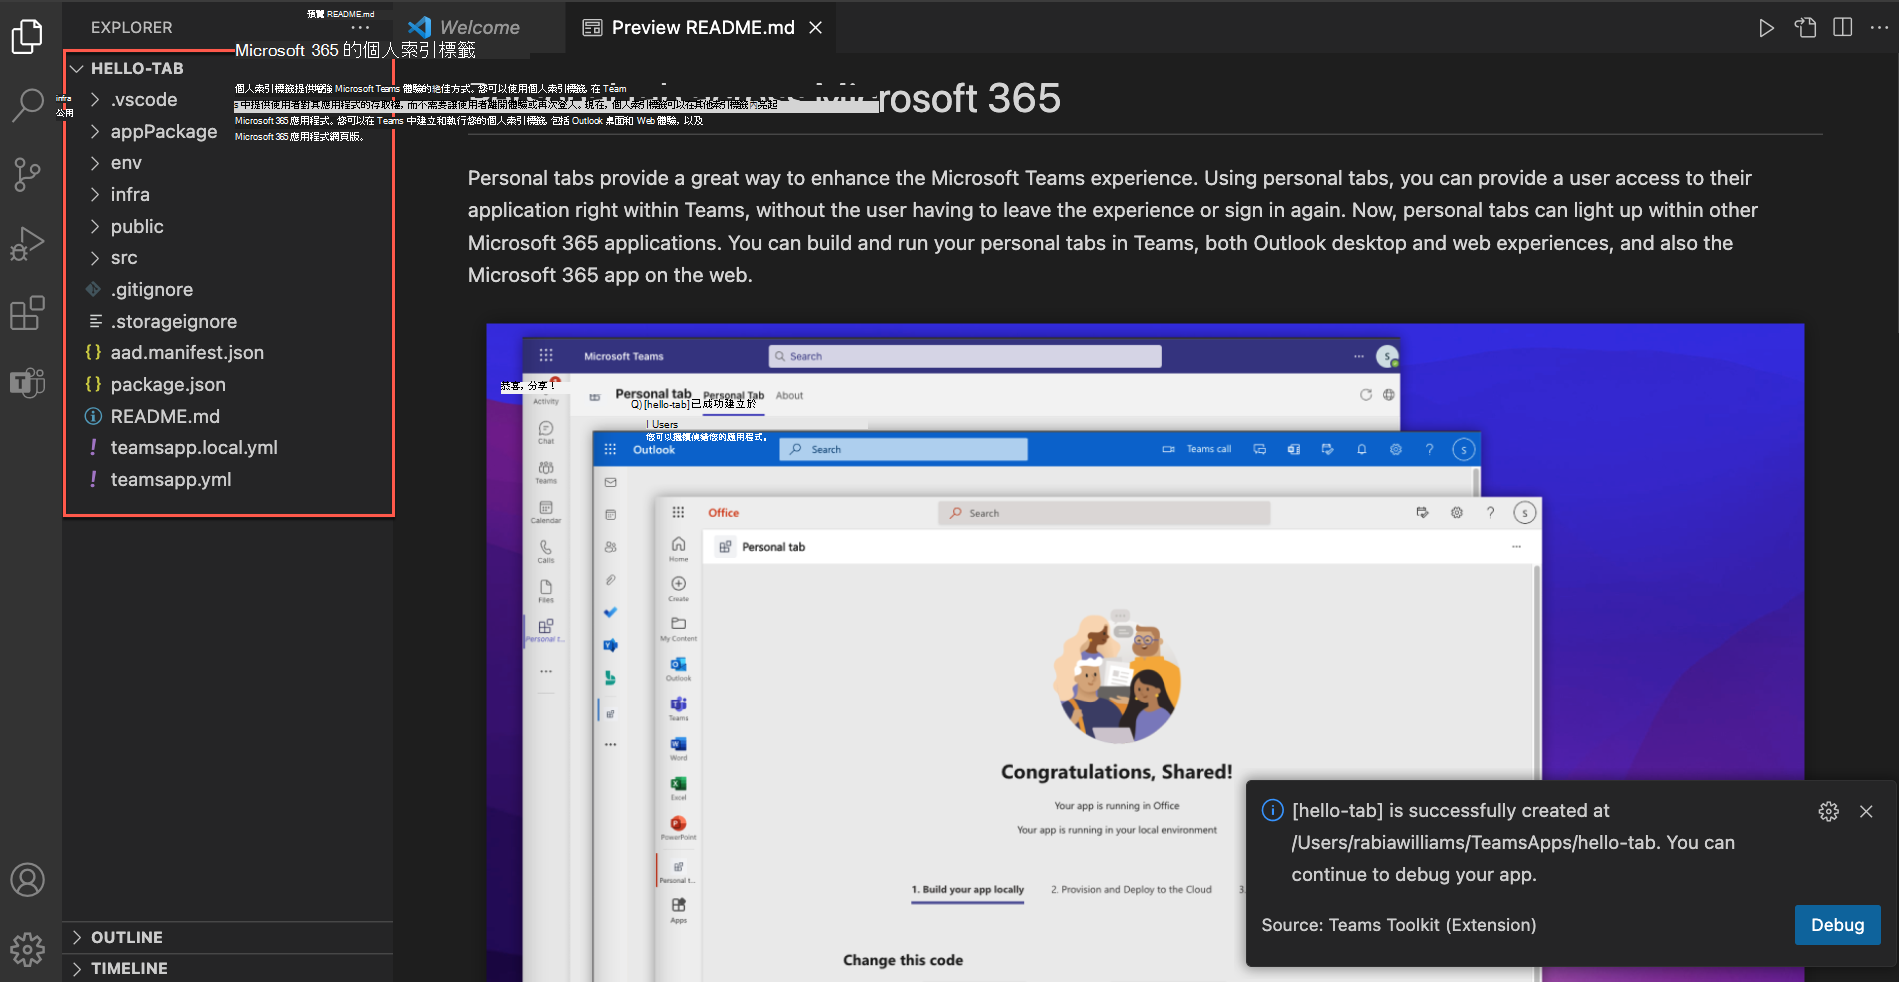
Teams 工具組會建立專案和原始碼檔案。 您可以在 Visual Studio Code 的 [總管] 中檢視專案和原始程式碼檔案。
現在,第一次執行您的索引標籤。
在 [活動列] 上,選取 [ 偵錯] 圖示。
在 [ 執行和偵錯] 上,選取 [Chrome] 或 [ Edge ] 作為要用來偵錯應用程式的瀏覽器。 然後選取 [ 執行] 按鈕,或選取 F5 鍵以啟動偵錯會話。
注意事項
完成此練習之後,請記得關閉偵錯會話。 在 Visual Studio Code 中,選取 [ 執行>停止偵錯 ],或選取 Shift+F5 以停止偵錯會話。 或者,您可以直接關閉應用程式啟動時開啟的瀏覽器。
注意事項
如果您尚未登入 Microsoft 365 租使用者,則會出現提示。 選 取 [登入 ],然後完成使用 Microsoft 365 租使用者登入及驗證 Teams 工具組的步驟。
Teams 工具組會部署、設定及啟動所有必要的元件。 工具組也會開啟瀏覽器視窗,並移至 Microsoft Teams 網站。
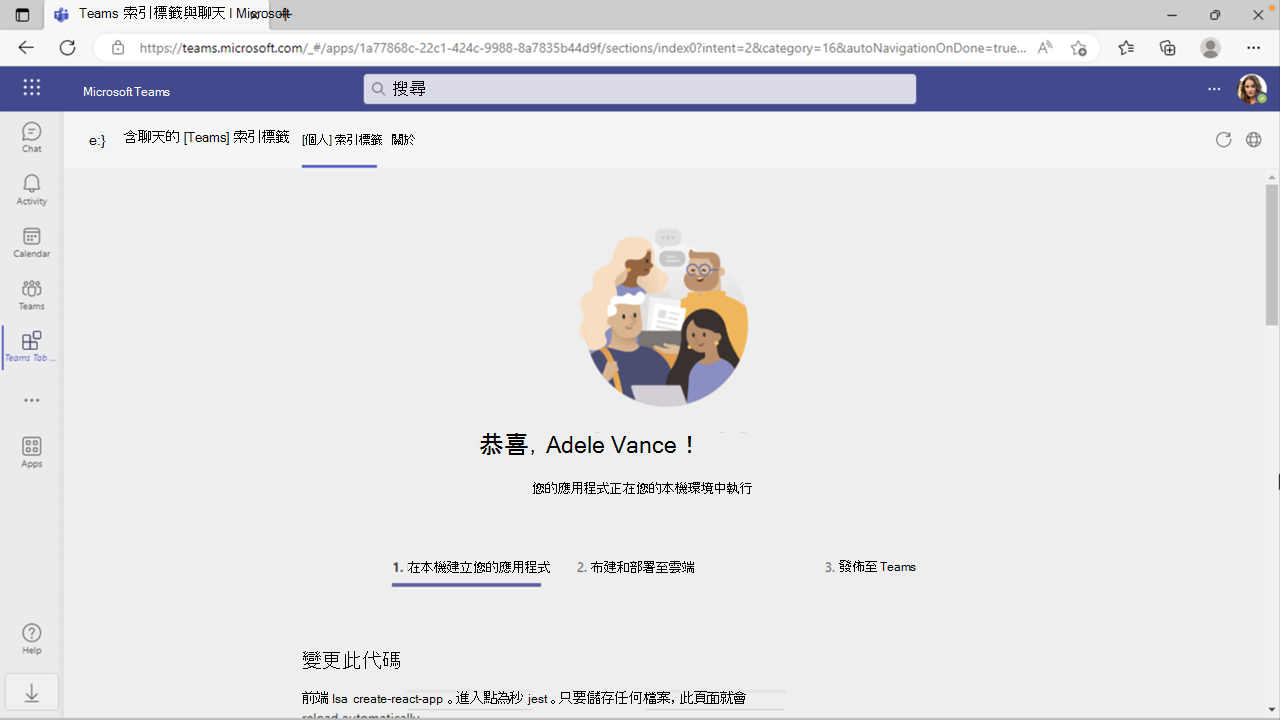
在 [Teams 應用程式安裝] 對話方塊中,選取 [ 新增 ] 按鈕以將應用程式安裝為個人應用程式。
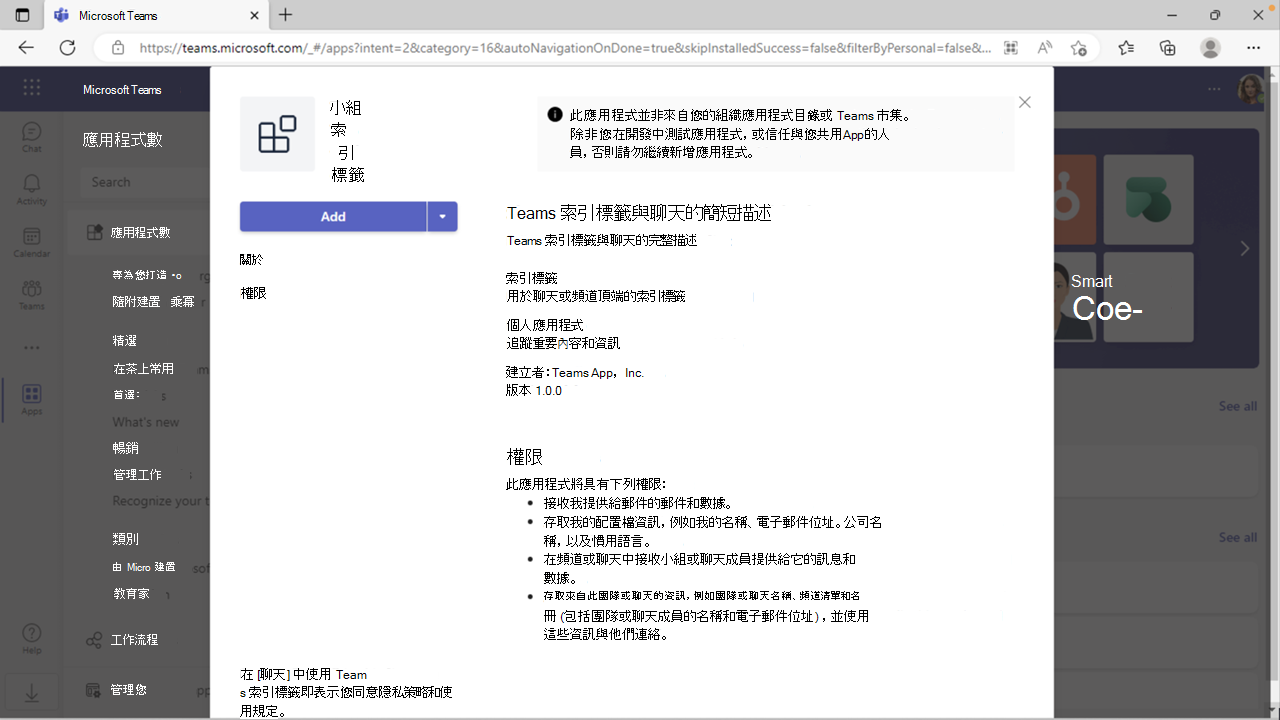
這就對了! 您的應用程式已安裝、正在 Microsoft Teams 中執行,且已準備好增強應用程式中的用戶體驗。
接下來,您會將聊天整合到索引標籤中。
在 Visual Studio Code 中,開啟 src/components/Tab.jsx 檔案。 以下欄代碼段取代檔案的內容:
import { useContext } from "react";
import { TeamsFxContext } from "./Context";
import { Button } from "@fluentui/react-northstar";
import "./sample/Welcome.css";

export default function Tab() {
  const { themeString } = useContext(TeamsFxContext);
  return (
    <div className={themeString === "default" ? "" : "dark"}>
      <div className="welcome page">
        <div className="narrow page-padding">
          <h1 className="center">Chat</h1>
          <div className="sections">
            <div className="center">
              <Button primary>Start Chat</Button>
            </div>
          </div>
        </div>
      </div>
    </div>
  );
}
儲存盤案,並在開啟的瀏覽器視窗中檢視變更。
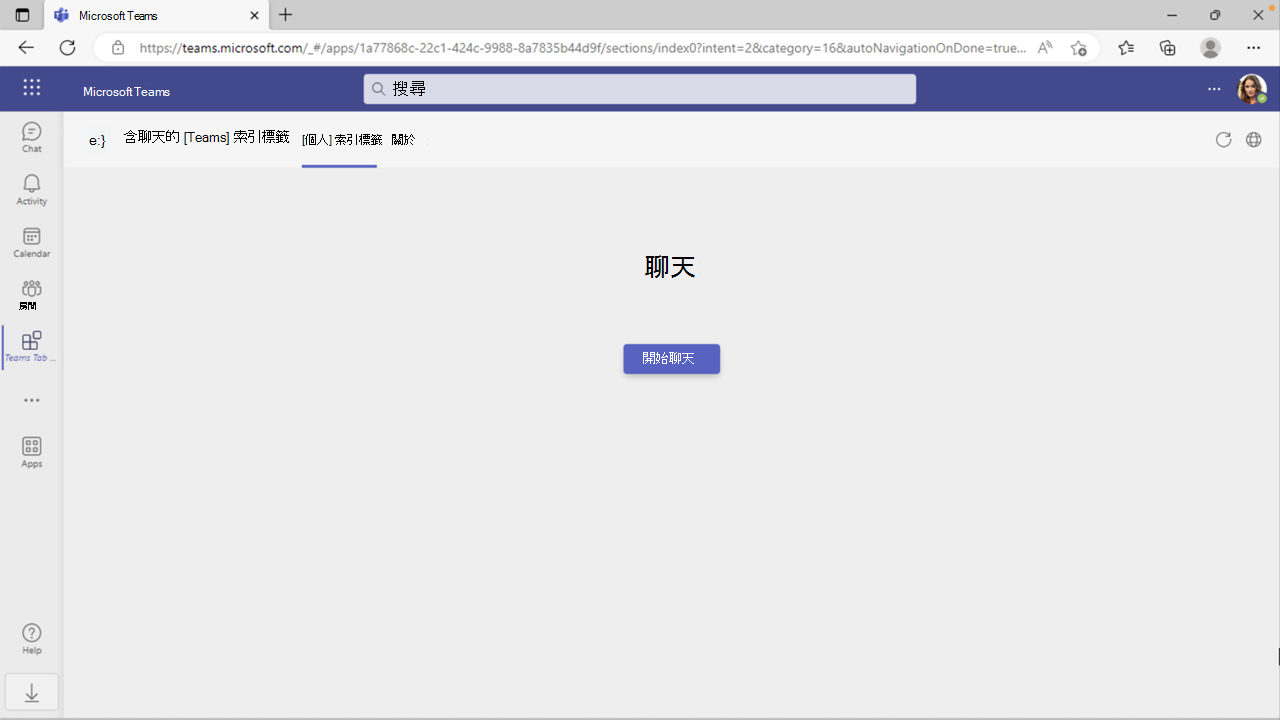
您不需要重新整理瀏覽器,即可查看您對程式代碼所做的變更。 Teams 工具組具有熱重載功能,可在應用程式執行時套用您的變更。
現在讓我們實作 [ 開始聊天 ] 按鈕背後的功能。
返回 Visual Studio Code。 在 src/components/Tab.jsx 檔案的頂端,從 Teams JavaScript 用戶端連結庫匯入應用程式、人員和聊天功能:
import { app, people, chat } from "@microsoft/teams-js";
在函式中 Tab ,於 themeString 常數宣告之後,建立稱為 的 startChat異步函式:
const { themeString } = useContext(TeamsFxContext);
const startChat = async () => {
    await app.initialize();
    const context = await app.getContext();
    if (people.isSupported() && chat.isSupported()) {
        const peoplePickerResults = await people.selectPeople();
        const users = peoplePickerResults.map(p => p.email);
        await chat.openGroupChat({
            users,
            topic: "The Dream Team",
            message: `Teamwork makes the dream work! Let's use this chat to collaborate on our project. Chat created using TeamsJS in the ${context.app.host.name} ${context.app.host.clientType} client.`,
        });
      }
  }
return ();
最後,將事件處理程式新 onClick 增至按鈕,以在用戶選取按鈕時執行 startChat() 函式。
<Button primary onClick={() => startChat()}>Start Chat</Button>
儲存盤案並檢視開啟的瀏覽器視窗。
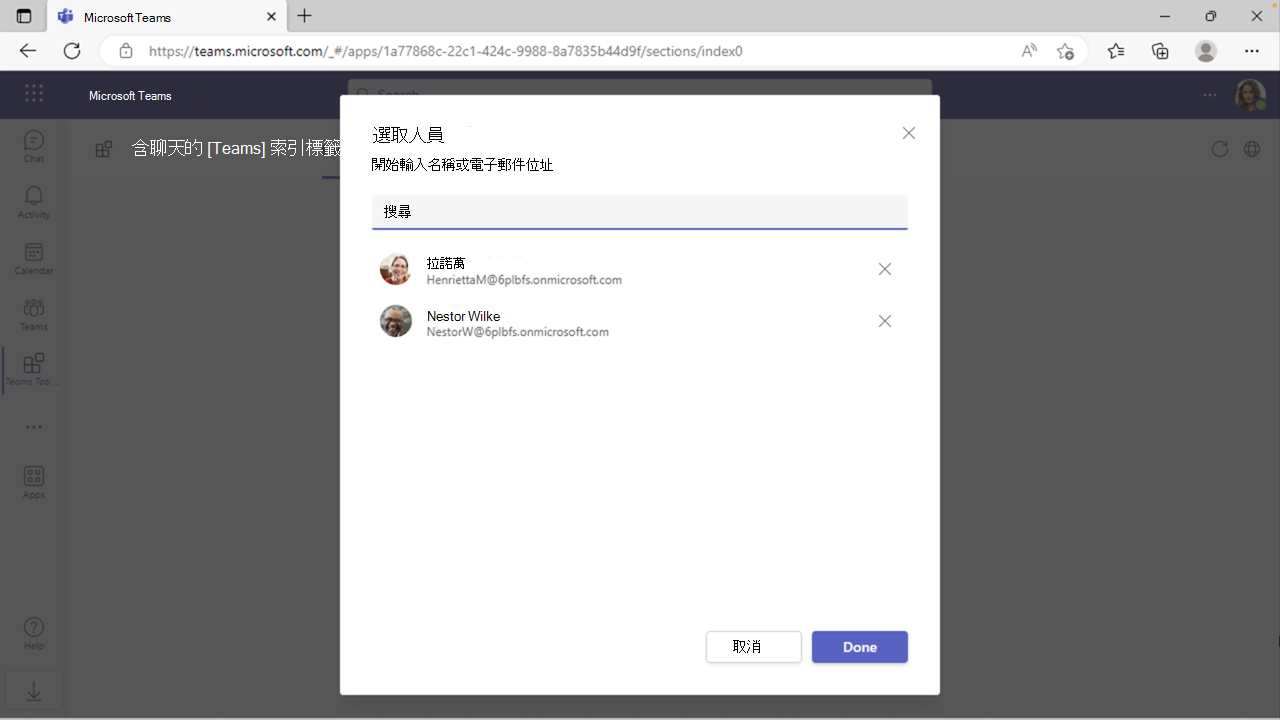
選取 [ 開始聊天] 按鈕以開啟人員選擇器對話框。 在搜尋方塊中輸入用戶的名稱,以搜尋並選取一或多個使用者。 選取 [ 完成] 按鈕以確認您的選取專案。
隨即會建立新的 Microsoft Teams 聊天草稿,名稱為 「信念小組」。 您在 JavaScript 中設定的文字會出現在訊息撰寫方塊中: 團隊合作讓您實現這個快樂!讓我們使用此聊天來共同作業我們的專案。在 Teams Web 用戶端中使用 TeamsJS 建立的聊天。
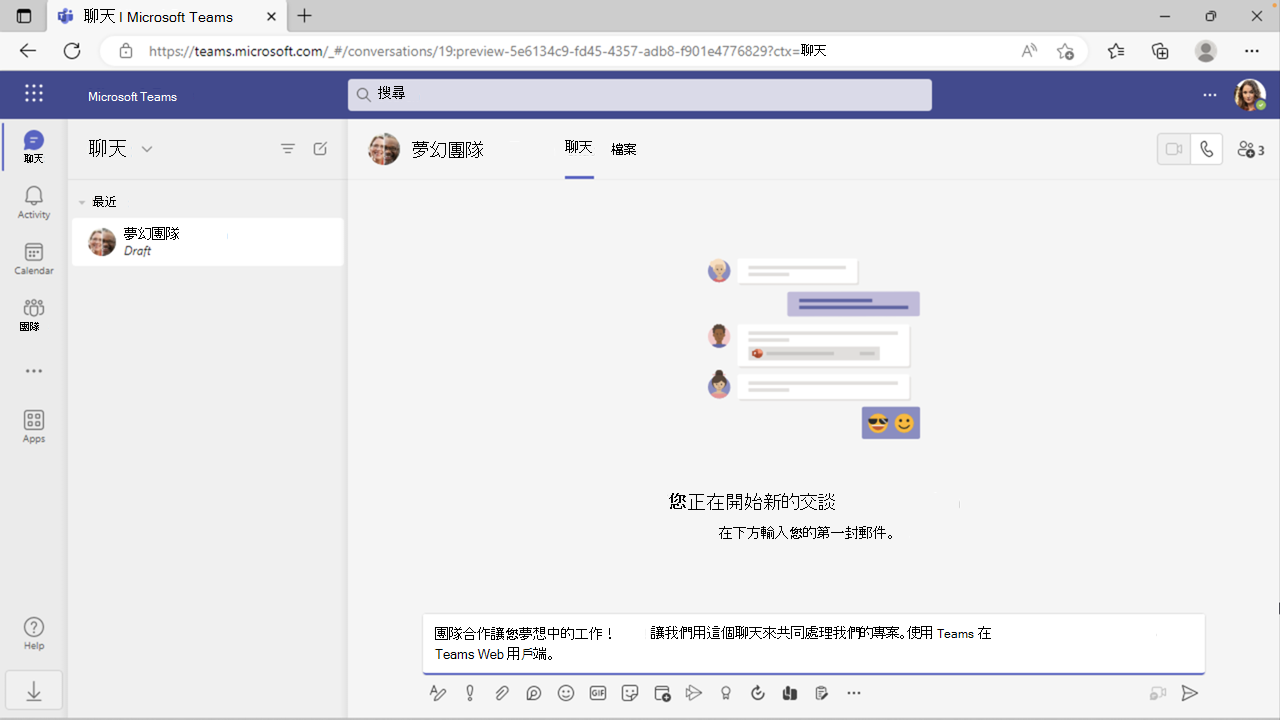
傳送訊息以初始化聊天。
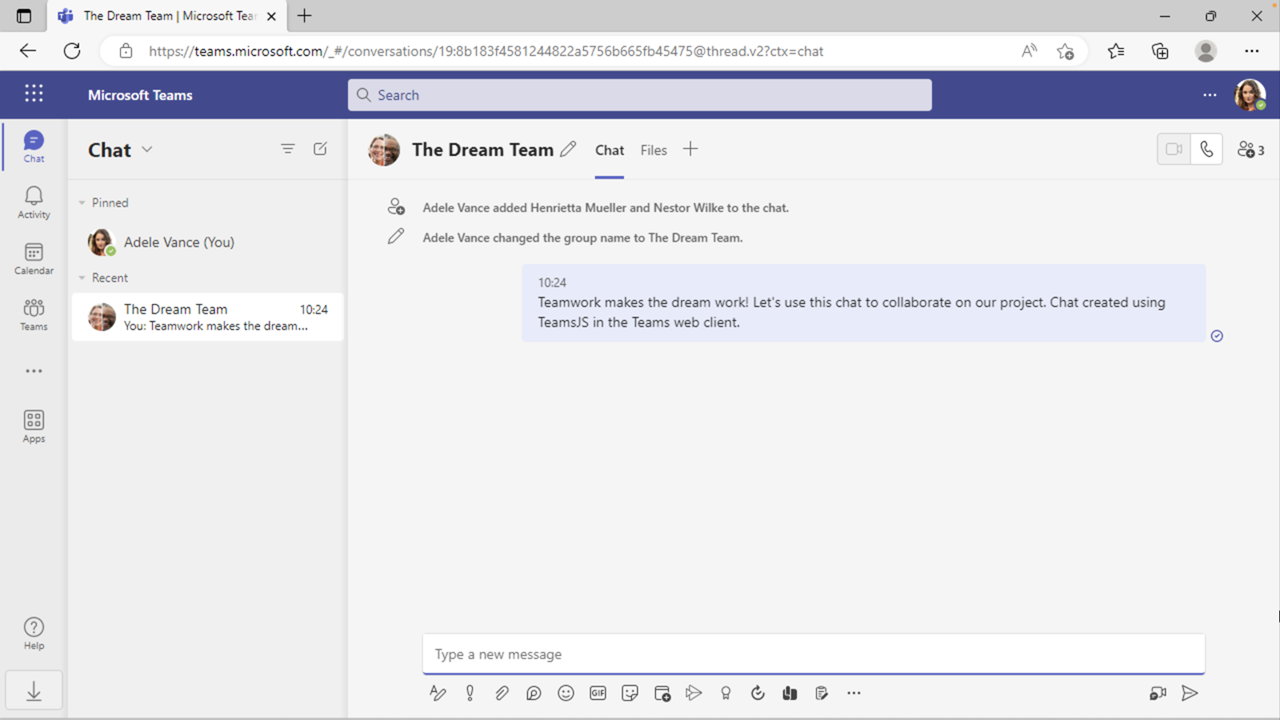
建立聊天。 您在 [人員選擇器] 對話框中選取的參與者會新增至聊天,並更新聊天標題。