教學課程:使用 Microsoft Graph SDK 建立 .NET MAUI 應用程式
在 Windows 上組建跨平台應用程式,讓它利用 Microsoft Graph SDK 來顯示使用者資料,藉此熟悉 .NET MAUI 的實際操作。
在本教學課程中,您會了解如何:
- 設定 .NET MAUI 的開發環境並建立 .NET MAUI 專案
- 在 Azure 中註冊用戶端應用程式
- 整合 Azure 身分識別和 Microsoft Graph SDK
- 更新使用者介面以顯示 Microsoft Graph 的使用者資訊
必要條件
- 具有有效訂用帳戶的 Azure 帳戶。 免費建立帳戶。
- .NET MAUI 安裝需求。
- 如果您對 Windows 的 .NET MAUI 不熟悉,請先參考組建第一個 Windows 適用的 .NET MAUI 應用程式教學課程。
設定環境
如果您尚未設定 .NET MAUI 的開發環境,請按照步驟開始使用 Windows 的 .NET MAUI。
建立 .NET MAUI 專案
注意
如果您已經熟悉如何設定 .NET MAUI 專案,您可以跳到在 Azure 註冊用戶端一節。
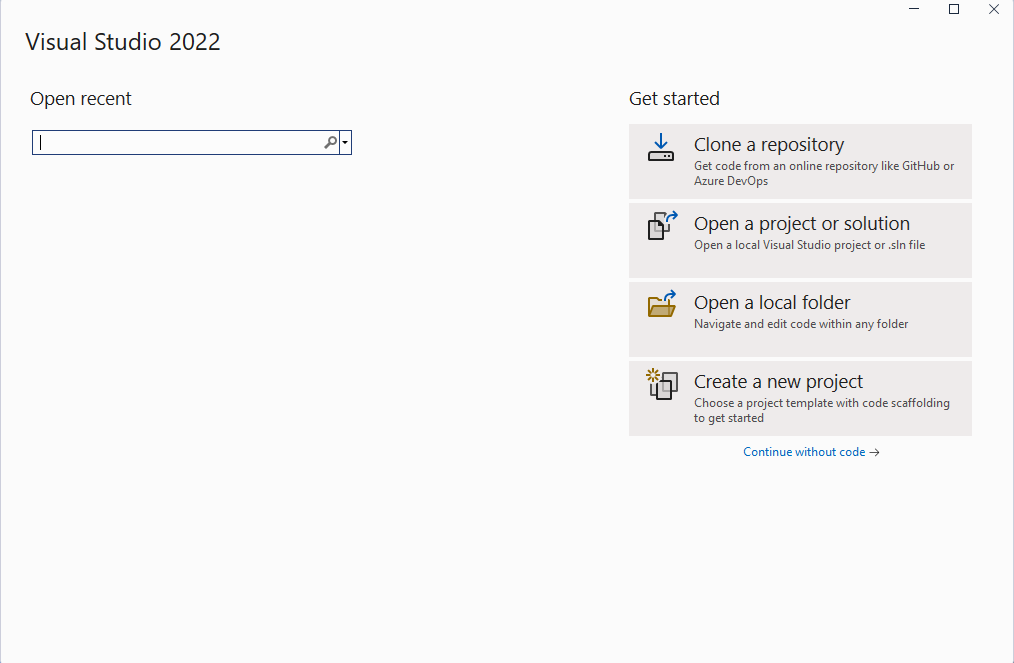
啟動 Visual Studio,然後在起始視窗按一下 [建立新專案] 以建立新的專案:
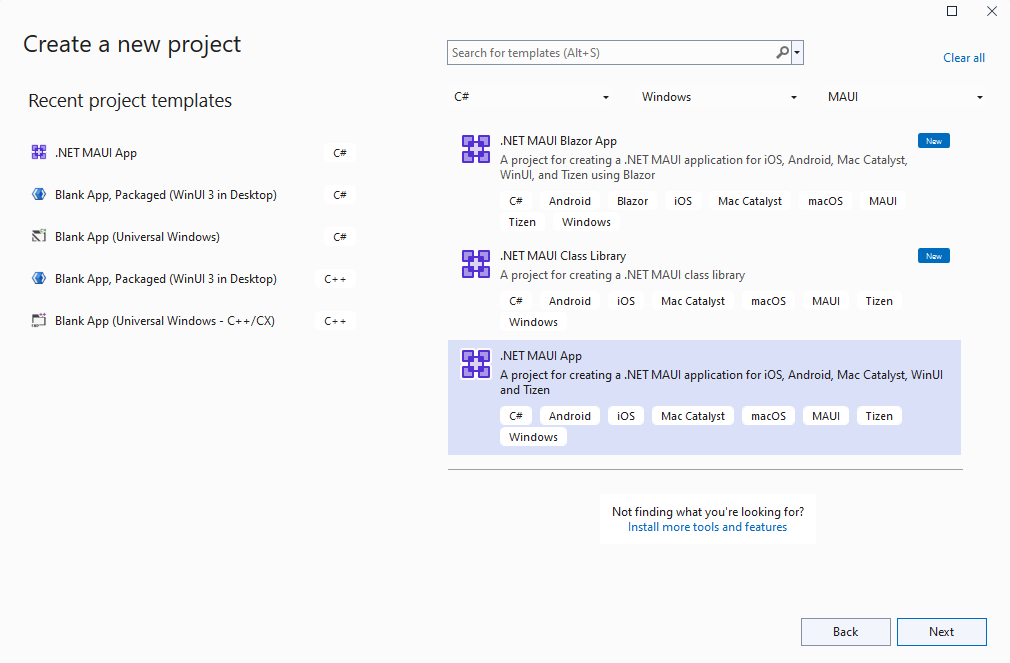
在「建立新專案」視窗的 [所有專案類型] 下拉式清單中選取 [MAUI],然後選取 .NET MAUI 應用程式 範本,再按一下 [下一步] 按鈕:
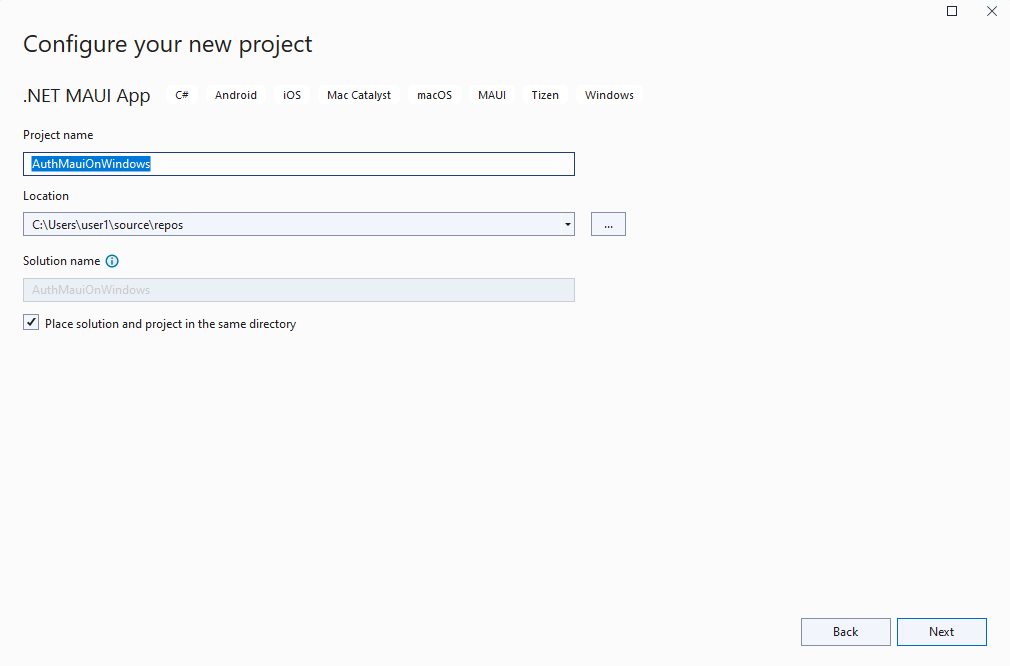
在「設定新專案」視窗上,為專案命名、選擇位置,然後按一下 [下一步] 按鈕:
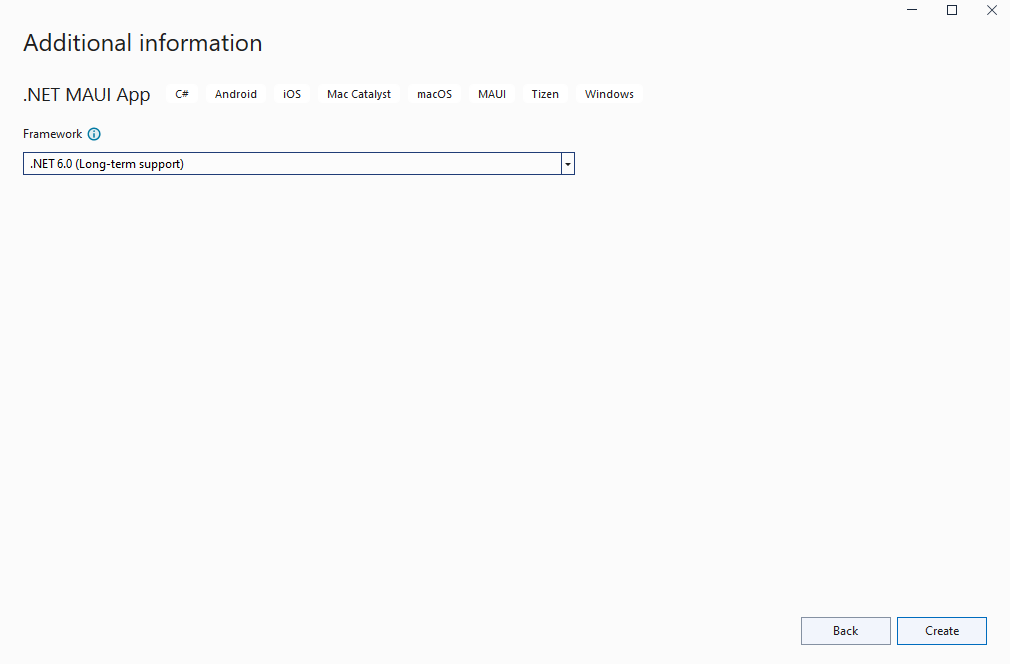
在「其他資訊」視窗中,按一下 [建立] 按鈕:
等候專案建立,以及相依性還原:
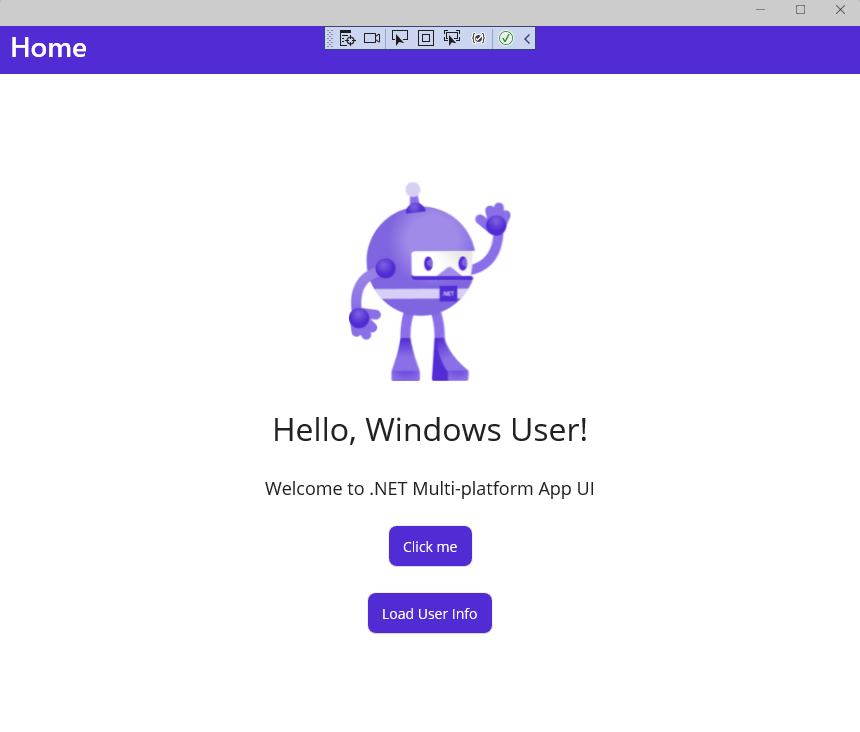
在 Visual Studio 工具列中,按下 [Windows 電腦] 按鈕以組建並執行應用程式。 按一下 [按我] 按鈕,確認按鈕內容會隨著點擊次數而更新。
現在您已確認 Windows 上的 .NET MAUI 應用程式如期運作了,我們就可以整合 Graph SDK。 在下一節,您將新增驗證和呼叫 Microsoft Graph 所需的套件。
在 Azure 註冊用戶端
若要從 Microsoft Graph 讀取使用者資料,您必須在 Azure 註冊應用程式,並對應用程式授與 User.Read 範圍。 執行下列步驟註冊應用程式:
登入 Azure 入口網站。
如果您有多個租用戶的存取權,請使用頂端功能表中的「目錄 + 訂閱」篩選條件來切換要在其中註冊應用程式的租用戶。
搜尋並選取 [Azure Active Directory]。
在「管理」下方,選取 [應用程式註冊] > [新增註冊]。
輸入應用程式的名稱,例如 Win-App-calling-MsGraph。 您的應用程式使用者可能會看到此名稱,而且您稍後可以加以變更。
在 [支援的帳戶類型] 區段中,選取 [任何組織目錄中的帳戶及個人的 Microsoft 帳戶],例如 Skype、Xbox、Outlook.com。
選取 [暫存器] 以建立應用程式。
複製並儲存 [應用程式 (用戶端) 識別碼] 與 [目錄 (租用戶) 識別碼] 值供稍後使用。 我們將在下一節的 GraphService 類別中存放這些值。
在 [管理] 底下,選取 [驗證]。
選取 [新增平台] > [行動和桌面應用程式]。
在「重新導向 URI」區塊選取 https://login.microsoftonline.com/common/oauth2/nativeclient,並在「自訂重新導向 URI」新增 https://localhost。
選取設定。
在「管理」下方選取 [API 權限]。
如果「已設定的權限」下方沒有 Microsoft Graph 的 User.Read 權限,請選取 [新增權限]。 在「要求 API 權限」畫面中,選取 [Microsoft Graph > 應用程式權限],然後搜尋「User.Read」。 展開「使用者」,選取 [User.Read],然後按一下 [新增權限]。
整合 Graph SDK 和 Azure 身分識別
限在您已在 Windows 上執行 .NET MAUI 應用程式並在 Azure 設定應用程式註冊了,接著我們就可以新增幾個 NuGet 套件到專案中,以便與 Azure 身分識別和 Microsoft Graph 整合。
在「方案總管」中,以滑鼠右鍵按一下專案,然後選取操作功能表中的 [管理 NuGet 套件...]。
在「NuGet 套件管理員」視窗中,選取 [瀏覽] 索引標籤,然後搜尋「Azure.Identity」:

按一下 [安裝],將 Azure.Identity 套件的最新穩定版本新增至專案。
接下來,搜尋「Microsoft.Graph」:

按一下 [安裝],將 Microsoft.Graph 套件的最新穩定版本新增至專案。
在新套件完成安裝之後,關閉「NuGet 套件管理員」視窗。
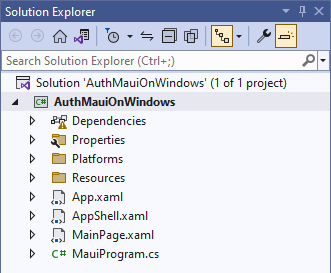
再次以滑鼠右鍵按一下專案,並從操作功能表中選取 [新增 | 類別]。
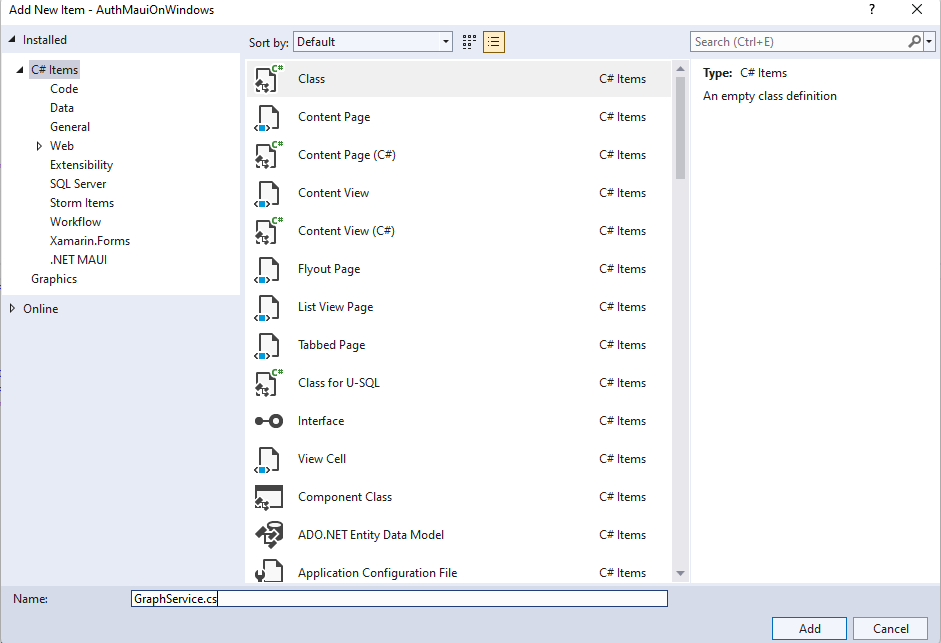
在顯示的「新增項目」視窗中,將類別命名為 GraphService,然後按一下 [新增]:
將四個私有成員新增至 GraphService 類別,以在預留位置文字中替換您自己的用戶端識別碼和租用戶識別碼值:
private readonly string[] _scopes = new[] { "User.Read" };
private const string TenantId = "<add your tenant id here>";
private const string ClientId = "<add your client id here>";
private GraphServiceClient _client;
將 Initialize() 方法新增至 GraphService,系統會從建構函式呼叫此方法。 初始化程式碼會使用 InteractiveBrowserCredential 類別進行驗證。 成功驗證後,認證類別會連同要求的範圍 (User.Read) 提供驗證權杖給 GraphServiceClient。
public GraphService()
{
    Initialize();
}

private void Initialize()
{
    // assume Windows for this sample
    if (OperatingSystem.IsWindows())
    {
        var options = new InteractiveBrowserCredentialOptions
        {
            TenantId = TenantId,
            ClientId = ClientId,
            AuthorityHost = AzureAuthorityHosts.AzurePublicCloud,
            RedirectUri = new Uri("https://localhost"),
        };

        InteractiveBrowserCredential interactiveCredential = new(options);
        _client = new GraphServiceClient(interactiveCredential, _scopes);
    }
    else
    {
        // TODO: Add iOS/Android support
    }
}
注意
'Initialize()' 方法目前僅支援 Windows。 在 iOS 和 Android 上驗證需要不同的 NuGet 套件 (Microsoft.Identity.Client) 和幾項額外步驟。 若要深入瞭解行動驗證,請參閱設定原生用戶端應用程式。
新增名為 GetMyDetailsAsync() 的公用非同步方法,藉此傳回 User 物件給已驗證的使用者:
public async Task<User> GetMyDetailsAsync()
{
    try
    {
        return await _client.Me.GetAsync();
    }
    catch (Exception ex)
    {
        Console.WriteLine($"Error loading user details: {ex}");
        return null;
    }
}
您需要兩個 using 陳述式才能編譯新增至 GraphService的新程式碼:
using Azure.Identity;
using Microsoft.Graph;
using Microsoft.Graph.Models;
在 MainPage.xaml 中,將 x:Name 新增至 Hello, World! 標籤:
<Label
    x:Name="HelloLabel"
    Text="Hello, World!"
    SemanticProperties.HeadingLevel="Level1"
    FontSize="32"
    HorizontalOptions="Center" />
將新的按鈕新增現有的 CounterBtn 之後的頁面,以便從 Graph 取得使用者資訊:
<Button
    x:Name="GetUserInfoBtn"
    Text="Load User Info"
    SemanticProperties.Hint="Loads user information from Microsoft Graph"
    Clicked="GetUserInfoBtn_Clicked"
    HorizontalOptions="Center" />
在 MainPage.xaml.cs 中,將私有變數新增至 GraphService 和 User:
private GraphService graphService;
private User user;
新增事件處理常式給您在 MainPage.xaml 的 GetUserInfoButton 新增的 Clicked 事件使用。 如果事件處理常式為 null,就會建立 GraphService 執行個體,並呼叫以擷取使用者資料。 HelloLabel 的文字經過更新後會向使用者說 hello,並顯示 Microsoft Graph 的 DisplayName 屬性:
private async void GetUserInfoBtn_Clicked(object sender, EventArgs e)
{
    if (graphService == null)
    {
        graphService = new GraphService();
    }
    user = await graphService.GetMyDetailsAsync();
    HelloLabel.Text = $"Hello, {user.DisplayName}!";
}
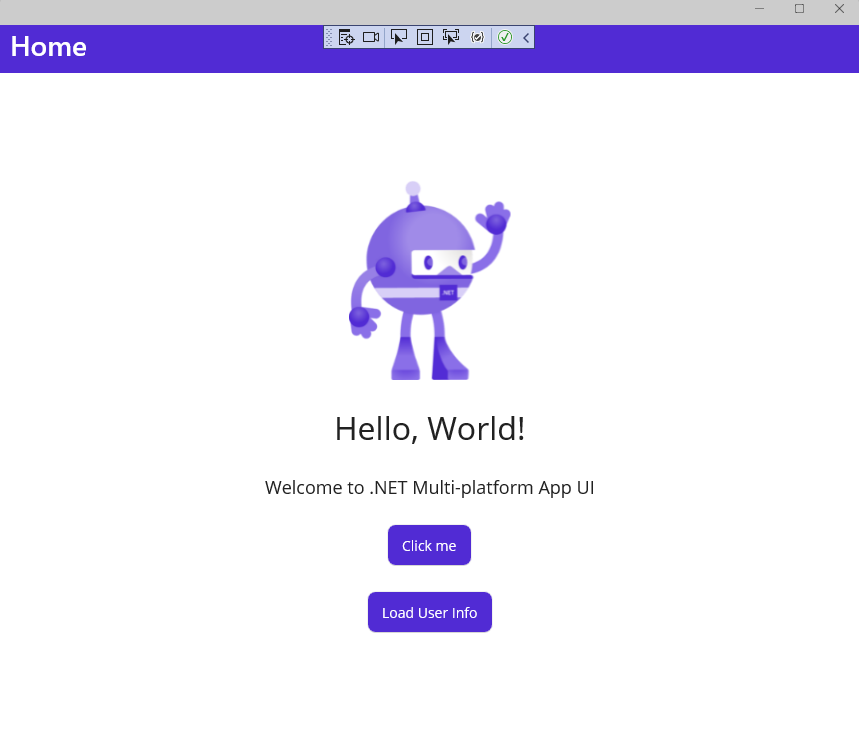
執行應用程式,然後按一下 [載入使用者資訊] 按鈕:
「登入您的帳戶」視窗顯示後,請選取現有帳戶或按一下 [使用其他帳戶]:
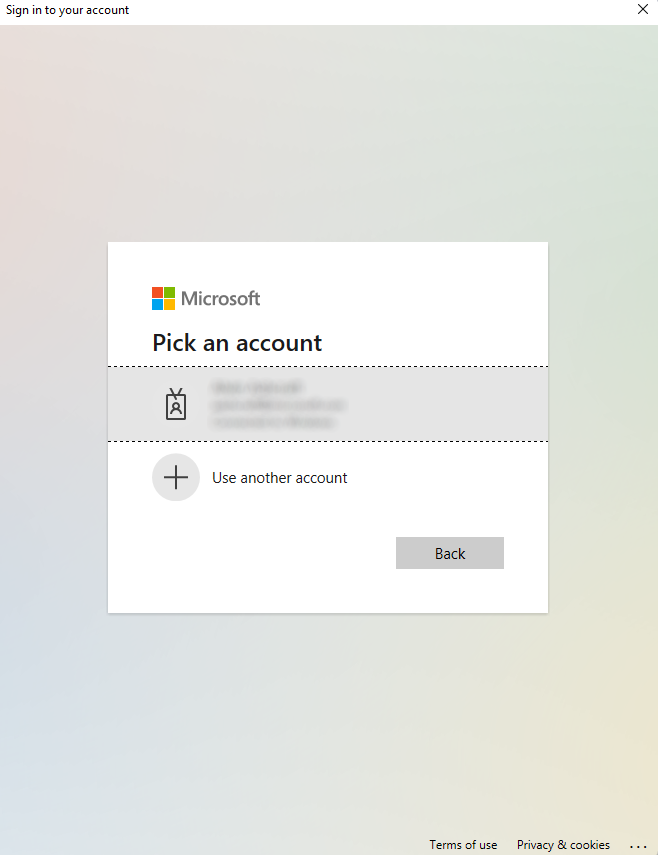
如果您選取了其他帳戶,請輸入電子郵件地址和密碼來登入帳戶。
驗證完成之後,您會在應用程式中看到使用者的 DisplayName:
更新使用者介面以顯示使用者資訊
現在 GraphService 會傳回使用者資訊了,接著我們要更新使用者介面來顯示額外的使用者設定檔資訊。
在 MainPage.xaml 中,先更新 VerticalStackLayout 的內容,移除現有的歡迎標籤和 Image 控制項,並新增四個新標籤來顯示使用者資訊。 每個即將更新的標籤都已命名,且我們也提供了幾個預留位置文字,等候資料從 Graph 查詢載入。 VerticalStackLayout 的內容應類似如下:
<VerticalStackLayout
    Spacing="25"
    Padding="30,0"
    VerticalOptions="Center">

    <Label
        x:Name="HelloLabel"
        Text="Hello, World!"
        SemanticProperties.Description="Displays a welcome message for the user"
        SemanticProperties.HeadingLevel="Level1"
        FontSize="32"
        HorizontalOptions="Center" />

    <Button
        x:Name="CounterBtn"
        Text="Click me"
        SemanticProperties.Hint="Counts the number of times you click"
        Clicked="CounterBtn_Clicked"
        HorizontalOptions="Center" />

    <Button
        Text="Load User Info"
        SemanticProperties.Hint="Loads user information from Microsoft Graph"
        Clicked="GetUserInfoBtn_Clicked"
        HorizontalOptions="Center" />

    <Label
        x:Name="DisplayNameLabel"
        Text="Display name"
        SemanticProperties.Description="Displays the user's display name from Microsoft Graph."
        SemanticProperties.HeadingLevel="Level2"
        FontSize="18"
        HorizontalOptions="Center" />

    <Label
        x:Name="UserFirstNameLabel"
        Text="First name"
        SemanticProperties.Description="Displays the user's first name info from Microsoft Graph"
        SemanticProperties.HeadingLevel="Level2"
        FontSize="18"
        HorizontalOptions="Center" />

    <Label
        x:Name="UserLastNameLabel"
        Text="Last name"
        SemanticProperties.Description="Displays the user's last name from Microsoft Graph"
        SemanticProperties.HeadingLevel="Level2"
        FontSize="18"
        HorizontalOptions="Center" />

    <Label
        x:Name="UserPrincipalNameLabel"
        Text="User Principal Name"
        SemanticProperties.Description="Displays the user principal name from Microsoft Graph"
        SemanticProperties.HeadingLevel="Level2"
        FontSize="18"
        HorizontalOptions="Center" />

</VerticalStackLayout>
最後,在 MainPage.xaml.cs 中,使用 Graph User 物件的屬性,將 UI 元素更新為 GetUserInfoBtn_Clicked 事件處理常式的新屬性值:
private async void GetUserInfoBtn_Clicked(object sender, EventArgs e)
{
    if (graphService == null)
    {
        graphService = new GraphService();
    }
    user = await graphService.GetMyDetailsAsync();
    HelloLabel.Text = $"Hello, {user.DisplayName}!";

    DisplayNameLabel.Text = user.DisplayName;
    UserFirstNameLabel.Text = user.GivenName;
    UserLastNameLabel.Text = user.Surname;
    UserPrincipalNameLabel.Text = user.UserPrincipalName;
}
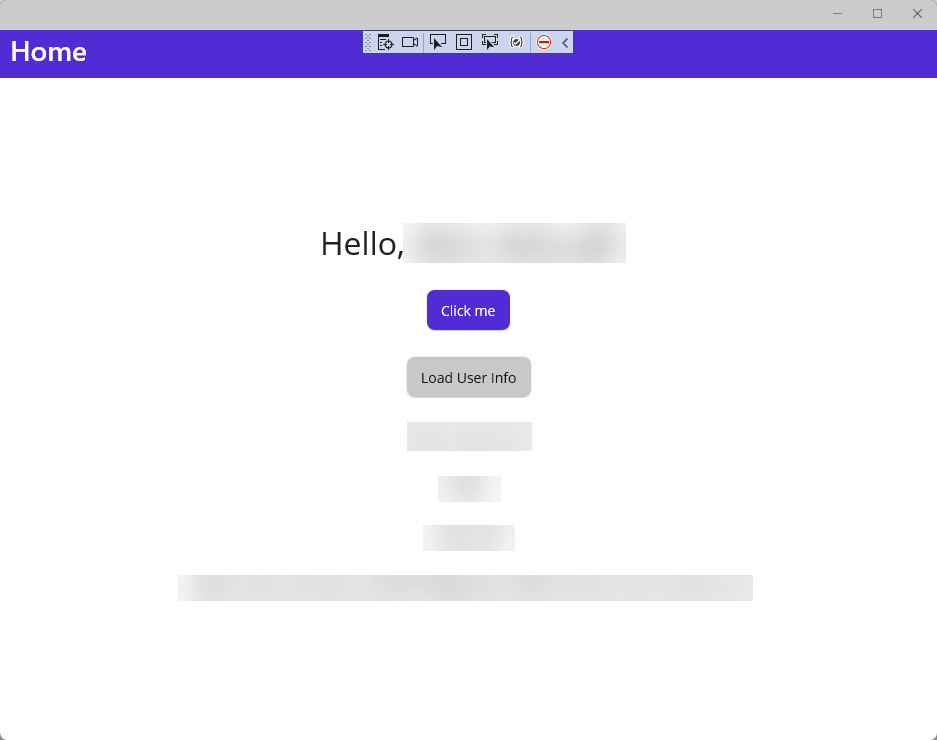
再次執行應用程式,然後按一下 [載入使用者資訊] 按鈕。 驗證之後,您應該會看到應用程式顯示使用者資訊:
若要瞭解如何在 .NET MAUI 應用程式安裝並開始使用 Microsoft Graph SDK,請參閱安裝 Microsoft Graph .NET SDK。
下一步
請繼續閱讀下一篇文章瞭解以下操作...
