IWindowNative::get_WindowHandle 方法 (microsoft.ui.xaml.window.h)
擷取視窗句柄(HWND),此視窗是由實作 IWindowNative的物件所表示。
如需詳細資訊和程式代碼範例,請參閱 擷取視窗句柄 (HWND)。
語法
HRESULT get_WindowHandle(
  HWND *hWnd
);
參數
hWnd
視窗句柄 (HWND)。
傳回值
如果此方法成功,則會傳回 S_OK。 否則,它會傳回 HRESULT 錯誤碼。
言論
例子
遵循此範例之前,請先檢閱下列主題:
自訂視窗圖示
在此範例中,我們會示範如何擷取主視窗的視窗句柄(HWND),並使用該句柄來自定義視窗的標題列及其內容。
建立新專案
- 在 Visual Studio 中,從 空白應用程式、已封裝 (WinUI 3 in Desktop) 項目範本建立新的 C# 或 C++/WinRT 專案。
MainWindow.xaml
注意
如果您需要與本逐步解說搭配使用的圖示檔案,您可以從 WirelessHostednetwork 範例應用程式下載 computer.ico 檔案。 將該檔案放在 Assets 資料夾中,並將檔案新增至您的專案做為內容。 您接著可以使用 url Assets/computer.ico來參考檔案。
否則,請隨意使用您已經擁有的圖示檔案,並在下列程式代碼清單中變更其兩個參考。
- 在下列程式代碼清單中,您會看到在
我們已新增兩個按鈕,並指定了每個按鈕的 Click 處理程式 。 在 [按兩下第一個按鈕 (basicButton_Click) 的 [ 處理程式] 中,我們會設定標題列圖示和文字。 在第二個 ( elcustomButton_Click ),我們將標題列取代為名為 customTitleBarPanStackPanel 的內容,來示範更顯著的自定義。
<Window
    x:Class="window_titlebar.MainWindow"
    xmlns="http://schemas.microsoft.com/winfx/2006/xaml/presentation"
    xmlns:x="http://schemas.microsoft.com/winfx/2006/xaml"
    xmlns:local="using:window_titlebar"
    xmlns:d="http://schemas.microsoft.com/expression/blend/2008"
    xmlns:mc="http://schemas.openxmlformats.org/markup-compatibility/2006"
    mc:Ignorable="d">

    <Grid x:Name="rootElement" RowDefinitions="100, *, 100, *">

        <StackPanel x:Name="customTitleBarPanel" Grid.Row="0" Orientation="Horizontal" HorizontalAlignment="Stretch" VerticalAlignment="Top" Visibility="Collapsed">
            <Image Source="Images/windowIcon.gif" />
            <TextBlock VerticalAlignment="Center" Text="Full customization of title bar"/>
        </StackPanel>

        <StackPanel x:Name="buttonPanel"  Grid.Row="2" Orientation="Horizontal" HorizontalAlignment="Center">
            <Button x:Name="basicButton" Click="basicButton_Click" Margin="25">Set the Window title and icon</Button>
            <Button x:Name="customButton" Click="customButton_Click" Margin="25">Customize the window title bar</Button>
        </StackPanel>

    </Grid>
</Window>
MainWindow.xaml.cs/cpp
- 在下列 basicButton_Click 處理程式的程式代碼清單中,為了隱藏自定義標題欄,我們會折疊 customTitleBarPanelStackPanel,並將 ExtendsContentIntoTitleBar 属性設定為
false。 - 然後,我們會呼叫 IWindowNative::get_WindowHandle (針對 C#,使用 Interop 協助程式方法 GetWindowHandle)來擷取主視窗的視窗句柄(HWND)。
- 接下來,我們藉由呼叫 LoadImage 和 SendMessage 函式,來設定應用程式圖示 (適用於 C#,使用 PInvoke.User32 NuGet 套件)。
- 最後,我們會呼叫 SetWindowText 來更新標題欄字串。
private void basicButton_Click(object sender, RoutedEventArgs e)
{
    // Ensure the custom title bar content is not displayed.
    customTitleBarPanel.Visibility = Visibility.Collapsed;

    // Disable custom title bar content.
    ExtendsContentIntoTitleBar = false;

    //Get the Window's HWND
    var hwnd = WinRT.Interop.WindowNative.GetWindowHandle(this);

    IntPtr hIcon = PInvoke.User32.LoadImage(
        IntPtr.Zero,
        "Images/windowIcon.ico",
        PInvoke.User32.ImageType.IMAGE_ICON,
        20, 20,
        PInvoke.User32.LoadImageFlags.LR_LOADFROMFILE);

    PInvoke.User32.SendMessage(
        hwnd,
        PInvoke.User32.WindowMessage.WM_SETICON,
        (IntPtr)0,
        hIcon);

    PInvoke.User32.SetWindowText(hwnd, "Basic customization of title bar");
}
// pch.h
...
#include <microsoft.ui.xaml.window.h>
...

// MainWindow.xaml.h
...
void basicButton_Click(Windows::Foundation::IInspectable const& sender, Microsoft::UI::Xaml::RoutedEventArgs const& args);
...

// MainWindow.xaml.cpp
void MainWindow::basicButton_Click(IInspectable const&, RoutedEventArgs const&)
{
    // Ensure the that custom title bar content is not displayed.
    customTitleBarPanel().Visibility(Visibility::Collapsed);

    // Disable custom title bar content.
    ExtendsContentIntoTitleBar(false);

    // Get the window's HWND
    auto windowNative{ this->m_inner.as<::IWindowNative>() };
    HWND hWnd{ 0 };
    windowNative->get_WindowHandle(&hWnd);

    HICON icon{ reinterpret_cast<HICON>(::LoadImage(nullptr, L"Assets/computer.ico", IMAGE_ICON, 0, 0, LR_DEFAULTSIZE | LR_LOADFROMFILE)) };
    ::SendMessage(hWnd, WM_SETICON, 0, (LPARAM)icon);

    this->Title(L"Basic customization of title bar");
}
- 在 customButton_Click 處理程式中,我們會將 customTitleBarPanelStackPanel 的可見性設定為 Visible。
- 然後,我們將 ExtendsContentIntoTitleBar 屬性設定為
true,然後呼叫 SetTitleBar,以顯示 customTitleBarPanelStackPanel 做為自定義標題欄。
private void customButton_Click(object sender, RoutedEventArgs e)
{
    customTitleBarPanel.Visibility = Visibility.Visible;

    // Enable custom title bar content.
    ExtendsContentIntoTitleBar = true;
    // Set the content of the custom title bar.
    SetTitleBar(customTitleBarPanel);
}
// MainWindow.xaml.h
...
void customButton_Click(Windows::Foundation::IInspectable const& sender, Microsoft::UI::Xaml::RoutedEventArgs const& args);
...

// MainWindow.xaml.cpp
void MainWindow::customButton_Click(IInspectable const&, RoutedEventArgs const&)
{
    customTitleBarPanel().Visibility(Visibility::Visible);

    // Enable custom title bar content.
    ExtendsContentIntoTitleBar(true);

    // Set the content of the custom title bar.
    SetTitleBar(customTitleBarPanel());
}
App.xaml
- 在
App.xaml檔案中,<!-- Other app resources here -->批註之後,我們已新增標題欄的一些自定義色彩筆刷,如下所示。
<Application
    x:Class="window_titlebar.App"
    xmlns="http://schemas.microsoft.com/winfx/2006/xaml/presentation"
    xmlns:x="http://schemas.microsoft.com/winfx/2006/xaml"
    xmlns:local="using:window_titlebar">
    <Application.Resources>
        <ResourceDictionary>
            <ResourceDictionary.MergedDictionaries>
                <XamlControlsResources xmlns="using:Microsoft.UI.Xaml.Controls" />
                <!-- Other merged dictionaries here -->
            </ResourceDictionary.MergedDictionaries>
            <!-- Other app resources here -->
            <SolidColorBrush x:Key="WindowCaptionBackground">Green</SolidColorBrush>
            <SolidColorBrush x:Key="WindowCaptionBackgroundDisabled">LightGreen</SolidColorBrush>
            <SolidColorBrush x:Key="WindowCaptionForeground">Red</SolidColorBrush>
            <SolidColorBrush x:Key="WindowCaptionForegroundDisabled">Pink</SolidColorBrush>
        </ResourceDictionary>
    </Application.Resources>
</Application>
如果您已遵循自己的應用程式中的這些步驟,您可以立即建置項目並執行應用程式。 您會看到類似下列的應用程式視窗(包含自訂應用程式圖示):
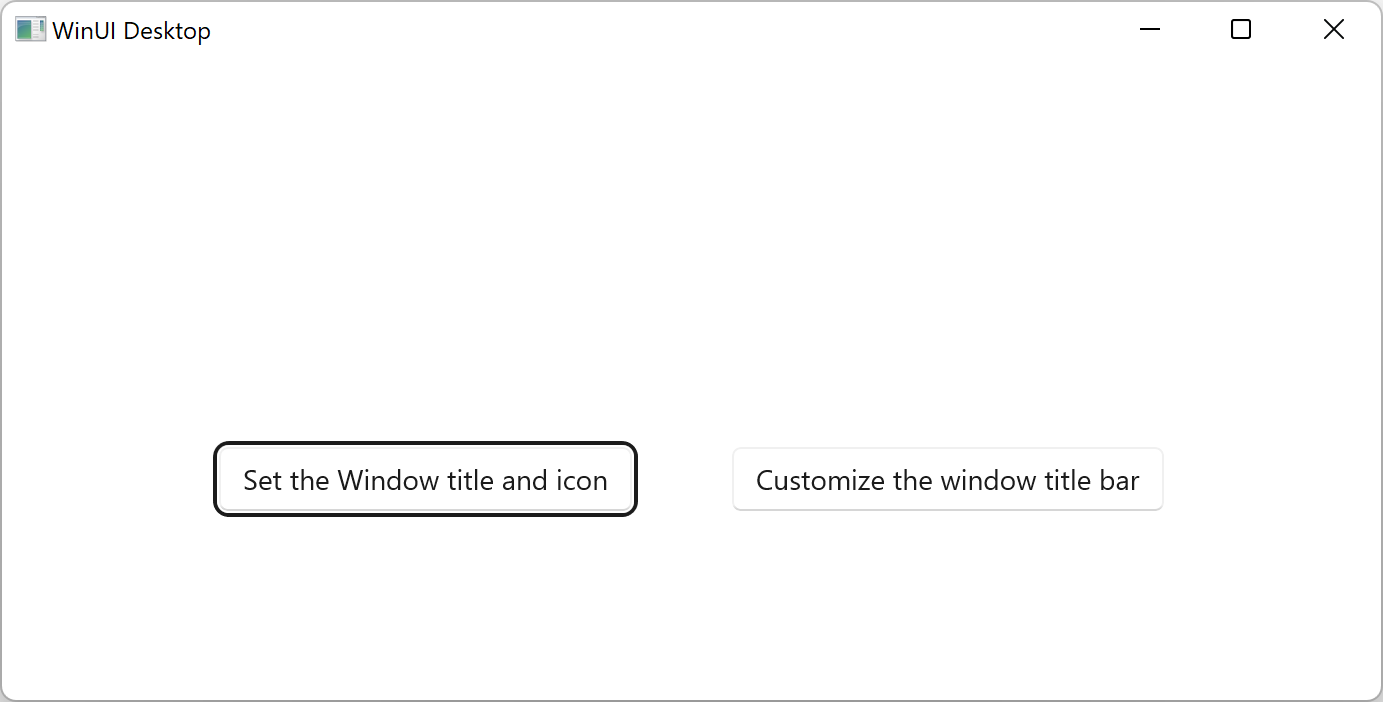
範本應用程式。
以下是基本的自訂標題列:
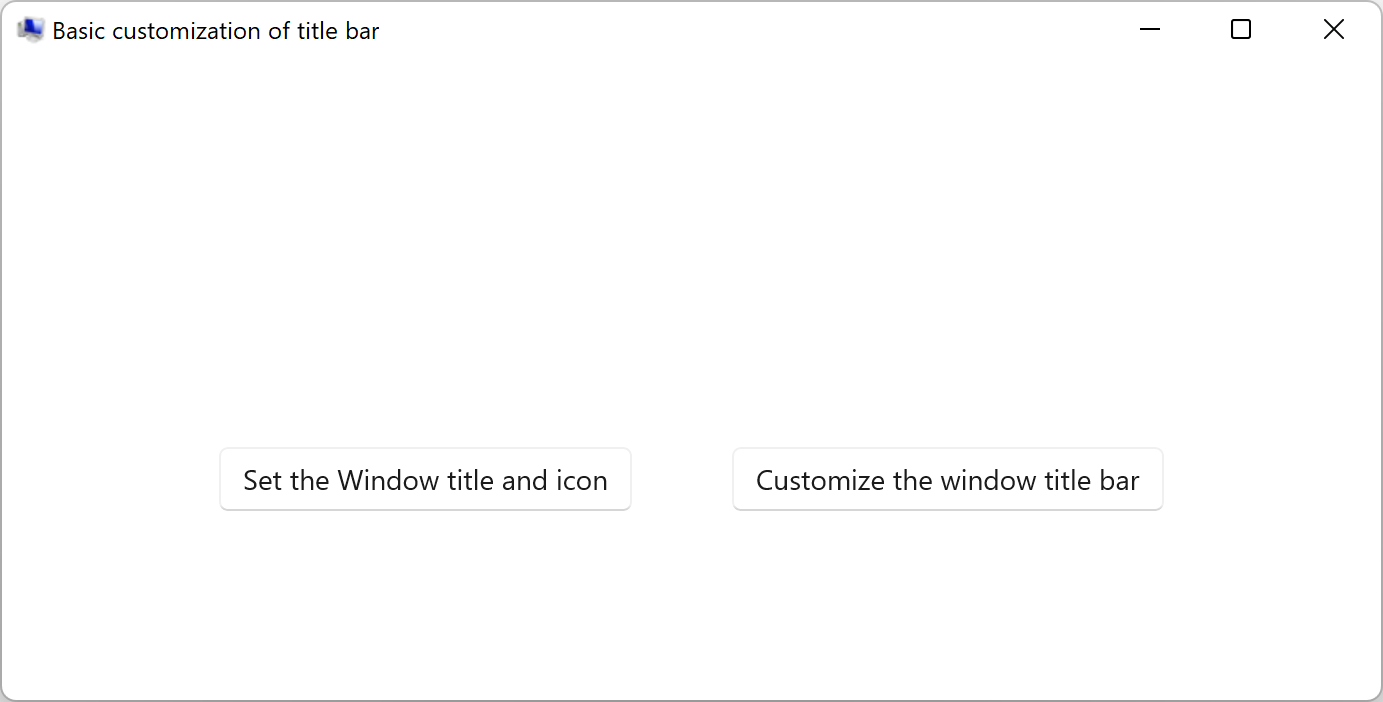
具有自定義應用程式圖示的範本應用程式。以下是完整的自訂標題列:
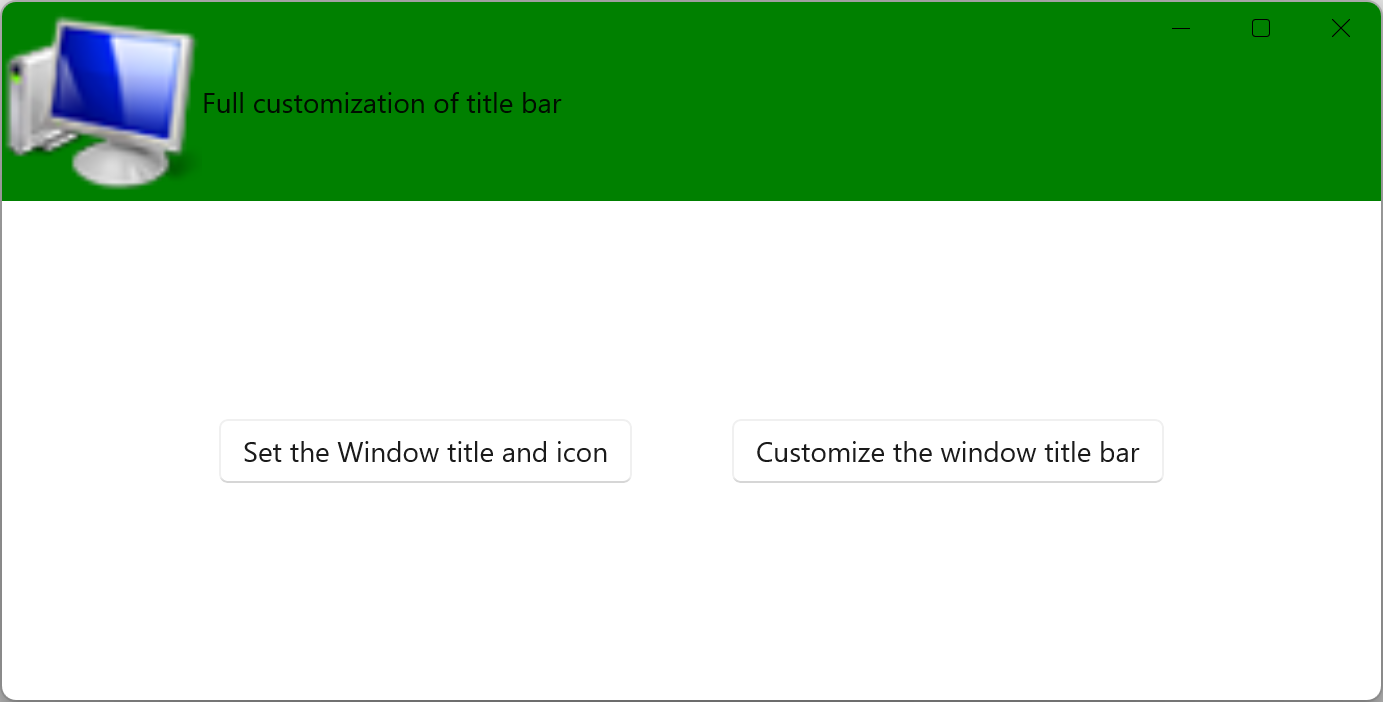
具有自定義標題列的範本應用程式。
要求
| 要求 | 價值 |
|---|---|
| 最低支援的用戶端 | Windows 10 版本 1809(Windows App SDK 0.5 或更新版本) |
| 標頭 | microsoft.ui.xaml.window.h |