Dynamics 365 for Customer Insights - In 7 Easy Steps!
Customer Insights Overview
In today’s enterprise, it is not realistic to think that an organizations customer data will reside entirely within their CRM/sales system. Customer data is usually stored in many siloed systems, which makes the concept of a true “Customer 360” difficult.
As organizations are looking for ways to drive innovation within their sales teams as well as outpace their competition, maximizing the use of their own data is critical, and often overlooked. For sales teams to maximize productivity and be as effective as possible, they need their CRM systems to shift from being a system of record, to a system of intelligence. Maximizing the use of their own data to drive actionable insight about their customers, is paramount.
Dynamics Customer Insights, brings together the power of Azure + Dynamics 365. Making it easy for organizations to ingest multiple data sources at scale, model that data, and use machine learning and artificial intelligence to drive predictive insights, scoring, segmentation and matching. Empowering organization's to maximize the use of their data to engage customers in more personalized and effective ways, all without the need for a data mining specialist.
In this post, I will walk through an example of creating a Dynamics Customer Insights hub in Azure and surfacing the view through Dynamics 365.
Build and Surface a Customer Insights view within Dynamics 365
Our team at Microsoft has already done a spectacular job of documenting a few of the initial setup steps referenced in links (1-2 below). Steps 3-7 will go a bit deeper into some of the configuration options within DCI, and how to enable the view through Dynamics 365.
**Going forward I will be referencing Dynamics Customer Insights as DCI.
1. Create your Customer Insights (DCI) Hub
- You will need an Azure subscription to be able to do this.
2. Add Dynamics 365 as a Data Source
**I am using Dynamics 365 as the lone data source for this example, though additional data sources such as Exchange Online and Azure blob storage can be configured as well. For additional details please see: Customer Insights Data Sources
- The account entity must be set as a profile in Customer Insights. For more information on data modeling and profiles in DCI, see: Customer Insights Data Modeling
- Select the following entities to synchronize from Dynamics 365 to Customer Insights:
- Account (Mark as Profile)
- Contact
- Opportunity
- Activity
- Phone Call
- Appointment
3. Add a new KPI
At this point we have created our DCI hub, we have added Dynamics 365 as a data source, selected the entities we want to synchronize to DCI and specified the account entity as a profile.
In this example, I am going to create a KPI to allow me to visualize counts of activity data, such as emails, phone calls and appointments.
- Within your DCI hub , navigate to the KPI section.
- Select to add a new KPI, and the wizard will navigate you through the process
- Enter the Basic Information
- In this case I am using the appointment upsert interaction
- Specify the Function for the KPI
- We will select the count function to summarize the count of appointments for this KPI.
- Other functions such as sum, average, min, max and count distinct are available for different types of summarizations.
- Use defaults for Extracts and Aliases
- Enter Filter Criteria
- For this example, we will not filter this KPI. This could be useful, if say we only want completed activities included by specifying the state code as a filter.
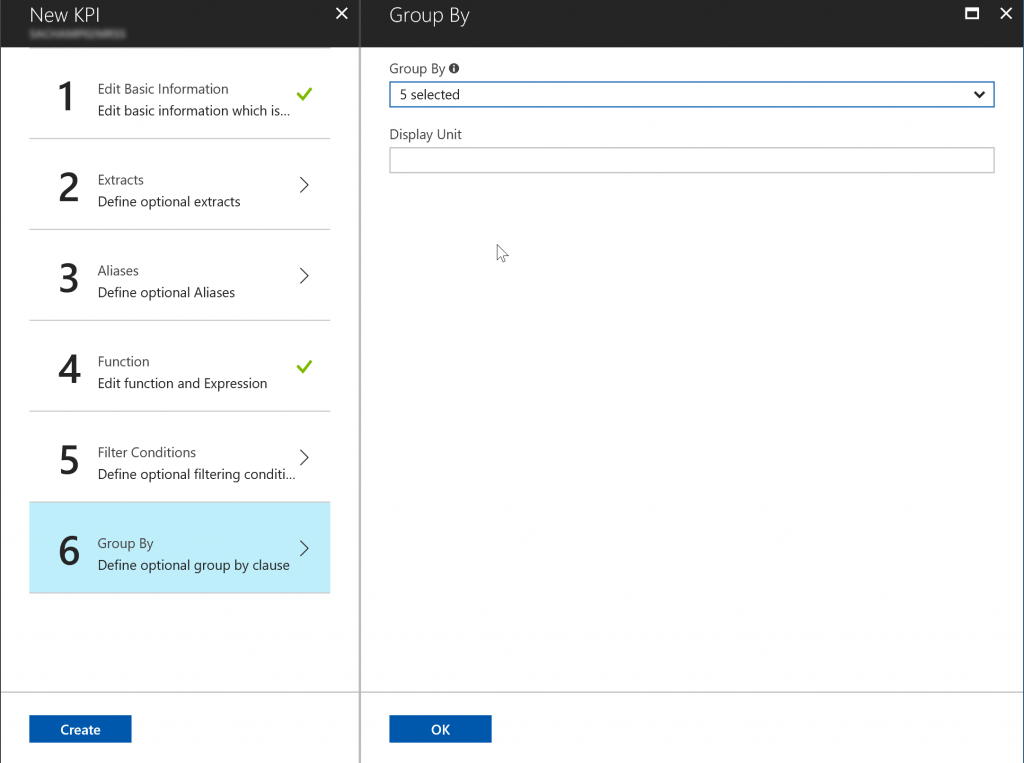
- Select to Group By
- By default, all profile entity types will be selected, which is what I will use. This determines which profiles the KPI will be available for.
- Select Create
**For my example I repeated these steps to create KPI's for the email and phone call upsert interactions as well.
4. Create a DCI Profile Instance View
Now that we have the data modeled and are ready to visualize it, we can go into the Customer Insights application, and create our Account 360 profile instance view.
- Navigate to your customer insights application, you can find the link to the application from within your DCI hub in the Azure portal.
- The URL structure will be https:// <DCI Hub Name> .api.azurecustomerinsights.com (which we will also reference later in this post).
- You will land on the main page, you can use the sidebar navigation to select Customer 360 and Profile Instance Views:
- Select to add a view, give it a tile and select the profile type you want it to focus on (this dropdown will reference any entity that you have selected to be a profile).
- Select Create View.
- From here, the experience is entirely UI driven. You can add widgets, specify interaction and KPI data and begin to visualize the data model you just created!
5. Add a new Strong ID to the Account Profile in DCI (Optional)
By default, when adding the Dynamics 365 Account entity as a profile in DCI, the search criteria defaults to the CRM Record ID (GUID). To make it easier to search for individual accounts, especially when building and testing your view you can add fields to the search criteria.
- Within your DCI hub in the Azure Portal, navigate to profiles, and select the account profile
- Within the JSON editor, you can add strong ID’s to any profile you wish to make search within your DCI views easier.
- Select Ok, Save - You should get a confirmation message that this change has been validated and saved.
6. Add and Configure widgets on an Account 360 View
KPI Widget
Next, I will walk through an example of adding a KPI widget to my Account 360 View:
- Open your Profile Instance View
- Select to “Add a Widget”
- Select Activity Gauge
- We will now add a couple of the KPI’s that I created previously:
Interaction Widget
Next, I will walk through an example of creating an interaction widget:
- Open your Profile Instance View
- Select to “Add a Widget”
- Select Chart
- Select the Line Chart
- Select Interactions as your data source
- Select your Series, in this case I used
- Opportunity Upsert
- Estimated Revenue
- Budget Value
- Actual Value
- Opportunity Upsert
- To fill out my view, I add a variety of other widgets, here is my final product:
7. Embed a Customer Insights View to the account form in Dynamics 365
Now that I have built my Account 360 DCI View, I want to embed it into the account form in Dynamics 365.
To embed this DCI view onto my account form in Dynamics 365, we will create an HTML snippet to add as a web resource in Dynamics 365. This HTML snippet will contain:
- An Iframe to show the Customer Insights View.
- A JavaScript function - called in HTML body onLoad to build the iframe, based on the entity.
The following is a picture of the HTML file in Visual Studio, and following it will be the code that you can copy/paste.
**I would recommend editing this in visual studio or some other tool that can validate format.
//Begin Copy
<html><head>
<script type="text/javascript">
function onLoad() {
var aciFrame = document.getElementById("frameDCIView");
if (aciFrame) {
aciFrame.src = formIframeUrl();
}
}
function formIframeUrl() {
//Typical DCI url format goes like 'https:// <DCI hub name>. apps.azurecustomerinsights.com?viewid=<DCI view id>'
var dciViewUrl = "https://<DCI Hub Name>.apps.azurecustomerinsights.com/#/view?viewid=Account360";
//Fetching entity name from CRM page in the context
var crmEntityName = window.parent.Xrm.Page.data.entity.getEntityName()+ "id"
//Fetching entity id from CRM page in the context
var crmEntityId = window.parent.Xrm.Page.data.entity.getId();
if(!!crmEntityId){
if(crmEntityId.indexOf("{") >= 0){
// Clipping off {} from guid Eg. {D3AE1B3A-8BD2-E411-80EF-C4346BAC7BE8} to D3AE1B3A-8BD2-E411-80EF-C4346BAC7BE8
crmEntityId = crmEntityId.substring(1,crmEntityId.length - 1);
}
var filter = "&filterkey=" + crmEntityName + "&filtervalue=" + crmEntityId.toLowerCase();
return dciViewUrl + filter;
// Final url format would be 'https://<DCI hub name>.apps.azurecustomerinsights.com?viewid=<DCI view id>&filterkey=<crmEntityName>&filtervalue=<crmEntityId>'
}else{
console.error("Unable to render Customer Insights(DCI) view");
}
return "";
}
</script>
<meta><meta><meta><meta><meta><meta><meta><meta><meta></head>
<body style="word-wrap: break-word;" onload="onLoad()"><iframe width="100%" height="100%" src="" frameborder="0" id="frameDCIView"></iframe>
</body></html>
//End Copy
Create the Web Resource in Dynamics 365
**For Customer Insights to work within Dynamics 365, your user ID that you use to login to Dynamics 365 will need to be added as a user in the Azure AD portal, and given rights within the DCI hub. For more information, see: DCI Step by Step Role Based Security
- Modify this code to reference your DCI hub and view, and save as an HTML file.
- After it is created, create a new web resource in Dynamics 365 by using Settings > Customizations > Customize the system > Web resources > New.
- Open the account form you want the DCI view to appear on.
- Create a new tab, and add a one column section.
- Insert a web resource into that section.
- Search for your recently created web resource and associate it.
**Recommended row layout formatting would be 40 rows and select to expand to use available space.
- Publish Customizations
- Open an account form to test, you should see your DCI View embedded in the Dynamics form!
In this example, my goal was to introduce these concepts by walking through an example using Dynamics 365 as the lone data source to then create and visualize a Customer Insights view. From a user perspective, that view is then consumed from within the Dynamics 365 application.
The real power of this solution for an enterprise customer would likely be a more complex example, where you are bringing together multiple data sources into Customer Insights. From there, using the power of the data modeling tools, as well as predictive scoring and matching to realize those insights, to then take action on within Dynamics 365.
In future posts, I will go deeper into the data modeling and predictive capabilities of Customer Insights, and how it builds on top of the power of Dynamics 365 to truly maximize sales teams productivity and drive intelligent relationship selling!