Bemærk
Adgang til denne side kræver godkendelse. Du kan prøve at logge på eller ændre mapper.
Adgang til denne side kræver godkendelse. Du kan prøve at ændre mapper.
Azure App Configuration is an Azure service designed to help you centrally manage your app settings and feature flags. In this quickstart, you learn how to create an App Configuration store and a key-value to the App Configuration store.
Prerequisites
An Azure account with an active subscription. Create one for free.
Create an App Configuration store
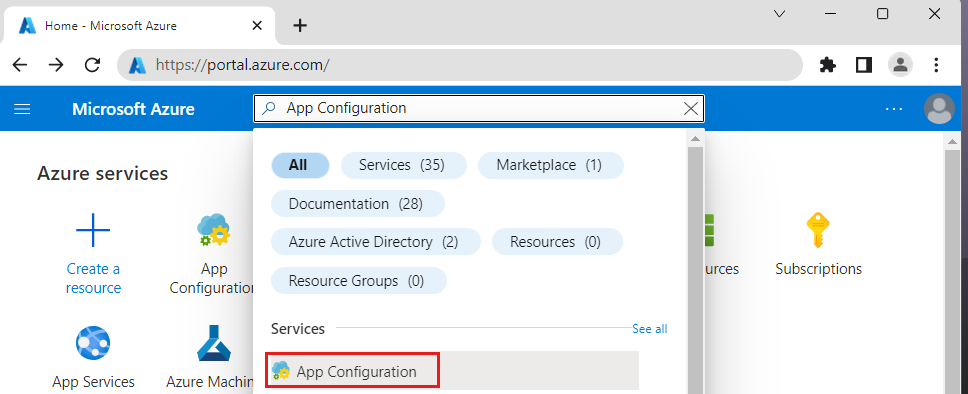
On the Azure portal's homepage, enter App Configuration in the search box at the top and select App Configuration from the search results.
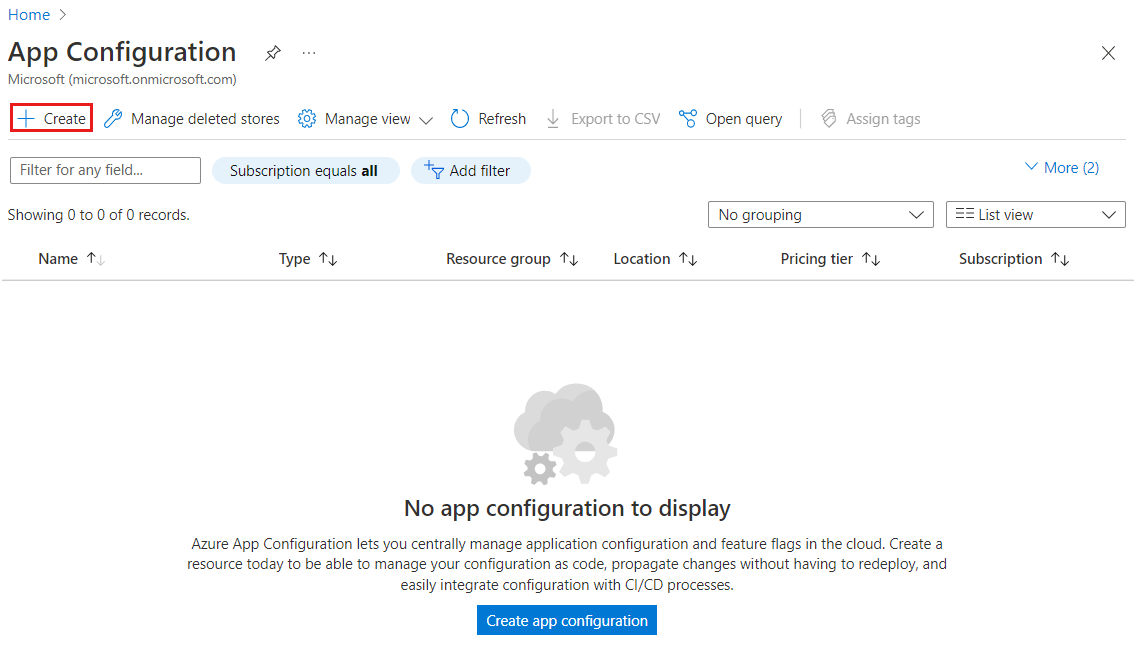
Select Create or Create app configuration.
In the Basics tab, enter the following settings:
Setting Suggested value Description Subscription Your subscription Select the Azure subscription that you want to use to create an App Configuration store. If your account has only one subscription, it's automatically selected and the Subscription list isn't displayed. Resource group AppConfigTestResources Select or create a resource group for your App Configuration store resource. A resource group can be used to organize and manage multiple resources at the same time, such as deleting multiple resources in a single operation by deleting their resource group. For more information, see Manage Azure resource groups by using the Azure portal. Location Central US Use Location to specify the geographic location in which your app configuration store is hosted. For the best performance, create the resource in the same region as other components of your application. Resource name Globally unique name Enter a unique resource name to use for the App Configuration store resource. The name must be a string between 5 and 50 characters and contain only numbers, letters, and the -character. The name can't start or end with the-character.Pricing tier Free Select the Free tier. Other tiers enable access to additional features, such as geo-replication and soft-delete. For more information, see the App Configuration pricing page. 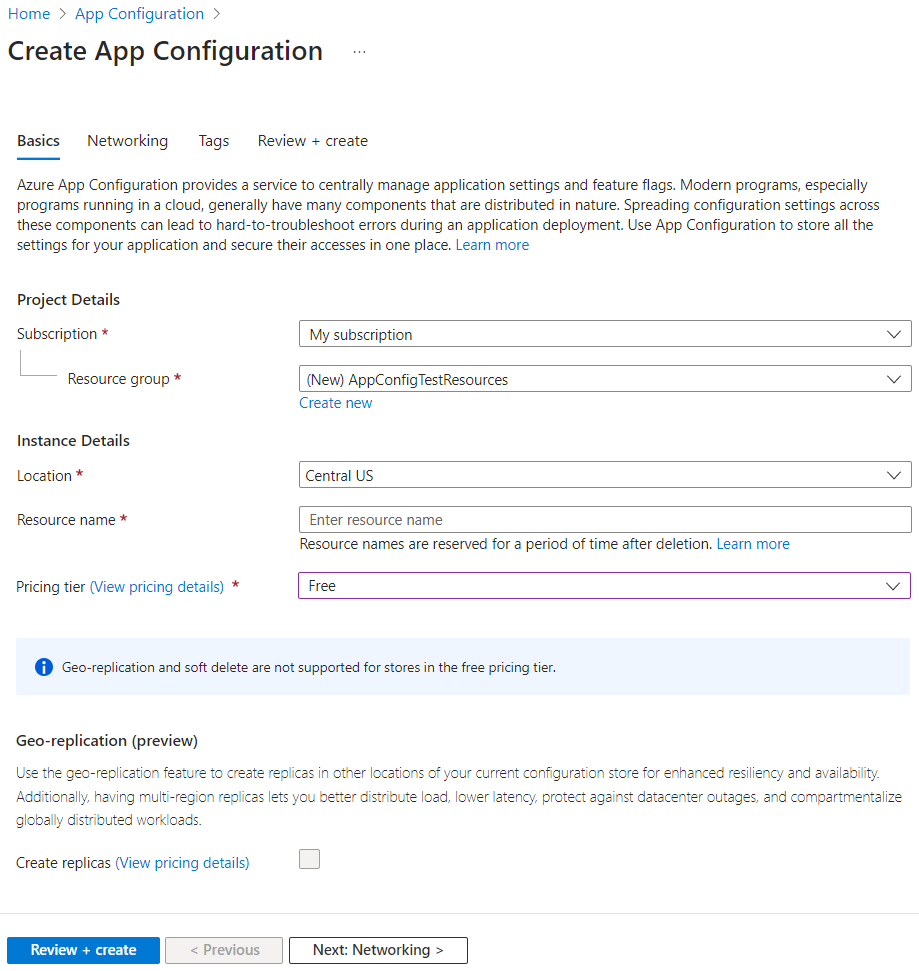
Select Review + create to validate your settings.
Select Create. The deployment might take a few minutes.
After the deployment finishes, go to the App Configuration resource. Select Settings > Access keys. Make a note of the primary read-only key connection string. You'll use this connection string later to configure your application to communicate with the App Configuration store that you created.
Note
App Configuration store limits vary by tier:
- Free tier: Limited to 3 stores per subscription
- Developer, Standard, and Premium tiers: Unlimited stores per subscription
For more information, see Azure App Configuration pricing. If you're following another tutorial to use the App Configuration store, you can go back to your original tutorial as the store should be ready. To continue with this tutorial, follow the steps below.
Create a key-value
Select Operations > Configuration explorer > Create > Key-value to add a key-value to a store. For example:
Key Value TestApp:Settings:TextAlign center Leave Label and Content Type with their default values, then select Apply. For more information about labels and content types, go to Keys and values.

Tip
Consider using the Azure MCP Server tools for App Configuration for a quick way to manage your App Configuration store using natural language prompts. These tools allow you to list configuration stores, list, create, search, lock, unlock, and update key-values settings through conversational AI interactions.
Clean up resources
When no longer needed, delete the resource group. Deleting a resource group also deletes the resources in it.
Warning
Deleting a resource group is irreversible.
In the Azure portal, search for and select Resource groups.
Select your resource group, for instance AppConfigTestResources, and then select Delete resource group.
Type the resource group name to verify, and then select Delete.
Next step
Advance to the next article to learn how to create an ASP.NET Core app with Azure App Configuration to centralize storage and management of its application settings.