Add replicas to Azure Cache for Redis
In this article, you'll learn how to set up an Azure Cache for Redis instance with additional replicas using the Azure portal.
Azure Cache for Redis Standard and Premium tiers offer redundancy by hosting each cache on two dedicated virtual machines (VMs). These VMs are configured as primary and replica. When the primary VM becomes unavailable, the replica detects that and takes over as the new primary automatically. You can now increase the number of replicas in a Premium cache up to three, giving you a total of four VMs backing a cache. Having multiple replicas results in higher resilience than what a single replica can provide.
Prerequisites
- Azure subscription - create one for free
Create a cache
To create a cache, follow these steps:
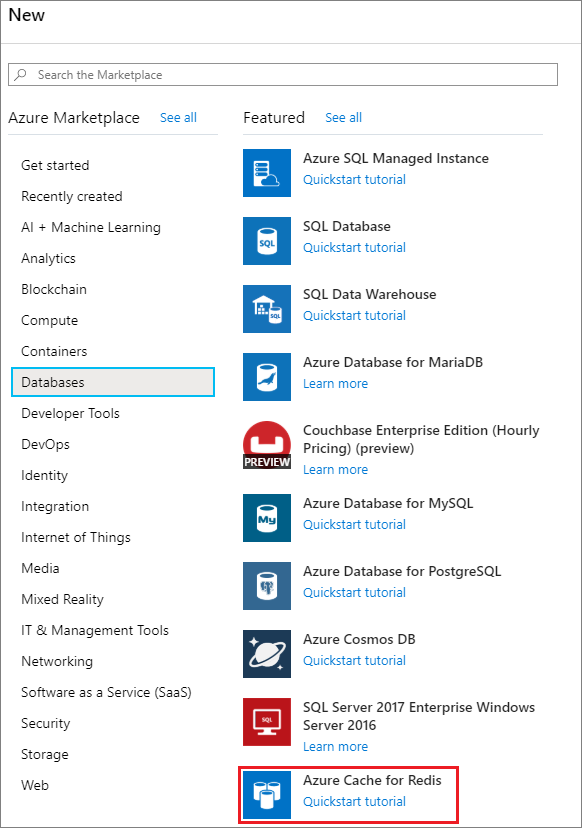
Sign in to the Azure portal and select Create a resource.
On the New page, select Databases and then select Azure Cache for Redis.
On the Basics page, configure the settings for your new cache.
Setting Suggested value Description Subscription Select your subscription. The subscription under which to create this new Azure Cache for Redis instance. Resource group Select a resource group, or select Create new and enter a new resource group name. Name for the resource group in which to create your cache and other resources. By putting all your app resources in one resource group, you can easily manage or delete them together. DNS name Enter a globally unique name. The cache name must be a string between 1 and 63 characters that contains only numbers, letters, or hyphens. The name must start and end with a number or letter, and can't contain consecutive hyphens. Your cache instance's host name will be <DNS name>.redis.cache.windows.net. Location Select a location. Select a region near other services that will use your cache. Cache type Select a Premium tier cache. The pricing tier determines the size, performance, and features that are available for the cache. For more information, see Azure Cache for Redis Overview. On the Advanced page, choose Replica count.
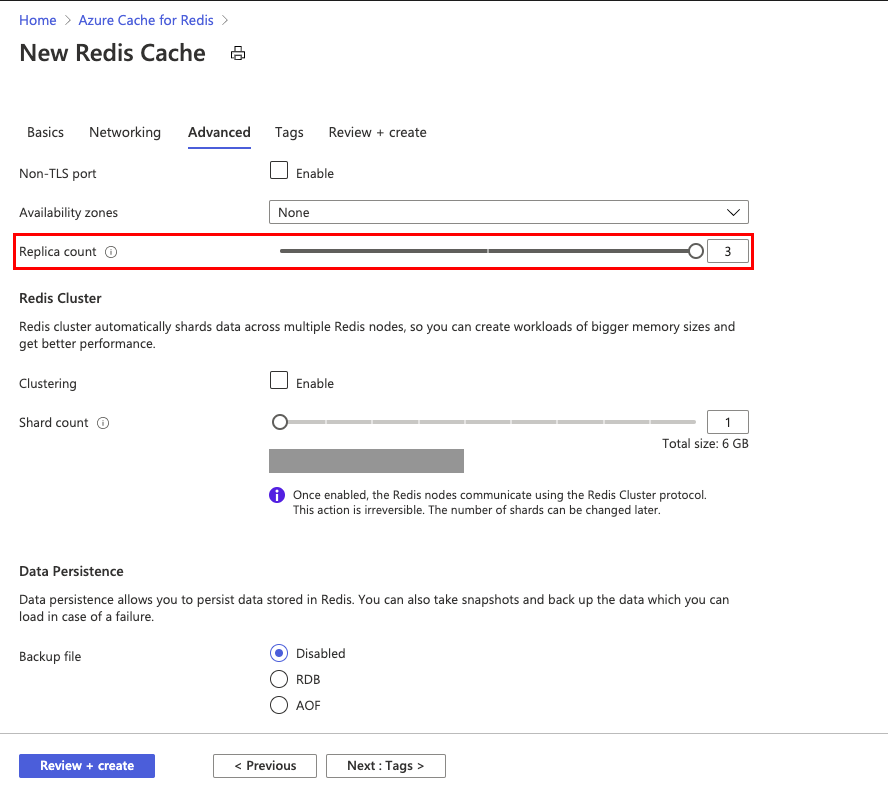
Configure your settings for clustering or relational database persistence.
Note
Currently, you can't use Append-only File (AOF) persistence or geo-replication with multiple replicas (more than one replica).
Leave other options in their default settings.
Select Create.
It takes a while for the cache to create. You can monitor progress on the Azure Cache for Redis Overview page. When Status shows as Running, the cache is ready to use.
Note
The number of replicas in a cache can't be changed after it's created.
Next Steps
Learn more about Azure Cache for Redis features.
Feedback
Kommer snart: I hele 2024 udfaser vi GitHub-problemer som feedbackmekanisme for indhold og erstatter det med et nyt feedbacksystem. Du kan få flere oplysninger under: https://aka.ms/ContentUserFeedback.
Indsend og få vist feedback om