Tutorial: Run a disaster recovery drill for Azure VMs
Learn how to run a disaster recovery drill to another Azure region, for Azure VMs replicating with Azure Site Recovery. In this article, you:
- Verify prerequisites
- Check VM settings before the drill
- Run a test failover
- Clean up after the drill
Note
This tutorial provides minimal steps for running a disaster recovery drill. If you want to run a drill with full infrastructure testing, learn about Azure VM networking, automation, and troubleshooting.
Prerequisites
Before you start this tutorial, you must enable disaster recovery for one or more Azure VMs. To do this, complete the first tutorial in this series.
Verify VM settings
In the vault > Replicated items, select the VM.
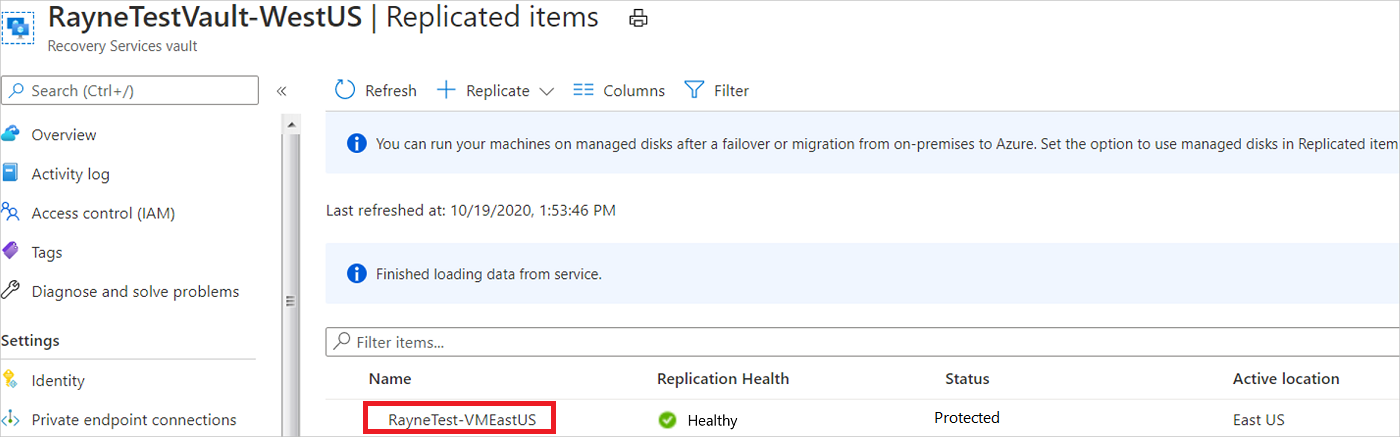
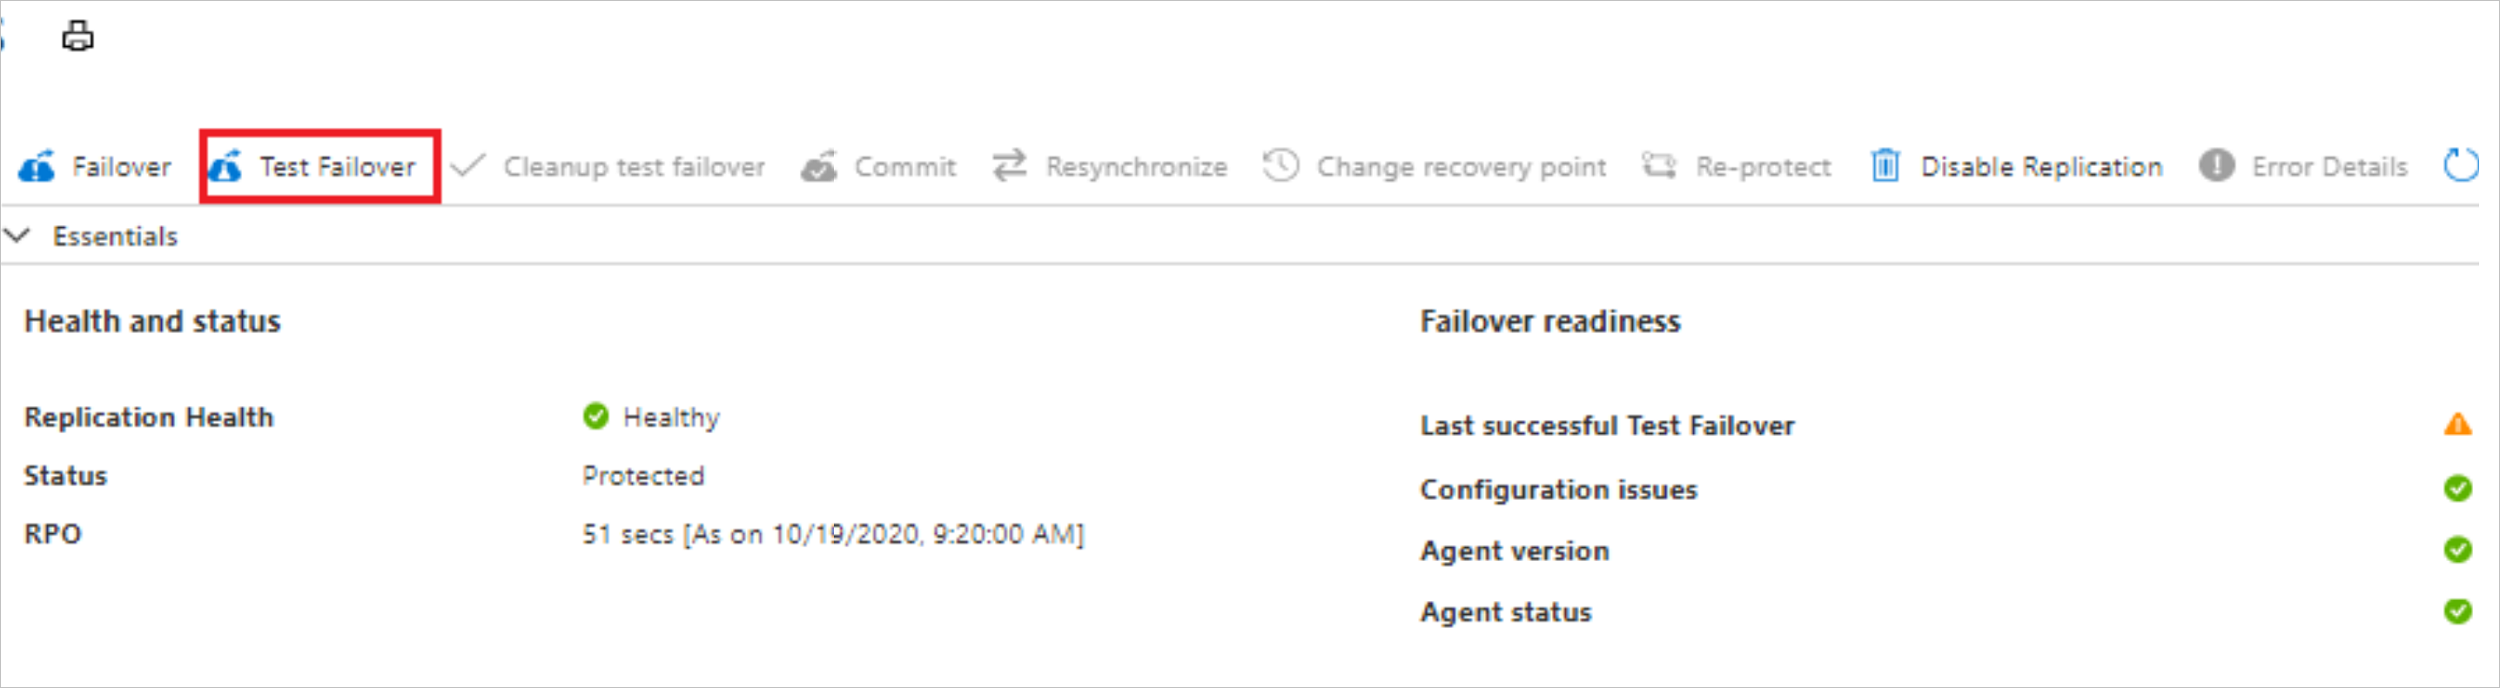
On the Overview page, check that the VM is protected and healthy.
When you run a test failover, you select an Azure virtual network in the target region. The Azure VM created after failover is placed in this network.
- In this tutorial, we select an existing network when we run the test failover.
- We recommend you choose a non-production network for the drill, so that IP addresses and networking components remain available in production networks.
- You can also preconfigure network settings to be used for test failover. Granular settings you can assign for each NIC include subnet, private IP address, public IP address, load balancer, and network security group. We're not using this method here, but you can review this article to learn more.
Run a test failover
On the Overview page, select Test Failover.
In Test Failover, choose a recovery point. The Azure VM in the target region is created using data from this recovery point.
- Latest processed: Uses the latest recovery point processed by Site Recovery. The time stamp is shown. No time is spent processing data, so it provides a low recovery time objective (RTO).
- Latest: Processes all the data sent to Site Recovery, to create a recovery point for each VM before failing over to it. Provides the lowest recovery point objective (RPO), because all data is replicated to Site Recovery when the failover is triggered.
- Latest app-consistent: This option fails over VMs to the latest app-consistent recovery point. The time stamp is shown.
- Custom: Fail over to particular recovery point. Custom is only available when you fail over a single VM, and don't use a recovery plan.
In Azure virtual network, select the target network in which to place Azure VMs created after failover. Select a non-production network if possible, and not the network that was created when you enabled replication.
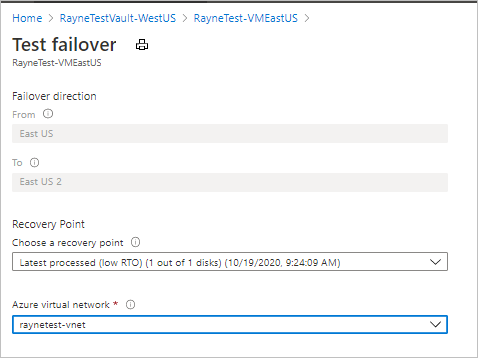
To start the failover, select OK.
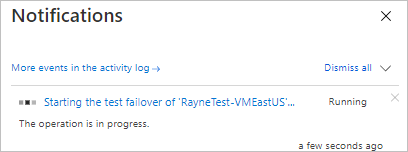
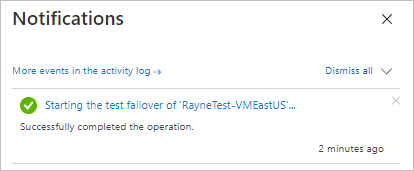
Monitor the test failover in notifications.
After the failover finishes, the Azure VM created in the target region appears in the Azure portal Virtual Machines. Make sure that the VM is running, sized appropriately, and connected to the network you selected.
Clean up resources
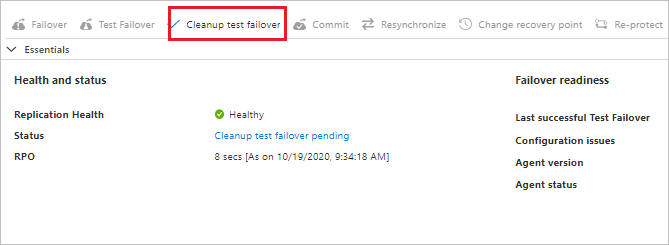
In the Essentials page, select Cleanup test failover.
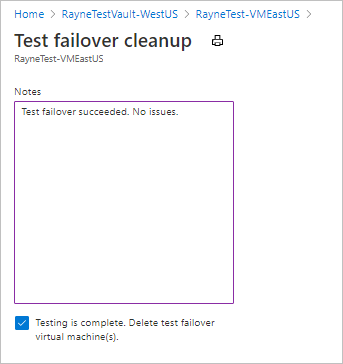
In Test failover cleanup > Notes, record and save any observations associated with the test failover.
Select Testing is complete to delete VMs created during the test failover.
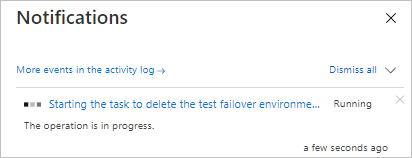
Monitor cleanup progress in notifications.
Next steps
In this tutorial, you ran a disaster recovery drill to check that failover works as expected. Now you can try to run a production failover.