Create reports in Azure Update Manager
Applies to: ✔️ Windows VMs ✔️ Linux VMs ✔️ On-premises environment ✔️ Azure Arc-enabled servers.
This article describes how to create and edit a workbook and make customized reports.
Create a workbook
Sign in to the Azure portal and go to Azure Update Manager.
Under Monitoring, select Update reports to view the Update Manager | Update reports | Gallery page.
Select Quick start tile > Empty. Alternatively, you can select New to create a workbook.
Select Add to select any elements to add to the workbook.
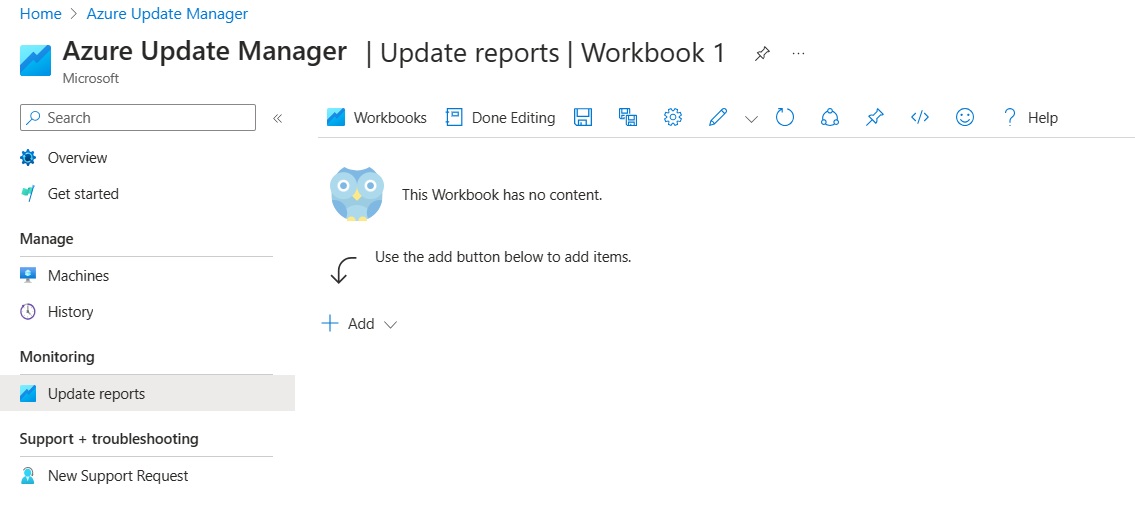
Select Done Editing.
Edit a workbook
Sign in to the Azure portal and go to Azure Update Manager.
Under Monitoring, select Update reports to view Azure Update Manager | Update reports | Gallery.
Select the Azure Update Manager tile > Overview to view the Azure Update Manager | Update reports | Overview page.
Select your subscription, and select Edit to enable the edit mode for all four options:
- Machines overall status & configuration
- Updates Data Overview
- Schedules/Maintenance configurations
- History of Installation runs
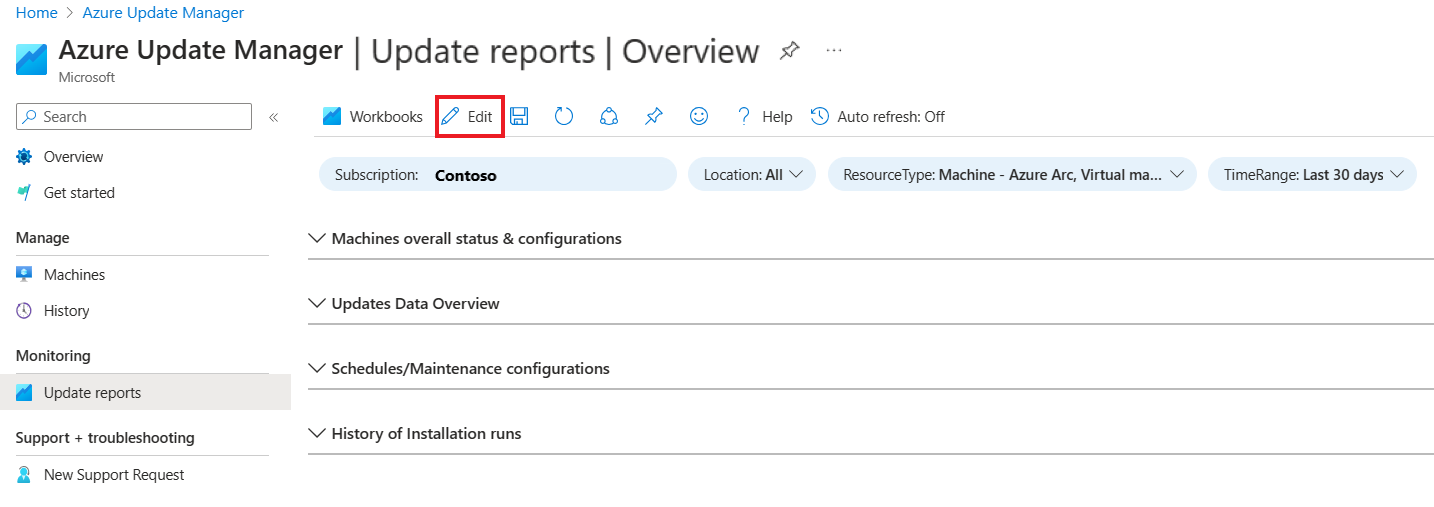
You can customize the visualization to create interactive reports and edit the parameters, chart size, and chart settings to define how the chart must be rendered.

Select Done Editing.


Next steps
Feedback
Kommer snart: I hele 2024 udfaser vi GitHub-problemer som feedbackmekanisme for indhold og erstatter det med et nyt feedbacksystem. Du kan få flere oplysninger under: https://aka.ms/ContentUserFeedback.
Indsend og få vist feedback om