Microsoft Entra single sign-on (SSO) integration with Alibaba Cloud Service (Role-based SSO)
Artikel
In this article, you'll learn how to integrate Alibaba Cloud Service (Role-based SSO) with Microsoft Entra ID. When you integrate Alibaba Cloud Service (Role-based SSO) with Microsoft Entra ID, you can:
Control in Microsoft Entra ID who has access to Alibaba Cloud Service (Role-based SSO).
Enable your users to be automatically signed-in to Alibaba Cloud Service (Role-based SSO) with their Microsoft Entra accounts.
Manage your accounts in one central location.
Prerequisites
To get started, you need the following items:
A Microsoft Entra subscription. If you don't have a subscription, you can get a free account.
Alibaba Cloud Service (Role-based SSO) single sign-on (SSO) enabled subscription.
Scenario description
In this article, you configure and test Microsoft Entra SSO in a test environment.
Alibaba Cloud Service (Role-based SSO) supports IDP initiated SSO
Adding Alibaba Cloud Service (Role-based SSO) from the gallery
To configure the integration of Alibaba Cloud Service (Role-based SSO) into Microsoft Entra ID, you need to add Alibaba Cloud Service (Role-based SSO) from the gallery to your list of managed SaaS apps.
Browse to Identity > Applications > Enterprise applications > New application.
In the Add from the gallery section, type Alibaba Cloud Service (Role-based SSO) in the search box.
Select Alibaba Cloud Service (Role-based SSO) from results panel and then add the app. Wait a few seconds while the app is added to your tenant.
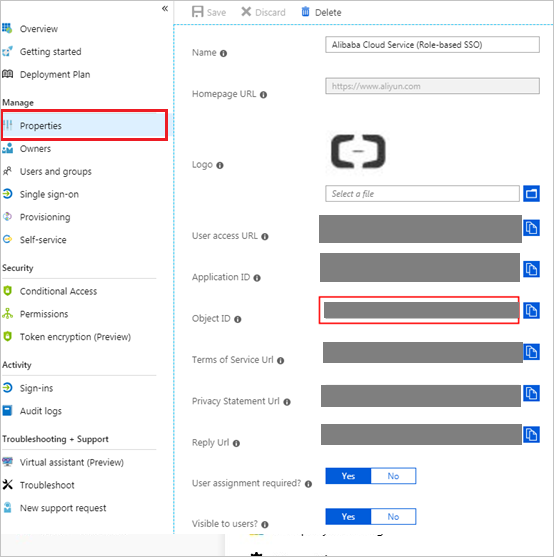
On the Alibaba Cloud Service (Role-based SSO) page, click Properties in the left-side navigation pane, and copy the object ID and save it on your computer for subsequent use.
Configure and test Microsoft Entra SSO for Alibaba Cloud Service (Role-based SSO)
Configure and test Microsoft Entra SSO with Alibaba Cloud Service (Role-based SSO) using a test user called B.Simon. For SSO to work, you need to establish a link relationship between a Microsoft Entra user and the related user in Alibaba Cloud Service (Role-based SSO).
To configure and test Microsoft Entra SSO with Alibaba Cloud Service (Role-based SSO), perform the following steps:
Browse to Identity > Applications > Enterprise applications > Alibaba Cloud Service (Role-based SSO) > Single sign-on.
On the Select a single sign-on method page, select SAML.
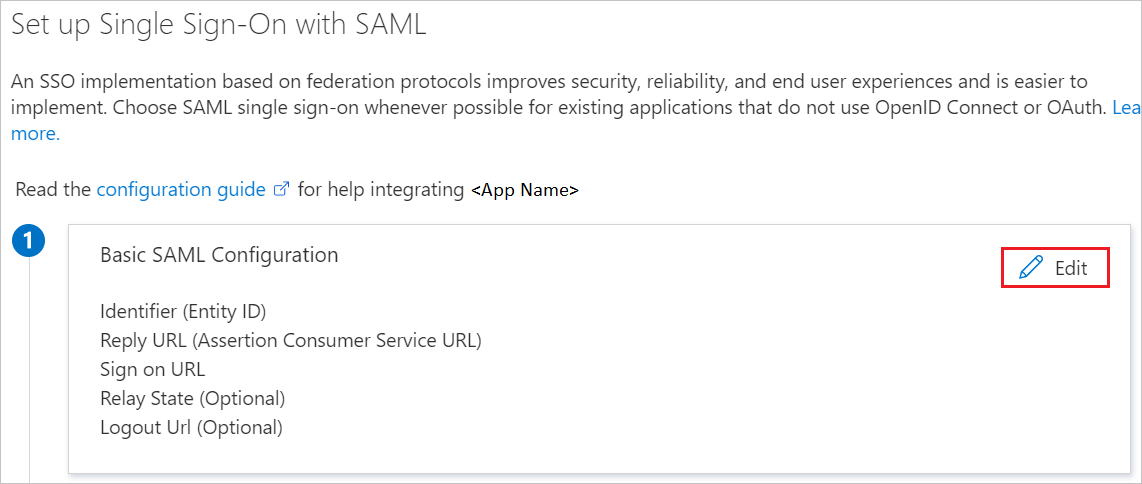
On the Set up single sign-on with SAML page, click the edit/pen icon for Basic SAML Configuration to edit the settings.
On the Basic SAML Configuration section, if you have Service Provider metadata file, perform the following steps:
a. Click Upload metadata file.
b. Click on folder logo to select the metadata file and click Upload.
Bemærk
For Alibaba Cloud International Site, please download the Service Provider metadata from this link.
For Alibaba Cloud Service(CN) Site, please download the Service Provider metadata from this link.
c. Once the metadata file is successfully uploaded, the Identifier and Reply URL values get auto populated in Alibaba Cloud Service (Role-based SSO) section textbox:
Bemærk
If the Identifier and Reply URL values do not get auto populated, then fill in the values manually according to your requirement.
Alibaba Cloud Service (Role-based SSO) require roles to be configured in Microsoft Entra ID. The role claim is pre-configured so you don't have to configure it but you still need to create them in Microsoft Entra ID using this article.
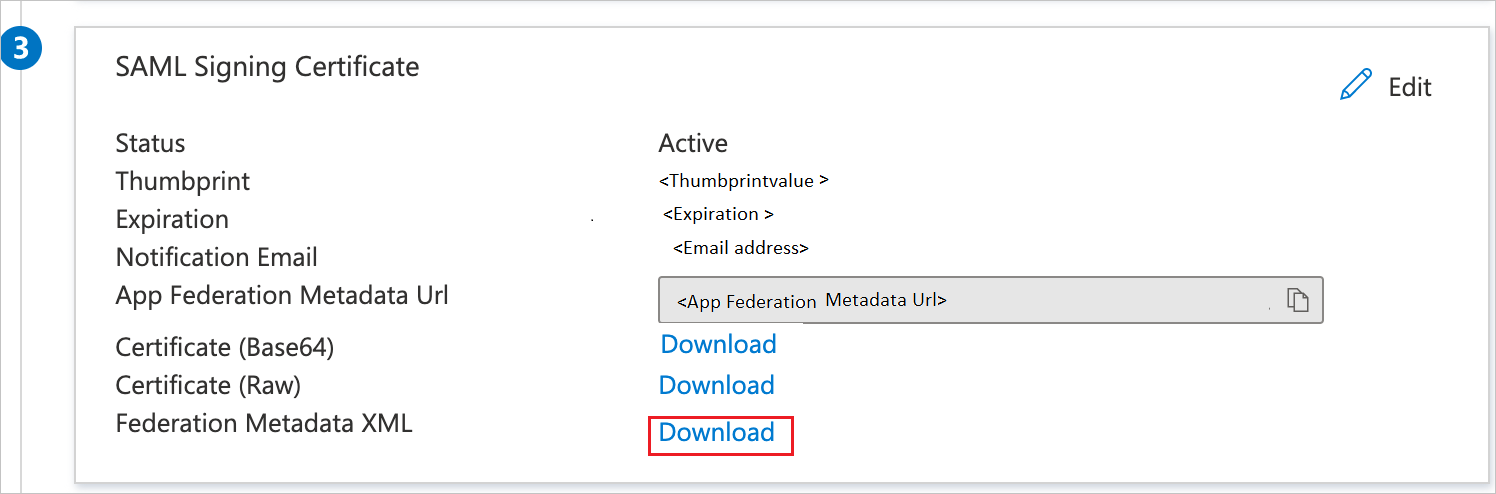
On the Set up single sign-on with SAML page, in the SAML Signing Certificate section, find Federation Metadata XML and select Download to download the certificate and save it on your computer.
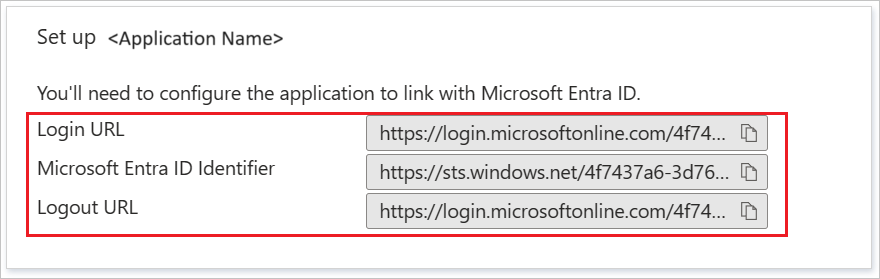
On the Set up Alibaba Cloud Service (Role-based SSO) section, copy the appropriate URL(s) based on your requirement.
Create a Microsoft Entra test user
In this section, you'll create a test user called B.Simon.
Browse to Identity > Applications > Enterprise applications > Alibaba Cloud Service (Role-based SSO).
In the app's overview page, find the Manage section and select Users and groups.
Select Add user, then select Users and groups in the Add Assignment dialog.
On the Users and groups tab, select u2 from the user list, and click Select. Then, click Assign.
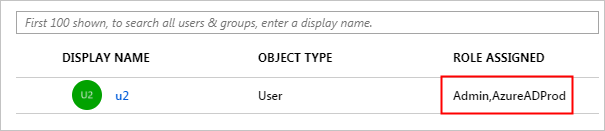
View the assigned role and test Alibaba Cloud Service (Role-based SSO).
Bemærk
After you assign the user (u2), the created role is automatically attached to the user. If you have created multiple roles, you need to attach the appropriate role to the user as needed. If you want to implement role-based SSO from Microsoft Entra ID to multiple Alibaba Cloud accounts, repeat the preceding steps.
Configure Role-Based Single Sign-On in Alibaba Cloud Service
Sign in to the Alibaba Cloud RAM console by using Account1.
In the left-side navigation pane, select SSO.
On the Role-based SSO tab, click Create IdP.
On the displayed page, enter AAD in the IdP Name field, enter a description in the Note field, click Upload to upload the federation metadata file you downloaded before, and click OK.
After the IdP is successfully created, click Create RAM Role.
In the RAM Role Name field enter AADrole, select AAD from the Select IdP drop-down list and click OK.
Bemærk
You can grant permission to the role as needed. After creating the IdP and the corresponding role, we recommend that you save the ARNs of the IdP and the role for subsequent use. You can obtain the ARNs on the IdP information page and the role information page.
Associate the Alibaba Cloud RAM role (AADrole) with the Microsoft Entra user (u2):
To associate the RAM role with the Microsoft Entra user, you must create a role in Microsoft Entra ID by following these steps:
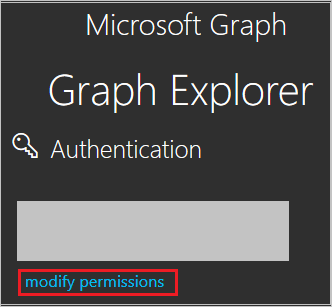
Click modify permissions to obtain required permissions for creating a role.
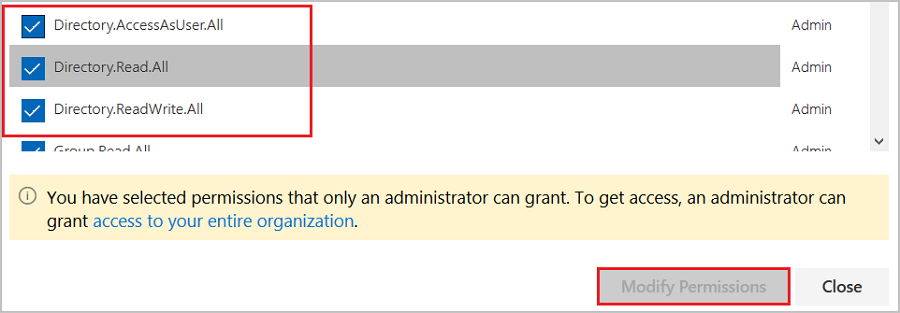
Select the following permissions from the list and click Modify Permissions, as shown in the following figure.
Bemærk
After permissions are granted, sign in to the Graph Explorer again.
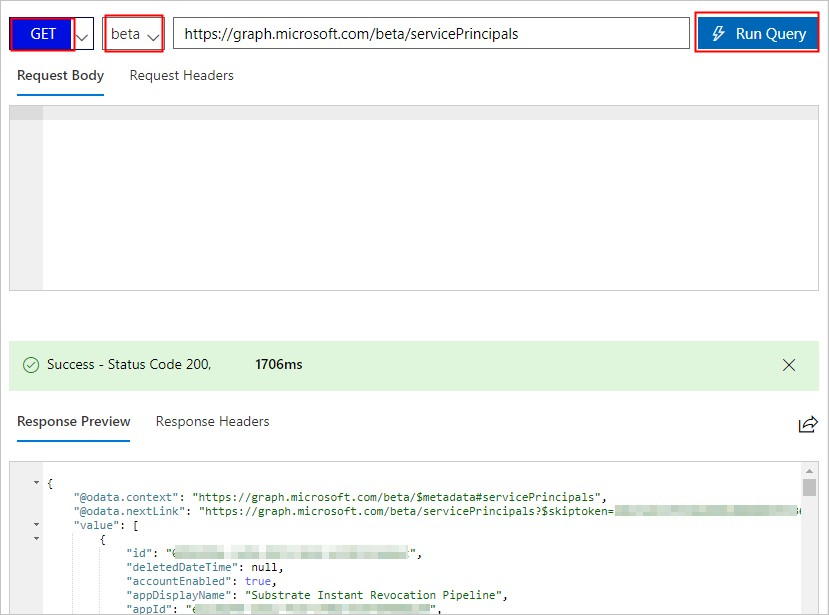
On the Graph Explorer page, select GET from the first drop-down list and beta from the second drop-down list. Then enter https://graph.microsoft.com/beta/servicePrincipals in the field next to the drop-down lists, and click Run Query.
Bemærk
If you are using multiple directories, you can enter https://graph.microsoft.com/beta/contoso.com/servicePrincipals in the field of the query.
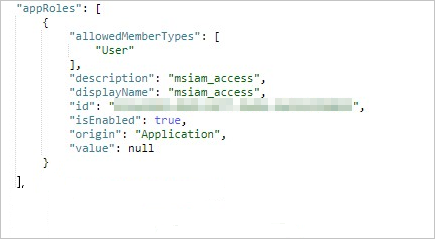
In the Response Preview section, extract the appRoles property from the 'Service Principal' for subsequent use.
Bemærk
You can locate the appRoles property by entering https://graph.microsoft.com/beta/servicePrincipals/<objectID> in the field of the query. Note that the objectID is the object ID you have copied from the Microsoft Entra ID Properties page.
Go back to the Graph Explorer, change the method from GET to PATCH, paste the following content into the Request Body section, and click Run Query:
The value is the ARNs of the IdP and the role you created in the RAM console. Here, you can add multiple roles as needed. Microsoft Entra ID will send the value of these roles as the claim value in SAML response. However, you can only add new roles after the msiam_access part for the patch operation. To smooth the creation process, we recommend that you use an ID generator, such as GUID Generator, to generate IDs in real time.
After the 'Service Principal' is patched with the required role, attach the role with the Microsoft Entra user (u2) by following the steps of Assign the Microsoft Entra test user section of the article.
Configure Alibaba Cloud Service (Role-based SSO) SSO
To configure single sign-on on Alibaba Cloud Service (Role-based SSO) side, you need to send the downloaded Federation Metadata XML and appropriate copied URLs from the application configuration to Alibaba Cloud Service (Role-based SSO) support team. They set this setting to have the SAML SSO connection set properly on both sides.
Create Alibaba Cloud Service (Role-based SSO) test user
In this section, you create a user called Britta Simon in Alibaba Cloud Service (Role-based SSO). Work with Alibaba Cloud Service (Role-based SSO) support team to add the users in the Alibaba Cloud Service (Role-based SSO) platform. Users must be created and activated before you use single sign-on.
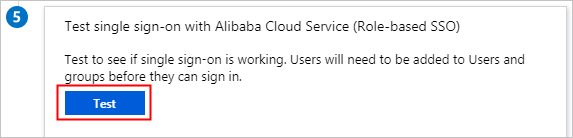
Test SSO
After the preceding configurations are completed, test Alibaba Cloud Service (Role-based SSO) by following these steps:
Browse to Identity > Applications > Enterprise applications > Alibaba Cloud Service (Role-based SSO).
Select Single sign-on, and click Test.
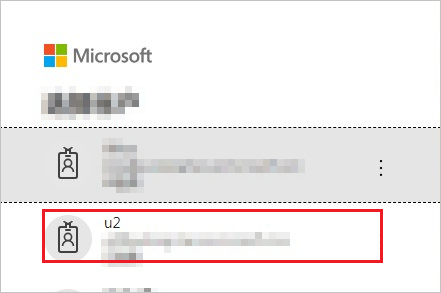
Click Sign in as current user.
On the account selection page, select u2.
The following page is displayed, indicating that role-based SSO is successful.
Related content
Once you configure Alibaba Cloud Service (Role-based SSO) you can enforce session control, which protects exfiltration and infiltration of your organization’s sensitive data in real time. Session control extends from Conditional Access. Learn how to enforce session control with Microsoft Defender for Cloud Apps.
Deploying and monitoring enterprise applications to Azure solutions can ensure security. Explore how to deploy on-premises and cloud based apps to users.
Help customers discover and migrate SaaS applications into Microsoft Entra ID and connect apps that use legacy authentication methods with Microsoft Entra ID.
Explore the Microsoft Entra application gallery for seamless SaaS integration with preconfigured SSO and user provisioning. Enhance cloud app deployment.