Exercise - Query data by using Azure Synapse Link for Dataverse
Azure Synapse Link for Dataverse enables you to get near real-time insights over your data in Microsoft Dataverse. With the integration between Dataverse and Microsoft Azure Synapse Analytics, Azure Synapse Link helps you run analytics, business intelligence, and machine learning scenarios on your data.

In this exercise, you connect your Dataverse data from Sustainability Manager to your Azure Synapse Analytics workspace by using Azure Synapse Link.
Before completing this exercise, make sure that you:
- Have an Azure Data Lake Storage account, an Owner role, and an Azure Storage Blob Data Contributor role access.
- Have a Synapse workspace and the Synapse Administrator role access within the Synapse Studio.
- Add the storage account as a linked service within Synapse Studio.
- Create the storage account and Synapse workspace in the same Microsoft Entra ID tenant as your Power Apps tenant.
- Create the storage account and Synapse workspace in the same region as the Power Apps environment that you use the feature in and the same resource group.
- Have Reader role access to the resource group with the storage account and Synapse workspace.
- Have the Dataverse system administrator security role so that you can link the environment to the storage account.
- Export only tables that have change tracking enabled.
Locate the Azure region in which your environment is deployed
To locate the Azure region of your environment, follow these steps:
Go to the Power Apps portal.
In the upper-right corner, review the Environment badge to ensure that you’re in the correct environment.
Select Data > Azure Synapse Link.
Select New link.
In the Select Storage Account tab, note the Azure region. You need to create the Synapse workspace in this region.

Select Cancel.

Create an Azure Synapse Analytics workspace and add a role
To create the Azure Synapse Analytics workspace, follow these steps:
Follow this guide and create the Azure Synapse Analytics workspace. Ensure that you create the workspace in the region that was identified in Step 1 of this exercise- Locate the Azure region in which your environment is deployed.
In the Azure portal, go to the storage account that you created as part of the Synapse workspace creation.
Go to Access Control (IAM).
Select Add > Add role assignment.
Select the Storage Blob Data Owner role and the select Next.
Select members and then Select.
Select Review + assign.
Important
Ensure that you complete this step because the Owner or Contributor role at resource level isn’t enough to query data from Synapse.
Enable tracking for Dataverse tables to be linked to Synapse
To enable tracking for Dataverse tables so that you can link them to Synapse later, follow these steps:
Go to the Power Apps portal.
On the left navigation pane, select Tables.
Select All and then search for the Emission table.
Select the Emission table.
Select Properties in the toolbar.
Expand Advanced options and ensure that Track changes is enabled.
Select Save.
Repeat the above steps again for the following tables:
Facility
Purchased energy
Fugitive emission
Create the Azure Synapse Link for Dataverse
To create the Azure Synapse Link for Dataverse, complete the following steps:
On the left navigation pane, select the Azure Synapse Link. If Azure Synapse Link isn't visible, select …More and select Discover all.
Select Azure Synapse Link from the Data Management section.
Select New link.
Ensure that Connect to your Azure Synapse workspace is enabled and then select the Subscription, Resource group, Workspace name, and Storage account information.
Select Next.
Select the following tables:
- Emission
- Facility
- Purchased energy
- Fugitive emission
Select Save.
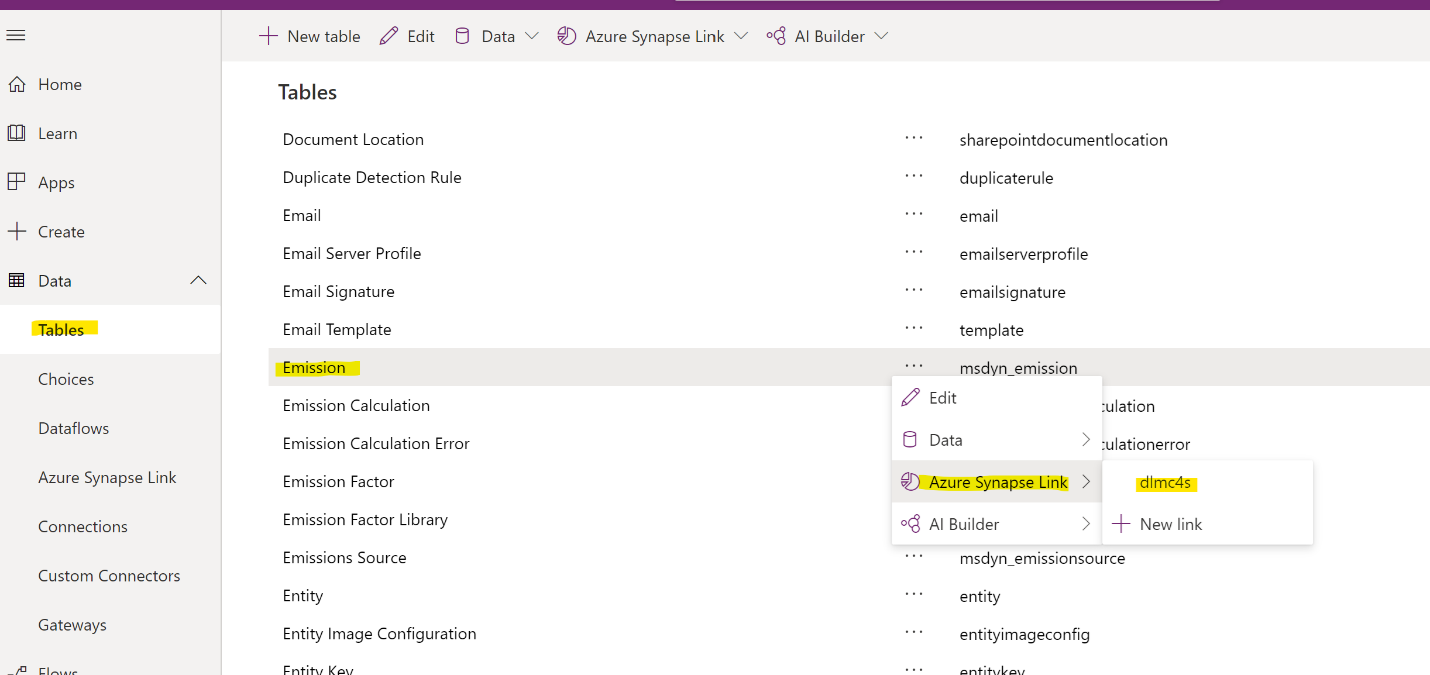
On the left navigation pane, go to Tables.
Select the ellipsis (…) to the right of the Emission table, select Azure Synapse Link, and then select the name of the link that you created. This step enables the link for that table.
Repeat the same process for the other linked tables.

For more information, read Create an Azure Synapse Link for Dataverse with your Azure Synapse Workspace.
Confirm that Dataverse data is linked to Synapse Analytics
You can use Azure Synapse Link to connect your Microsoft Dataverse data to Azure Synapse Analytics to explore your data.
To confirm that data is linked to Synapse, complete the following steps
Go to the Azure portal, select the desired Azure Synapse Link, and then select Go to Azure Synapse Analytics workspace from the top panel. Alternatively, you can open Synapse Studio directly by going to
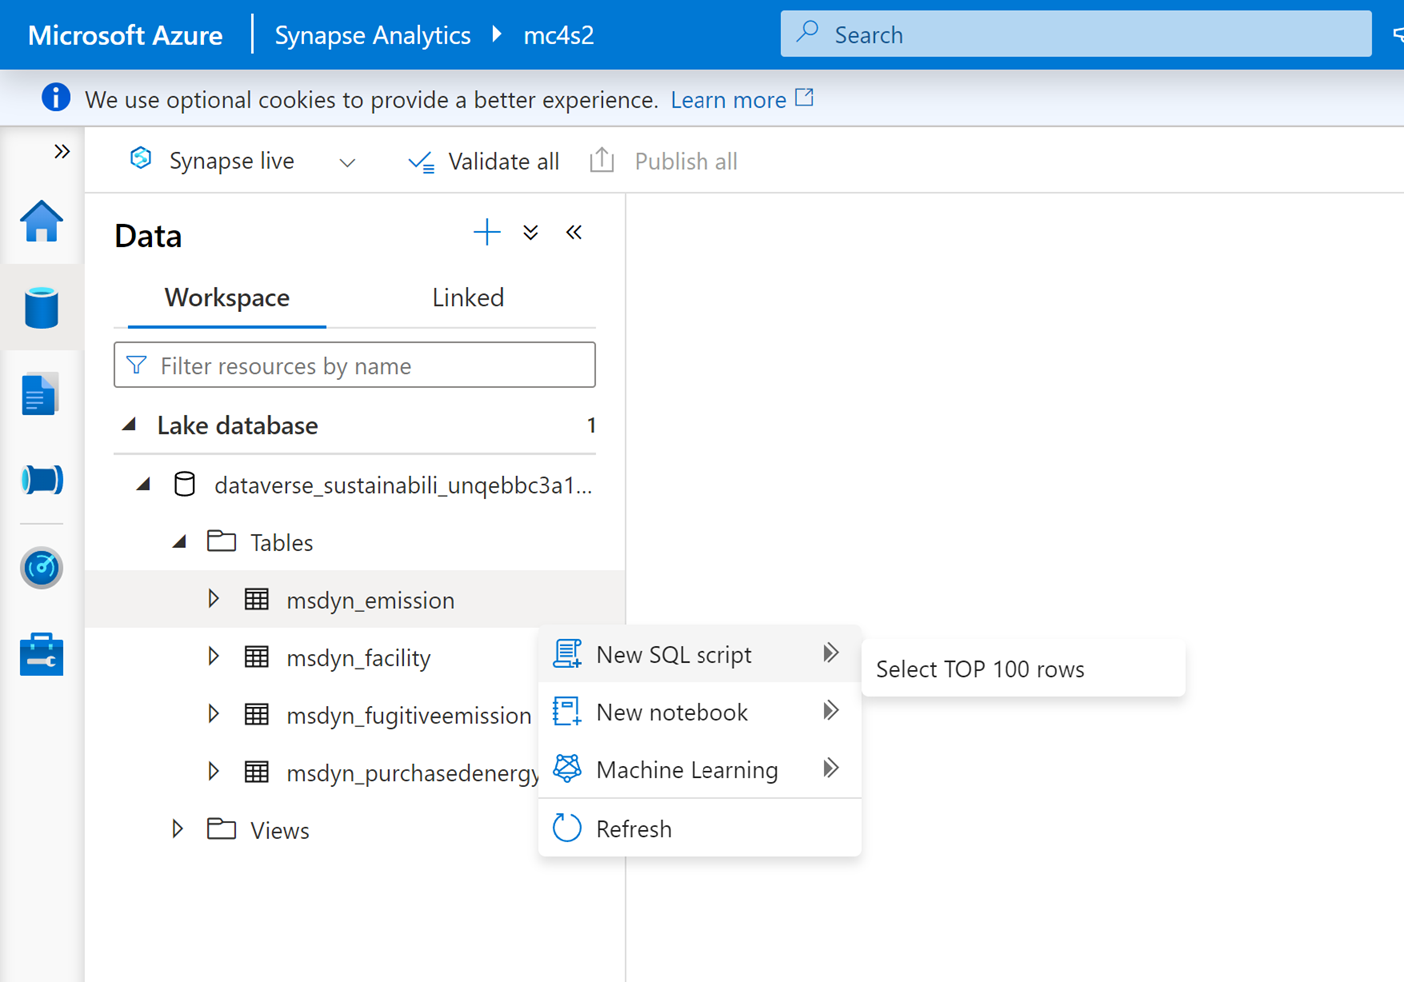
https://web.azuresynapse.net.Expand Lake Databases, select dataverse-environmentName-organizationUniqueName, and then expand Tables. All exported Dataverse tables are listed and available for analysis.
Select the ellipsis (…) beside msdyn_emissions, and then select New SQL Script > Select TOP 100 Rows.
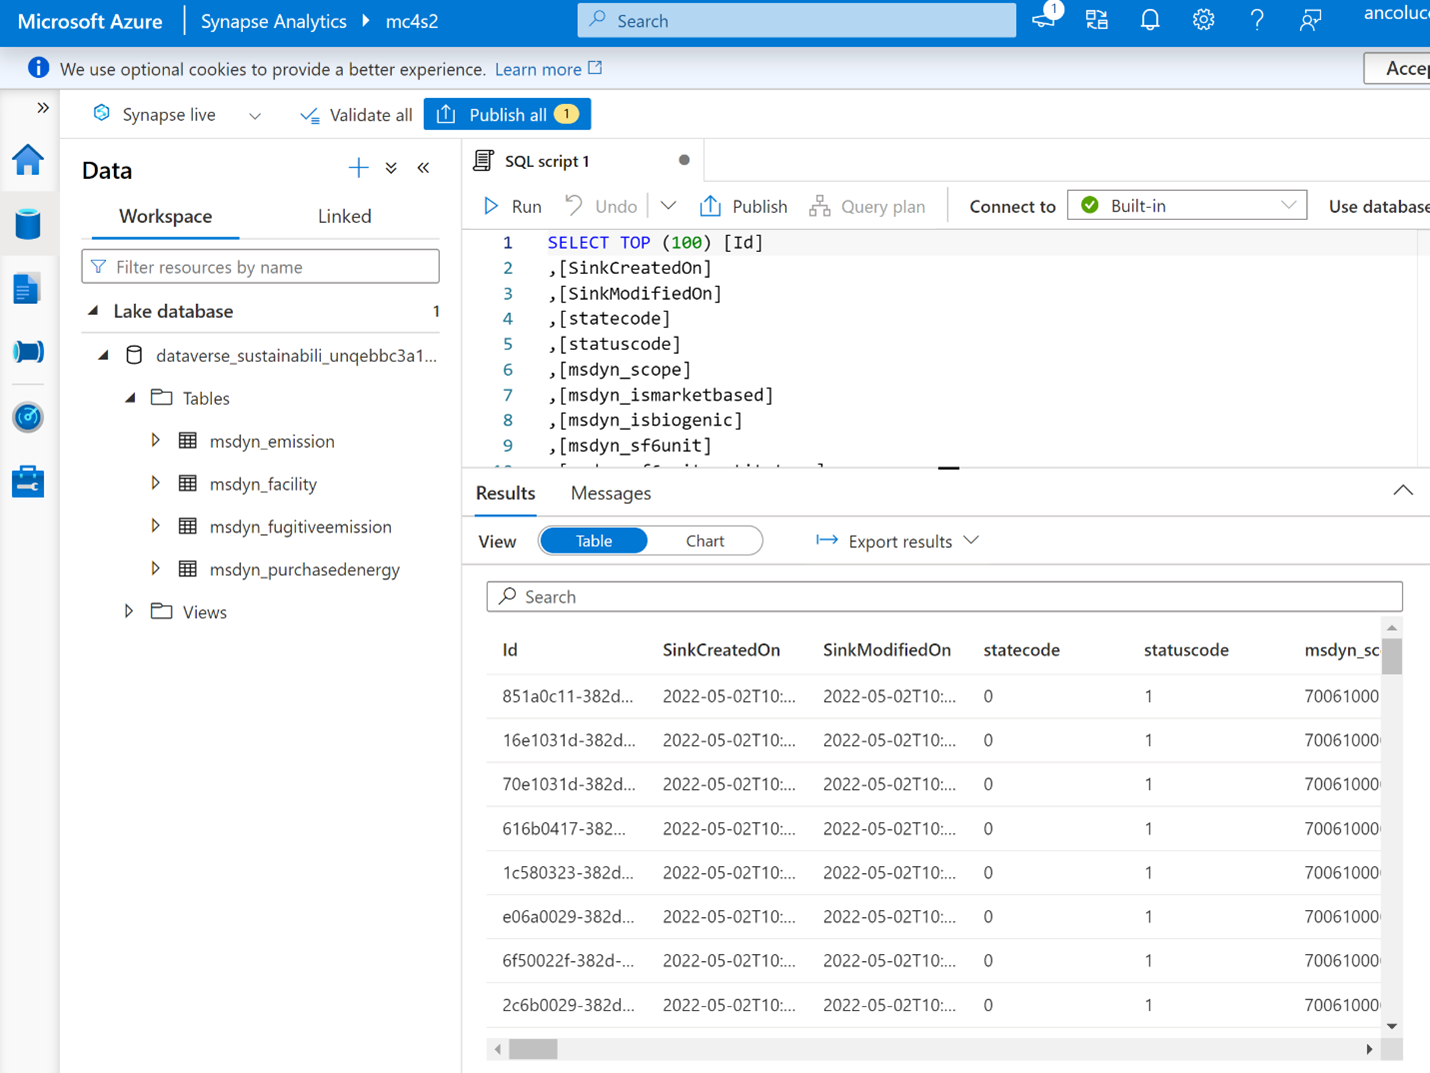
After the query script is generated, select Run. The first 100 rows of data from the Emission table are displayed.
Important
When you select Run and you get an error stating that the content can’t be displayed, make sure that you have the Storage Blob Data Owner role on the storage as assigned in the Create an Azure Synapse Analytics Workspace step.

