Exercise - Create a trigger-based patient journey
In this exercise, you'll create a patient trigger by using the Customer Insights – Journey app in Microsoft Cloud for Healthcare and use the patient trigger to create for the patient journey.
Task: Create a patient trigger
Switch back to Power Apps portal. Navigate to Apps on the left navigation pane and launch Customer Insights – Journeys app by selecting the play button.
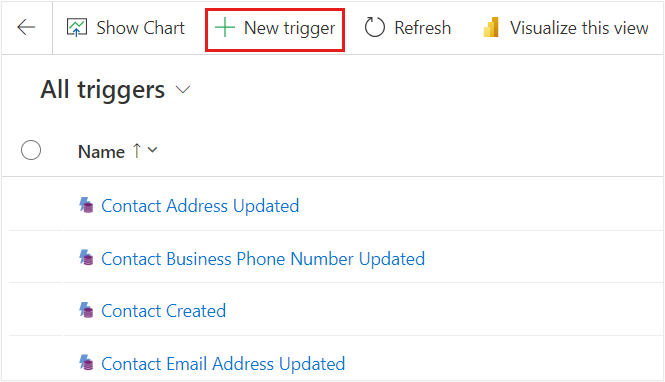
On the Customer Insights – Journeys app, on the left-navigation pane, under Engagement, select Triggers.
Select + New Trigger on the command bar.
Enter details for the new trigger as follows:
Name the new trigger - Encounter Details Updated.
What action will activate the trigger? - Select When a record related to the customer is created or updated.
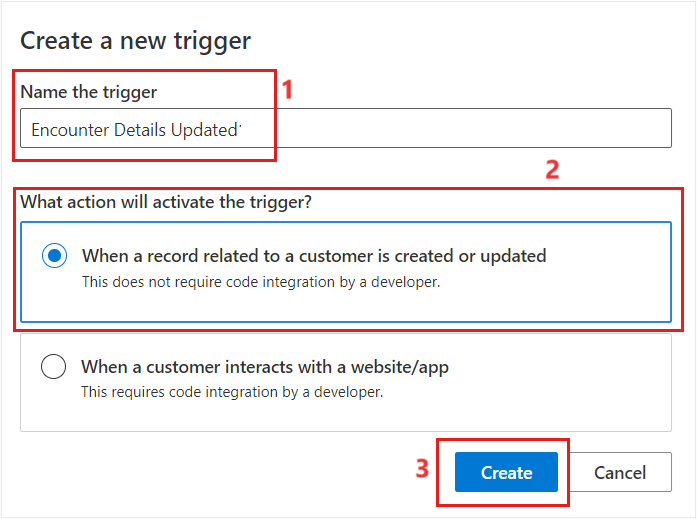
Select Create.
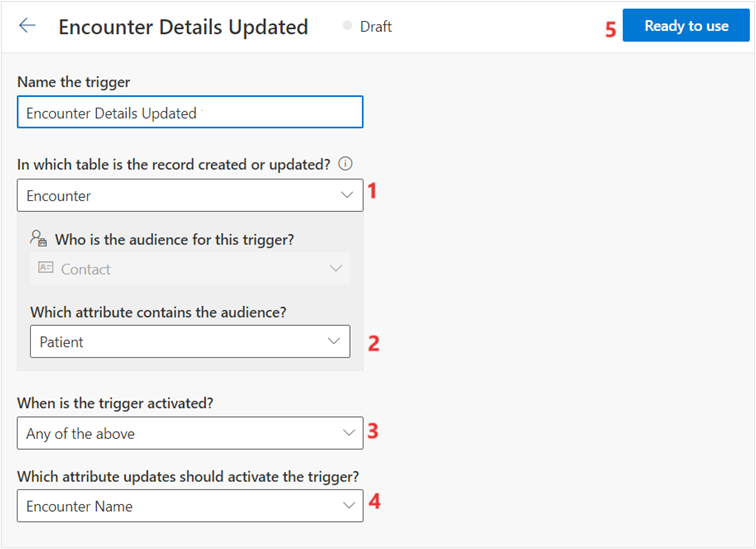
Enter the following details:
In which table is the record created or updated? – Search for Encounter and select the option from the list.
Which attribute contains the audience? – Patient
When is the trigger activated? – Any of the above
Which attribute updates should activate the trigger? – Encounter Name
After the trigger is saved. It is now ready to use to set up the patient journey.
Select Ready to use.


Task: Create a trigger-based patient journey
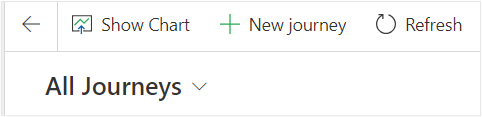
Select Journeys on the left navigation pane.
Select + New Journey on the command bar.
Enter the following details for the new journey:
Name the new journey - Encounter Details Updated.
Choose the type of the journey - Trigger-based.
Choose a trigger – Select Encounter Details Updated.
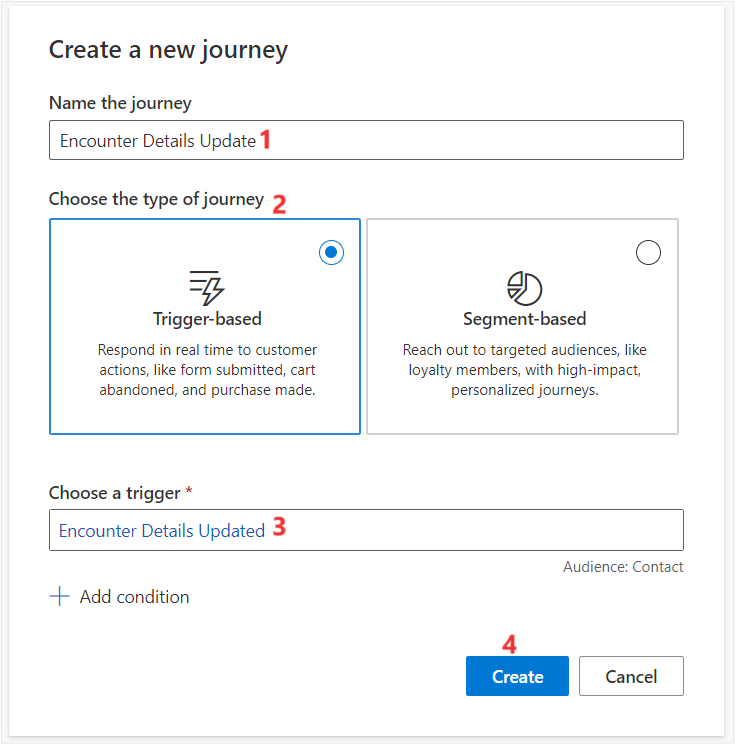
Select Create.
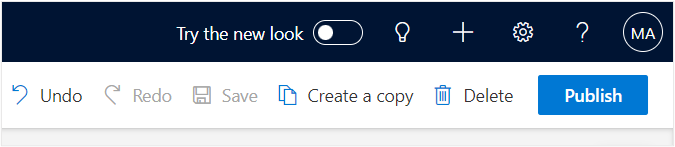
Select Save to save the journey.
Select Publish on the journey.
The status of the journey now is Live.


