Configure Microsoft Cloud for Healthcare for virtual visits
In this exercise, you configure the Microsoft Cloud for Healthcare to allow practitioners to use video conferencing in Microsoft Teams to provide high-quality, personalized, and affordable consultations for their patients.
Task: Create a new Codeable Concept for practitioner specialty type
In this task, you create a new Codeable Concept of type practitioner specialty to use on the Patient Portal. Practitioner specialty is used to define a reason why a patient is booking the virtual appointment.
As the first step in the booking process, the user must select a reason, which includes the practitioners' specialties.
Note
The Codeable Concept is one of the most important data items in HL7’s Fast Healthcare Interoperability Resources (FHIR) and is defined in the FHIR specification as a value that is usually supplied by providing a reference to one or more terminologies or ontologies, but may also be defined by the provision of text. Practitioner covers all individuals who are engaged in the healthcare process and healthcare-related services as part of their formal responsibilities and this resource is used for attribution of activities and responsibilities to these individuals.Practitioners include (but are not limited to):
- physicians, dentists, pharmacists
- physician assistants, nurses, scribes
- midwives, dietitians, therapists, optometrists, paramedics
- medical technicians, laboratory scientists, prosthetic technicians, radiographers
- social workers, professional homecare providers, official volunteers
- receptionists handling patient registration
- IT personnel merging or unmerging patient records
- Service animal (for example, ward assigned dog capable of detecting cancer in patients)
Following is an example of the appointment booking screen in the Patient Portal, which displays the practitioner’s specialties defined as Codeable Concepts.

For an entity that isn’t shown directly on an application’s navigation, you can add a new record for those entities through Power Apps. To create a new practitioner specialty, you create a new Codeable Concept record through Power Apps.
While signed into your Microsoft 365 tenant, open a new tab, go to Power Apps.
Select Environment as Lamna Healthcare.
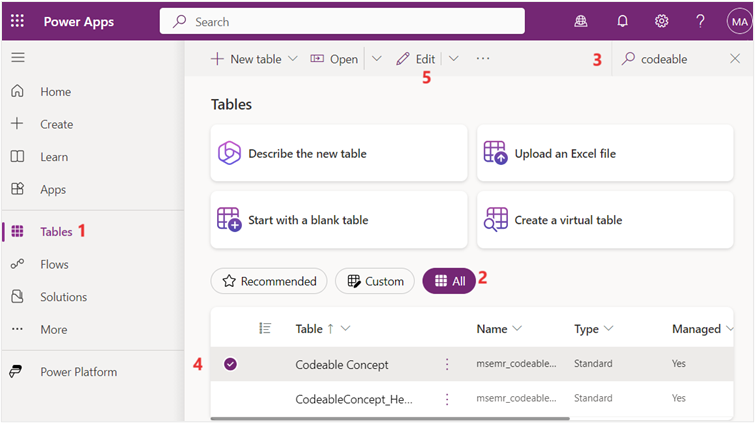
On the left navigation pane, select Tables.
In the right pane, select All tables.
Use the search box in the upper right corner to search for the string codeable.
Select the Codeable Concept table from the search results and then select Edit.
Select +New row dropdown and then select New row using form.

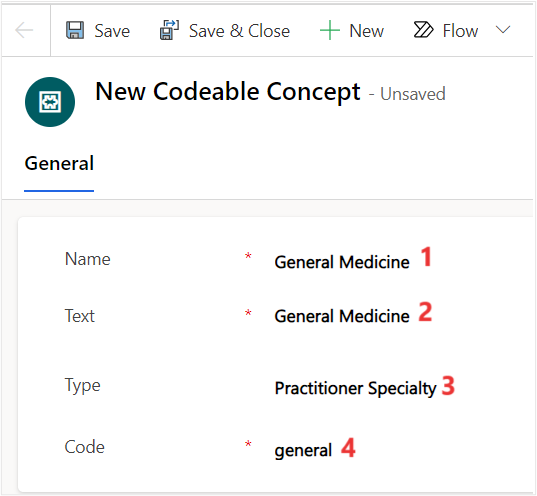
In the New Codable Concept form, fill in the following details.
Name - General Medicine
Text - General Medicine
Type - Practitioner Specialty
Code - general
Select Save & Close.
After saving and closing the new Codeable Concepts form, select Done on the Currently adding a new row pop-up to refresh the Codeable Concepts table.
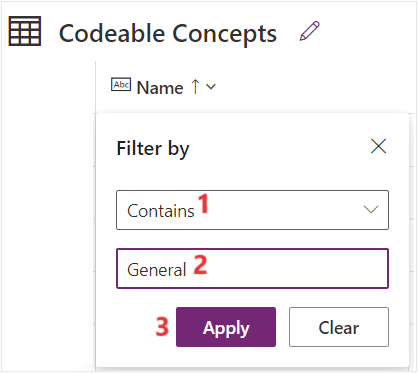
Once the Codeable Concepts table is refreshed, select the Name column, and then select Filter by.
- In the Filter by pane, use the below expression and select Apply.
Operator: Contains
Value: General
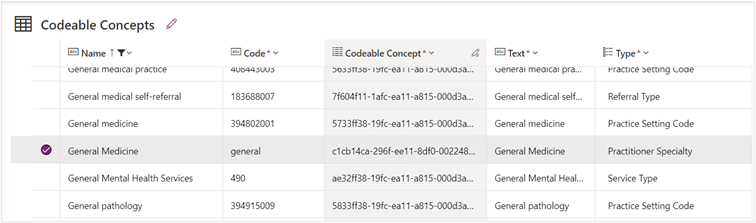
You can now verify that a new codeable concept of type Practitioner Specialty is successfully created.


You created a new practitioner specialty that is available for selection as an appointment visit reason in the Patient Portal.
Task: Enable a practitioner's schedule
In this task, you configure the practitioner's schedule to allow patients to book appointments with them in the Patient Portal.
While on Power Apps, on the left navigation pane, select Tables.
In the right pane, select All tables.
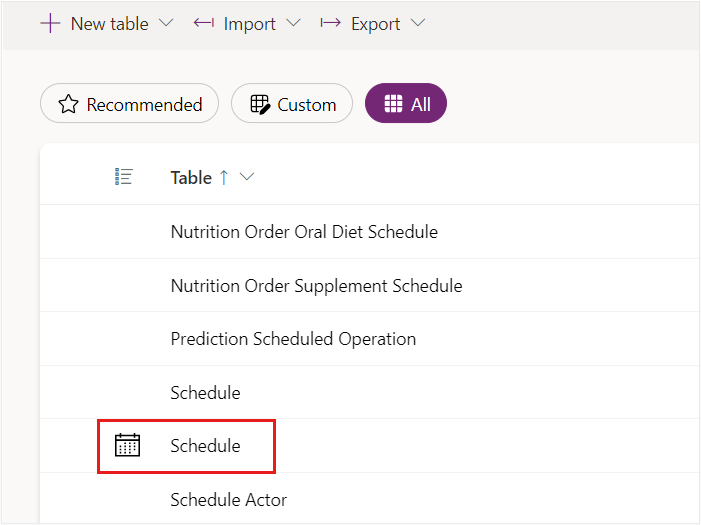
Use the search box in the upper right corner to search for the string schedule.
Select the Schedule table.
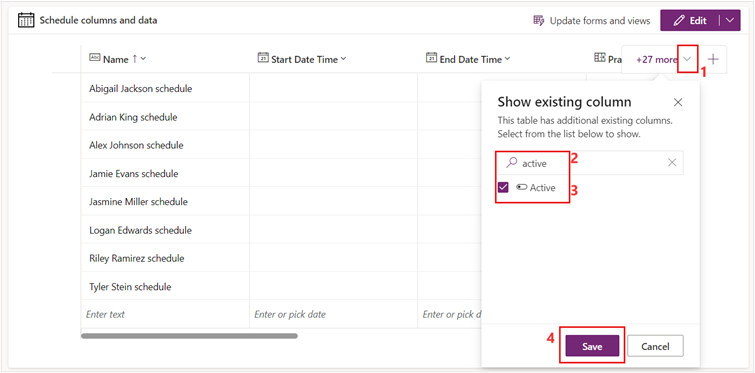
In the Schedule columns and data section, select the dropdown to add an existing column to the editable view. Search and then select Active to add the column. You may also remove the columns that have no data. Select Save.
Select Alex Johnson schedule under the Name column and then change the value of Active column from No to Yes. You need to scroll right in the grid.
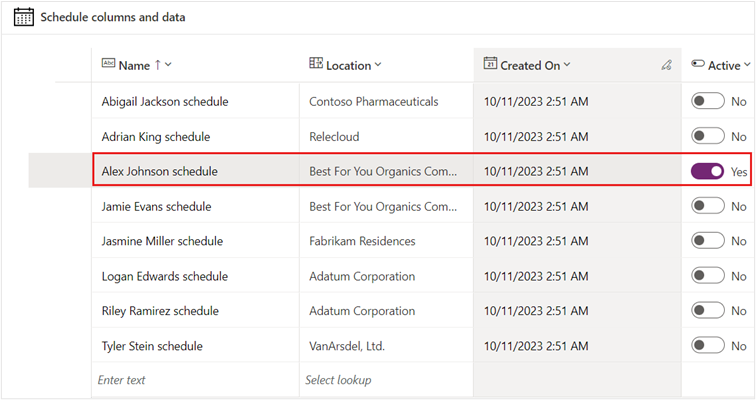


You enabled a practitioner's schedule to be used for booking virtual appointments.
Task: Configure slots for appointments
In this task, you configure a new appointment slot to show practitioner's availability. This configuration allows patients to select an available appointment time slot when booking with a practitioner. Enable Reed's practitioner, Alex Johnson, to be available today at a set time for virtual appointments.
Go to Power Apps.
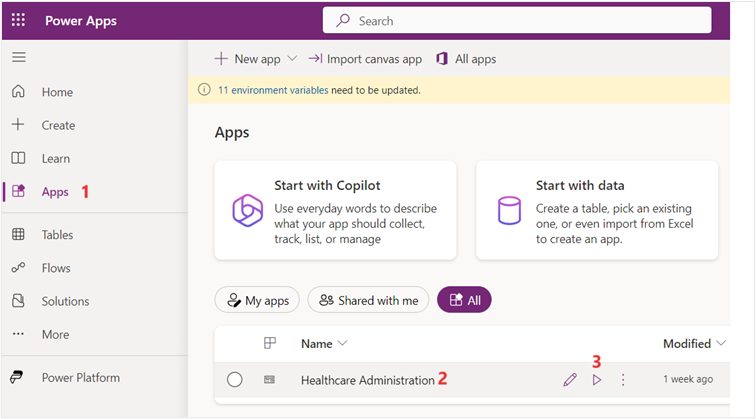
Select Apps on the left navigation.
Select Healthcare Administration app in the right pane. Select the Play button to launch the app.
In the Healthcare Administration app, select Schedule on the left navigation pane.
Select the Alex Johnson schedule from the Active Schedules list.

Scroll down and under select Associated slots, select + New Slot.
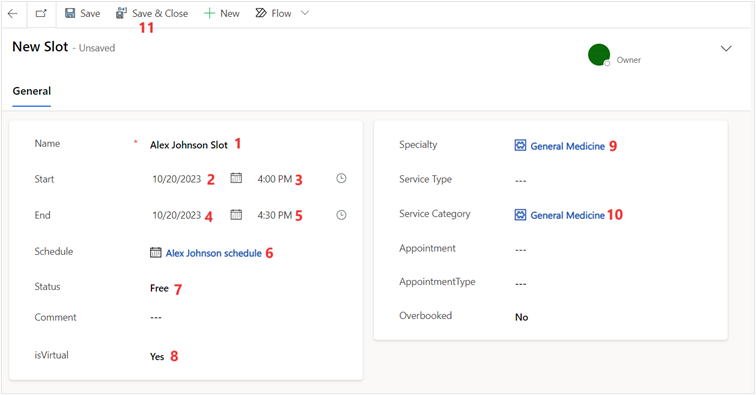
Fill in the following details in the New Slot form and select Save & Close.
Name - Alex Johnson Slot
Start - Today, at a later time
End - Today, an hour after the Start
Schedule - Alex Johnson schedule
Status - Free
isVirtual - Yes
Specialty - General Medicine (the practitioner specialty record you created)
Service Category - General Medicine (same as specialty)


You created a new virtual slot for Reed to book with the practitioner, Alex Johnson.
Task: Configure Mapped System User on Practitioner Record
In this task, you configure the Mapped System User field on the Practitioner record. This field should be set to the system user that maps to the contact record. Set this field to our logged-in user record.
The Teams meeting is created on this mapped user's calendar (for a Virtual appointment).
For an Instant appointment, the meeting is created on the Organizer (organizer email for virtual appointments) specified in the Admin settings.
Select and open the Healthcare Administration application.
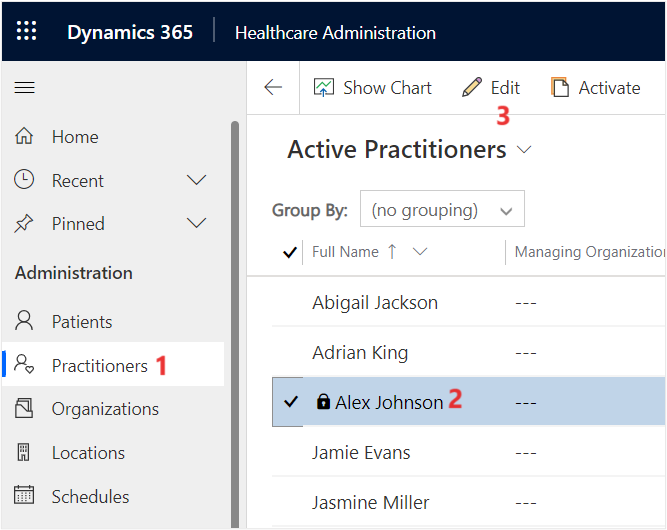
Select Practitioners on the left navigation pane.
Select the Alex Johnson record and select Edit.
In the Summary tab, select your logged-in user as the Mapped System User. Select Save & Close.

You mapped the practitioner record to your logged in user so that you can accept the video call when the patient has a virtual visit.
Task: Enable cloud flow
In this task, you create connection references and enable the cloud flow for virtual care.
While signed into your Microsoft 365 tenant, open a new tab, go to Power Apps.
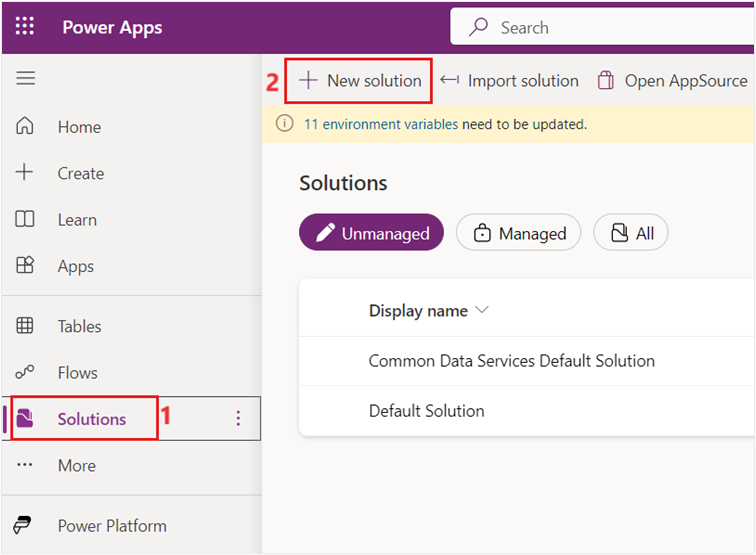
Select Solutions and then select + New Solution.
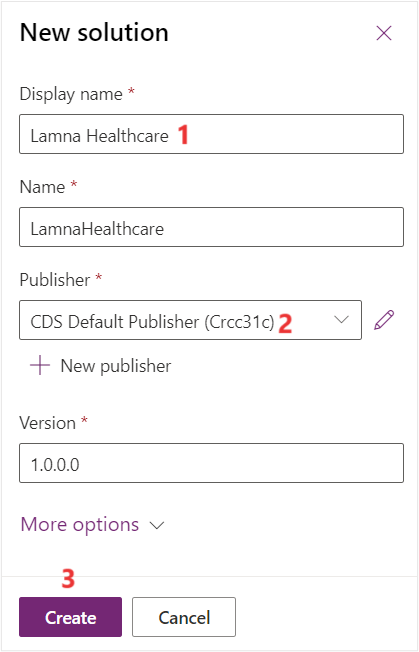
Use the below information to create a new solution and select Create.
Display name - Lamna Healthcare
Name - LamnaHealthcare
Publisher - CDS Default Publisher
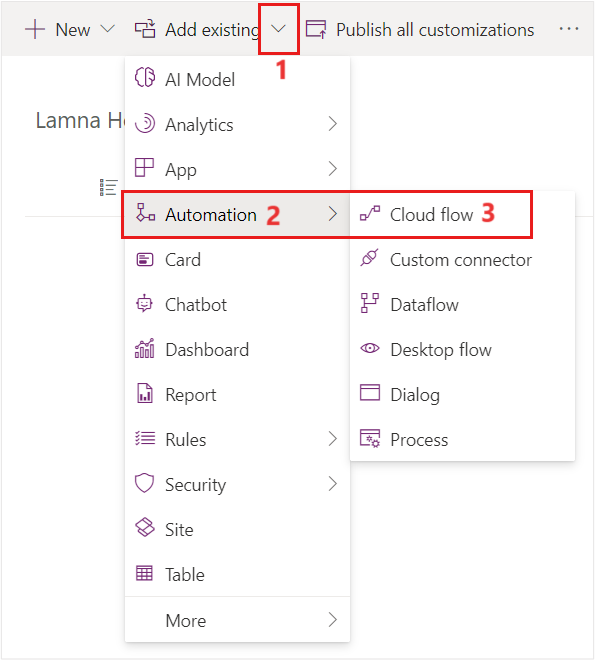
On the Lamna Healthcare solution page, select + Add existing and then select Cloud flow under Automation.
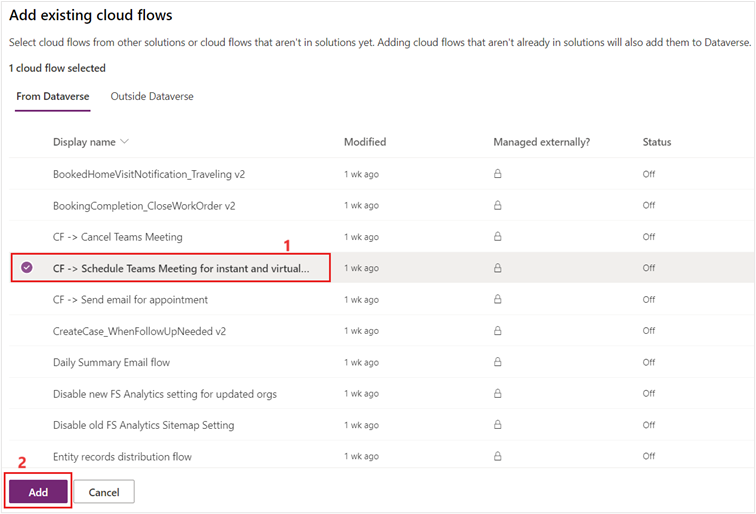
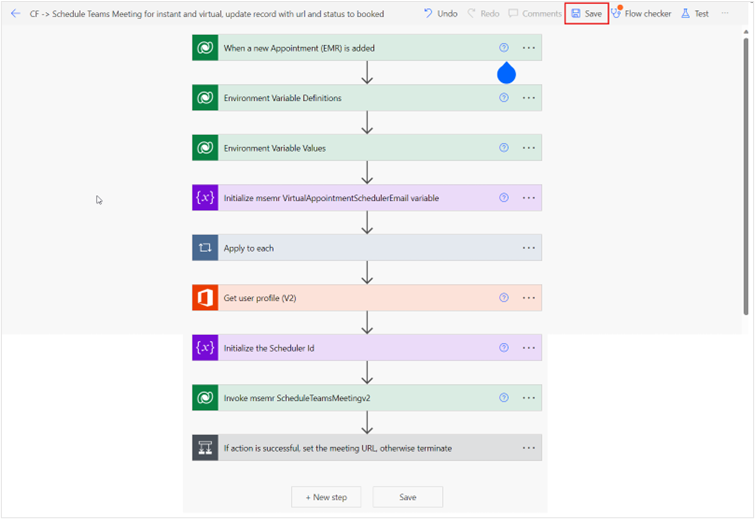
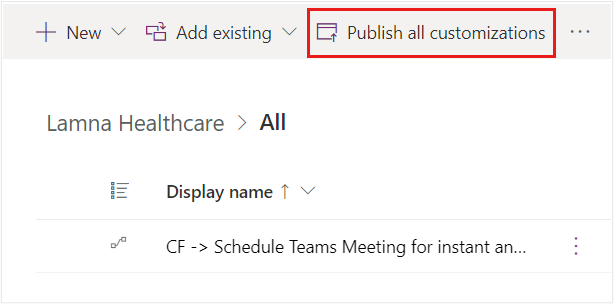
On the Add existing cloud flows page, select CF -> Schedule Teams Meeting for instant and virtual, update record with url and status to booked and select Add.
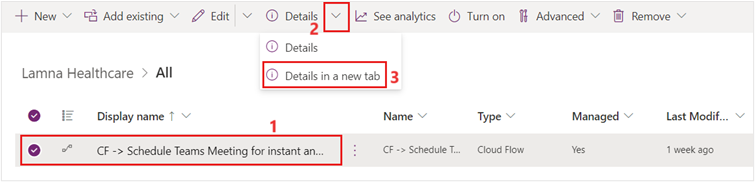
Select the cloud flow. Select Details dropdown and then select Details in a new tab.
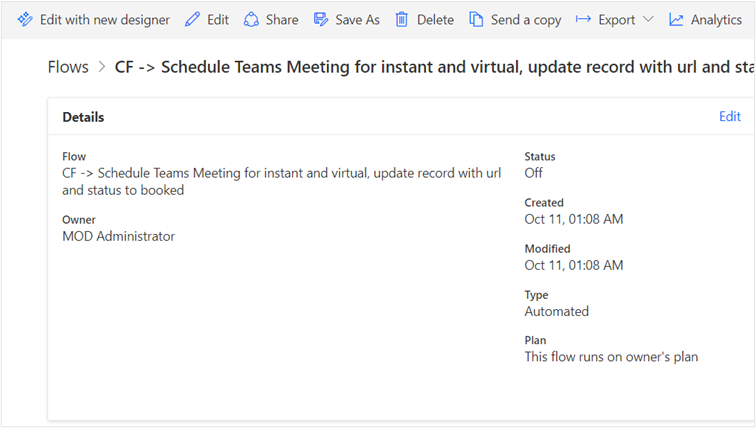
Select Edit on the cloud flow page.
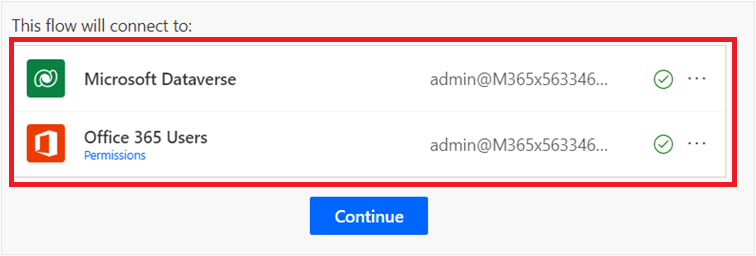
Select Sign in for Microsoft Dataverse and Office 365 Users connectors to sign in with the currently logged-in user and create a connection reference.
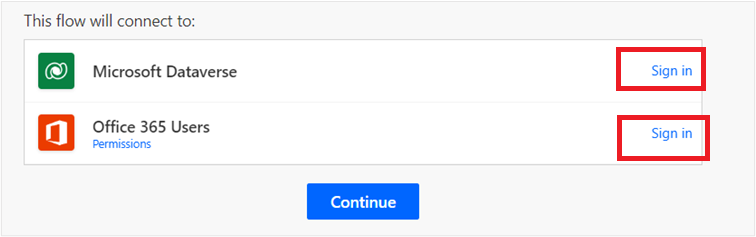
Select Continue.
Select Save to commit your updates.
After the flow is saved successfully, select the Back arrow to return to the flow’s main page.
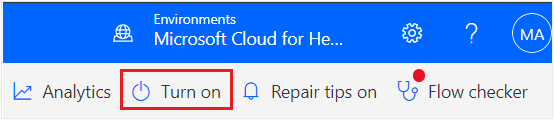
The status of the flow is Off. At the upper right corner, select Turn on to enable the upper right corner of the page.
Close the Power Automate tab to go back to Lamna Healthcare solution page and select Publish all customizations.


You created connection references to Microsoft Dataverse and Office 365 Users connectors and turned on the cloud flow for creating virtual appointments.