Add Business card reader to your model-driven app
Your goal for this exercise is to accelerate the process of creating an appointment by using information from business cards. Users extract contact information from a business card and prefill the Quick Create: Appointment form with the contact information.
You'll build a model-driven Power App and use the Business card reader component for this exercise. For more information, see the What are model-driven apps in Power Apps? and the Use the business card reader in model-driven apps documentation.
Create a model-driven app in Power Apps
To create a model-driven app in Power Apps, follow these steps from the Power Apps home page:
Select Create in the Power Apps left menu.
Select Blank app > Blank app based on Dataverse > Create.
Name the model-driven app Contoso Business card reader and select Create.
Select Add page once the app is created.
Select Dataverse table from the Add page pop-up.
Find/select your Appointment table. Then select Add.
Select Save.
Next, we update the appointment's Quick Create form so it can use the Business card reader component.
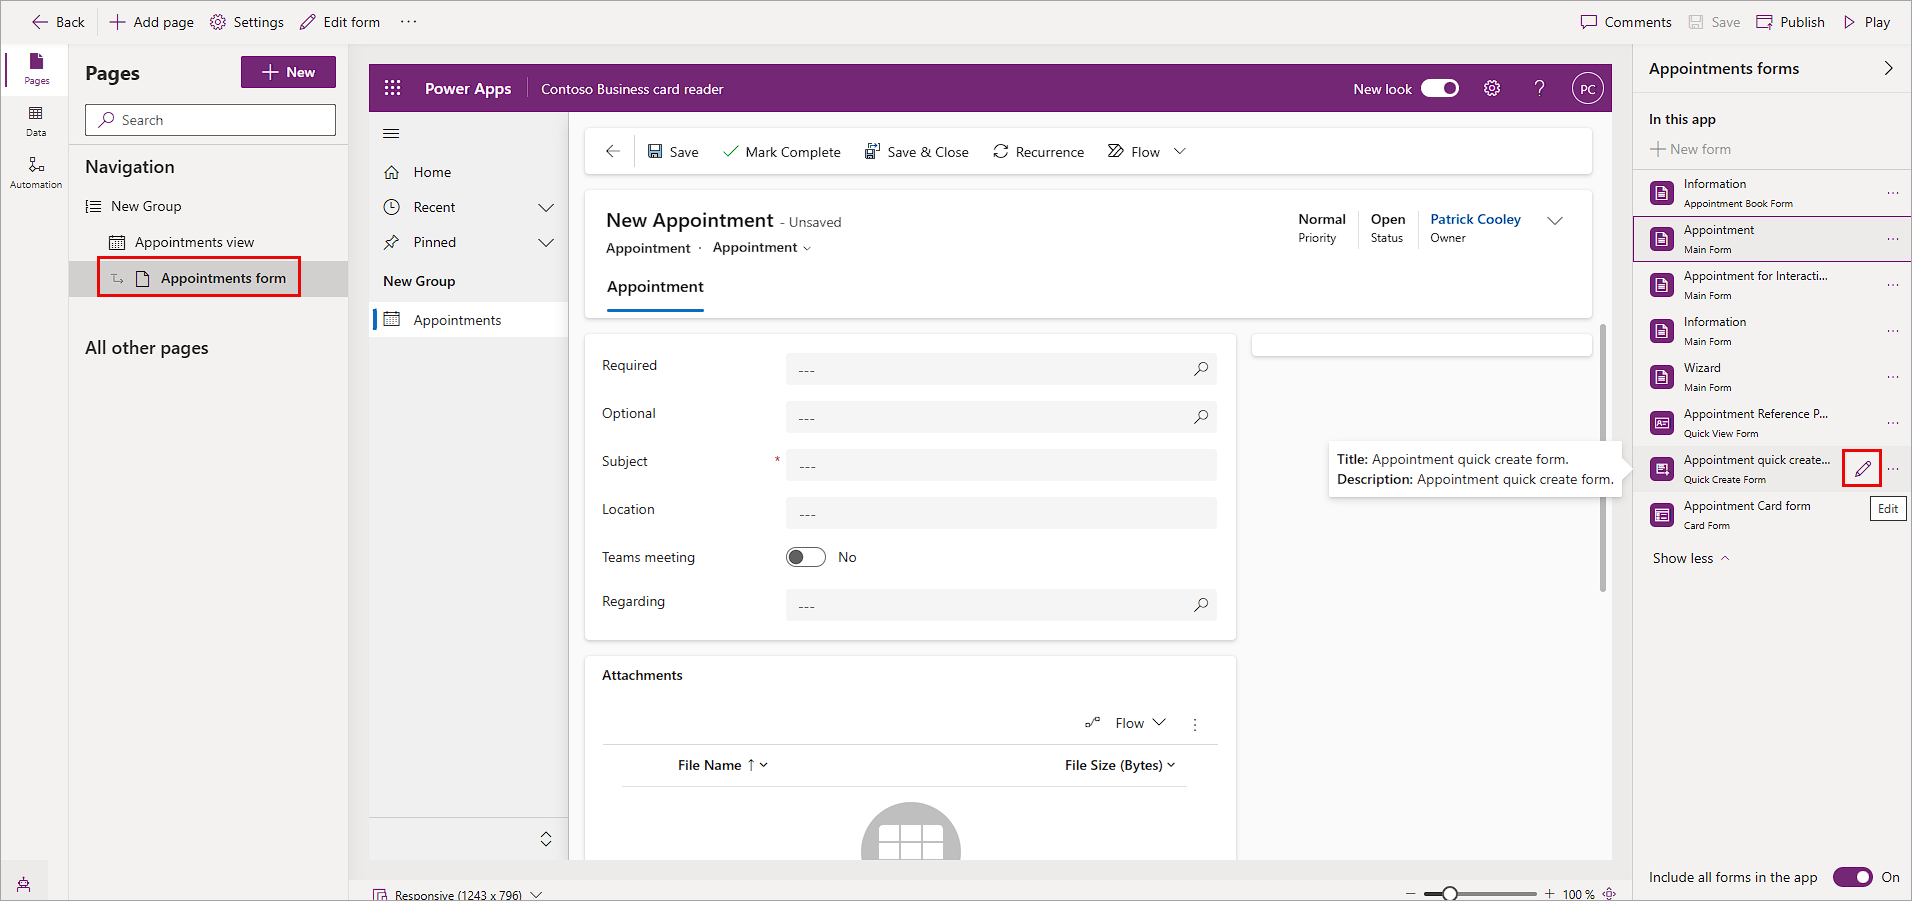
From the Navigation panel, select Appointments form.
In the right hand Appointments forms panel, select the Show more button.
Find the Appointment quick create form and hover over it to show the Edit button.
Select the Edit button.

Update an existing form
You have entered the form editor for the Appointment quick create form. You can now create a new field that hosts the Business card component.
From the left-side navigation rail, notice that you're currently on the Table columns selector. Select the Components item just above the Table columns item to bring up the Components selector.
Expand the AI Builder menu by selecting it from under the Components menu.
Drag and drop the Business card reader component to your form, just above the "APPOINTMENT DETAILS".
Once you drag it to your form the AI Builder Business card control prompts you to select properties. Set the following properties, then select Done:
- Business Card Reader field: Use either Business Card (text) or Additional Parameters (Text)
- Full Name Field: Subject (Text)
- Address Street Field: Location (Text)
If you used the Additional Parameters field, rename the label for the field as Business card.
After the component has been added, you should see a screen similar to the following image.

Save and publish your updated form.

Publish your model-driven app
Publish your app and create an appointment by using the Business card reader. You can now use the Quick Create: Appointment form with your app.
Return to the App Designer. Publish your application and select the Play button.
Test your updated form with the Business card component by selecting the plus sign (+) from your command bar menu (top right), and then in Activities, and then in Appointment.
You can scan a business card (or select an image of a business card) and the extracted contact fields appear in the form. Fill out the remaining fields and save your appointment by selecting Save and Close.


Congratulations! You now know how to employ the Business card reader component in a Model driven app!