Exercise - Import and export solutions
Consider a scenario where you have a solution that includes an app, table, and a flow. You now want to export this solution from one tenant, which is the source, and then import it to another tenant, which is the destination.
In the source tenant, sign in to Power Apps and then select Solutions, which is available in the left vertical navigation. Select Export.

Select Publish. This selection will make sure that all changes that are made to this solution are part of this published solution.
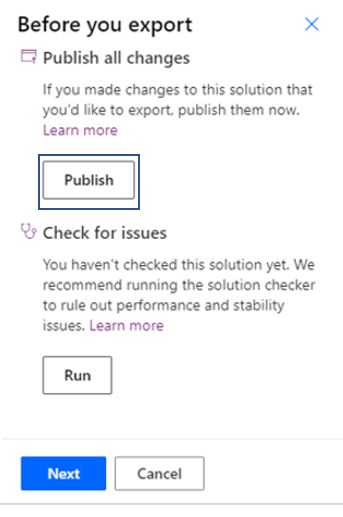
Select Run to check for issues.

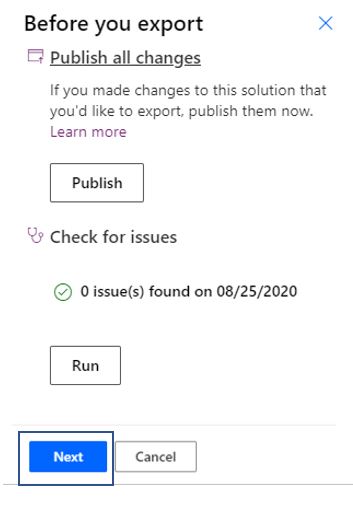
While the check is running, you should see the Running… notification beneath your solution name.

When the check is complete, and no issues have been found, select Next.
You need to decide which environment this solution will be exported to. If it's a test or a production environment, then select Managed (recommended). If you're moving it to another development environment, select Unmanaged and then select Export.

Note
Solution Version numbers are used to keep track of the functionality contained in a particular solution release. Versioning is used in the Power Platform to determine if code being imported is a solution or a patch. Power Platform solution versions are in the format <major>.<minor>.<build>.<revision>. When you create a new version, you will be asked to enter the version number. This defaults to 1.0.0.0 and auto increments based on the Solution update. An update must have a higher major, minor, build or revision number than the parent solution. For example, for a base solution version 1.0.0.0, a small update could be a version 1.0.0.1 or a slightly more significant update could have version 1.0.1.0. A substantially more significant update could be version 2.2.0.0.
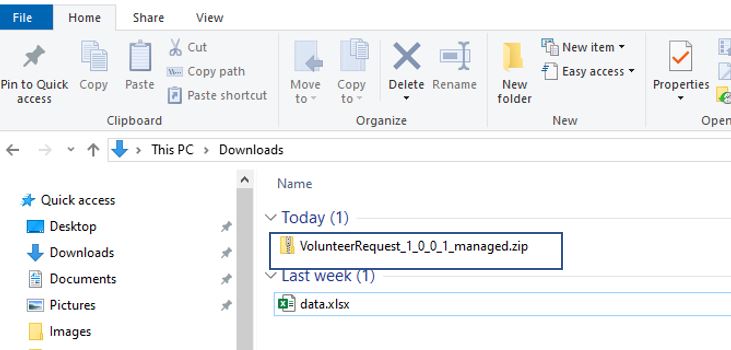
In the upper left of the screen, you should see a message stating that the solution was exported and a download button will appear on the right side. Select the download button to get a zip file of your solution.

The zipped file name contains the solution name, if it's managed or unmanaged, and the version number.
Go to your destination tenant, sign in to Power Apps, and then select Solutions, which is available in the left vertical navigation. Select Import.

If you receive an authentication window, enter your credentials to continue.

Select the zipped file that was exported.

Select Next.

Select Import.
If you receive warnings, then you can select the warning or download the log file.


You'll now see your solution imported successfully in the new tenant.
