Note
Access to this page requires authorization. You can try signing in or changing directories.
Access to this page requires authorization. You can try changing directories.
In this how-to guide, you create a community endpoint and add a rule that defines an allowed destination for enclave connections.
Prerequisites
An Azure subscription. If you don't have one, create a free account before you begin.
An existing community.
Sign in to Azure
Sign in to the Azure portal.
Create a community endpoint
In the Azure portal, search for
Azure Enclave.Under
Services, selectAzure Enclave.In the
Azure Enclavepage, selectCommunitiesin the left menu, and then select an existing community.In the left menu, select
Community Endpoints, and then selectCreate.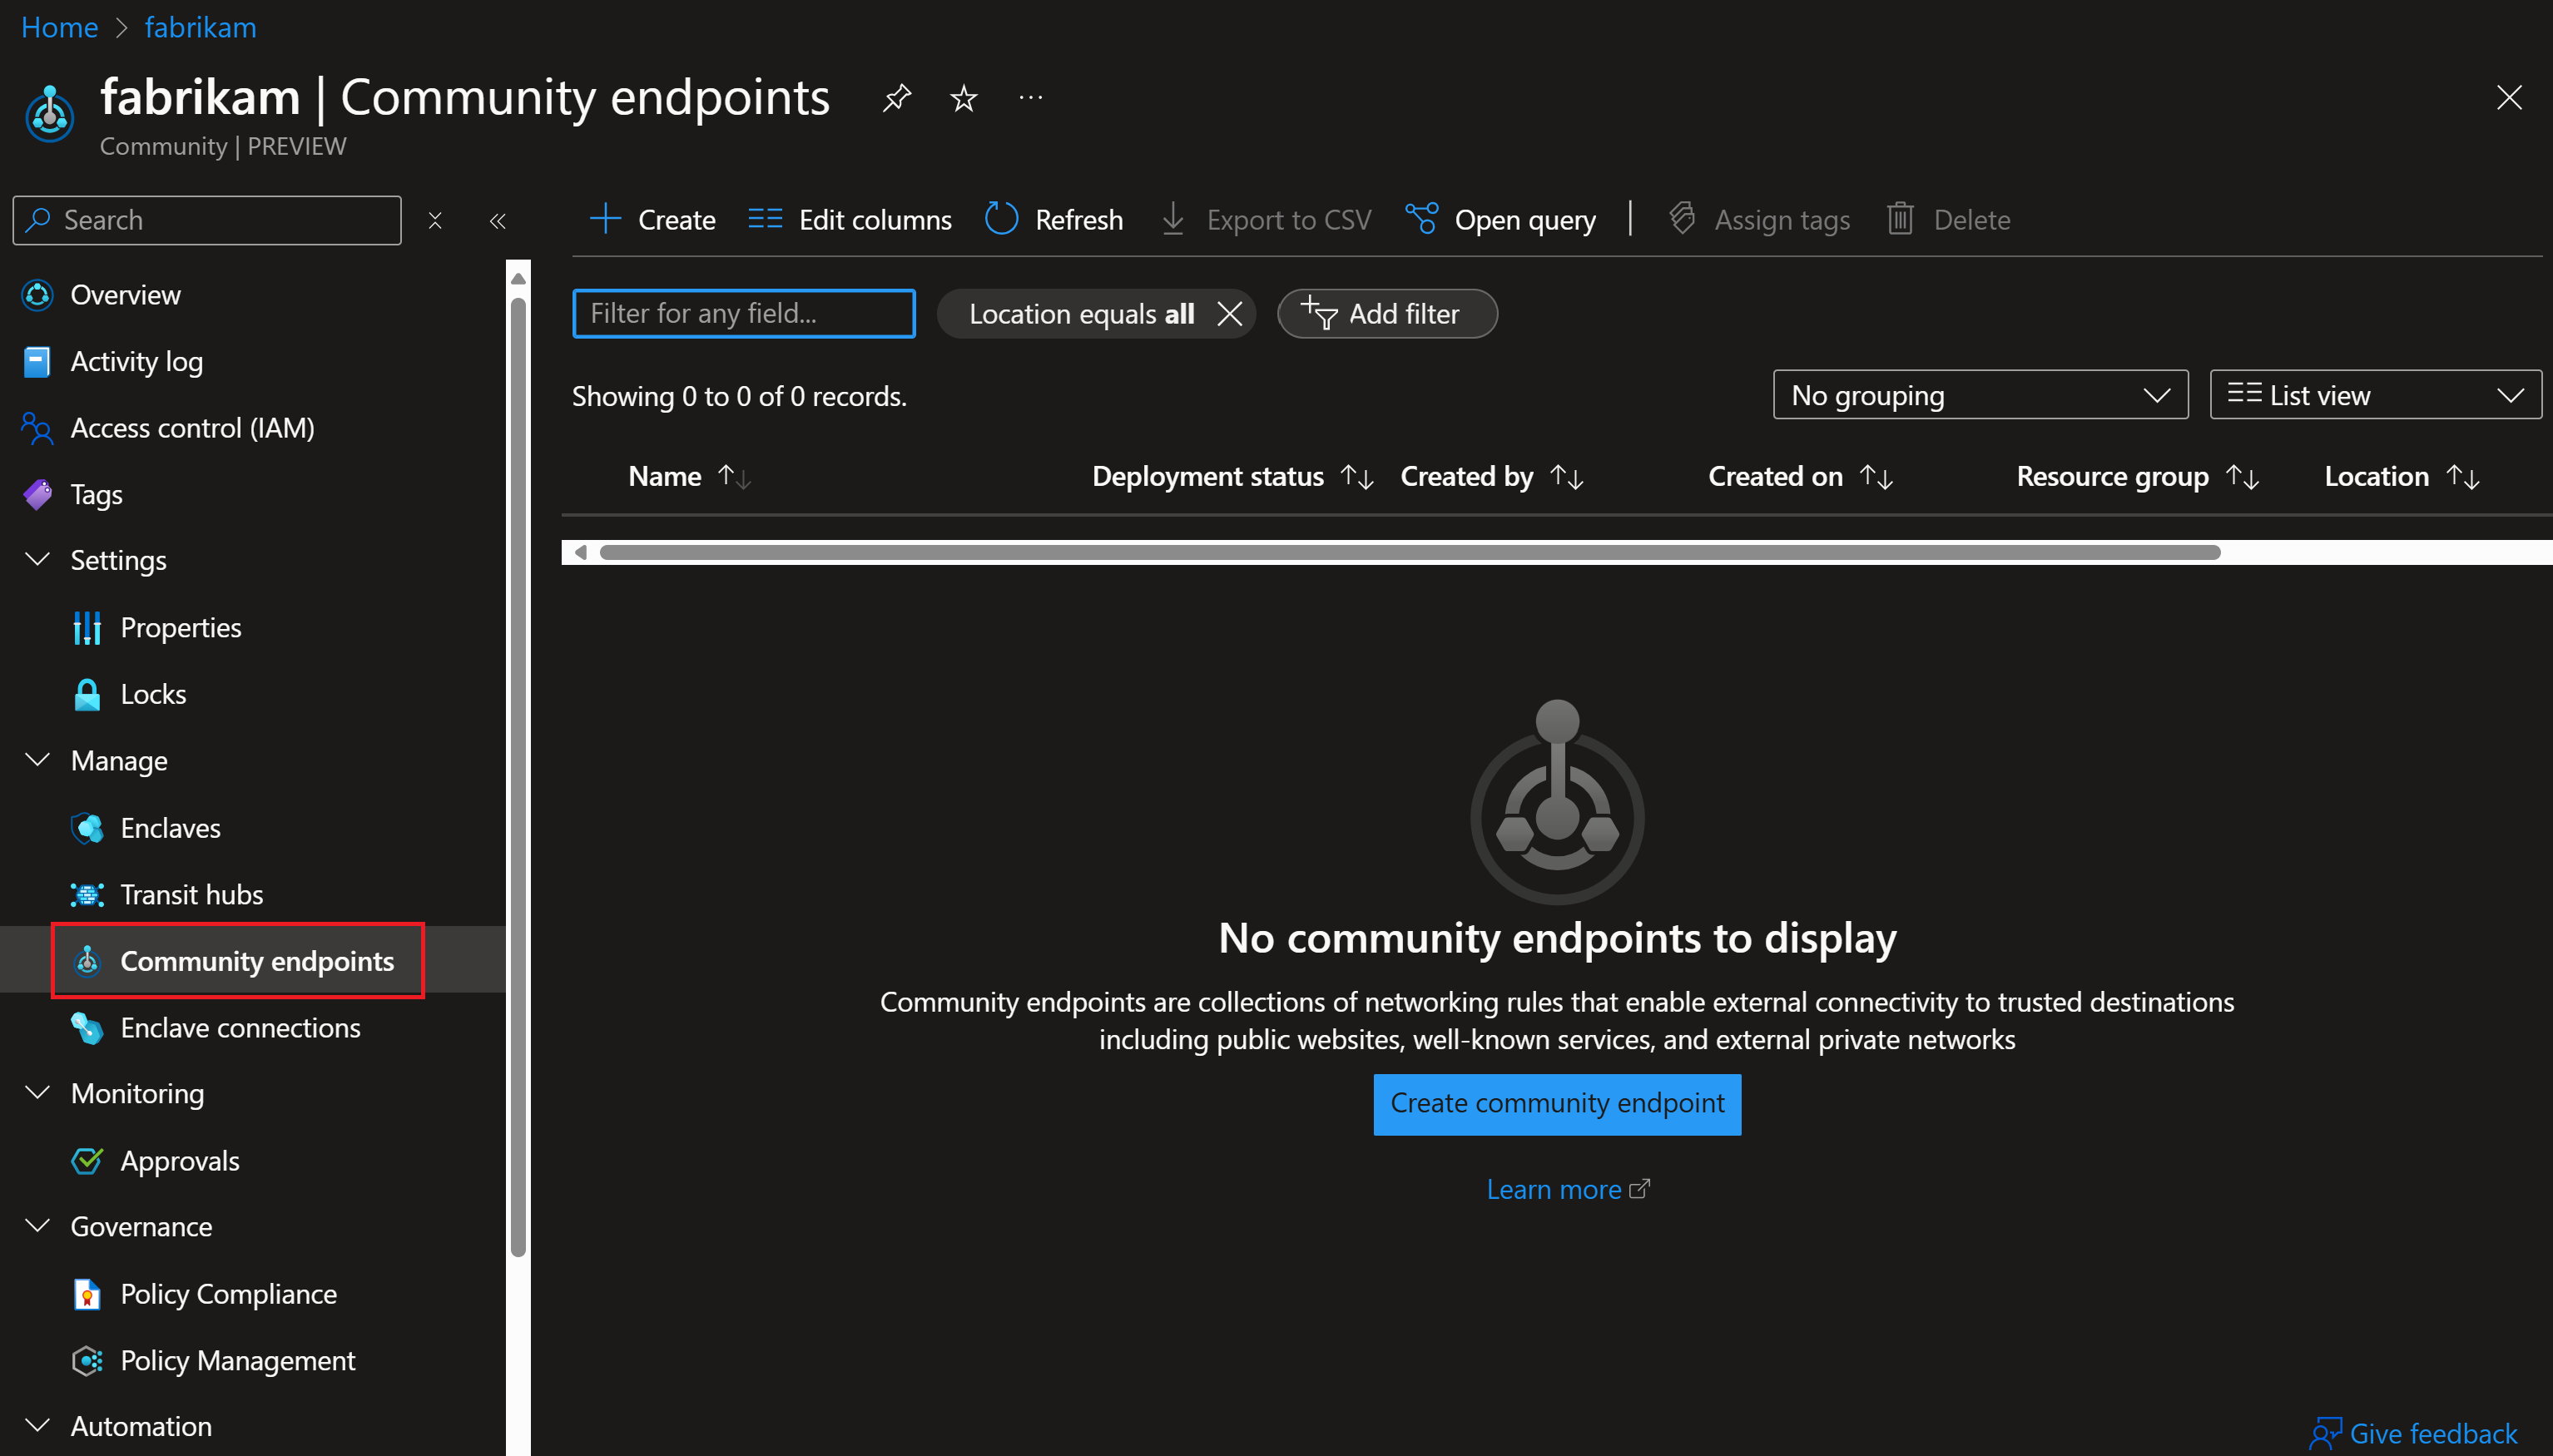
Enter a name for the community endpoint, and then select
Addto create a community endpoint rule.
Community endpoint rule types
Before you add the rule, choose the destination type that matches the endpoint you need to allow.
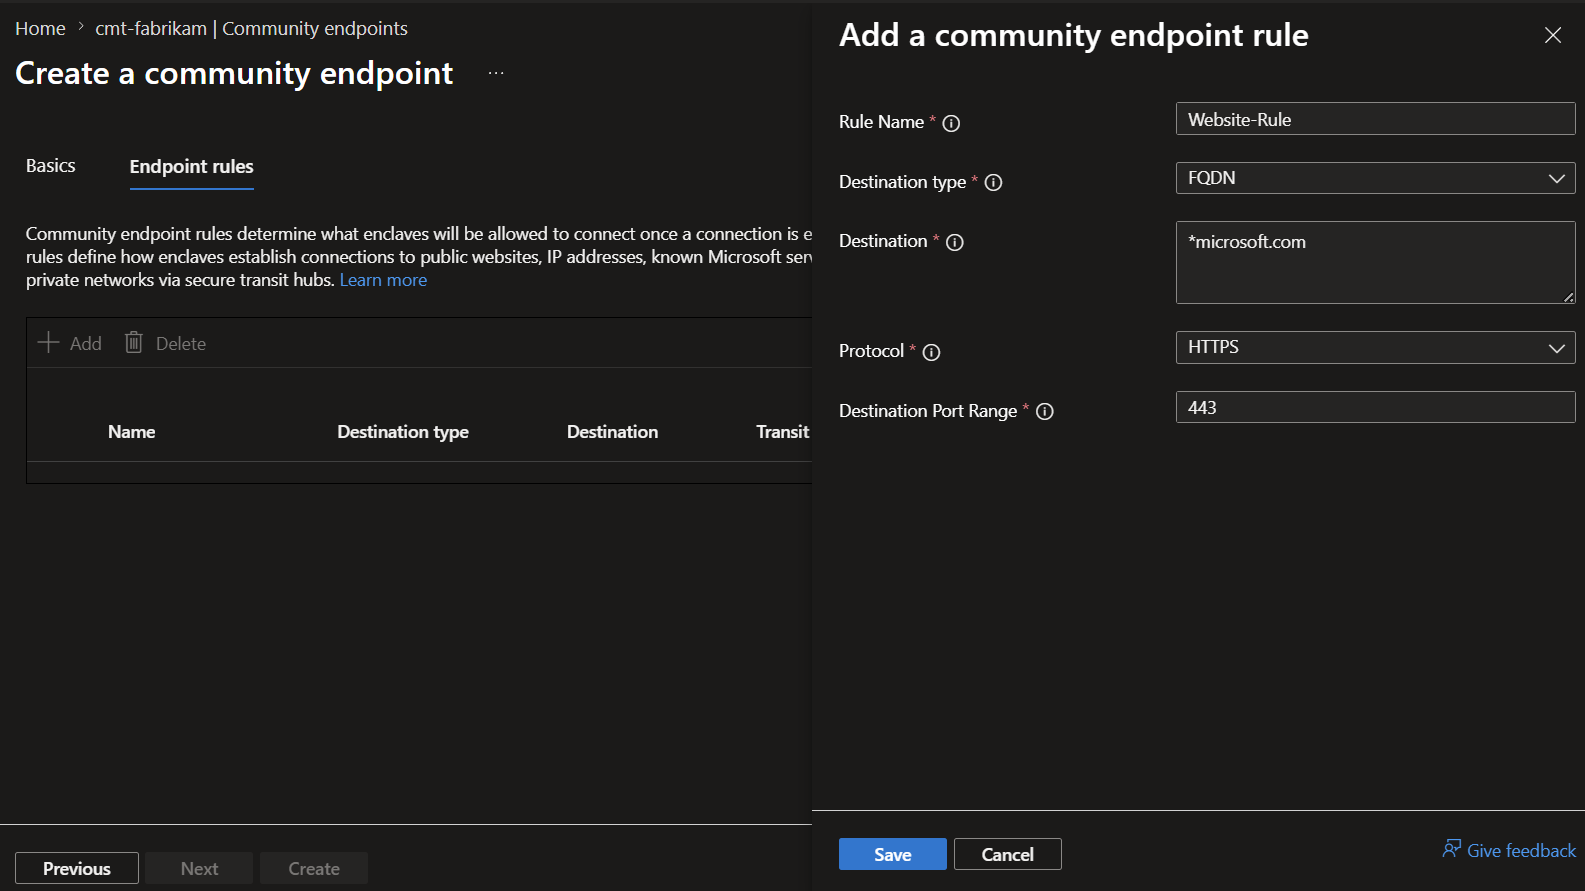
IPAddress: Allow traffic from an enclave to one or more destination IP addresses or CIDR ranges.FQDN: Allow traffic from an enclave to a trusted fully qualified domain name (FQDN). FQDN rules supportHTTP,HTTPS,TCP, orUDP; use only one protocol and one port per rule. Basic firewall SKU doesn't support FQDN rules.FQDNTag: Allow traffic from enclaves to known Microsoft Azure services through FQDN tags. UseHTTPS, except that thewindowsupdatetag supportsHTTPorHTTPS, and specify one port. Basic firewall SKU doesn't support FQDN tag rules.ServiceTag: Allow traffic from enclaves to Azure services by using Azure service tags. This destination type is available in the2025-11-01-previewAPI version and later. Supported protocols includeTCP,UDP,ICMP, andANY. UseANYby itself; don't combine it with another protocol.PrivateNetwork: Allow traffic from enclaves to an external private network. Specify destination CIDR ranges and a succeeded transit hub in the same community.
Enter the Rule name, Destination type, Destination, Port, and Protocol, and then select Add.
Configure service tag rules
When you create a ServiceTag rule:
Select
ServiceTagas the destination type.Choose the
Destinationservice tag from the list, such asStorage,AzureKeyVault, orAzureActiveDirectory.Select the protocol:
TCP,UDP,ICMP, orANY.Enter the destination ports required for your service.
Tip
Use service tags when you need to connect to Azure services that have dynamic IP address ranges. Service tags reduce the need to track and update IP addresses manually.
Select
Review + create, and then selectCreate.
Verify the community endpoint
After deployment finishes, open the community and select Community Endpoints. Confirm that the new endpoint and its rule appear in the list.