Introduction - Invoice from a sales order
How you'll invoice customers depends on whether you want to invoice shipments or not. When you are invoicing shipments, make sure that shipped items aren't manually entered on sales lines again because they'll be posted from inventory twice.
Instead, when you are invoicing sales shipments, use one of the following functions:
Invoicing one shipment:
Post the invoice from the sales order
Use the Get Shipment Lines function in a sales invoice
Multiple shipments:
Use the Get Shipment Lines function in a sales invoice
Use the Combine Shipment function
When selling something other than items (services, fixed assets), you can directly create a sales invoice or post the invoice from a sales order.
Invoice from a sales order
When you have completed all the lines and entered all information on the sales order, you can post it.
When you post an order, you can create a shipment and an invoice, both of which can be done at the same time or independently. You can also create a partial shipment and a partial invoice by completing the Qty. to Ship and Qty. to Invoice fields on the individual sales order lines before you post.
Note
You can't create an invoice for something that is not shipped. Before you can invoice, you must have recorded a shipment or you must choose to ship and invoice at the same time.
When the posting is completed, the posted sales lines are removed from the order. A message tells you when the posting is completed.
To post a sales order, follow these steps:
Select the Search for Page icon in the top-right corner of the page, enter sales orders, and then select the related link.
Open the relevant sales order.
Select the Posting action, where the following posting functions are available:
Post - Posts the sales order.
Post and New - After posting the sales order, a new sales order will be created automatically.
Post and Send - The posted sales invoice will be sent to the customer according to the preferred method that is set up in the Document Sending Profile Code that is assigned to the customer card.
Preview Posting - Review the different types of entries that will be created when you post the document or journal.
You can also select Actions and then select the Posting action, where you can choose from additional functions:
Post and New
Test Report
Pro Forma Invoice
From the sales order list, you can also post sales orders in batch. Select the Posting action, where the Post Batch function is available.
Document sending profiles and email
You can set up each customer with a preferred method of sending sales documents so that you do not have to select a sending option every time you select the Post and Send action.
On the Document Sending Profiles page, you can set up different sending profiles that you can then select from in the Document Sending Profile field on a customer card.
You can set up a document sending profile by following these steps:
Select the Search for Page icon in the top-right corner of the page, enter document sending profiles, and then choose the related link.
On the Document Sending Profiles page, select the New action.
Fill in the fields as necessary.
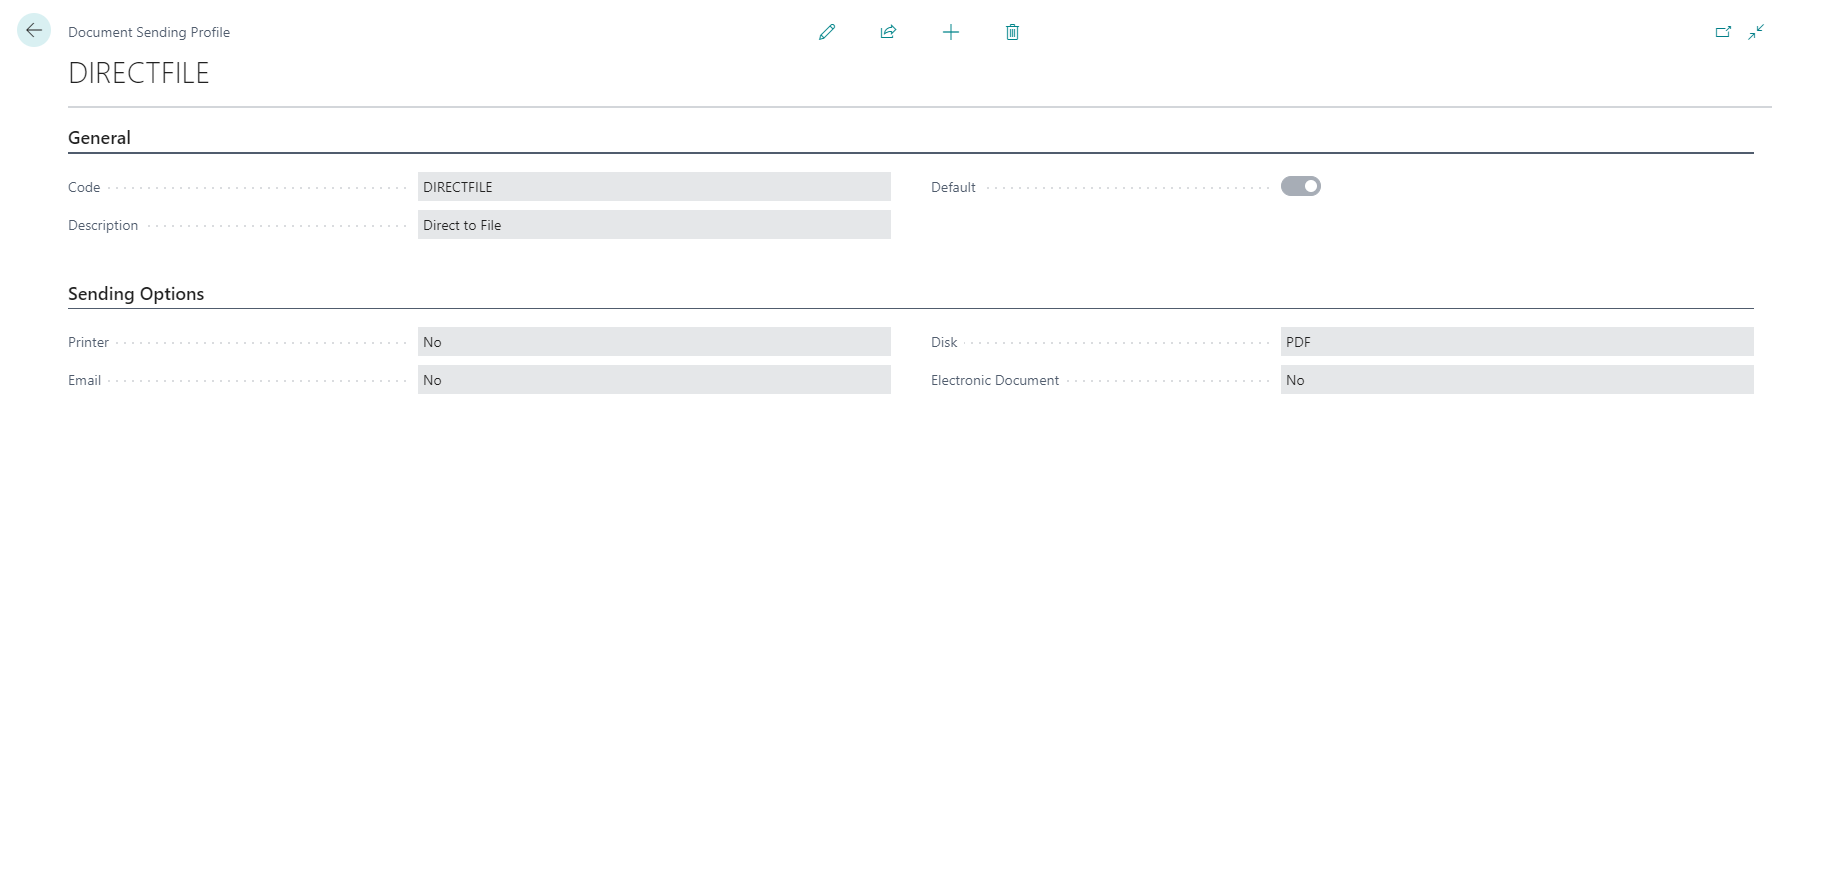
Code - A unique identifier for the document sending profile.
Description - A short description of the document sending profile.
Default - Select this option to specify that the document sending profile is the default profile for all customers, except for customers where the Document Sending Profile is filled in with another sending profile.
When you choose the Post and Send action on a sales document, the Post and Send Confirmation dialog box shows the sending options that are used, either the one that is set up for the customer or the default for all customers. In the dialog box, you can change the sending options for the sales document.
Printer - Specifies if and how the document is printed when you select the Post and Send action. If you select the Yes (Prompt for Settings) option, the document is printed according to settings that you must make on the printer setup dialog.
Email - Specifies if and how the document is attached as a PDF file to an email to the involved customer when you select the Post and Send action.
If you select the Yes (Prompt for Settings) option, the document is attached to an email according to settings that you make in the Send Email page. The Send Email page opens automatically and is prefilled with the contact person in the To: field and the document is attached as a PDF file. In the Body field, you can either enter text manually or you can have the Body field filled in automatically with a document-specific email body that you have set up previously.
If you don't want to specify email settings each time that you email a document, you can select the Yes (Use Default Settings) option. In that case, the Send Email page won't open.
Disk - Specify if the document is saved as a PDF file or if an electronic document is created when you select the Post and Send action.
Electronic Document - Specifies if the document is sent as an electronic document that the customer can import into their system when you select the Post and Send action. To use this option, you must also fill in the Electronic Format field. Alternatively, the file can be saved to disk.

If a document sending profile specifies that documents are sent by email, you have to enable emails. You can use the Set Up Email assisted setup.
You can send practically all document types as attachments to email messages directly from the page that shows the document. In addition to the attachment, you can set up document-specific email bodies with core information from the document preceded by standard text that greets the mail recipient and introduces the document in question. To offer your customers the option to pay for sales electronically by using a payment service, such as PayPal, you can also have the payment service information and hyperlink inserted in the email body.
Follow these steps if you want to set up a document-specific email body for sales invoices:
Select the Search for Page icon in the top-right corner of the page, enter report selection sales, and then select the related link.
On the Report Selection - Sales page, in the Usage field, select Invoice.
On a new line, fill in the following fields:
Report ID - Select, for example, standard report 1306.
Use for Email Body - Select the check box.
Email Body Layout Code - Select a layout for the report from the Custom Report Layouts page. Report layouts define the style and the content of the email body, including the standard text that precedes the core document information in the email body.
To view or edit the layout that the email body is based on, you can export and import the layout.
Now, when you choose the Post and Send action on the Sales Order page (for example), the email body will contain the document information of report 1306 preceded by styled standard text according to the selected report layout.

Watch the following video for additional information about getting ready to send invoices to customers.
Review posted transactions
When a sales order is posted, the customer's account, the general ledger, and the item ledger entries are updated.
For each sales order, a sales entry is created in the G/L Entry table. An entry is also created in the customer's account in the Cust. Ledger Entry table and a general ledger entry is created in the relevant receivables account. In addition, posting the order might result in a VAT entry and a general ledger entry for the discount amount. Whether an entry for the discount will be posted depends on the contents of the Discount Posting field on the Sales & Receivables Setup page.
For each sales order line, an item ledger entry will be created in the Item Ledger Entry table (if the sales lines contain item numbers) or a general ledger entry will be created in the G/L Entry table (if the sales lines contain a general ledger account). In addition, sales orders are always recorded in the Sales Shipment Header and Sales Invoice Header tables.
The Navigate function will allow you to get an overview of all related entries for a single transaction, such as the Cust. Ledger Entries, G/L Entries, Item Ledger Entries, Posted Sales Shipments, and Posted Sales Invoices pages.