Note
Access to this page requires authorization. You can try signing in or changing directories.
Access to this page requires authorization. You can try changing directories.
Azure Kubernetes Service (AKS) is a managed Kubernetes service that lets you quickly deploy and manage clusters. In this article, you learn how to create an AKS cluster in extended zones. For ARM template and Terraform deployment options, conceptual background, and additional Azure CLI guidance, see Azure Kubernetes Service (AKS) for Extended Zones in the AKS documentation.
AKS is generally available in Azure Extended Zones for public clusters and private clusters. For the up-to-date list of supported services and features, see Service offerings for Azure Extended Zones.
If you don't have an Azure subscription, create a free account before you begin.
Prerequisites
- An Azure account with an active subscription.
- Access to an extended zone. For more information, see Request access to an Azure extended zone.
Sign in to Azure
Sign in to the Azure portal with your Azure account.
Create an AKS cluster in an extended zone
In this section, you create an AKS cluster in an extended zone. Los Angeles is used as the example for this article.
Note
To help you quickly get started with provisioning an AKS cluster in an extended zone, this article includes steps to deploy a cluster with default settings for evaluation purposes only. Before you deploy a production-ready cluster, we recommend that you familiarize yourself with our baseline reference architecture to consider how it aligns with your business requirements.
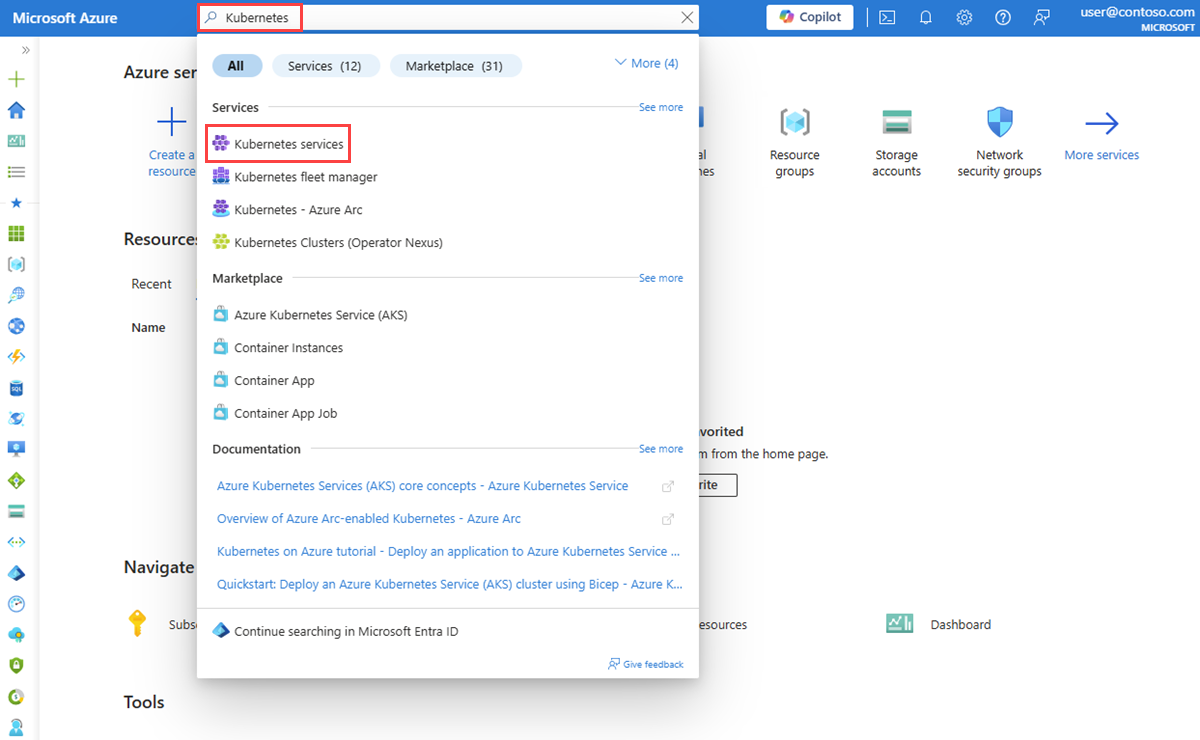
In the search box at the top of the portal, enter Kubernetes. Select Kubernetes services from the search results.
On the Kubernetes services page, select + Create and then select Create a Kubernetes cluster.
On the Basics tab on the Create Kubernetes cluster pane, enter or select the following information.
Setting Value Project details Subscription Select your Azure subscription. Resource group Select Create new.
In Name, enter myResourceGroup.
Select OK.Cluster details Cluster preset configuration Select Production Standard. You can modify preset configurations at any time. Storage account name Enter myAKSCluster. Region* Select the target extended zone's parent region (its homeLocation), and then select Deploy to an Azure Extended Zone.
Under Azure Extended Zones, select the respective extended zone.
Choose Select.*If no extended zone is paired with the selected region, you can't select an extended zone location.

Select Review + create.
Review the settings, and then select Create.
It takes a few minutes to create the AKS cluster.
When your deployment is finished, go to your resource by selecting Go to resource.


Create an AKS cluster in an extended zone by using the Azure CLI
You can also create an AKS cluster in an extended zone by using the az aks create command. Use the --edge-zone parameter to target the extended zone, and set --location to the extended zone's parent Azure region.
Replace $RG_NAME, $cluster_name, $parent_region, and $edge_zone with values appropriate for your environment.
Create a public AKS cluster
az aks create \
    --resource-group "$RG_NAME" \
    --name "$cluster_name" \
    --location "$parent_region" \
    --edge-zone "$edge_zone"
Create a private AKS cluster
az aks create \
    --resource-group "$RG_NAME" \
    --name "$cluster_name" \
    --location "$parent_region" \
    --edge-zone "$edge_zone" \
    --enable-private-cluster
For more information about private clusters, see Create a private Azure Kubernetes Service (AKS) cluster.
Clean up resources
When your resources are no longer needed, delete the AKS cluster and its resource group to avoid Azure charges.
In the search box at the top of the portal, enter myResourceGroup. Select myResourceGroup from the search results.
Select Delete resource group.
On the Delete a resource group pane, enter myResourceGroup, and then select Delete.
Select Delete to confirm the deletion of the resource group and all its resources.