Set up your OData connection
This article outlines the steps to create an OData connection.
Supported authentication types
This OData connector supports the following authentication types for copy and Dataflow Gen2 respectively.
| Authentication type | Copy | Dataflow Gen2 |
|---|---|---|
| Anonymous | √ | √ |
| Basic | √ | √ |
| Organizational account | n/a | √ |
Set up your connection in Dataflow Gen2
Data Factory in Microsoft Fabric uses Power Query connectors to connect Dataflow Gen2 to OData. The following links provide the specific Power Query connector information you need to connect to OData in Dataflow Gen2:
- To get started using the OData connector in Dataflow Gen2, go to Get data from Data Factory in Microsoft Fabric.
- To load data from the OData connector from Power Query, go to Load data from an OData Feed in Power Query Online.
In some cases, the Power Query connector article might include advanced options, troubleshooting, known issues and limitations, and other information that could also prove useful.
Set up your connection in a data pipeline
To create a connection in a data pipeline:
From the page header in the Data Factory service, select Settings
 > Manage connections and gateways.
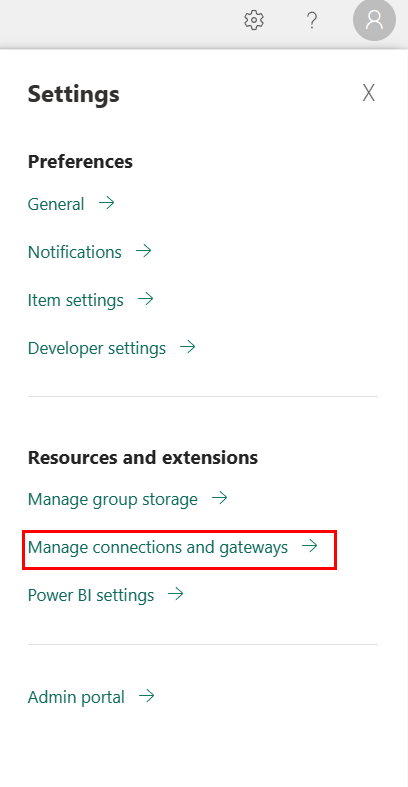
Select New at the top of the ribbon to add a new data source.
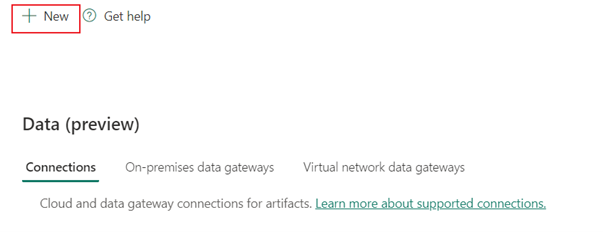
The New connection pane shows up on the left side of the page.

Setup connection
Step 1: Specify the new connection name, type, and URL
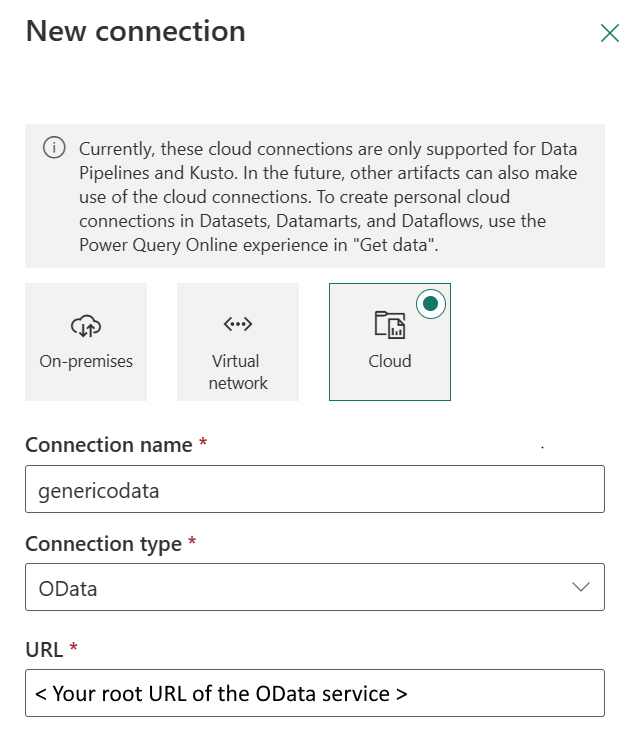
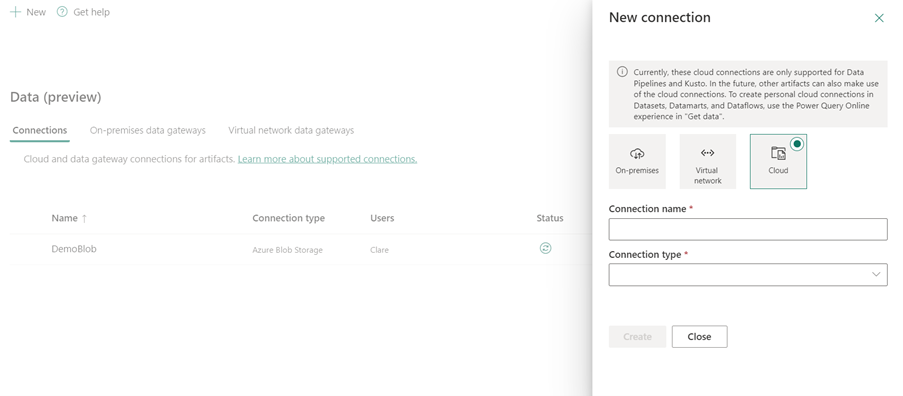
In the New connection pane, choose Cloud, and specify the following fields:
- Connection name: Specify a name for your connection.
- Connection type: Select OData for your connection type.
- URL: Enter the root URL of the OData service.
Step 2: Select and set your authentication
Under Authentication method, select your authentication from the drop-down list and complete the related configuration. This OData connector supports the following authentication types:

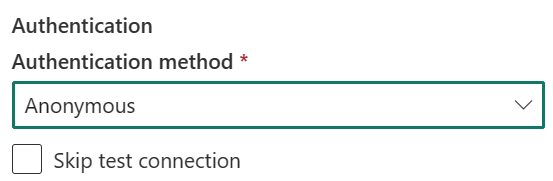
Anonymous authentication
Under Authentication method, select Anonymous.
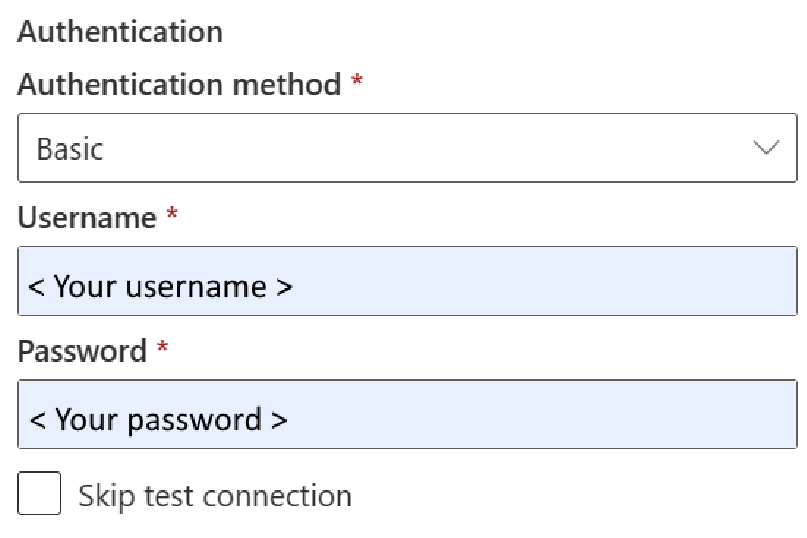
Basic authentication
- Username: The user name to use to access the OData endpoint.
- Password: The password for the specified username.
Step 3: Specify the privacy level that you want to apply
In the General tab, select the privacy level that you want apply in the Privacy level drop-down list. Three privacy levels are supported. For more information, go to privacy levels.
Step 4: Create your connection
Select Create. Your creation is successfully tested and saved if all the credentials are correct. If not correct, the creation fails with errors.

Table summary
The connector properties in the following table are supported in pipeline copy:
| Name | Description | Required | Property | Copy |
|---|---|---|---|---|
| Connection name | A name for your connection. | Yes | ✓ | |
| Connection type | Select OData for your connection type. | Yes | ✓ | |
| URL | The base URL to the OData server. | Yes | ✓ | |
| Authentication | Go to Authentication | Yes | Go to Authentication | |
| Privacy Level | The privacy level that you want to apply. Allowed values are Organizational, Privacy, Public | Yes | ✓ |
Authentication
The properties in the following table are the supported authentication type.
| Name | Description | Required | Property | Copy |
|---|---|---|---|---|
| Anonymous | ✓ | |||
| Basic | ✓ | |||
| - Username | The user name to use to access the OData endpoint. | Yes | ||
| - Password | The password for the specified username. | Yes |