Exercise - Plan a sprint using Delivery Plans
Now you can create a delivery plan and use it to plan a sprint in Azure DevOps.
The Tailspin team is eager to see how Delivery Plans is going to work. They already have two teams with sprints set up in Azure DevOps, so now they can review and optimize the work schedules.
To do this, you:
- Create a delivery plan.
- Add team sprints and milestones.
- Rearrange work items to fit the overall schedule.
Create a delivery plan
You create a delivery plan from the Delivery Plans tab of Azure Boards. You can create as many delivery plans as you need to manage different aspects of your organization.
From Azure DevOps, navigate to your project.
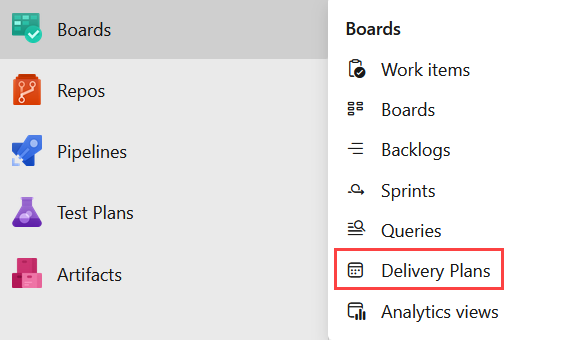
Under Boards, select Delivery Plans.
Select New plan.
In the form, enter these fields:
- Name: Space Game Delivery Plan.
- Select the Backlog items backlog for the Space Game Web Team.
- Add the Space Game Engine Team's Backlog items backlog using the Add team option.
The Web team and the Engine team share a common set of backlog items.
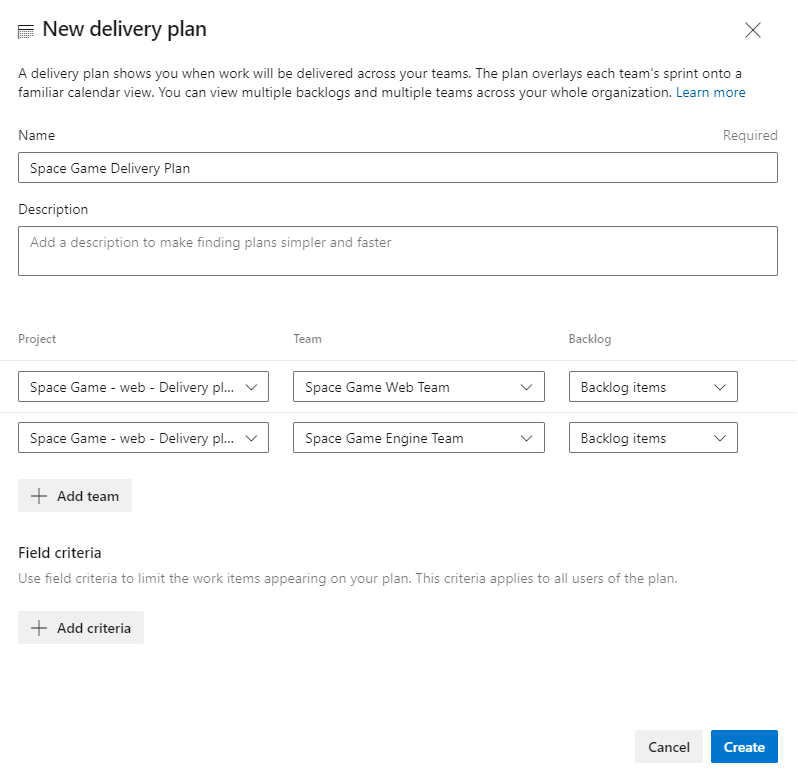
Select Create.
Note
The team project generated for this module uses the Scrum process, not the Basic process used in other modules in this learning path. While the Basic process uses Issues, the Scrum process uses Backlog items, which are functionally the same for the purposes of this module. You can use Delivery Plans with either process.
Add schedule milestone markers
Milestone markers can be added to the delivery plan as reference points. They help you plan work within the context of significant or external dates. Let's add a few markers now. To do so:
Select your delivery plan.
In the top right toolbar, select Settings, and then, on the Plan settings pane, select Markers.
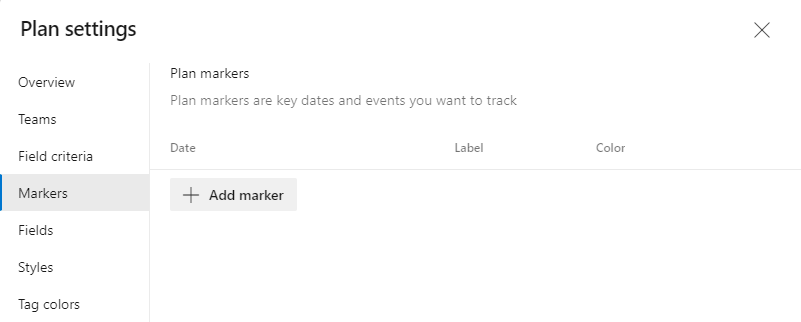
From the Markers tab, select Add marker.
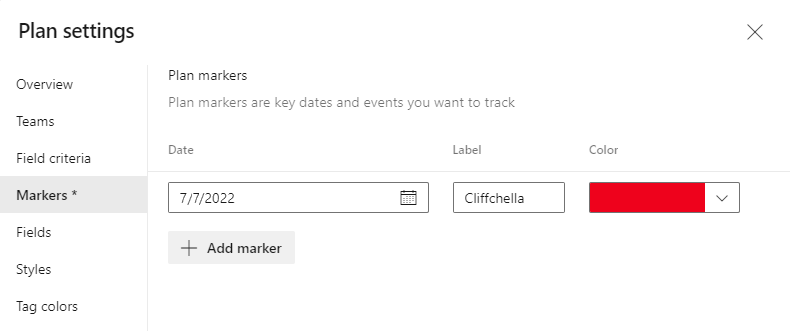
In the form, enter these fields:
- Date: Select a date one week from now
- Label: Cliffchella
- Color: Red
Repeat the process to add markers with labels, dates, and colors:
- Beta: five weeks from today (blue)
- Annual company party: six weeks from today (green)
Select Save.
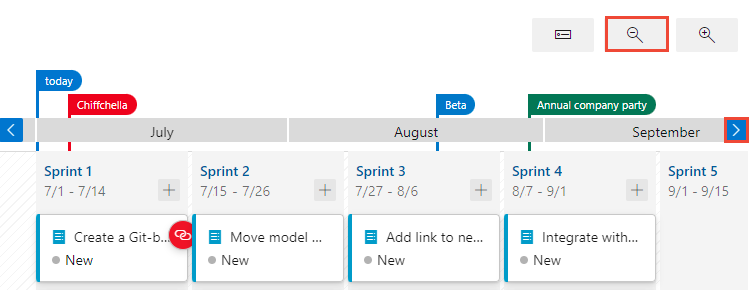
Use the Scroll calendar and Zoom out controls to bring all markers into view.
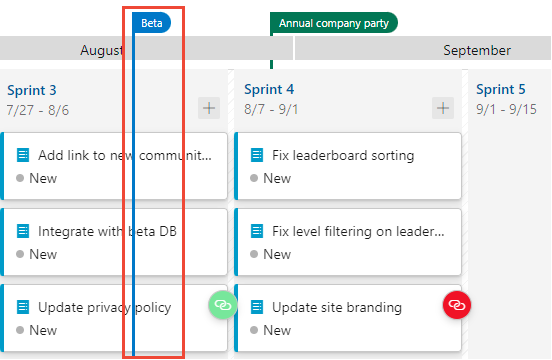
Select the Beta marker at the top of the design plan. A solid line shows the boundary of the beta milestone.
Optimize the work schedule
Notice that there's a work item for the Web team to Integrate with beta DB that's scheduled to be completed before the beta will be ready. This is a problem because this work item is dependent on that beta.
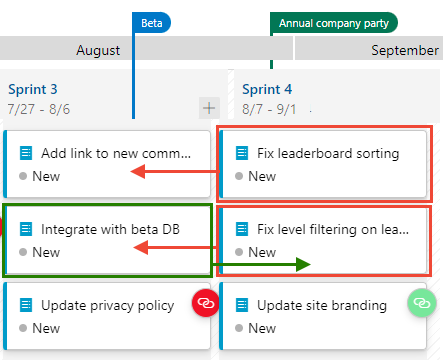
Drag the integration work item from Sprint 3 to Sprint 4 to ensure that its dependency will be available.
This change opens a significant amount of bandwidth in Sprint 3. Because that time is now available for productive work, drag the two Fix work items from Sprint 4 back into Sprint 3.
Your final sprint plan should look similar to this:
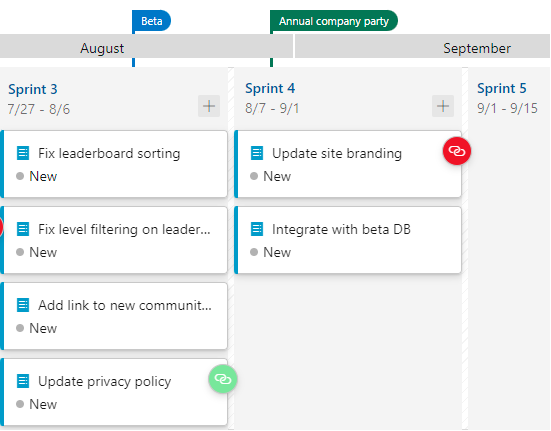
Although the team has made some adjustments, they haven't addressed all the dependency issues that are identified in the delivery plan. In the next unit, they learn more about dependencies and how to resolve the issues that can occur in the schedule.