Exercise - Create a Redis Cache instance in Azure
Let's create an Azure Cache for Redis instance to store and return commonly used values.
Create a Redis cache in Azure
Sign into the Azure portal using the same account you used to activate the sandbox.
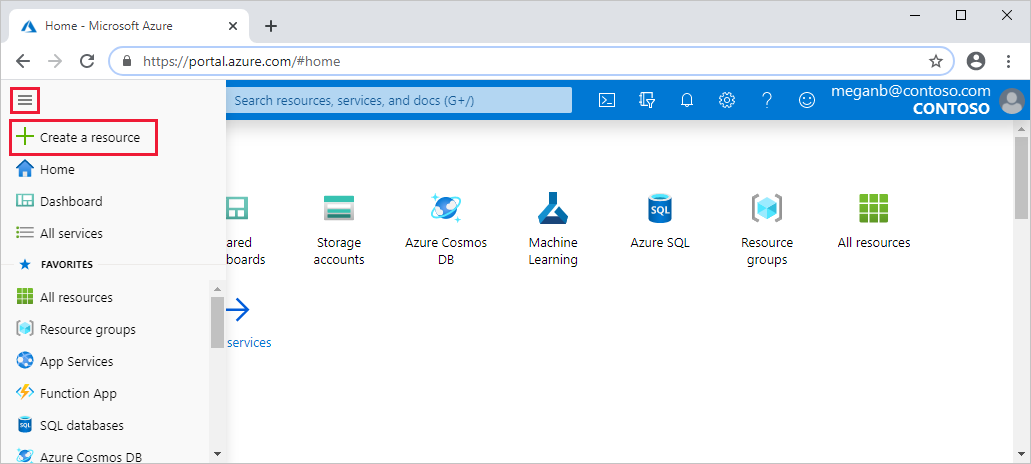
On the Azure portal menu, select Create a resource.
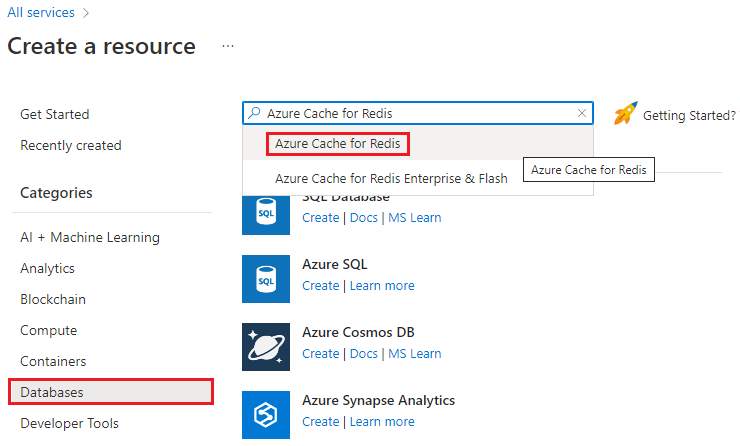
Select Databases, and then search for and select Azure Cache for Redis.
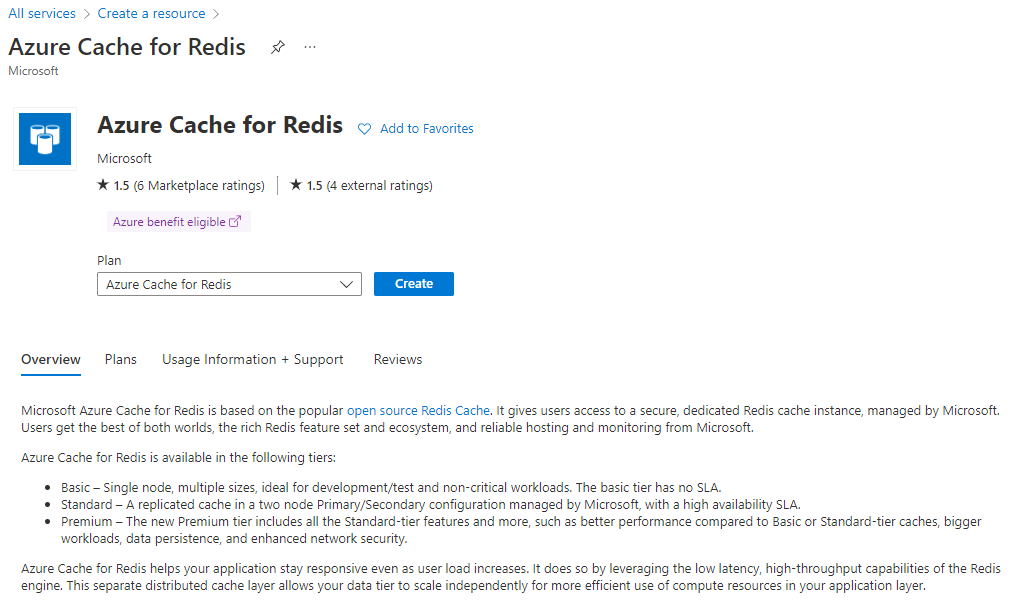
On the Azure Cache for Redis page, select Create.
Configure your cache
On the New Redis Cache page, apply the following settings:
Setting Value Subscription Concierge Subscription Resource group [sandbox resource group name] DNS name Enter a globally unique name such as ContosoSportsApp[nnn], where [nnn]is replaced with random numbers.Location Normally, you'd select a location near your customers; in this case, the East Coast. For this exercise, you can select any available location. Cache SKU Select Standard Cache size Select Basic C0, which is the lowest tier you can use. Production apps would likely want to store more data and utilize some of the Premium features such as clustering, which would require a higher tier selection 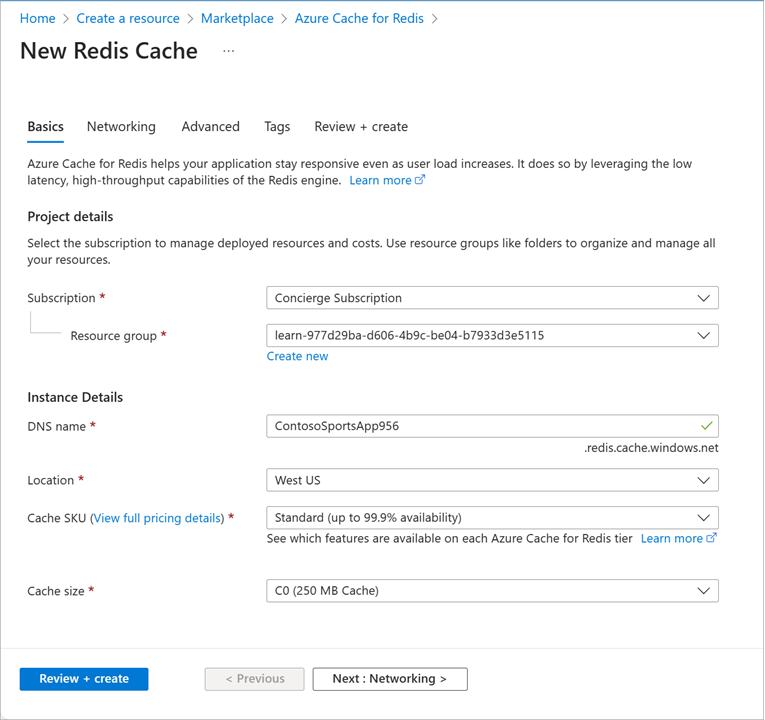
Select Review + Create, then select Create. Azure will create and deploy the Redis Cache instance for you.
Important
Usually, the Redis cache resource will be created and viewable in the Azure portal quickly, but the cache itself won't be available for a few minutes. The next steps show how to check the status of your cache once deployment is finished.
Use your cache
You can use the Console feature in the Azure portal to issue commands to your Redis cache instance after it's been deployed.
Locate and select your Redis cache by selecting Go to resource in the Notification popup when it finishes deployment. Alternatively, you can select All Resources in the left-hand sidebar and use the filter box on the left to select Redis Cache instances, or use the search box at the top of the page and type the name of the cache.
On the Overview pane for your Redis Cache, check the value of the Status field. The cache isn't ready until the status is Running. You might have to wait for a few minutes before proceeding.
Once the cache is running, select the >_ Console button in the toolbar on the Overview pane for your Redis Cache. A Redis console will open, which allows you to enter low-level Redis commands. Try some of the following commands:
pingset test oneget test
Switch back to the Overview pane through the breadcrumb bar on the top, or by using the scroll bar to slide the view back to the left.
Retrieve the access keys and host name
In the left menu under Settings, select Authentication.
Copy the Primary connection string (StackExchange.Redis) to a safe place, you'll need it for the next exercise.
This key includes your primary key and host name in a complete connection string for use within your application settings for the StackExchange.Redis package we're going to use.
Next, let's learn about some of the commands we can use to interrogate the cache.
For the next exercise, you'll need the host name, port, and primary access key of the cache.
In the left menu under Settings, select Authentication.
Copy the Primary access key (not the Primary connection string) to a text editor.
In the left menu under Settings, select Properties.
Copy the Host name and SSL port to a text editor.
Next, let's learn about some of the commands we can use to interrogate the cache.