Note
Access to this page requires authorization. You can try signing in or changing directories.
Access to this page requires authorization. You can try changing directories.
Create, build, and run your first WinUI 3 app. Choose Visual Studio for a full IDE experience with visual designer support, or dotnet new to work from the command line in any editor. Use the tabs below to switch between the two approaches.
Set up your development environment
To develop WinUI 3 apps with Visual Studio, you need Visual Studio 2026 with the required workloads and Developer Mode enabled.
Set up with WinGet (recommended)
Open Windows Terminal and run the following command in PowerShell to automatically install Visual Studio 2026 with the required workloads and enable Developer Mode using a WinGet Configuration file:
winget configure -f https://aka.ms/winui-config
To review the config file and learn more, see its README on GitHub.
Note
If WinGet is not available in your environment, install it first:
Install-Module -Name Microsoft.WinGet.Client -Force
Repair-WinGetPackageManager -AllUsers
See Using WinGet for more information.
Set up manually
If you prefer to install tools manually:
Enable Developer Mode: open Windows Settings, navigate to System > Advanced, and toggle Developer Mode to On.
Download and install Visual Studio 2026. For details, see Install Visual Studio.
In the Visual Studio Installer, select the WinUI application development workload on the Workloads tab. For C++ development, also select C++ WinUI app development tools under that workload in the Installation details pane.

Tip
If you don't see WinUI templates after installing Visual Studio, open the Visual Studio Installer, select Modify, and confirm the WinUI application development workload is checked. Restart Visual Studio after modifying the installation.
Create and launch your first WinUI 3 app
Open Visual Studio 2026 and select Create a new project.
Search for WinUI, select the WinUI Blank App (Packaged) C# project template, and select Next.

Enter a project name and select Create.

Press Start (F5) to build and run your app.

Your app builds, deploys, and launches in debug mode:

You've built and launched your first WinUI 3 app! 🎉


Troubleshooting
If you run into issues building or running your first app, try these common fixes:
| Problem | Solution |
|---|---|
| WinUI templates don't appear in Visual Studio | Open the Visual Studio Installer, select Modify, and confirm the WinUI application development workload is checked. Restart Visual Studio after modifying the installation. See the tip in Set up your development environment for details. |
| Build fails with SDK version errors | Open the Visual Studio Installer and select Individual components. Verify that the Windows SDK version your project targets is installed. In your project file, confirm that TargetFramework matches the installed SDK (for example, net10.0-windows10.0.26100.0). |
| NuGet restore failures | Clear the local NuGet cache and restore again. In a terminal, run: dotnet nuget locals all --clear then dotnet restore. |
| "Developer Mode not enabled" error | Open Windows Settings > System > Advanced and toggle Developer Mode to On. See Enable Developer Mode for more information. |
| Changes not recognized after first SDK install | After installing or updating the Windows App SDK or Visual Studio workloads for the first time, restart Visual Studio so it picks up the new components. |
Tip
If none of the above resolves your issue, search the Windows App SDK GitHub issues or ask on Microsoft Q&A.
Next steps

Build your first WinUI app
Ready to go further? Follow the step-by-step tutorial to build a full WinUI app.
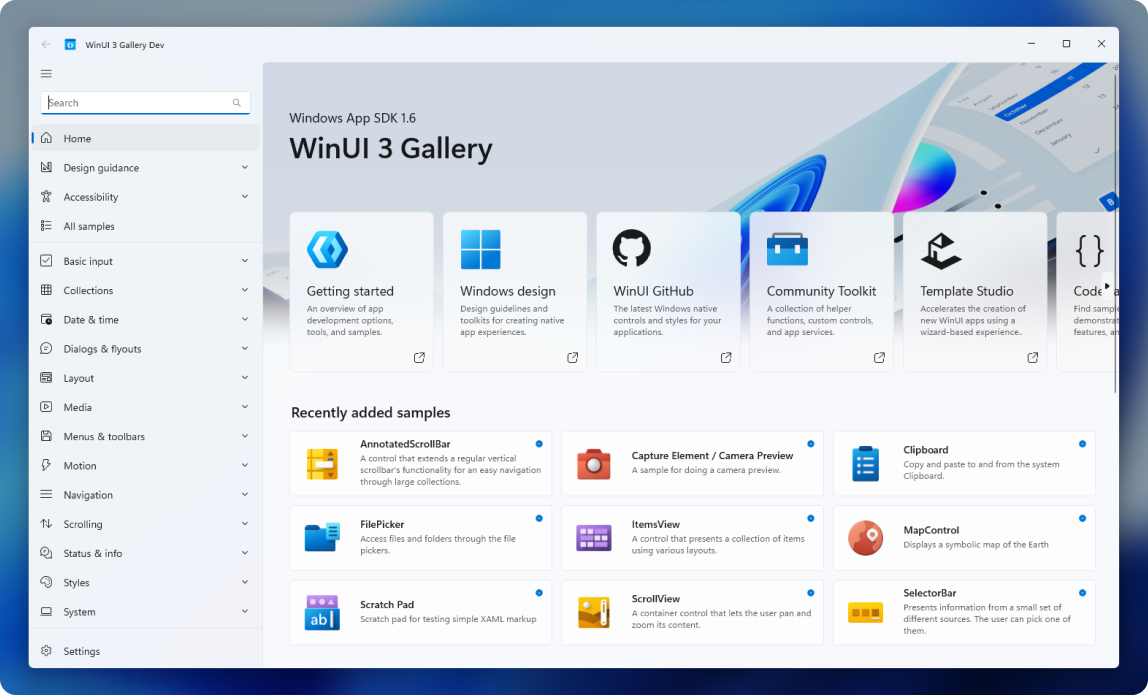
WinUI 3 Gallery
Explore interactive examples of WinUI controls, features, and functionality.

Samples and resources
Browse code samples, starter projects, and tools to accelerate your development.
Collaborate with us on GitHub
The source for this content can be found on GitHub, where you can also create and review issues and pull requests. For more information, see our contributor guide.

Windows developer