Note
Access to this page requires authorization. You can try signing in or changing directories.
Access to this page requires authorization. You can try changing directories.
Important
Effective May 1, 2025, Azure AD B2C will no longer be available to purchase for new customers. Learn more in our FAQ.
When you've finished the Azure Active Directory B2C (Azure AD B2C) tutorials, you can delete the tenant you used for testing or training. To delete the tenant, you'll first need to delete all tenant resources. In this article, you'll:
- Use the Delete tenant option to identify cleanup tasks
- Delete tenant resources (user flows, identity providers, applications, users)
- Delete the tenant
Identify cleanup tasks
Sign in to the Azure portal with a Global Administrator role. Use the same work or school account or the same Microsoft account that you used to sign up for Azure.
If you have access to multiple tenants, select the Settings icon in the top menu to switch to your Azure AD B2C tenant from the Directories + subscriptions menu.
In the Azure portal, search for and select the Microsoft Entra ID service.
In the left menu, under Manage, select Properties.
Under Access management for Azure resources, select Yes, and then select Save.
Sign out of the Azure portal and then sign back in to refresh your access.
Repeat step two to make sure you're using the directory that contains your Azure AD B2C tenant.
In the Azure portal, search for and select the Microsoft Entra ID service
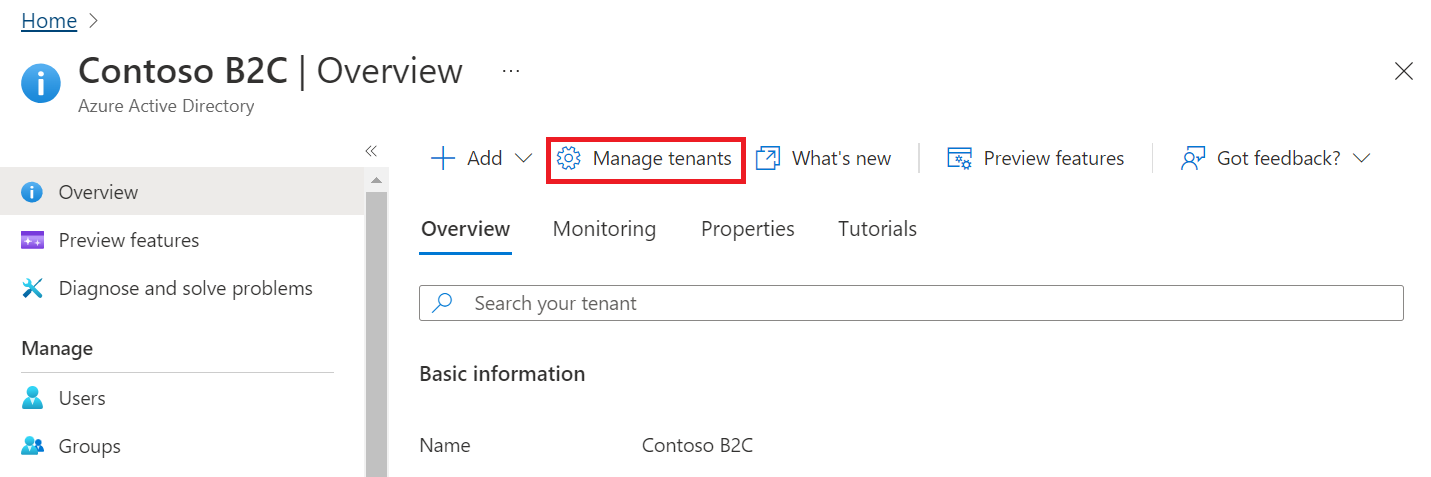
On the Overview page, select Manage tenants.
On the Manage tenants page, select (by check marking) the tenant you want to delete, and then, at the top of the page, select the Delete button. The Required action column indicates the resources you need to remove before you can delete the tenant.
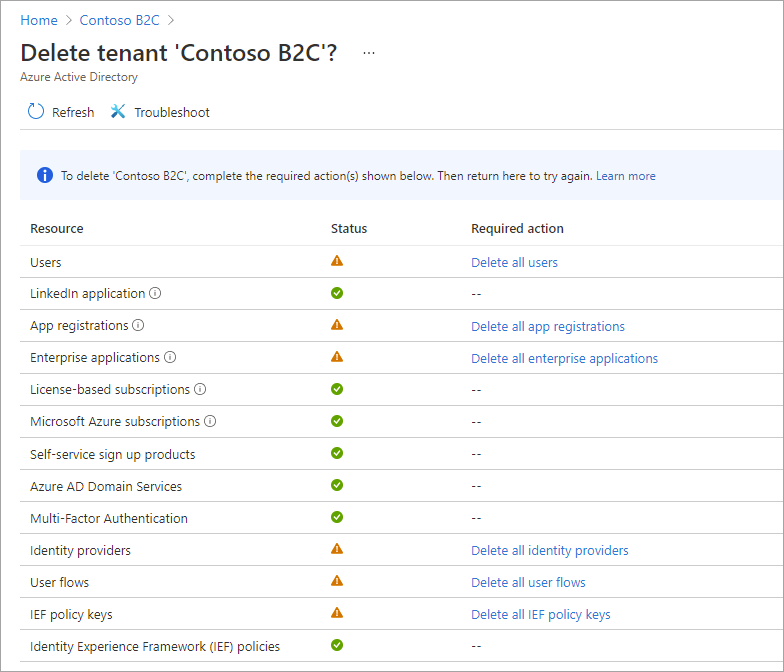
Delete tenant resources
If you've the confirmation page open from the previous section, you can use the links in the Required action column to open the Azure portal pages where you can remove these resources. Or, you can remove tenant resources from within the Azure AD B2C service using the following steps.
Sign in to the Azure portal with a Global Administrator. Use the same work or school account or the same Microsoft account that you used to sign up for Azure.
If you have access to multiple tenants, select the Settings icon in the top menu to switch to your Azure AD B2C tenant from the Directories + subscriptions menu.
In the Azure portal, select the Azure AD B2C service, or search for and select Azure AD B2C.
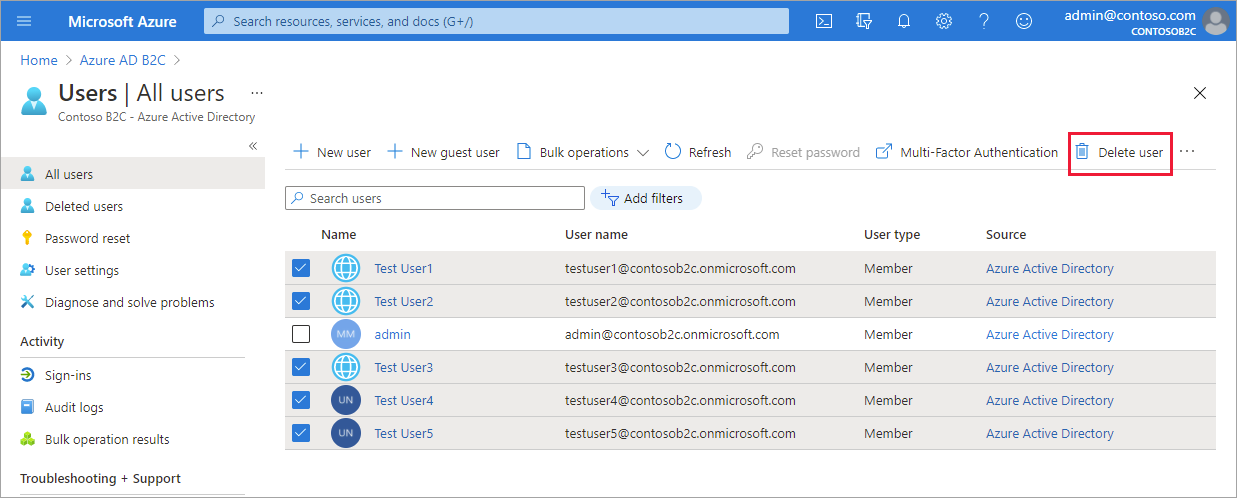
Delete all users except the admin account you're currently signed in as:
- Under Manage, select Users.
- On the All users page, select the checkbox next to each user (except the admin account you're currently signed in as).
- At the top of the page, select Delete user, and then select Yes when prompted.
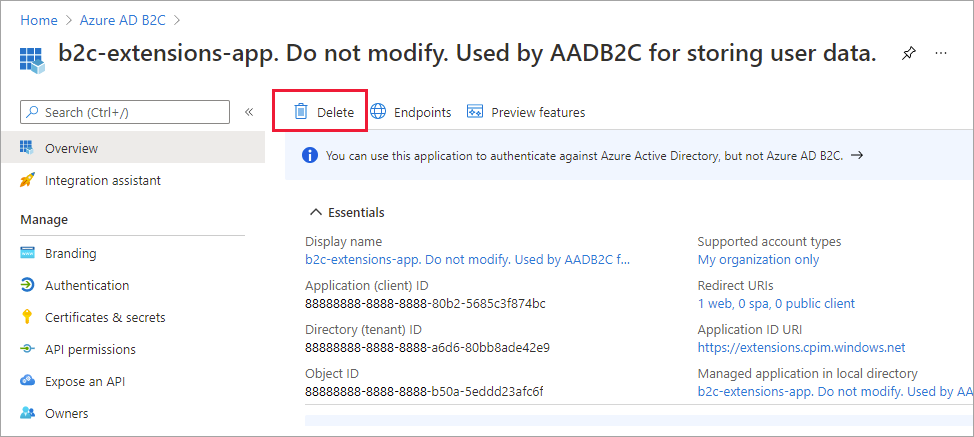
Delete app registrations and the b2c-extensions-app:
- Under Manage, select App registrations.
- Select the All applications tab.
- Select an application to open it, and then select Delete button. Repeat for all applications, including the b2c-extensions-app application.
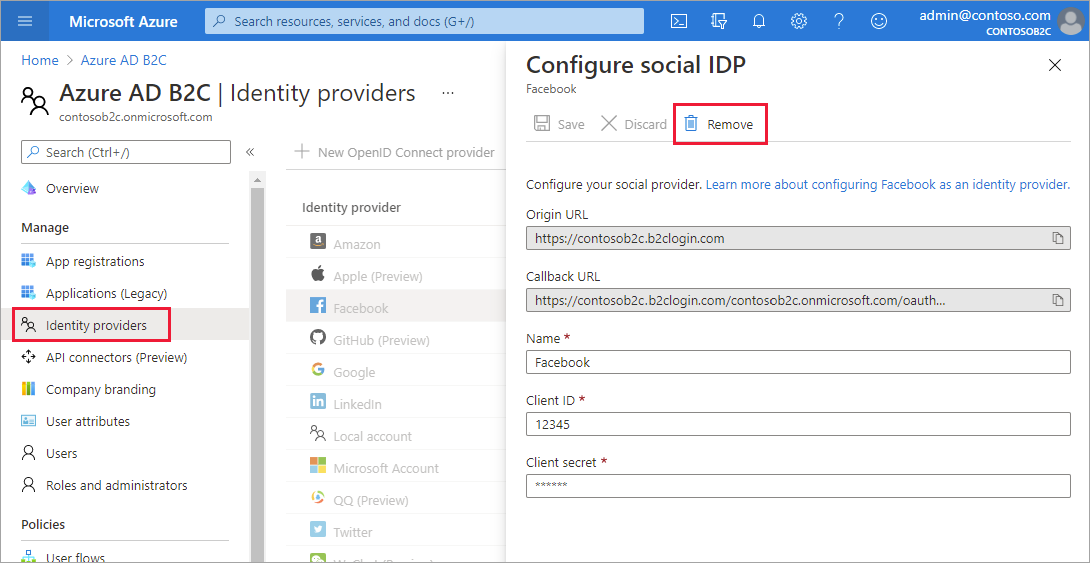
Delete any identity providers you configured:
- Under Manage, select Identity providers.
- Select an identity provider you configured, and then select Remove.
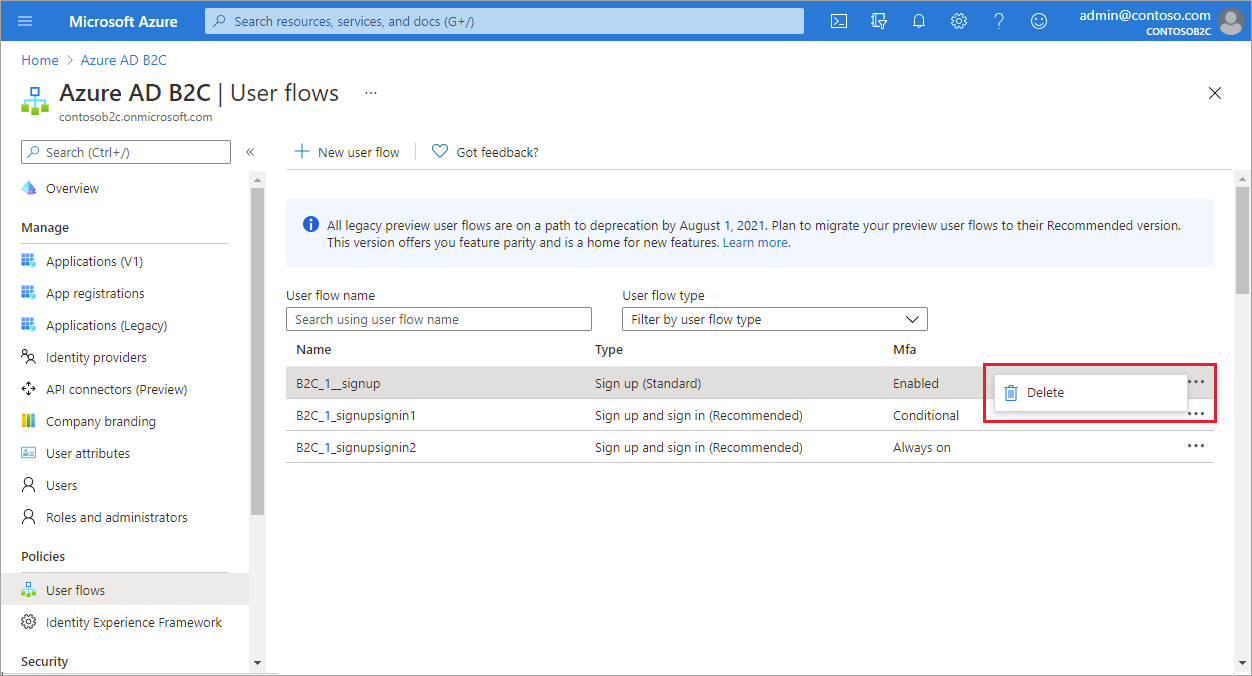
Delete user flows:
- Under Policies, select User flows.
- Next to each user flow, select the ellipses (...) and then select Delete.
Delete policy keys:
- Under Policies, select Identity Experience Framework, and then select Policy keys.
- Next to each policy key, select the ellipses (...) and then select Delete.
Delete custom policies:
- Under Policies, select Identity Experience Framework, and then select Custom policies.
- Next to each Custom policy, select the ellipses (...) and then select Delete.
Delete the tenant
Once you delete all the tenant resources, you can now delete the tenant itself:
Sign in to the Azure portal with a Global Administrator. Use the same work or school account or the same Microsoft account that you used to sign up for Azure.
If you have access to multiple tenants, select the Settings icon in the top menu to switch to your Azure AD B2C tenant from the Directories + subscriptions menu.
In the Azure portal, search for and select the Microsoft Entra ID service.
If you haven't already granted yourself access management permissions, do the following:
- Under Manage, select Properties.
- Under Access management for Azure resources, select Yes, and then select Save.
- Sign out of the Azure portal and then sign back in to refresh your access, and select the Microsoft Entra ID service.
On the Overview page, select Manage tenants.
On the Manage tenants page, select (by check marking) the tenant you want to delete, and then, at the top of the page, select the Delete button
Follow the on-screen instructions to complete the process.
Next steps
In this article, you learned how to:
- Delete your tenant resources
- Delete the tenant
Next, learn more about getting started with Azure AD B2C user flows and custom policies.