Note
Access to this page requires authorization. You can try signing in or changing directories.
Access to this page requires authorization. You can try changing directories.
Important
Azure Cache for Redis announced its retirement timeline for all SKUs. We recommend moving your existing Azure Cache for Redis instances to Azure Managed Redis as soon as you can.
For more details about the retirement:
Azure Event Grid is an eventing service for the cloud. In this quickstart, you'll use Azure PowerShell to subscribe to Azure Cache for Redis events, trigger an event, and view the results.
Typically, you send events to an endpoint that processes the event data and takes actions. However, to simplify this quickstart, you'll send events to a web app that will collect and display the messages. When you complete the steps described in this quickstart, you'll see that the event data has been sent to the web app.
Setup
This quickstart requires that you're running the latest version of Azure PowerShell. If you need to install or upgrade, see Install and configure Azure PowerShell.
Sign in to Azure
Sign in to your Azure subscription with the Connect-AzAccount command and follow the on-screen directions to authenticate.
Connect-AzAccount
This example uses westus2 and stores the selection in a variable for use throughout.
$location = "westus2"
Create a resource group
Event Grid topics are deployed as individual Azure resources and must be provisioned under an Azure resource group. A resource group is a logical collection into which Azure resources are deployed and managed.
Create a resource group with the New-AzResourceGroup command.
The following example creates a resource group named gridResourceGroup in the westus2 location.
$resourceGroup = "gridResourceGroup"
New-AzResourceGroup -Name $resourceGroup -Location $location
Create an Azure Cache for Redis instance
New-AzRedisCache
   -ResourceGroupName <String>
   -Name <String>
   -Location <String>
   [-Size <String>]
   [-Sku <String>]
   [-RedisConfiguration <Hashtable>]
   [-EnableNonSslPort <Boolean>]
   [-TenantSettings <Hashtable>]
   [-ShardCount <Int32>]
   [-MinimumTlsVersion <String>]
   [-SubnetId <String>]
   [-StaticIP <String>]
   [-Tag <Hashtable>]
   [-Zone <String[]>]
   [-DefaultProfile <IAzureContextContainer>]
   [-WhatIf]
   [-Confirm]
   [<CommonParameters>]
For more information on creating a cache instance in PowerShell, see the Azure PowerShell reference.
Create a message endpoint
Before subscribing to the topic, let's create the endpoint for the event message. Typically, the endpoint takes actions based on the event data. To simplify this quickstart, you deploy a pre-built web app that displays the event messages. The deployed solution includes an App Service plan, an App Service web app, and source code from GitHub.
Replace <your-site-name> with a unique name for your web app. The web app name must be unique because it's part of the DNS entry.
$sitename="<your-site-name>"

New-AzResourceGroupDeployment `
  -ResourceGroupName $resourceGroup `
  -TemplateUri "https://raw.githubusercontent.com/Azure-Samples/azure-event-grid-viewer/main/azuredeploy.json" `
  -siteName $sitename `
  -hostingPlanName viewerhost
The deployment may take a few minutes to complete. After the deployment has succeeded, view your web app to make sure it's running. In a web browser, navigate to: https://<your-site-name>.azurewebsites.net
You should see the site with no messages currently displayed.
Subscribe to your Azure Cache for Redis event
In this step, you'll subscribe to a topic to tell Event Grid which events you want to track. The following example subscribes to the cache instance you created, and passes the URL from your web app as the endpoint for event notification. The endpoint for your web app must include the suffix /api/updates/.
$cacheId = (Get-AzRedisCache -ResourceGroupName $resourceGroup -Name $cacheName).Id
$endpoint="https://$sitename.azurewebsites.net/api/updates"

New-AzEventGridSubscription `
  -EventSubscriptionName <event_subscription_name> `
  -Endpoint $endpoint `
  -ResourceId $cacheId
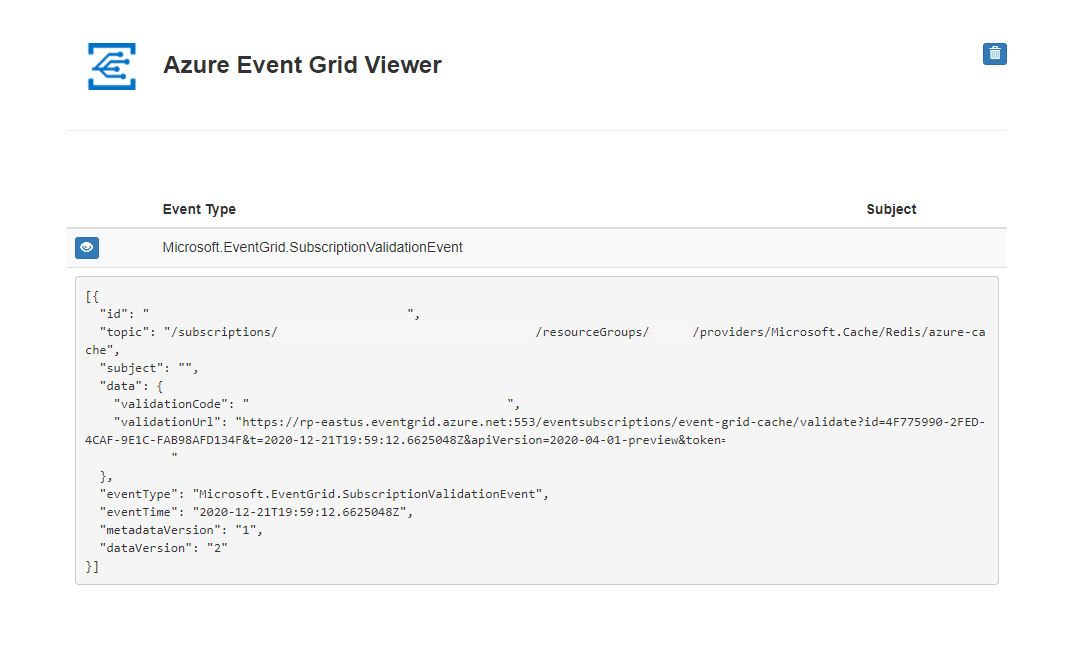
View your web app again, and notice that a subscription validation event has been sent to it. Select the eye icon to expand the event data. Event Grid sends the validation event so the endpoint can verify that it wants to receive event data. The web app includes code to validate the subscription.
Trigger an event from Azure Cache for Redis
Now, let's trigger an event to see how Event Grid distributes the message to your endpoint.
Import-AzRedisCache
      [-ResourceGroupName <String>]
      -Name <String>
      -Files <String[]>
      [-Format <String>]
      [-Force]
      [-PassThru]
      [-DefaultProfile <IAzureContextContainer>]
      [-WhatIf]
      [-Confirm]
      [<CommonParameters>]
For more information on importing in PowerShell, see the Azure PowerShell reference.
You've triggered the event, and Event Grid sent the message to the endpoint you configured when subscribing. View your web app to see the event you just sent.
[{
"id": "e1ceb52d-575c-4ce4-8056-115dec723cff",
  "eventType": "Microsoft.Cache.ImportRDBCompleted",
  "topic": "/subscriptions/{subscription_id}/resourceGroups/{resource_group_name}/providers/Microsoft.Cache/Redis/{cache_name}",
  "data": {
    "name": "ImportRDBCompleted",
    "timestamp": "2020-12-10T18:07:54.4937063+00:00",
    "status": "Succeeded"
  },
  "subject": "ImportRDBCompleted",
  "dataversion": "1.0",
  "metadataVersion": "1",
  "eventTime": "2020-12-10T18:07:54.4937063+00:00"
}]
Clean up resources
If you plan to continue working with this Azure Cache for Redis instance and event subscription, don't clean up the resources created in this quickstart. If you don't plan to continue, use the following command to delete the resources you created in this quickstart.
Remove-AzResourceGroup -Name $resourceGroup
Next steps
Now that you know how to create topics and event subscriptions, learn more about Azure Cache for Redis events and what Event Grid can help you do: