Add a symbol layer in the iOS SDK (Preview)
This article shows you how to render point data from a data source as a symbol layer on a map using the Azure Maps iOS SDK. Symbol layers render points as an image and text on the map.
Note
Azure Maps iOS SDK retirement
The Azure Maps Native SDK for iOS is now deprecated and will be retired on 3/31/25. To avoid service disruptions, migrate to the Azure Maps Web SDK by 3/31/25. For more information, see The Azure Maps iOS SDK migration guide.
Tip
Symbol layers by default will render the coordinates of all geometries in a data source. To limit the layer so that it only renders point geometry features, set the filter option of the layer to NSPredicate(format: "%@ == \"Point\"", NSExpression.geometryTypeAZMVariable). If you want to include MultiPoint features as well, use NSCompoundPredicate.
Prerequisites
Be sure to complete the steps in the Quickstart: Create an iOS app document. Code blocks in this article can be inserted into the viewDidLoad function of ViewController.
Add a symbol layer
Before you can add a symbol layer to the map, you need to take a couple of steps. First, create a data source, and add it to the map. Create a symbol layer. Then, pass in the data source to the symbol layer, to retrieve the data from the data source. Finally, add data into the data source, so that there's something to be rendered.
The following code demonstrates what should be added to the map after it has loaded. This sample renders a single point on the map using a symbol layer.
//Create a data source and add it to the map.
let source = DataSource()
map.sources.add(source)

//Create a point and add it to the data source.
source.add(geometry: Point(CLLocationCoordinate2D(latitude: 0, longitude: 0)))

//Create a symbol layer to render icons and/or text at points on the map.
let layer = SymbolLayer(source: source)

//Add the layer to the map.
map.layers.addLayer(layer)
There are three different types of point data that can be added to the map:
- GeoJSON Point geometry - This object only contains a coordinate of a point and nothing else. The
Pointinit method can be used to easily create these objects. - GeoJSON MultiPoint geometry - This object contains the coordinates of multiple points and nothing else. Pass an array of coordinates into the
PointCollectionclass to create these objects. - GeoJSON Feature - This object consists of any GeoJSON geometry and a set of properties that contain metadata associated to the geometry.
For more information, see the Create a data source document on creating and adding data to the map.
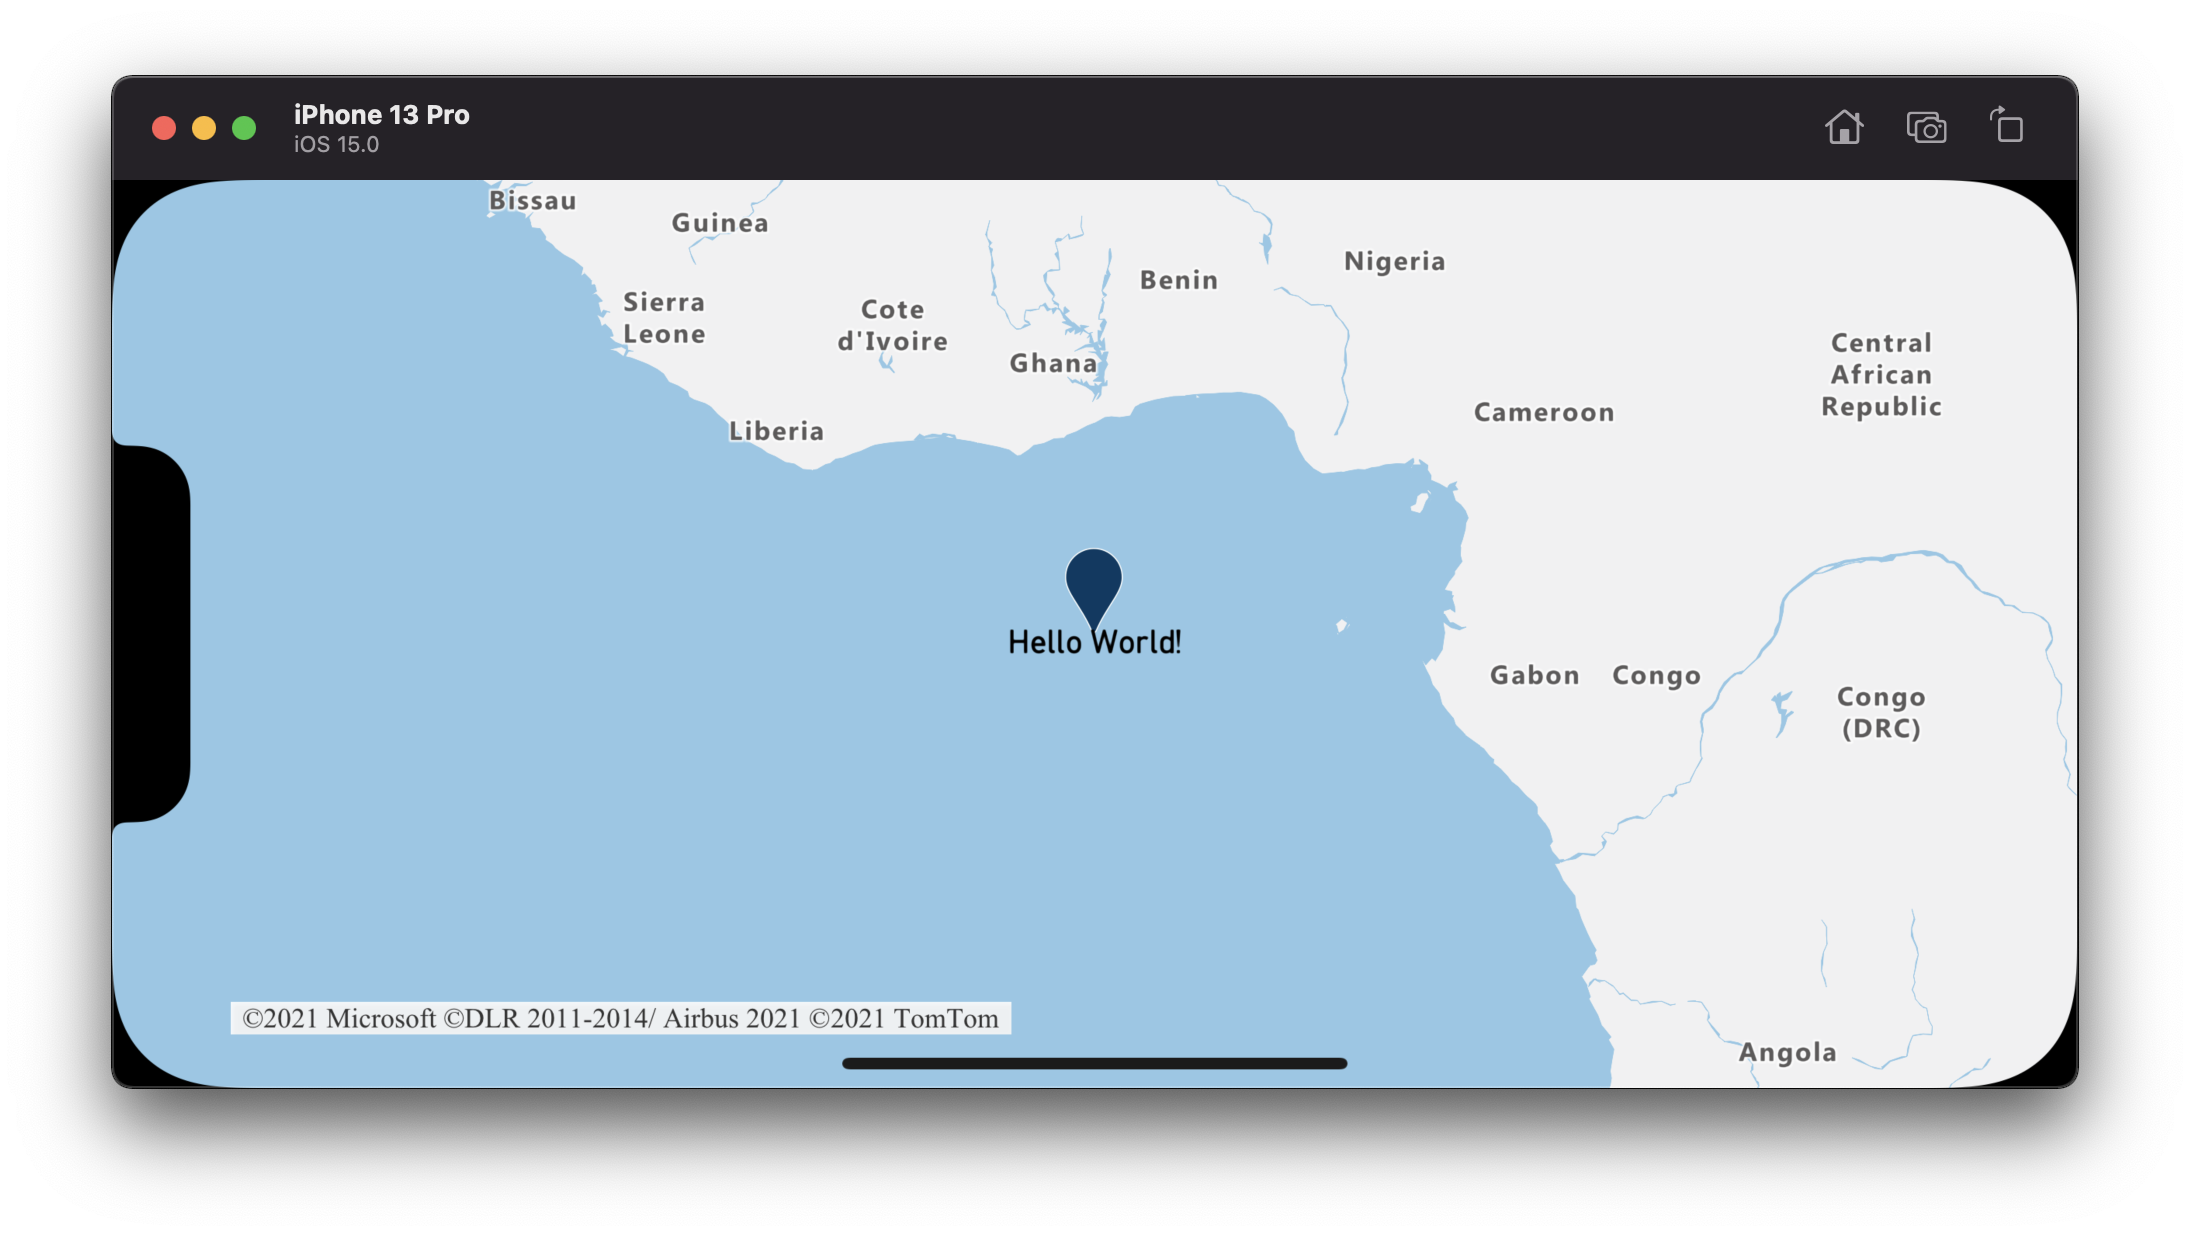
The following code sample creates a GeoJSON Point geometry and passes it into the GeoJSON Feature and has a title value added to its properties. The title property is displayed as text below the symbol icon on the map.
// Create a data source and add it to the map.
let source = DataSource()
map.sources.add(source)

// Create a point feature.
let feature = Feature(Point(CLLocationCoordinate2D(latitude: 0, longitude: 0)))

// Add a property to the feature.
feature.addProperty("title", value: "Hello World!")

// Add the feature to the data source.
source.add(feature: feature)

// Create a symbol layer to render icons and/or text at points on the map.
let layer = SymbolLayer(
    source: source,
    options: [
        // Get the title property of the feature and display it on the map.
        .textField(from: NSExpression(forKeyPath: "title")),

        // Place the text below so it doesn't overlap the icon.
        .textAnchor(.top)
    ]
)

// Add the layer to the map.
map.layers.addLayer(layer)
The following screenshot shows the above code rendering a point feature using an icon and text label with a symbol layer.
Tip
By default, symbol layers optimize the rendering of symbols by hiding symbols that overlap. As you zoom in, the hidden symbols become visible. To disable this feature and render all symbols at all times, set the iconAllowOverlap and textAllowOverlap options to true.
Add a custom icon to a symbol layer
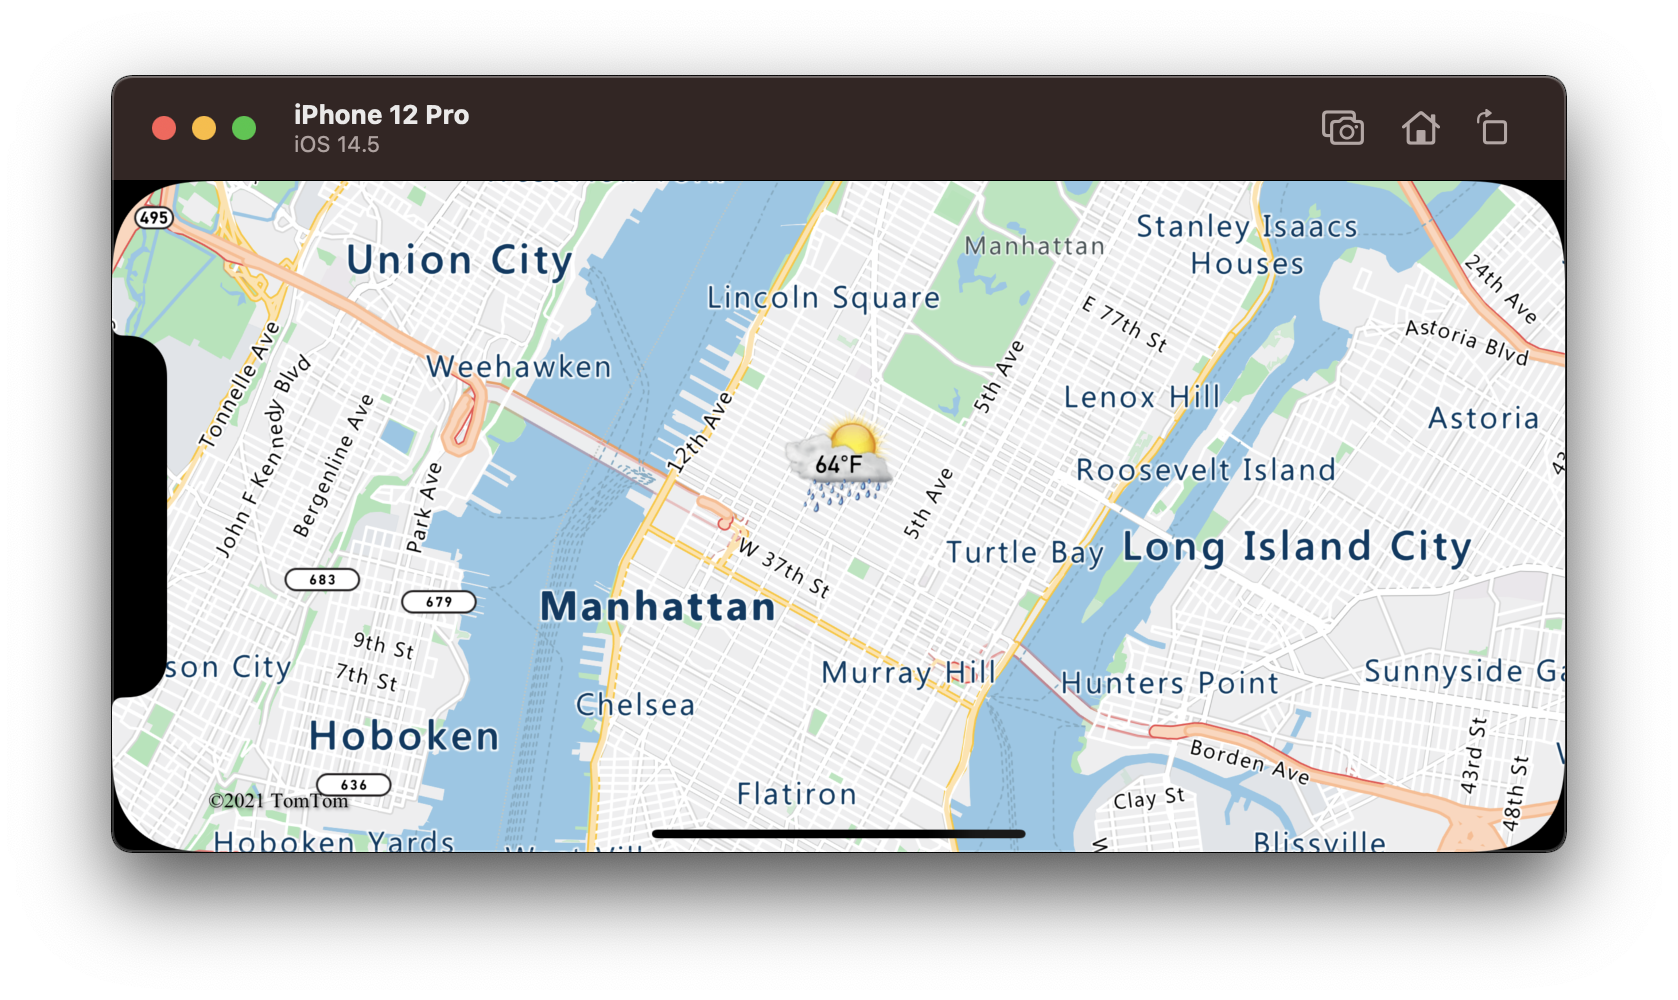
Symbol layers are rendered using OpenGL. As such all resources, such as icon images, must be loaded into the OpenGL context. This sample shows how to add a custom icon to the map resources. This icon is then used to render point data with a custom symbol on the map. The textField property of the symbol layer requires an expression to be specified. In this case, we want to render the temperature property. Additionally we want to append "°F" to it. An expression can be used to do this concatenation:
NSExpression(
    forAZMFunctionJoin: [
        NSExpression(forKeyPath: "temperature"),
        NSExpression(forConstantValue: "°F")
    ]
)
// Load a custom icon image into the image sprite of the map.
map.images.add(UIImage(named: "showers")!, withID: "my-custom-icon")

// Create a data source and add it to the map.
let source = DataSource()
map.sources.add(source)

// Create a point feature.
let feature = Feature(Point(CLLocationCoordinate2D(latitude: 40.75773, longitude: -73.985708)))

// Add a property to the feature.
feature.addProperty("temperature", value: 64)

// Add the feature to the data source.
source.add(feature: feature)

// Create a symbol layer to render icons and/or text at points on the map.
let layer = SymbolLayer(
    source: source,
    options: [
        .iconImage("my-custom-icon"),
        .iconSize(0.5),
        // Get the title property of the feature and display it on the map.
        .textField(
            from: NSExpression(
                forAZMFunctionJoin: [
                    NSExpression(forKeyPath: "temperature"),
                    NSExpression(forConstantValue: "°F")
                ]
            )
        ),
        .textOffset(CGVector(dx: 0, dy: -1.5))
    ]
)

// Add the layer to the map.
map.layers.addLayer(layer)
For this sample, the following image is loaded into the assets folder of the app.

|
|---|
| showers.png |
The following screenshot shows the above code rendering a point feature using a custom icon and formatted text label with a symbol layer.
Tip
When you want to render only text with a symbol layer, you can hide the icon by setting the iconImage property of the icon options to nil.
Predefined Symbol Marker Icons
Initially the map has the built-in default marker icon, which is already loaded into the image sprite of the map. It's used by default if nothing is set to the iconImage option. In case you need to do it manually, set "marker-default" to the iconImage option.
let layer = SymbolLayer(source: source, options: [.iconImage("marker-default")])
Also, the Azure Maps iOS SDK comes with a set of predefined color variations of the default (dark blue) marker icon. To access these marker icons, use the static variables on UIImage class, for example: UIImage.azm_markerRed.
In order to use a non-default predefined marker image, you should add it to the image sprite of the map.
// Load a non-default predefined icon into the image sprite of the map.
map.images.add(.azm_markerRed, withID: "marker-red")

// Create a symbol layer to render icons and/or text at points on the map.
let layer = SymbolLayer(source: source, options: [.iconImage("marker-red")])
The code below lists the built-in icon images available as static variables of UIImage class.
UIImage.azm_markerDefault // Dark blue
UIImage.azm_markerBlack
UIImage.azm_markerBlue
UIImage.azm_markerRed
UIImage.azm_markerYellow
Additional information
See the following articles for more code samples to add to your maps:
Feedback
Coming soon: Throughout 2024 we will be phasing out GitHub Issues as the feedback mechanism for content and replacing it with a new feedback system. For more information see: https://aka.ms/ContentUserFeedback.
Submit and view feedback for